Acrylic drip painting project with Poppy Key
Start by putting masking tape along the border of the canvas.
Pop your pouring paints into squeezie bottles with narrow nozzles for easy application.
Squeeze your first colour (in this case pastel pink) across the centre-top of your canvas.

Next to the first colour, squeeze a different colour along the top of the canvas.
With several different colours, keep squeezing along the top of the canvas in about 20cm intervals.
It should have a rainbow, dripping effect as the paint runs down the canvas.
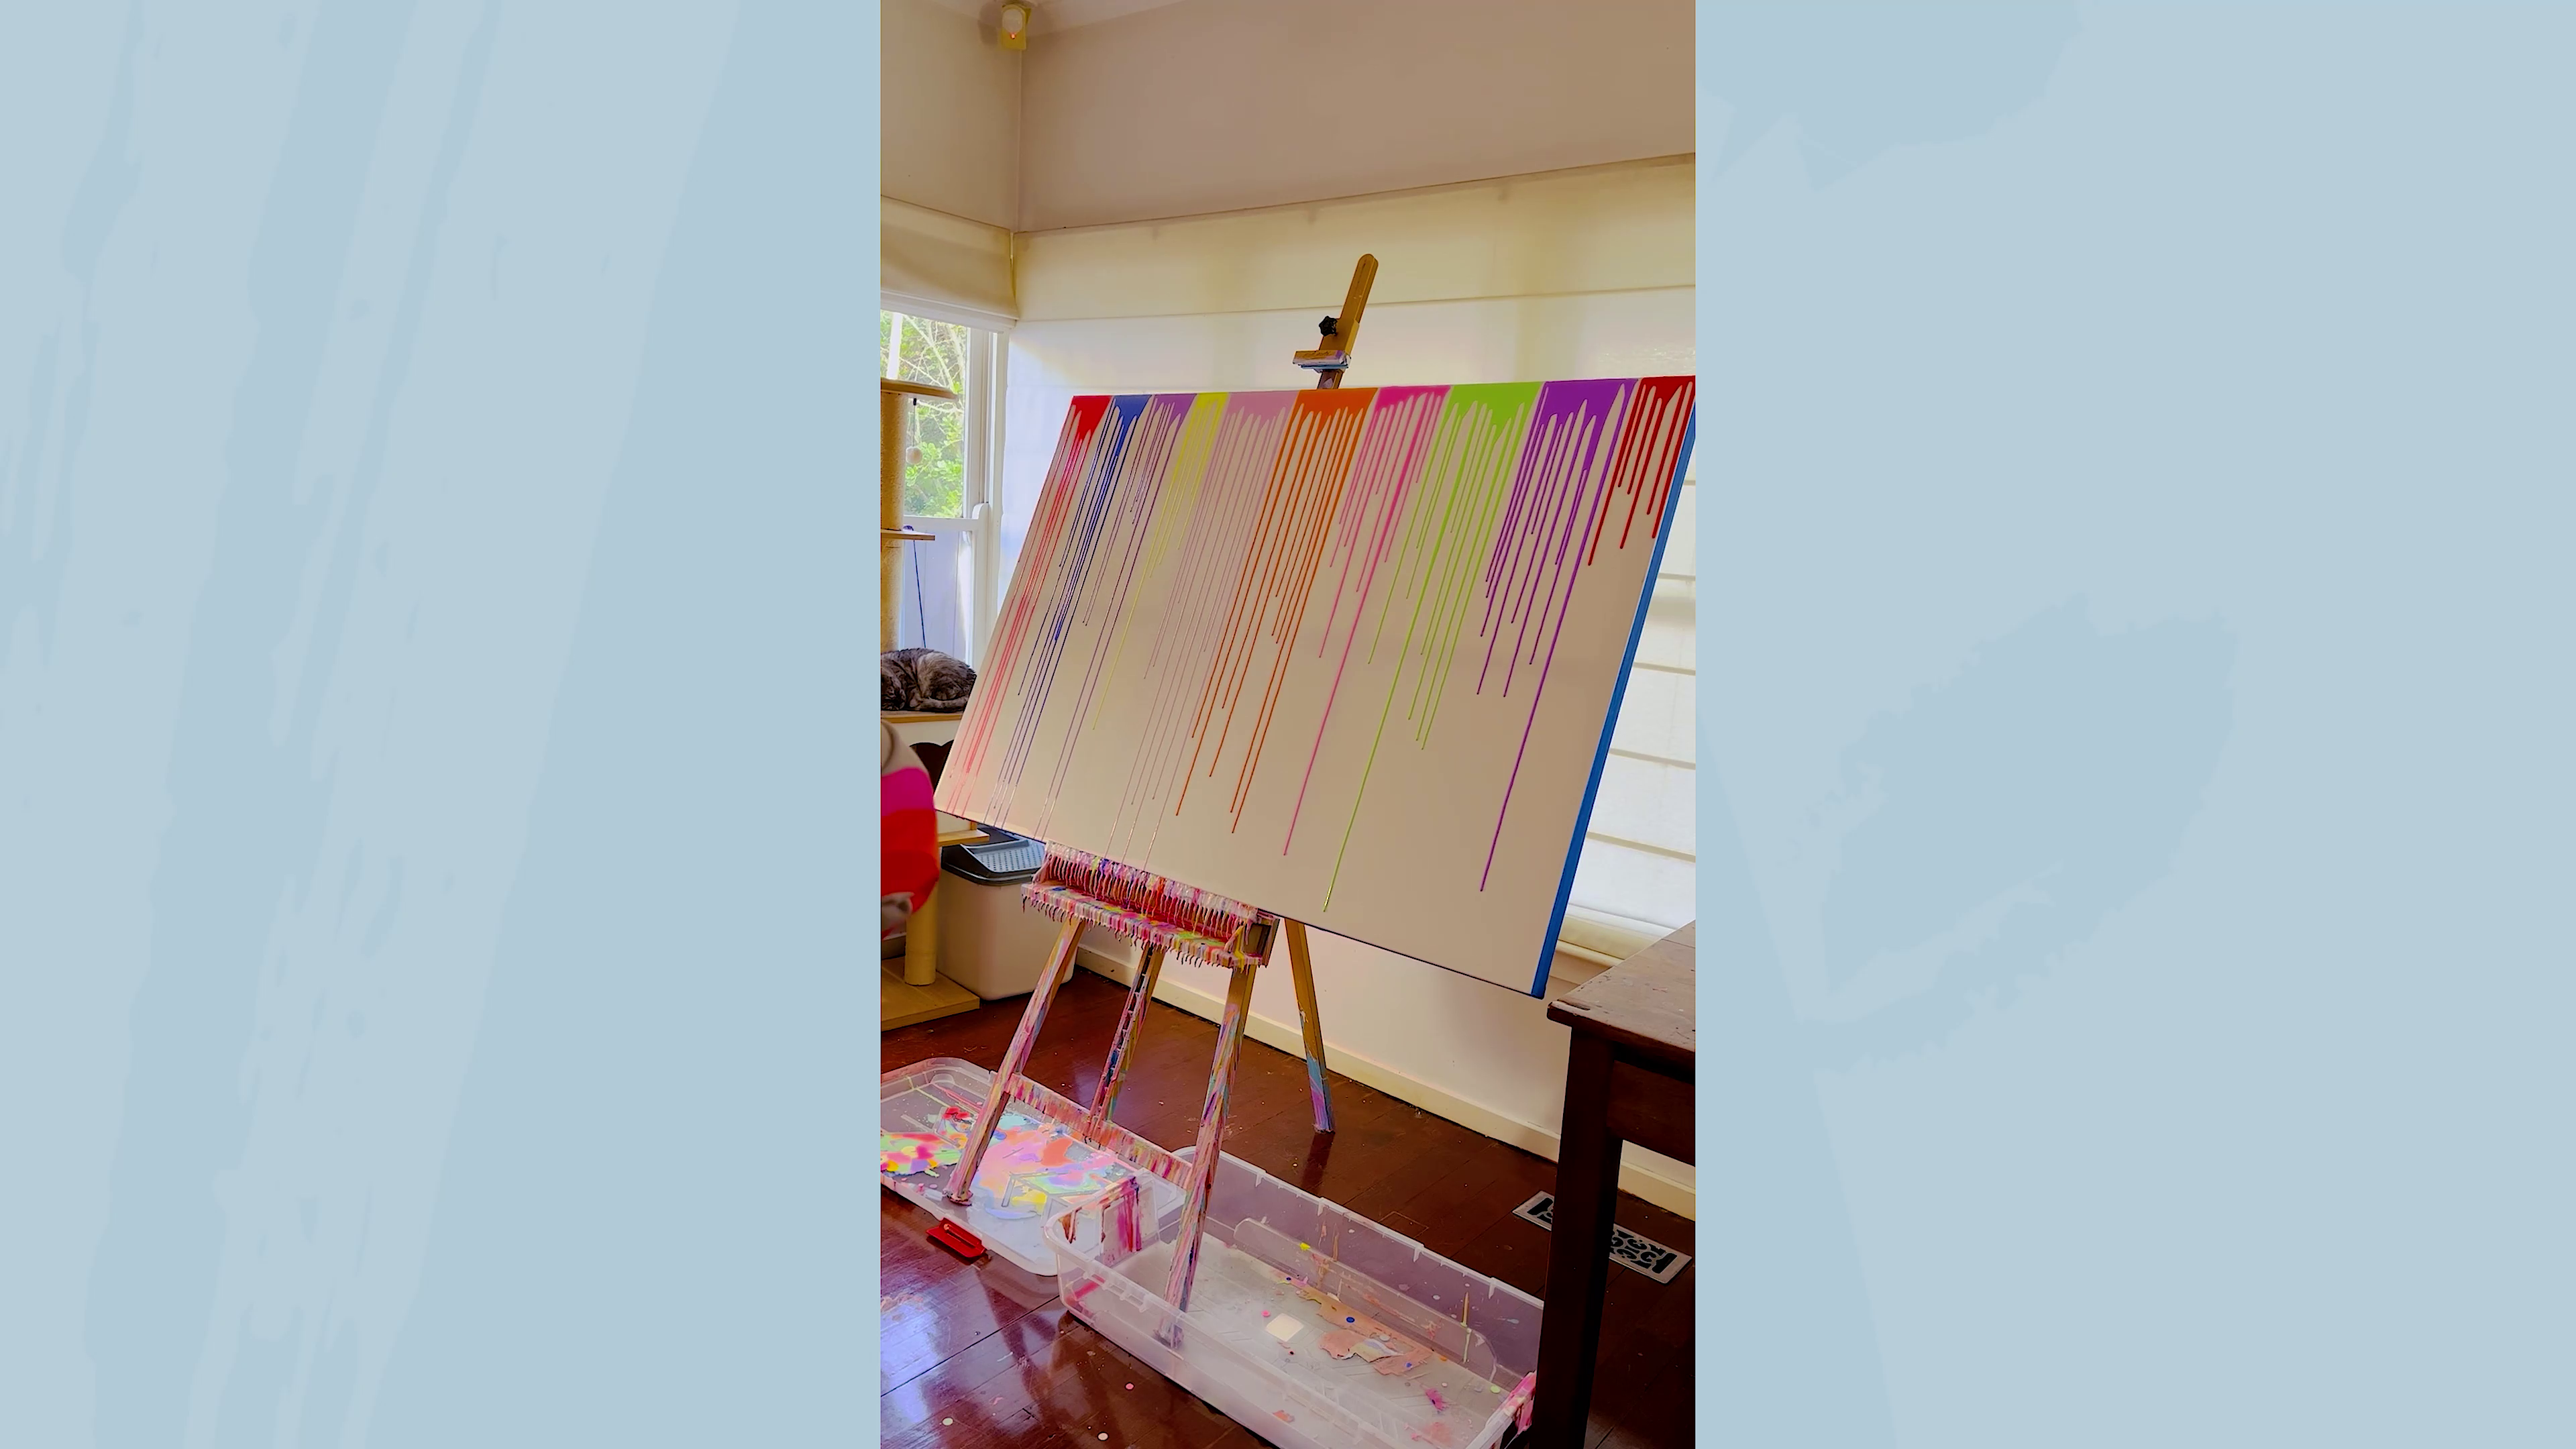
Starting at the top of each drip line, add another squeeze of colour to make it run further until it reaches the bottom.

Let the paint dry, then flip the canvas. Start dripping from the new top of the canvas.
Use alternating colours to the original order so the new drips contrast with the existing ones.
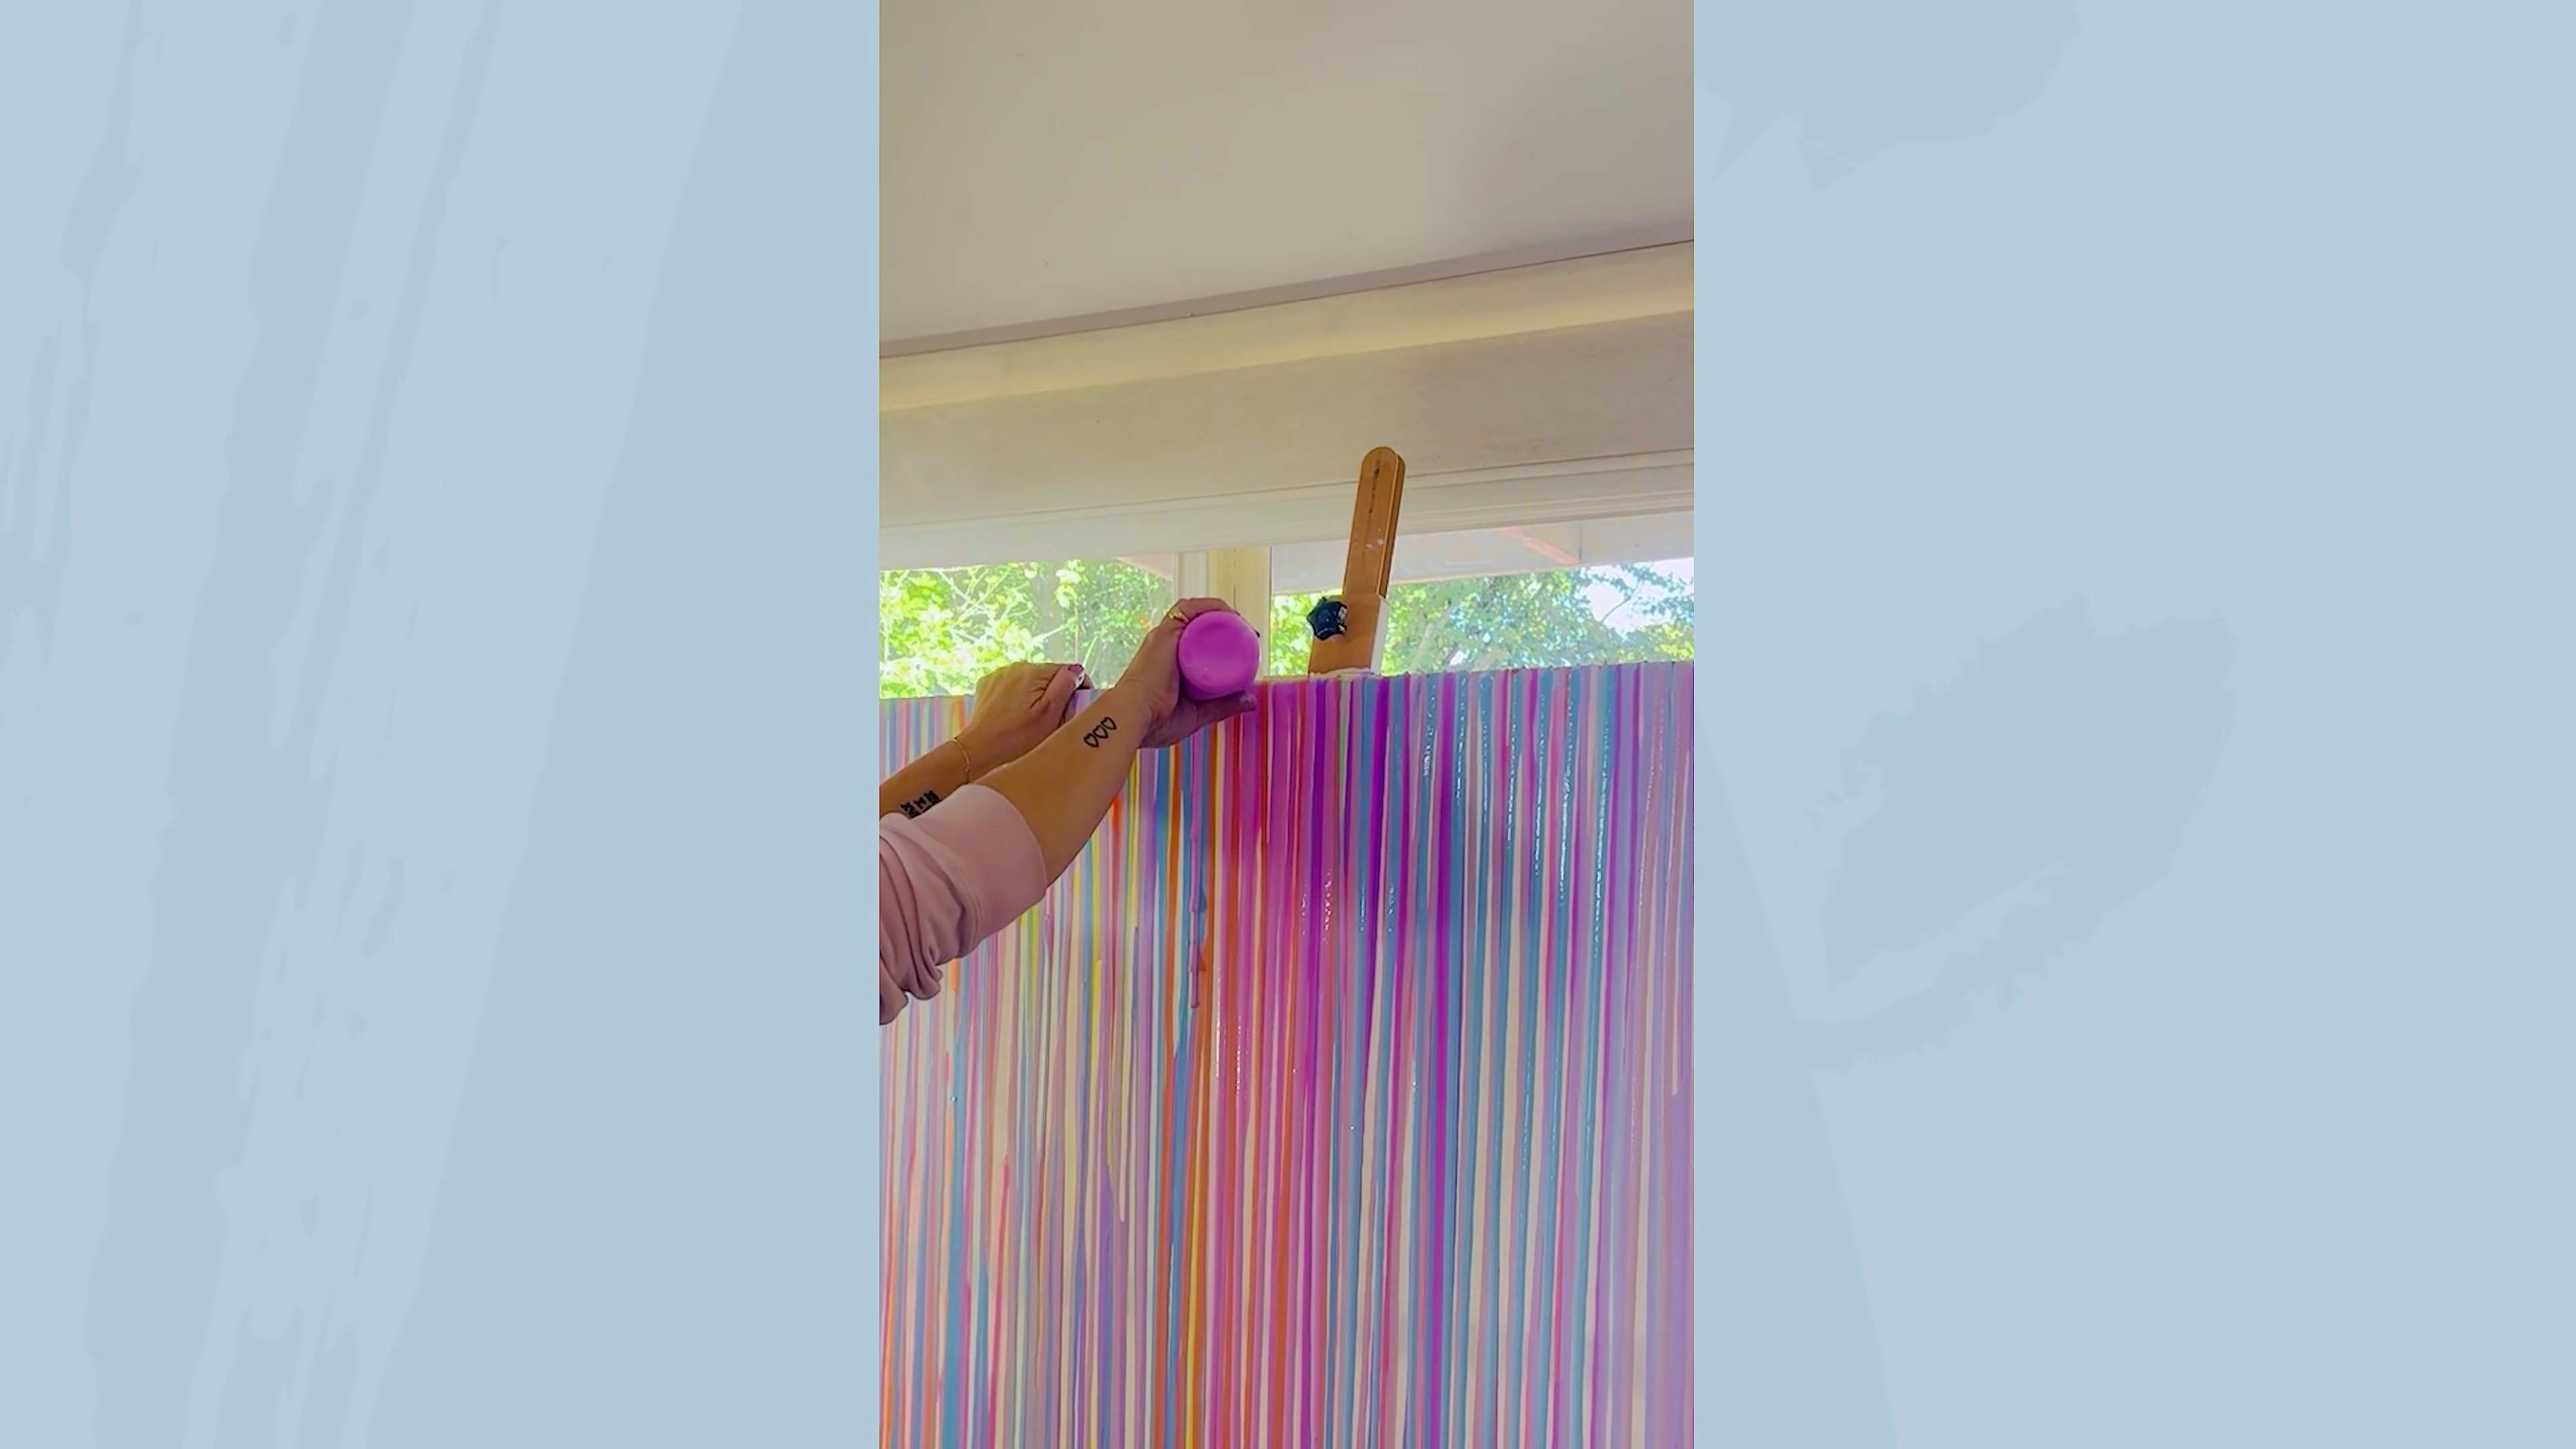
Repeat the original process with the canvas flipped.
Let dry and add more lines with the canvas flipped back until there are no gaps.
The goal is to have each line of colour separated by a different paint colour beneath.
Keep repeating the drip, dry, flip, and repeat until the array and layering of colours makes you happy!
The final layer of drips should use a cohesive colour palette – in this case Poppy went pastel.
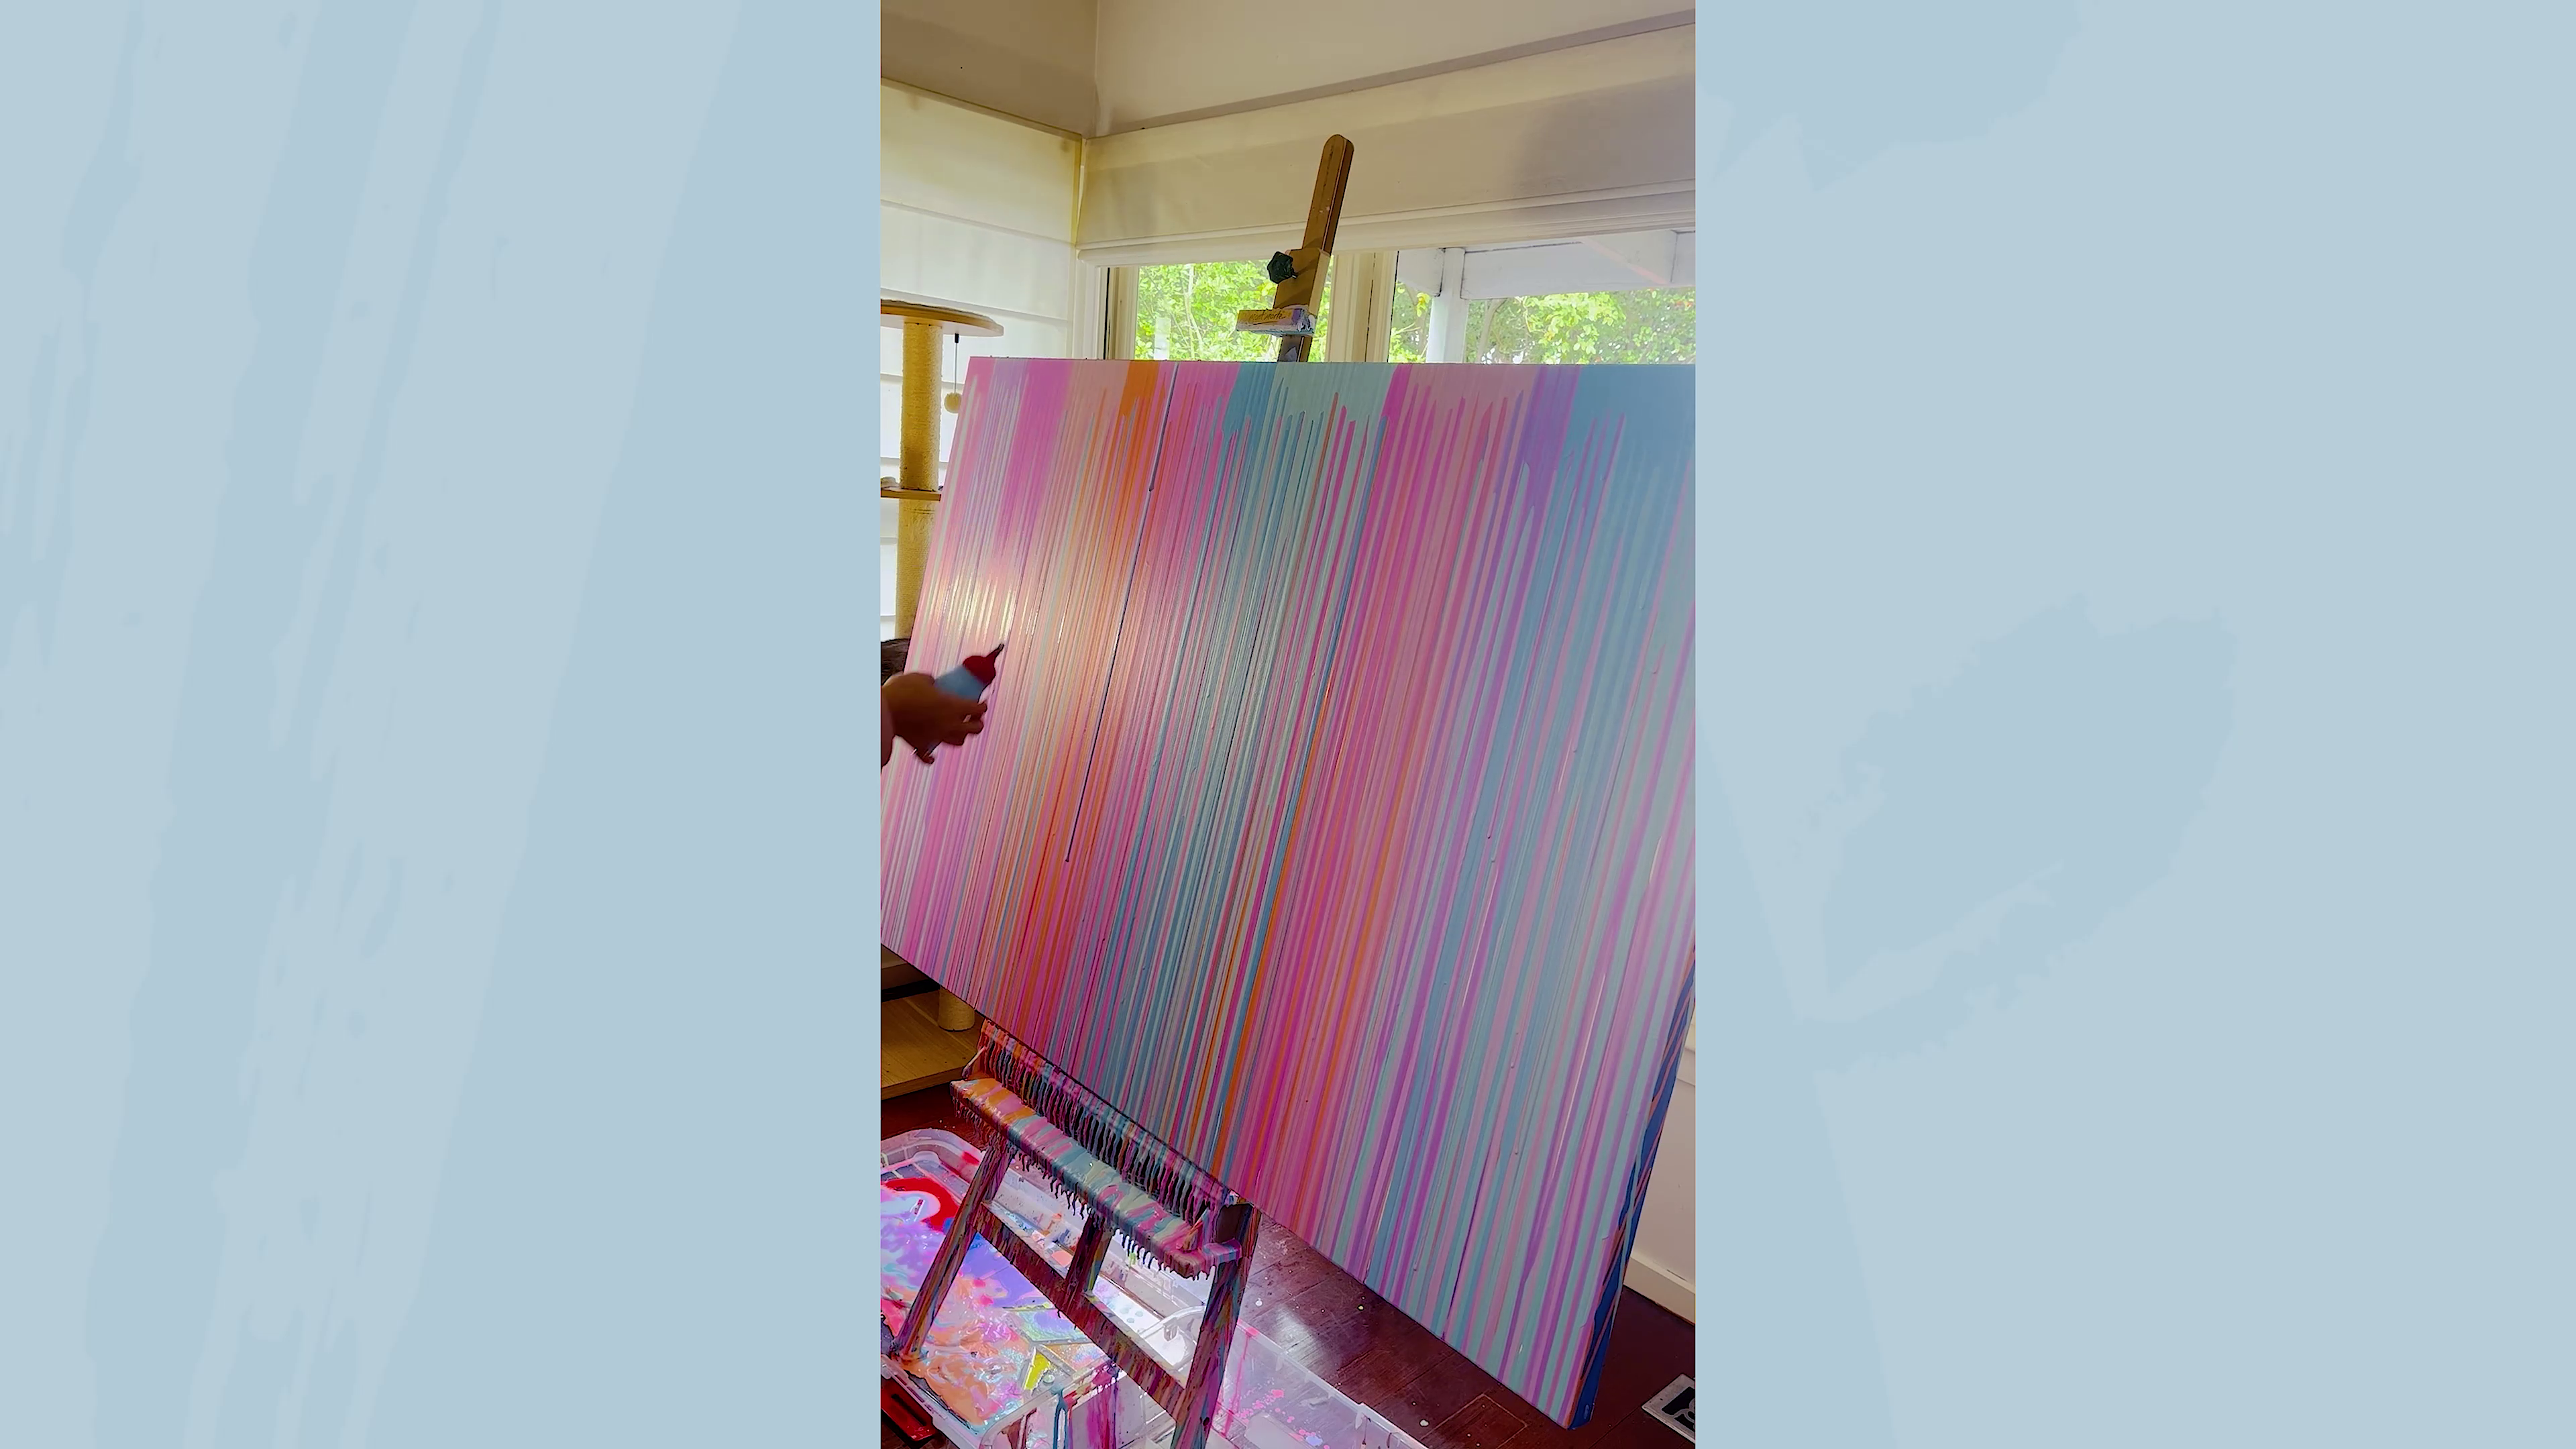
Your final layer will leave a thick band of paint at the top where the drips ran from.
Peel off the masking tape on the borders of your canvas.
Paint the exposed edges a colour that matches the hues in your final layer of drips.
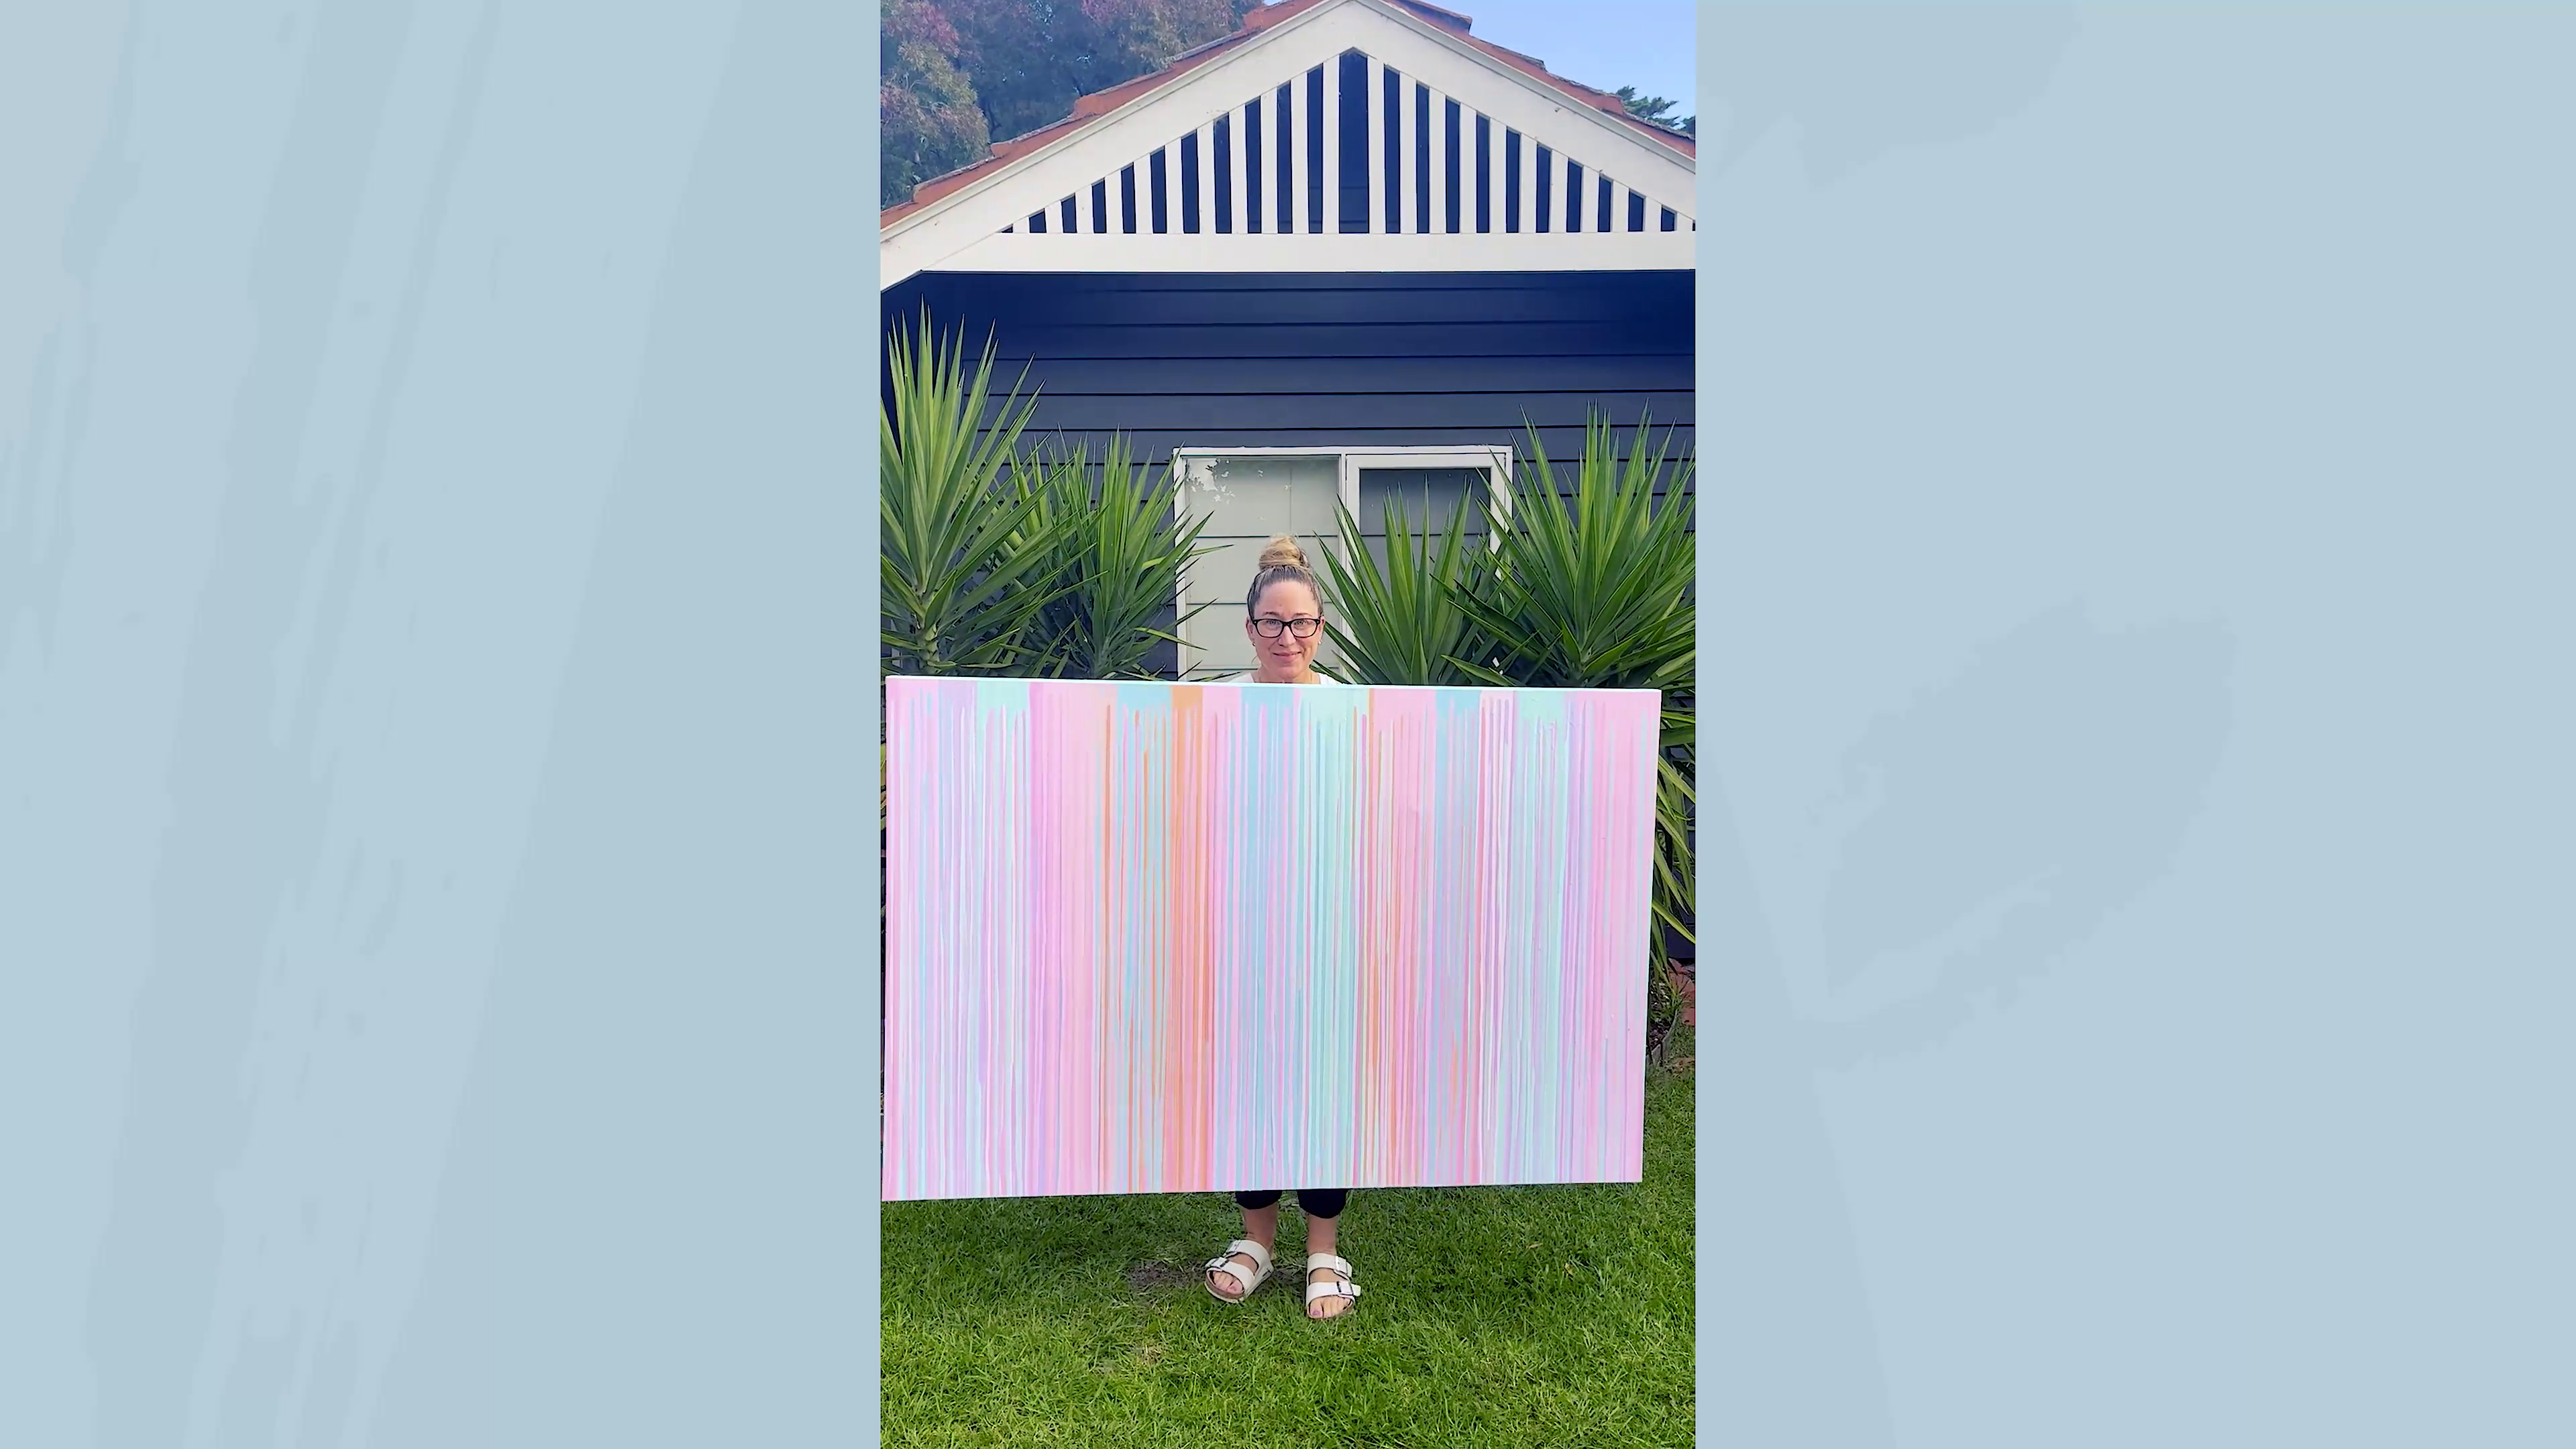
Thanks Poppy for showing us how to create this piece!
Create this project with:
- PMPP4202 Pouring Acrylic Paint Set Premium 4pc x 60ml (2 US fl.oz) - Ethereal: https://www.montmarte.com/products/pouring-acrylic-paint-set-premium-4pc-x-60ml-2oz-ethereal?variant=40820311883915
- PMPP4204 Pouring Acrylic Paint Set Premium 4pc x 60ml (2 US fl.oz) - Flamingo: https://www.montmarte.com/products/pouring-acrylic-paint-set-premium-4pc-x-60ml-2oz-flamingo?variant=40820311752843
- CSDT9012 Double Thick Canvas Signature 91.4 x 121.9cm: https://www.montmarte.com/products/double-thick-canvas-signature-91-4-x-121-9cm-36-x-48in?variant=40820440662155
You may also like