


Over the years, we’ve had a lot of fun creating air dry clay sculptures. We love this versatile medium because anyone can use it and you don’t even need a kiln or oven! To help you get the most out of your clay, we’ve put together a list of our top tips below.
1. Cover up to prevent stains
Sculpting with clay can get messy, so make sure you cover up your table to make clean-up that little bit easier. We’d also recommend wearing old clothes or an apron to avoid any unwanted stains.
2. Prepare your air dry clay
We're often asked how to make clay soft, preparing your clay is an important part of the sculpting process and it'll make working much easier. Once you’ve taken the clay out of its packaging, knead it to make it smooth and soft. This is referred to as ‘conditioning’. This process combines all of the tiny platelets in the clay to spread them evenly and make it more workable. 
3. Use a board or banding wheel
Building your sculpture on a wooden board or banding wheel means that you can move it around while you work, without needing to lift it up. This will also help if you're looking for a way to stop clay from sticking to the table.
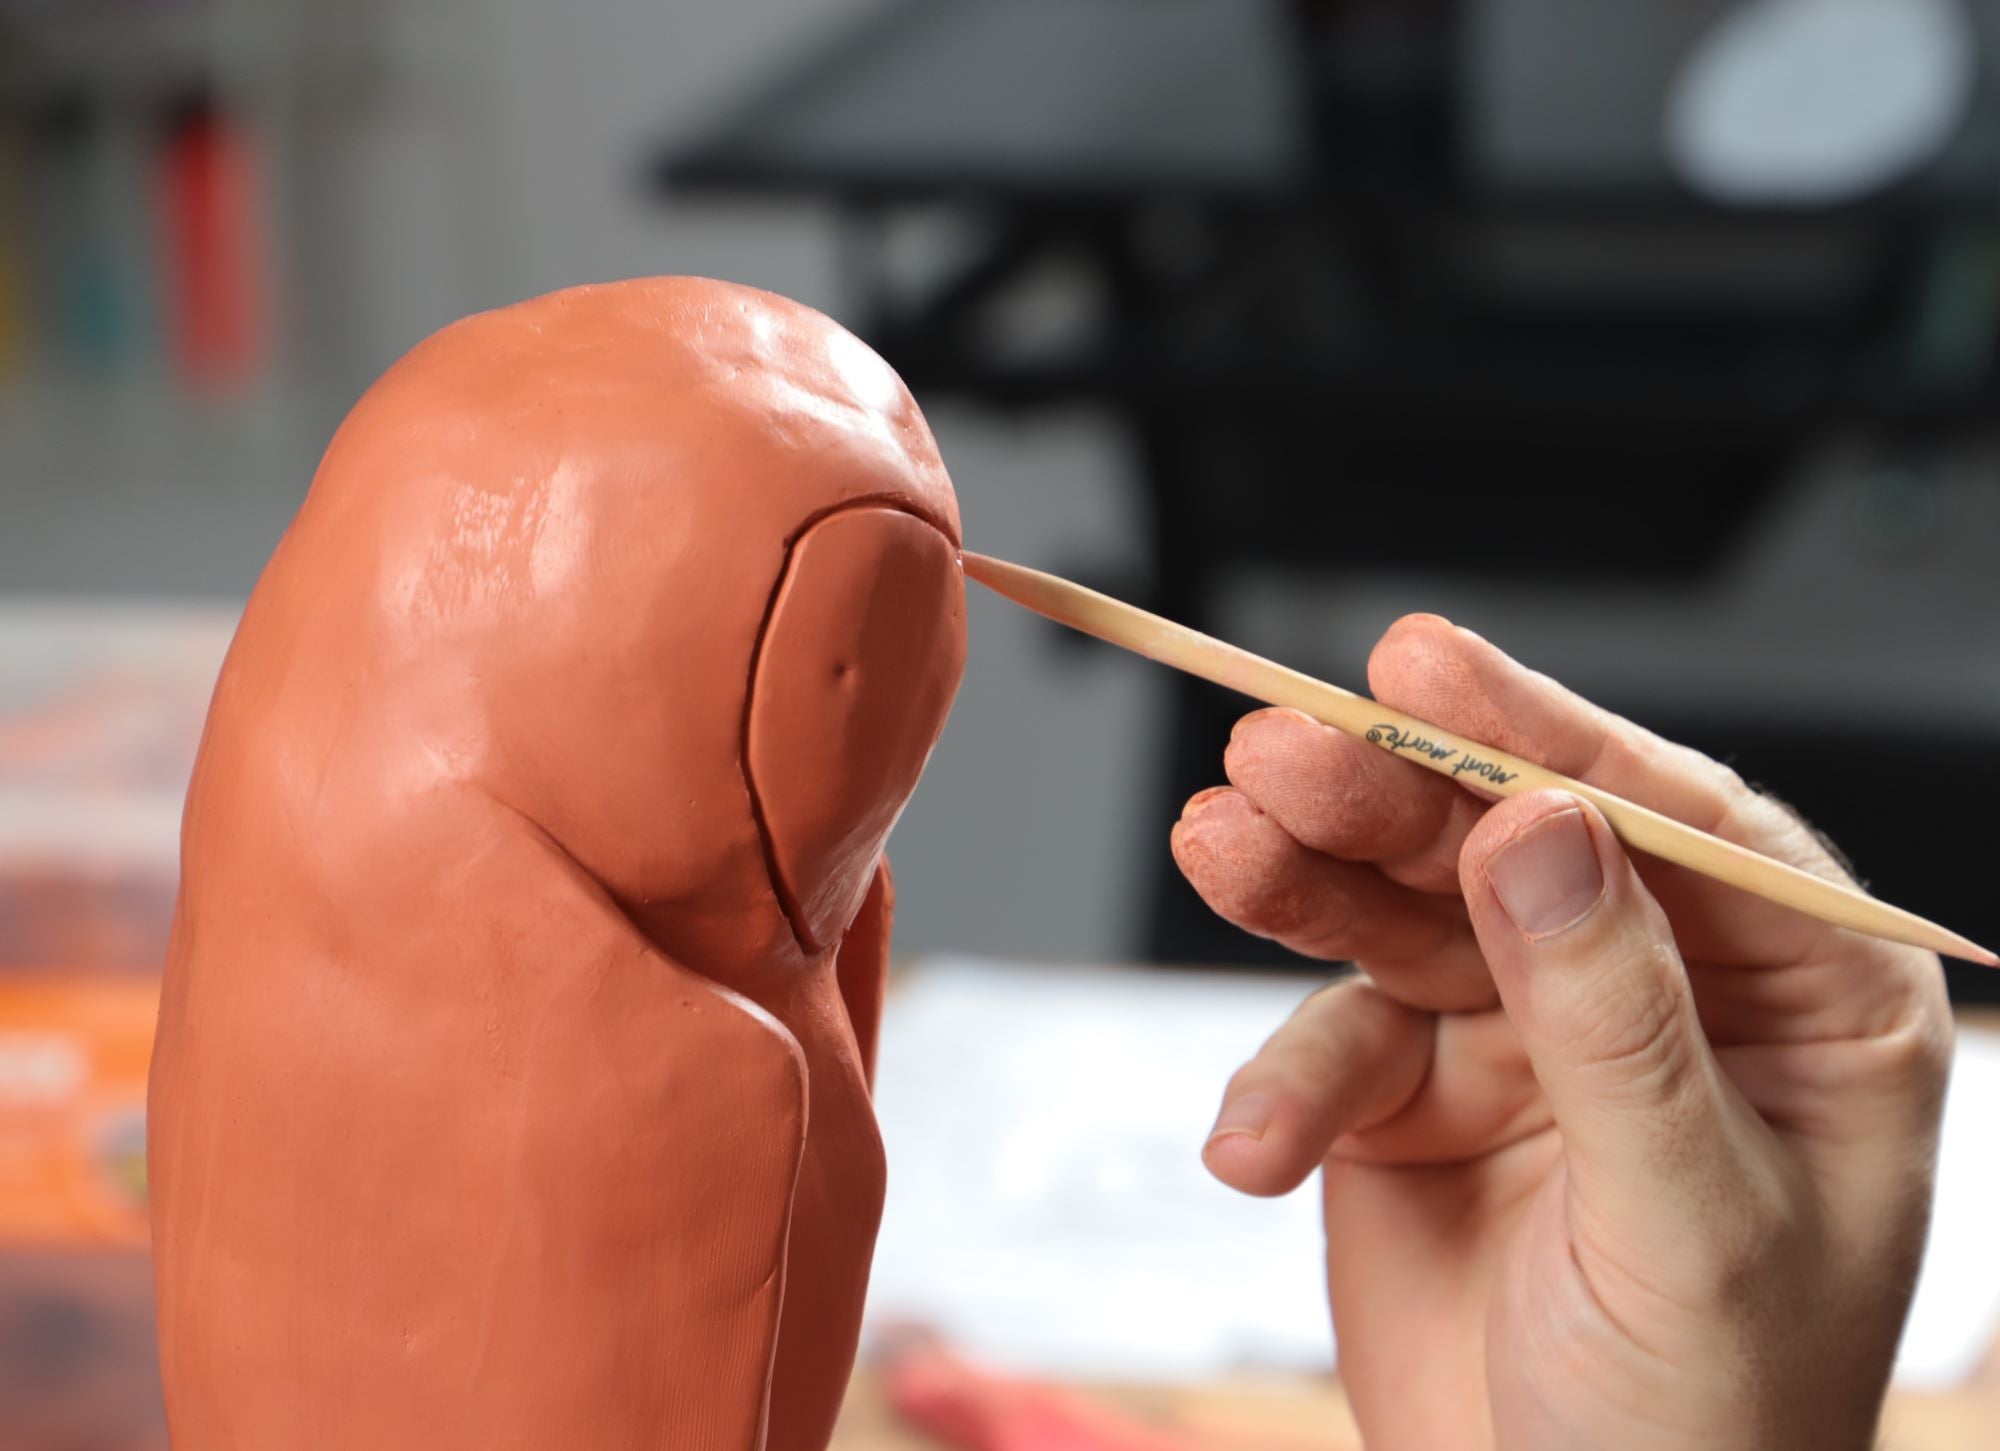
4. Choosing tools
Not sure which tools to use? In general, you’ll mainly use wooden tools for shaping and smoothing, while steel tools are a great go-to for precise modelling, detailing and removing clay. Check out our quick guide to air dry clay tools for some more handy tips.
5. Create an armature for extra support
In some cases you may need to create an armature to support your sculpture (think of this as a skeleton). For example, if your sculpture is thin in certain areas or top heavy, it could need a little extra help to keep it stable. You can construct your armature from wire, booker rod or sealed timber attached to a base board. If you’d like to see this in action, check out our lion head sculpture tutorial.
6. Bulk larger works
If your sculpture is larger than a fist, we’d recommend building it around foil or polystyrene. As the water in the clay evaporates and the clay hardens, then the air dry clay shrinks. So bulking not only makes large sculptures lighter, it also helps prevent cracks from forming due to shrinkage (less clay means less shrinkage). Another benefit of bulking is that you’ll have leftover clay for other projects! In this project we show you how to bulk air dry clay to create a skull.
7. Minimise cracking with a wet mix
If you notice some cracks appear in your clay, don’t panic. The reason this sometimes happens is because as clay dries, moisture evaporates out of it which causes it to shrink and it can crack as a result.
Here's how to get rid of cracks in air dry clay:
1. Let the clay dry out completely.
2. Once dry, create a wet mix of clay (use the same clay you’re working with) and fill the cracks.
3. After you’ve filled all of the cracks, simply let the clay dry again.
It shouldn’t crack after this and you will be surprised at how unnoticeable the repair work is. If videos are more your cup of tea, check out our how to fix cracks in air drying clay video.
8. Wrap clay for multiple sessions
Sometimes you won’t have enough time to finish your sculpture in one session. To keep your piece workable for the next session, wrap it in a damp tea towel and then wrap it in cling film to make it airtight. If you use this method properly, the clay can stay workable for up to four days! If not, don't worry you can follow along with this how to revive air dry clay video, if the clay dries out.
9. Store off-cuts in an airtight container
When it comes to how to store air dry clay post-project, it's pretty easy. Wrap the leftovers in cling film, put it in an airtight container, and store it in a cool dark place. This air dry clay tip will save you a lot of wastage if you don’t it all at once. Then the clay is ready to be reconditioned, follow along here to see how to revive old air dry clay.
10. Save dried-out clay with water and a zip lock bag
Sometimes stored clay dries out because you either forget about it or don’t go back to it in time. If this happens, we have a little trick that you can use to reclaim it. Cut up your clay, place it in a zip lock bag and add some fresh water to it. Next, lock the bag and leave it for two days. Once 2 days has passed, knead your clay until it’s smooth again. If you're looking for more ways to revive your old air dry clay, check out our handy how to video.
11. Making air dry clay waterproof
If you want to put your sculpture outside, you’ll need to ‘seal’ it to protect it from the elements. You'll also need to seal air dry clay before painting. You can do this using a coat of either acrylic gloss medium or a mix of equal parts PVA glue and water. Below are the steps we use to seal air dry clay sculptures after the clay has dried or watch you can watch our how to video.
1. Use a paint brush to cover the entire sculpture with acrylic gloss medium or a mix of PVA glue and water.
2. Let this dry, and then give your work a coat of grey acrylic paint (we recommend using acrylic paints because they help seal air drying clay to protect it from moisture).
3. After the grey coat has dried, give it two coats of the final colours.
12. Apply a grey base coat
Are you curious about why we included a grey base coat in the previous tip? The reason we do this is to create a neutral base tone so that the final colours are richer and more vibrant. We generally use a mix of Lamp Black and Chinese White to make our grey base coat, you can watch how we paint air dry clay in our how to video here.


