


If you want to create texture or 3D effects in your artworks, modelling paste is a great place to start. We love using this acrylic medium and we’ve got plenty of tips up our sleeve for you. Here are our top 10 modelling paste tips to inspire your next project.
1. Tools to use
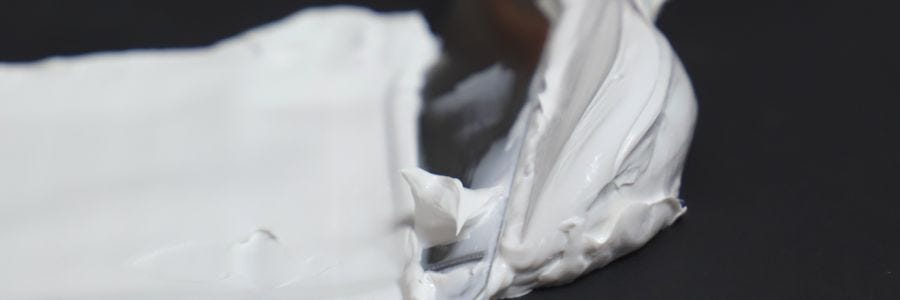
Modelling paste is a thick medium that works to add dimension to your artworks and projects. Because it's such a thick medium, the best tools to use are a palette knife, butter knife or paint scraper.
2. Choose a firm surface
You will need a strong surface such as a wooden painting board or Masonite panel. If you're wondering how to use texture paste on canvas, a double thick canvas will be your best bet. Modelling paste is quite heavy, so we’d recommend inserting timber wedges into each corner of your canvas to keep it tight.

3. Create texture
One of our favourite things about this medium, is that you can use it to create all kinds of textures with it. Our Mont Marte modelling paste is also an acrylic modelling paste so it's compatible with acrylic and oil paints so you can painted over it, once it's dry to achieve a thick surface.
4. Create thicker acrylic paint
Modelling paste is often left to dry and then painted over, but you can also mix it with your acrylic paints to make them thicker. Remember that since it’s white, it will change the colour of your acrylic paints and can affect their drying time, so keep that in mind before starting.
5. Press small objects into it
You can also use modelling paste for embedding objects. Once you’ve applied a nice thick layer of paste, you can press in all kinds of small objects in it. You might like to add sticks, rocks, household items or buttons into your surface to create interesting details. Once the paste is dry you can then paint over it.
6. Use a stencil
You can also use modelling paste to create 3D stencils. Create a stencil by cutting a shape out of thick card and scraping paste over it. Try this method on doilies, mesh and other flat items with holes in them and create your own modelling paste art.
7. Drying time
Modelling paste dries at a similar speed to acrylic paint, but it will vary depending on how thick you lay it on. You can also speed up the drying process using a hair dryer if you need to, how good!
8. Wait for the modelling paste to dry before you paint
Make sure you let modelling paste completely dry before painting over it. If you paint over it while the middle is still wet, the paint will seal the modelling paste in and it won't dry properly, which can cause cracking later and nobody wants that.
9. Reworking dry modelling paste
Another great way to use modelling paste and another fancy feature of this versatile medium, is that you can sand, file and drill modelling paste once it’s dried. Use sandpaper to smooth it out to a beautiful finish or use a file to create grooves and textures.
10. Cleaning your tools
Since acrylic modelling paste is of course acrylic based, it becomes very difficult to remove from your tools once it has dried. To make clean-up easier, make sure you wash your tools and surface off with water while the paste is still wet.
We hope these 10 modelling paste tips come in handy for your next project and inspire you to have some fun with it. Can't wait? Check out the Mont Marte Modelling paste here.


