


When creating a still life, there’s a few things to consider. From the still life composition to setting up the light and the objects, it’s hard to know where to begin. So, we’re breaking down the rule book with these 8 still life techniques to try in your next artwork.
1. Still life composition:
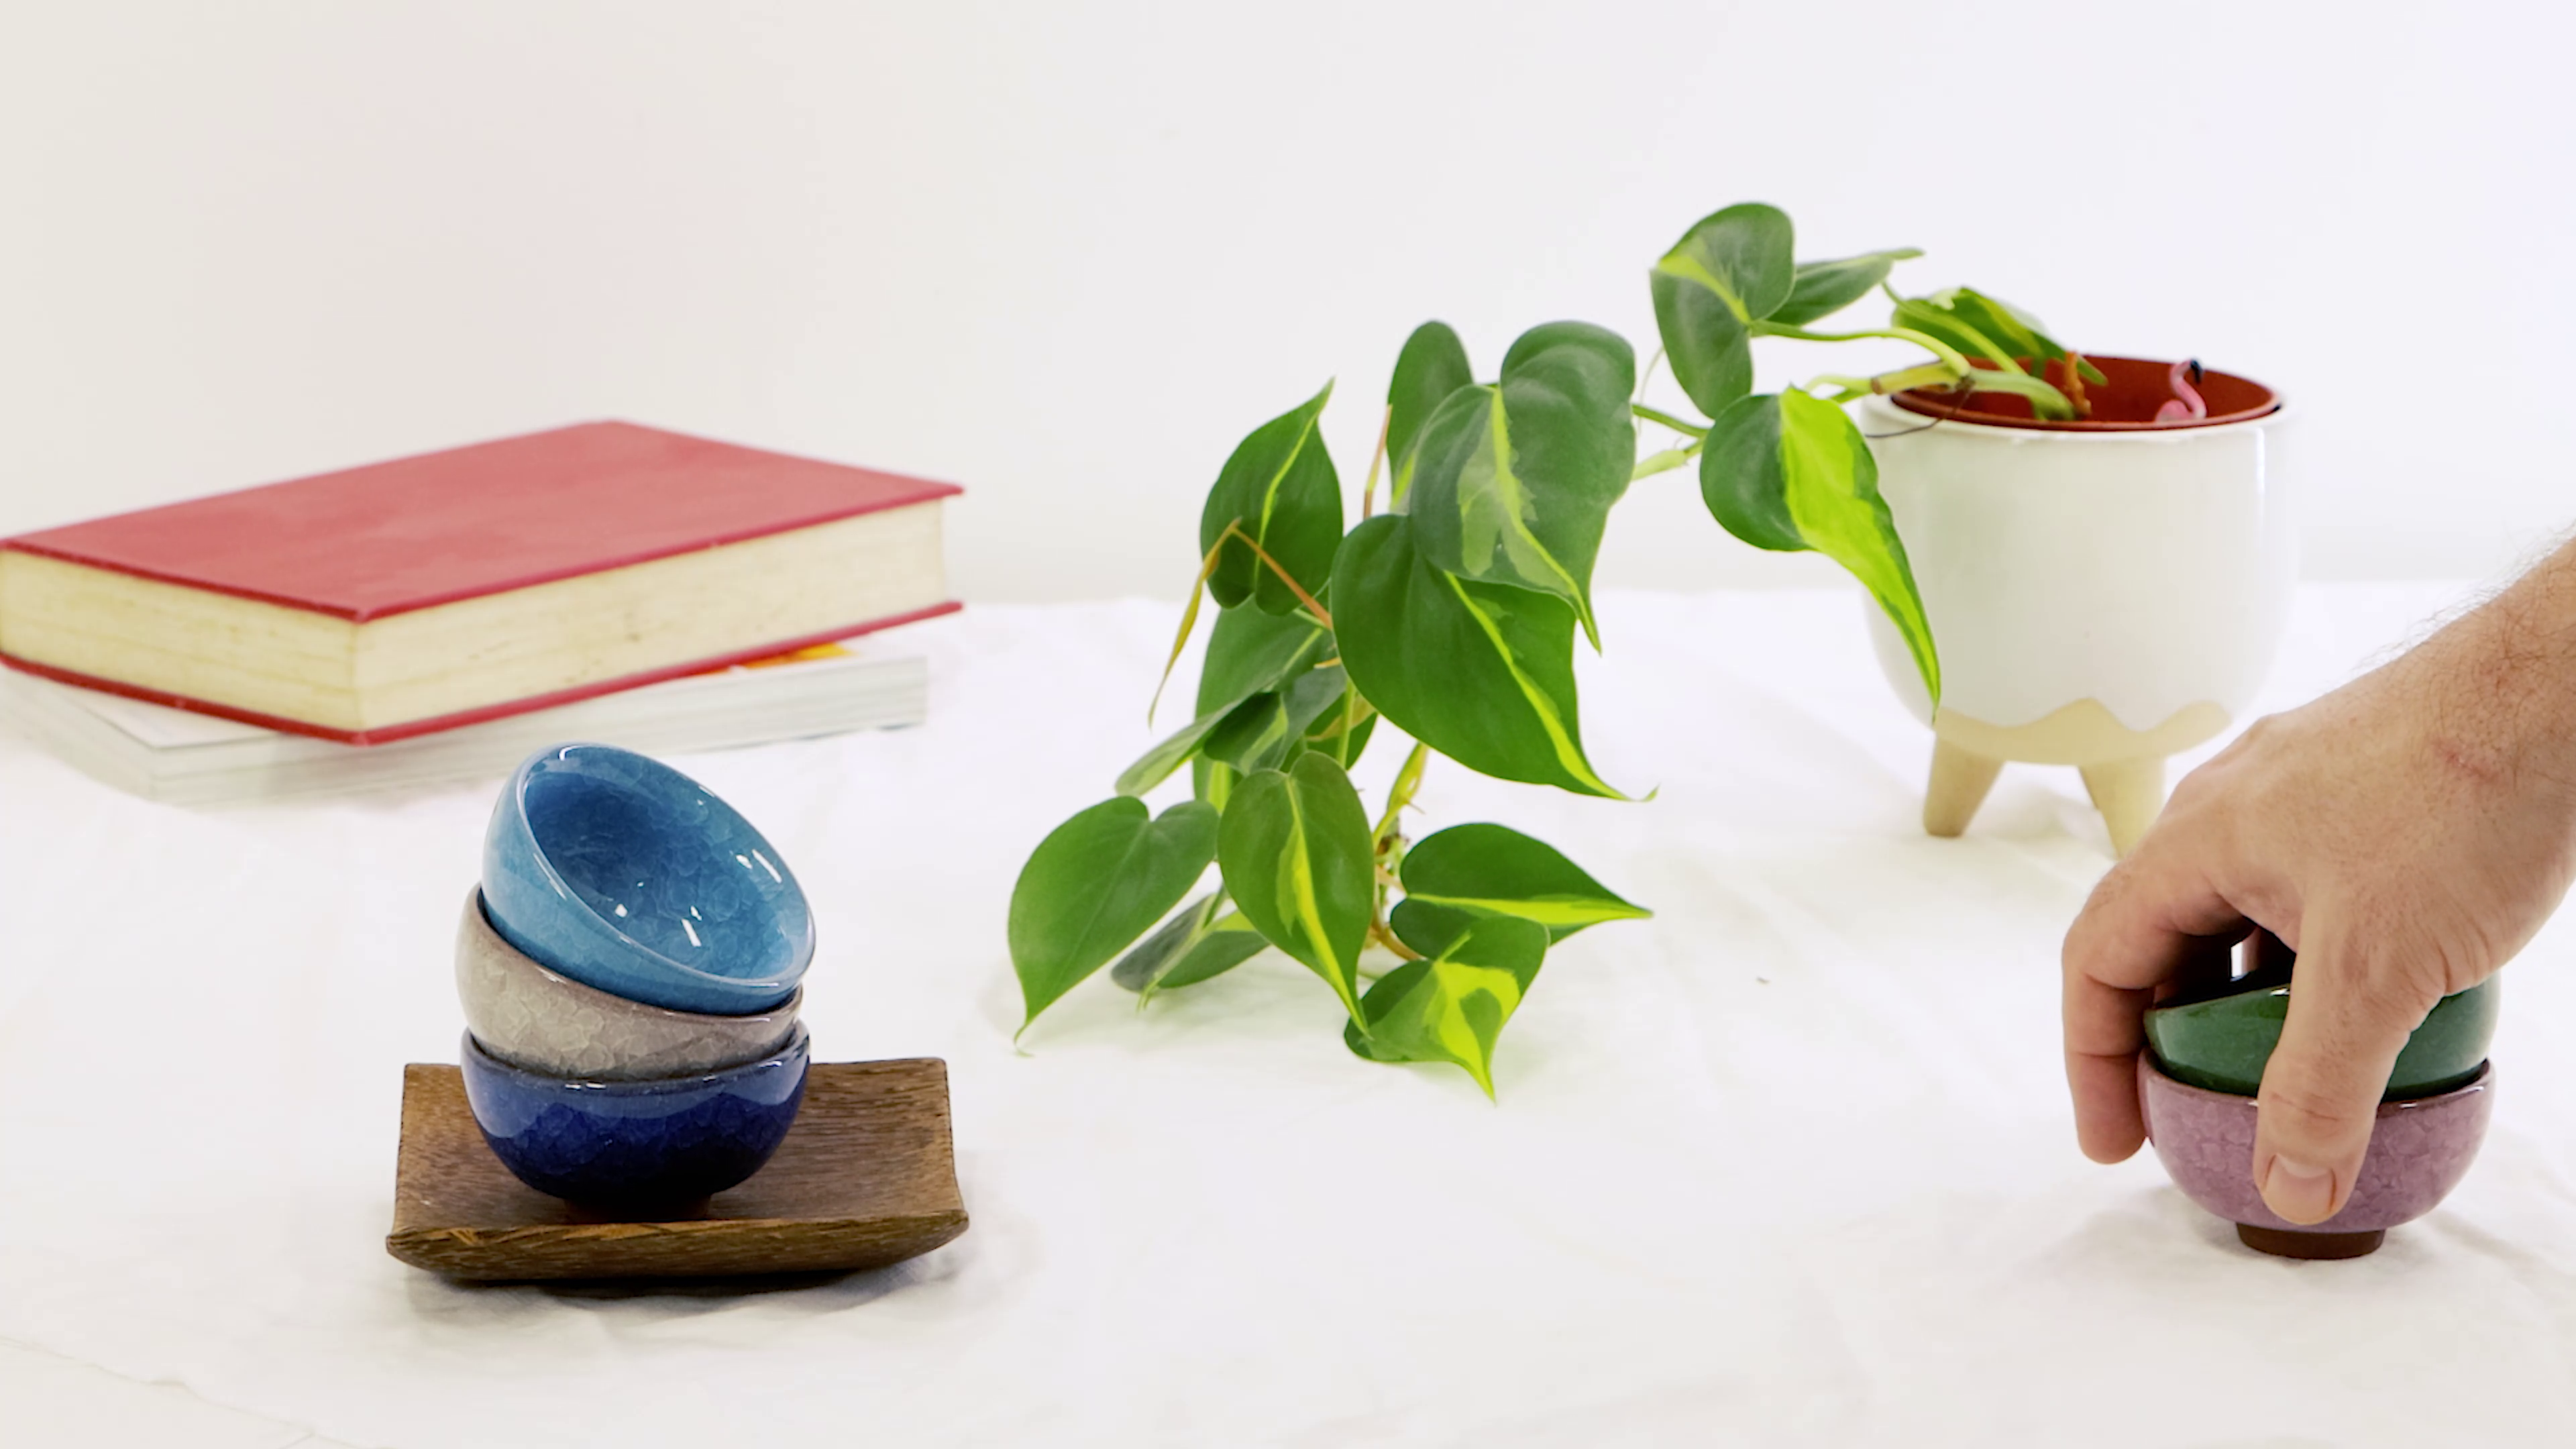
Unlike a landscape, still lifes need to be arranged, which can sound a little daunting at first, but this also means you can have complete control over the composition of your subject matter. Choose objects that have a relationship with one another or a theme, and then set them up how you’d like. Good still life compositions have balance so use the rule of thirds to help establish this balance. When arranging, take a photo of the objects using a grid of 3 X 3 squares (most phones will have this in their camera settings), otherwise you can fold an image in three vertically then three horizontally for the grid.
An object placed in the middle row, and one off to one side will add a sense of atmosphere and ambience (because we can see more of the background). For traditional still life composition, we see objects on a table. These will most likely sit in the middle row either left or right, with a high object like a jug or a flower vase in the top row. For more on arrangement check out our how to set up a still life.
2. Balance:
Consider your object’s colour, texture, size, pattern and shape. Small objects can be in the background in an arrangement or pile or loosely in the foreground. Objects in threes tend to look more balanced than two objects, so have a play with the number of objects in your still life. Balance objects by keeping them close together, with some overlap and considering the size of the objects too.
3. Light and shadow:
To make still lifes look more realistic, you’ll need both light and shadow. Renaissance still lifes typically consisted of dark backgrounds with lots of light on the objects. The Impressionists and Post Impressionists like Manet, Monet and Gaugin played around with light and added in more to their background for a lifestyle feel. If you’ve arranged your objects and can’t see the highlights and shadows, add another light to your arrangement from the side. Not too sure how much light is too much? The 2/3’s light and 1/3 of shadow is a good ratio to use when starting out.
4. Colour:
Again Renaissance still lifes were full of dark shadows and the colours were a lot more muted and less vibrant. You can stick to this technique or add in your own colour palette. Light and dark objects can be balanced out by one another, or a bright coloured object can be an interesting focal point. Adding complimentary colours like red tomatoes with a green vase or oranges next to a blue bowl or mug can add interest.
To add more dimension, use scumbling, glazing and broken lines to add colour, as flat colours or big blocks of colour will look flat and two dimensional. These techniques will add colour and still give your objects a sense of form and dimension. You can see more on these acrylic painting techniques here or for oil painting techniques here.
5. Energy and movement:
Because still lifes are static, the objects won’t move. So, we’ll have to add a sense of movement and energy to them. This can be created with the extra details in the assembling. Adding in fabric, like curtains or tablecloths that drape is a good way to add movement. The Dutch masters also used candles because of the smoke to easily add in movement. Placing objects slightly off centre can also add a sense of energy when the view is changed too.
6. Perspective
The view of a still life will change the balance, harmony, and overall composition of the work. So, it’s best to have a play with different angles before picking up the paints or pencils. A bird’s eye view will give a 2D effect to your object while a high viewpoint will make the objects appear much larger and dominant. So, play around with your objects and take a photo from various angles to see what works. Wide vision perspectives can also be a good way to add ambience as you’re capturing more of the room like mirrors, windows, and doors.
7. Objects:
Choose objects that are interesting but still have a visual link in them. Fruit has interesting shapes, textures and colours so it’s widely used for still lifes along with kitchenware like glasses, vases and jugs. Play around with objects you like to create interesting visual links. Remember that still lifes show inanimate objects (things that are not alive) so an open wardrobe, a messy bed, a collection of seashells or even a table after a meal are all still lifes too.
8. Reflections:
When using glass or metal, you’re going to have reflective surfaces. Metal surfaces and glass have solid blocks of dark colours in reflections so lay in the dark tones first. To do this, you can colour block, apply a flat colour or cross hatch to add dark shadows. Next, add your highlights using the white of the paper for watercolour or pencils, or titanium white for painting, this will add white to the lightest tone.
For the mid tone, add in a grey where the reflected shadows are. Keep in mind where the light source is coming from and check your objects for light, dark and mid tones as you work. For more on how to paint reflective surfaces, check out our how-to blog.
So whether you try them all, mix a few techniques together, or make it totally your own, have fun with it and see what happens!
Ready to get stuck in? Set up your own still life at home with this handy how to set up a still life video. Or follow along with us and paint a simple still life cactus.
Looking for something more challenging? Create this burger still life in a Dutch masters style with this modern day still life in acrylics project.
We hope that you feel inspired to create your own still life. Try it for yourself and #montmarteart or tag us @montmarteart on Instagram or Facebook, we’d love to see what you create.


