


Oil painting may look intimidating to try at first, but once you get the hang of things, you will find it isn’t as scary as it seems. These top oil painting techniques will help you bring your ideas to life and discover a new medium for creativity.
1. Scumbling
Favoured by the Impressionists, Scumbling is an oil painting technique that is ideal for beginners. It's a simple way to add depth and shadow to your oil painting. Grab a stiff bristled brush and a small amount of pigment to dab the paint on the canvas. Both the dabbing and the stiff bristles will leave you with the colour underneath exposed. By scumbling with white paint over a black background, this broken application will easily add depth to your painting.
2. Alla Prima
Also known as wet-on-wet technique, Alla Prima is Italian for “first attempt.” Sounds fancy, but this oil painting technique simply allows you to work quickly, which means you won’t have to sit around waiting for the oil to dry before starting on your next layer. You also won’t need to rely on a particular brush to achieve the desired effect. Build upon each layer whilst leaving your accents and highlights last, by doing so, you can also go over any colour that has been reduced by building layers on top.
3. Glazing
The glazing technique allows for multiple oil layers to be added. By adding layer upon layer, the colours appear to have been blended together by way of illusion, rather than the process of blending them on canvas. When glazing with oil paint, work from dark to light and be careful of transparency when working with this technique, otherwise you may end up with muddy colours. Highlights should be added last, particularly if you’re using white.
4. Underpainting
This oil painting technique involves adding in various layers of paint to establish the tone of the painting. For instance, using a cool tone colour can balance out a warm tone and vice versa, this can add tone and harmony to the work. Rather than facing an intimidating, stark white canvas, underpainting involves building multiple layers onto the canvas. However, you need to pay attention to transparency and the thinness of the paint used, to ensure nuances of colour aren’t lost.
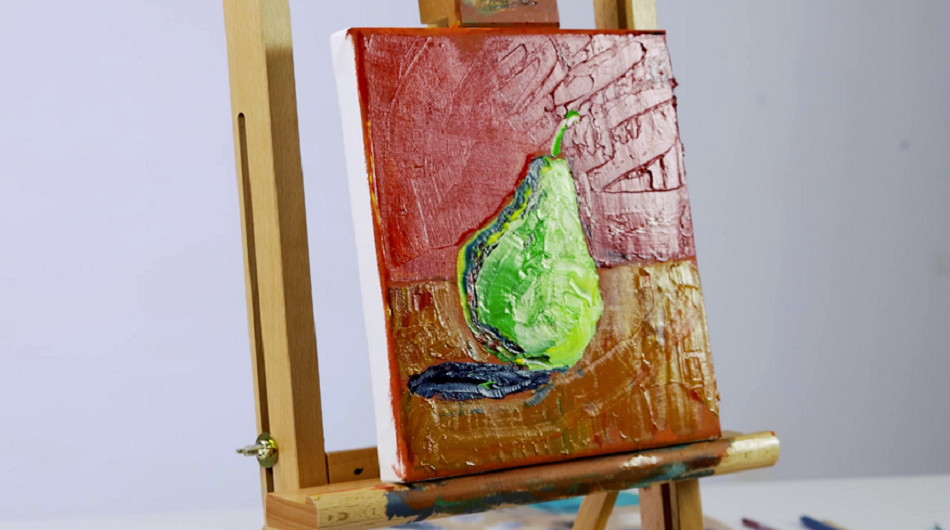
5. Impasto with brush
Not only great for achieving texture, impasto, or risen paint, can also help reduce the cost of oil paints. By mixing impasto with your oils, you will use less paint and also be able to control how textured you want the desired look to be achieved. By using a brush, you can achieve a Van Gough style look with choppy strokes to create dimension as well as texture and still maintain control over where the impasto is placed, as opposed to applying it with a knife. Impasto and oil paint will take some time to dry, so be patient once you have finished.
6. Grisaille
Calling all lovers of monochrome, the Grisaille technique will express the light and shadow of your work as it optimises neutrals and greys to show the light. Grisaille will save you spending money on paint as it uses mostly black and white to achieve the greys and is a great way to learn how to add shadow and light to your works. You can work dark to light such as Joe has here, using black first and utilising the white pigment to blend in shadows. You can also glaze over the top of your Grisaille with thinned-out paint, but make sure that it is translucent, otherwise it won’t catch the light.
7. Blocking in using a palette knife
No brush? No problem, the palette knife oil technique allows you to add paint using a knife. This adds a choppy texture to your work which can help show off shadow and depth in a more abstract way. You can create broken lines or thinner lines by adding paint to the edge of the brush, or remove paint by using the edge of the knife. Be sure to clean your knife regularly to keep it clean.
8. S'fumato
Sfumato translated into English, means soft. This oil technique of tonal blending will give your work a light, soft transition between tones such as lights and darks. Favoured by da Vinci, this technique can be achieved by blending out the edges with a light hand to tone down harsh angles for a softer look.
9. S'graffito
S'graffito is Italian for “to scratch” and is a fun way to remove oil paint from your canvas and add in texture. Build up your layers and remove each layer underneath by using a knife or sharp object such as a toothpick or a nail but be careful to not cut the canvas. By using an oil painting technique such as underpainting, you can then scratch back the layers once dry, to reveal the colours underneath.
10. Transitional blending
To blend out your oils into a gradual transition, you could find applying your colours in a band using a knife or paint scraper to be easier. Follow this up by using a clean, dry brush to blend the colours together; this will also help even out your oil texture.
11. Fat over lean
When layering with oils, you might find that some oils crack. This can happen when you’re working too quickly and not allowing the underlay to dry before the second layer has been applied.
To avoid cracking, the fat over lean technique is helpful. Fat refers to paint with a higher amount of oil added, whilst lean refers to pigments with lower amounts. Add more oil to each layer but make sure that each layer has dried before doing so. Adding an oil or solvent to your palette, means you will have more control over the thickness of the layer.
12. Dry brushing
Similar to the scumbling technique, the dry brush technique involves brushing with a dry brush to show tones of light and dark, to create a smoke effect. When using oil, check that your brush is free from oil or any pigment for the best result, as oil will take longer to dry than its watercolour or acrylic mates. It will also prolong the life of your oil paints as minimal product is required for this look.
13. Adding dry mediums
For a more interesting affect, add dry mediums to your oil before it dries. Think mediums such as sand, gravel, paper, torn hessian or even glass beads, as you can create an interesting effect. This application is fun and helps build texture and adds dimension to your work. You can also add a glaze over the top once your oil has dried.


