


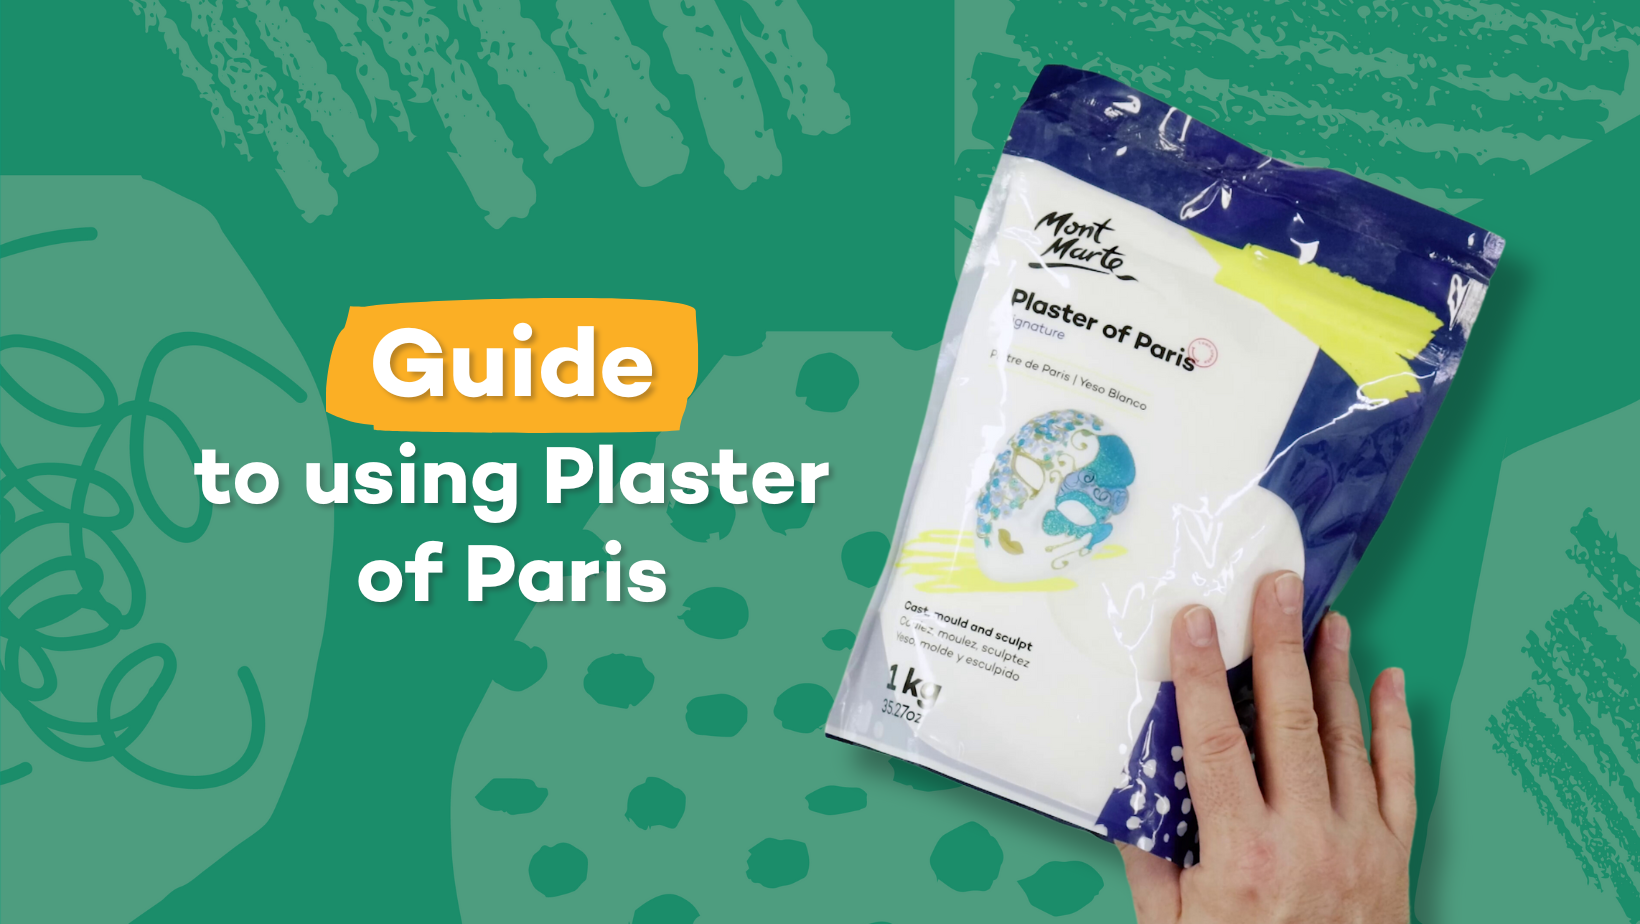
If you’re into sculpting and modelling, why not have a go casting with plaster? Our Plaster of Paris Signature 1kg (35.27oz) is great for creating unique art pieces by setting in a mould or making a DIY mould relief at home. This guide is to help you make a start with plaster or refine your skills, so read on and get inspired to create!
WARNING: Do not submerge your hands into Plaster of Paris mixtures, as the chemical curing process raises the temperature to 60°C+ and can cause burns. Wear gloves and keep your hands from being encased by the mixture at all times.
To get going with your sculpture projects, you’ll need to know how to mix up plaster of Paris. The ideal consistency we’re aiming for is pancake batter, so not too thin or thick. To achieve this viscosity, we recommend combining around 2 parts of the plaster powder with 1 part of water. For the best results, use room temperature water as it can affect the thickness of your plaster fluid.
Follow these steps to combine:
1. Pop some gloves on to keep your hands safe and dry while mixing. A dusk mask is also a smart idea!
2. With your 2:1 ratio at the ready, gradually add the plaster to your water, stirring gently until there are no lumps.
3. Avoid over-stirring as this will trigger the plaster to start setting. Make sure you stir gently to avoid creating bubbles in the mixture.
4. Once your plaster fluid is smooth and the consistency of pancake batter, it’s good to go!
You can also stir in some acrylic paint with your water before combining it with the plaster to colour your final mixture. To see mixing in action, check out our how-to video.
Modelling with plaster of Paris
Try using some silicone relief moulds for simple and fun plaster of Paris DIY projects. The process is straightforward with quick results. Use a pre-made mould or modify modelling clay to make a relief mould and explore plaster and cast art.
If you have an existing mould, prime it with a release agent such as petroleum jelly or hand soap. This will just make it a little easier to remove your plaster once it has set. Be sure to apply your release agent thoroughly but lightly so the details of your mould are still indented.
Pour your plaster of Paris mix into the mould. If it’s a large mould, make sure you have plenty of plaster mixed up so you can work quickly and fill the relief before the plaster starts to set.
The plaster will take anywhere between 3 hours and 3 days to fully cure, but it’s typically dry enough to remove from the mould in 30min-1hr. It’s a good idea to let it finish setting outside of the mould to speed up the process.
We’ve got a video to run you through the process step-by-step so you can see it in action!
Let’s dive into how to make plaster of Paris moulds, so you can DIY dynamic sculptures and designs. Unlike a modelling clay relief mould, plaster of Paris mould making lets you create fully 3D models, casting over and over again for identical figures. You’ll end up with two half moulds that you combine securely and pour plaster into. This process can be done by using Air Hardening Modelling Clay, Plaster of Paris, modelling clay, modelling tools, and silicone.
Make a master cast
You start by sculpting the master design using air hardening clay on an armature. An armature is a framework that your sculpture will be moulded onto for stability, for example, a rod attached to a block as seen in our How to Cast and Owl in Plaster video.
Once you have your base sculpture, add in the finer details and indentations, making sure they have some depth so that they transfer to the mould. Smooth the clay where needed to remove rough edges and avoid having tiny details protruding from your sculpture that would be prone to snapping when de-moulding later. Leave to dry thoroughly for a minimum of 3 days.
If there are any cracks after drying, repair them using our handy how-to hints. Seal your sculpture using acrylic paint so the clay surface is no longer porous. Once dry, it’s time to create your mould wall!
Add a mould wall
A mould wall is made to divide your sculpture in half using modelling clay so you can make each side of your final mould. Apply narrow blocks of modelling clay along the centre line of your sculpture so that it divides it into two halves. Use sculpting tools to make sure it’s secured firmly to your sculpture. Add a second layer of modelling clay so the mould wall protrudes further.
Lay the sculpture down so one of the halves is facing up. Apply small balls of modelling clay to the side of the mould wall facing you, smoothing the clay down to meet the figure and securing the wall more firmly.
Add silicone
Flip over and apply release agent to the other half of your sculpture that does not have extra clay securing the mould wall. Make sure you brush some onto the wall mould too so that your silicone doesn’t get stuck. Use the end of a large brush handle or another rod-like object to indent registration lug holes into the perimeter of your mould wall.
Mix up some silicone and make sure you keep your hands non-stick with cornflour. You can see us dive into the silicone process more deeply in our How to Cast an Owl in Plaster video.
Apply the silicone to the primed side of your sculpture, spreading it until it meets the mould wall. Add two additional knobs of silicone on top of the covered figure, spaced equal distance apart. Leave to cure for 20-30min, mixing up the plaster of Paris while you wait.
Plaster the first half
Once the silicone is cured, add your plaster of Paris over the top. It’s best to have a thicker plaster consistency for this step, so it’s easier to build up into a solid layer. Add coats of the plaster until the half is completely covered, keeping in mind the plaster layer should be nice and thick.
Use a wooden clay tool to smooth out the plaster before leaving to dry for an hour. Remove the mould wall and this half of your silicone plaster mould is done! Smooth out any roughness or burs by using a palette knife to remove them.
Plaster the second half
Lie your sculpture down so the plaster side is on the bottom and the exposed original sculpture is face-up. Prime the sculpture and inner plaster edges with your chosen release agent and repeat the process of adding silicone and then plaster on this side. There’s no need for a mould wall, as the first half of the plaster will act as the divide.
Smooth the edges where your plaster halves meet until the mould appears cohesive. After an hour, shave down some of the excess plaster using a palette knife until you can see the join line. Be careful not to remove too much plaster so you don’t shave off the registration lugs!
Combine and cast!
Leave your finished mould to cure overnight and then it’s ready to start casting! Once dry, you can carefully separate the two halves from the original sculpture. Do this by gently tapping a knife into the join of the mould to prise it apart.
Now you have both halves of your mould, bind them together tightly using rope, tie-down straps, or belts to secure them seamlessly. Place the mould upside down in a bucket so the base is level and pour in plaster of Paris mixture that has the consistency of pancake batter. Leave to cure for 30min-1hr before unmoulding and cleaning up any rough patches or burs.
Leave to dry completely overnight and voila, all done!
We hope you feel ready to experiment with casting at home to make your own décor and sculptures. Have a go following along one of the plaster of Paris DIY ideas linked above in this blog to get inspired!
If you do make something, #montmarteart or tag us @montmarteart on Instagram or Facebook. We’d love to see what you come up with!
Looking for more? Check out our Techniques blogs for more sculpting projects. If you need any of the products mentioned in this blog, jump online to check out Plaster of Paris Signature 1kg, Air Hardening Modelling Clay, and sculpting tools.
To stay up-to-date with out latest projects, tips, tricks, and inspo, join our Creative Connection community by signing up down below. We’re here to keep you inspired!


