


Get stuck into our oil paint guide and discover a whole new world of depth and dimension. If you’re new to this medium, you might be wondering where to start. That’s where we come in! In this guide, we’ll walk you through the essential tools and techniques for oils so you can pick up a brush and explore with confidence. Let’s dive in!
1. Getting started
Before you jump into painting, it’s important to gather the right supplies. Oils are thicker and richer than other paints, so you’ll need a few specific tools to get the most out of them.
Oil Paints: Start with a basic set of colours. You don’t need a huge range, just the primary colours, white, and black will do. As you get comfy with oils, you can expand your range of paints to get nuanced mixes and a broad colour palette. We’ve got loads of paints to choose from – just have a look!
Brushes: Pick up some brushes made for oil paints. They’re usually stiffer and made to handle thicker paint and harsher mediums. We have a wide range which includes a mix of natural and synthetic bristles so you can get loads of different effects! If you want an intro set to kick off your collection, our 11pc Hog Hair set in a wallet might be what you’re looking for. Otherwise, you can get a combination of taklon and natural hair options in our handy Signature oil brush line.
Canvas or Painting Surface: Oil paints work well on canvas, wood, or primed surfaces. Our canvases come prepped and ready to go so you can let your creativity run wild! We also have an Oil and Acrylic Pad and Canvas Pad so you can grab and go for portable creating.
Palette and Palette Knife: You’ll need a palette to mix your paints on. We recommend opting for wood or metal, as solvents may eat through some plastics. We also have a Tear-off Paper Palette for a disposable option, as paints can’t be washed down the sink. You may want to pick up a palette knife as well for mixing colours and applying thick layers of paint.
Oil Mediums: These are used to thin your paint and adjust its drying time. They come in a range of viscosities so you can get the paint consistency you’re looking for.
Solvents: Solvents like turpentine or odourless mineral spirits are a must when it comes to cleaning brushes and excess paint. You can also use them to thin and dilute your paints, like how you would thin acrylics with water. Make sure you work in a well-ventilated area when using solvents, as they can be strong! You can grab them from your local hardware store.
2. How to mix oil paints
Mixing oil paints is a bit different from other mediums because of their rich, buttery texture. To get the colours you want, you’ll need to spend some time experimenting. Here’s some tips to get started!
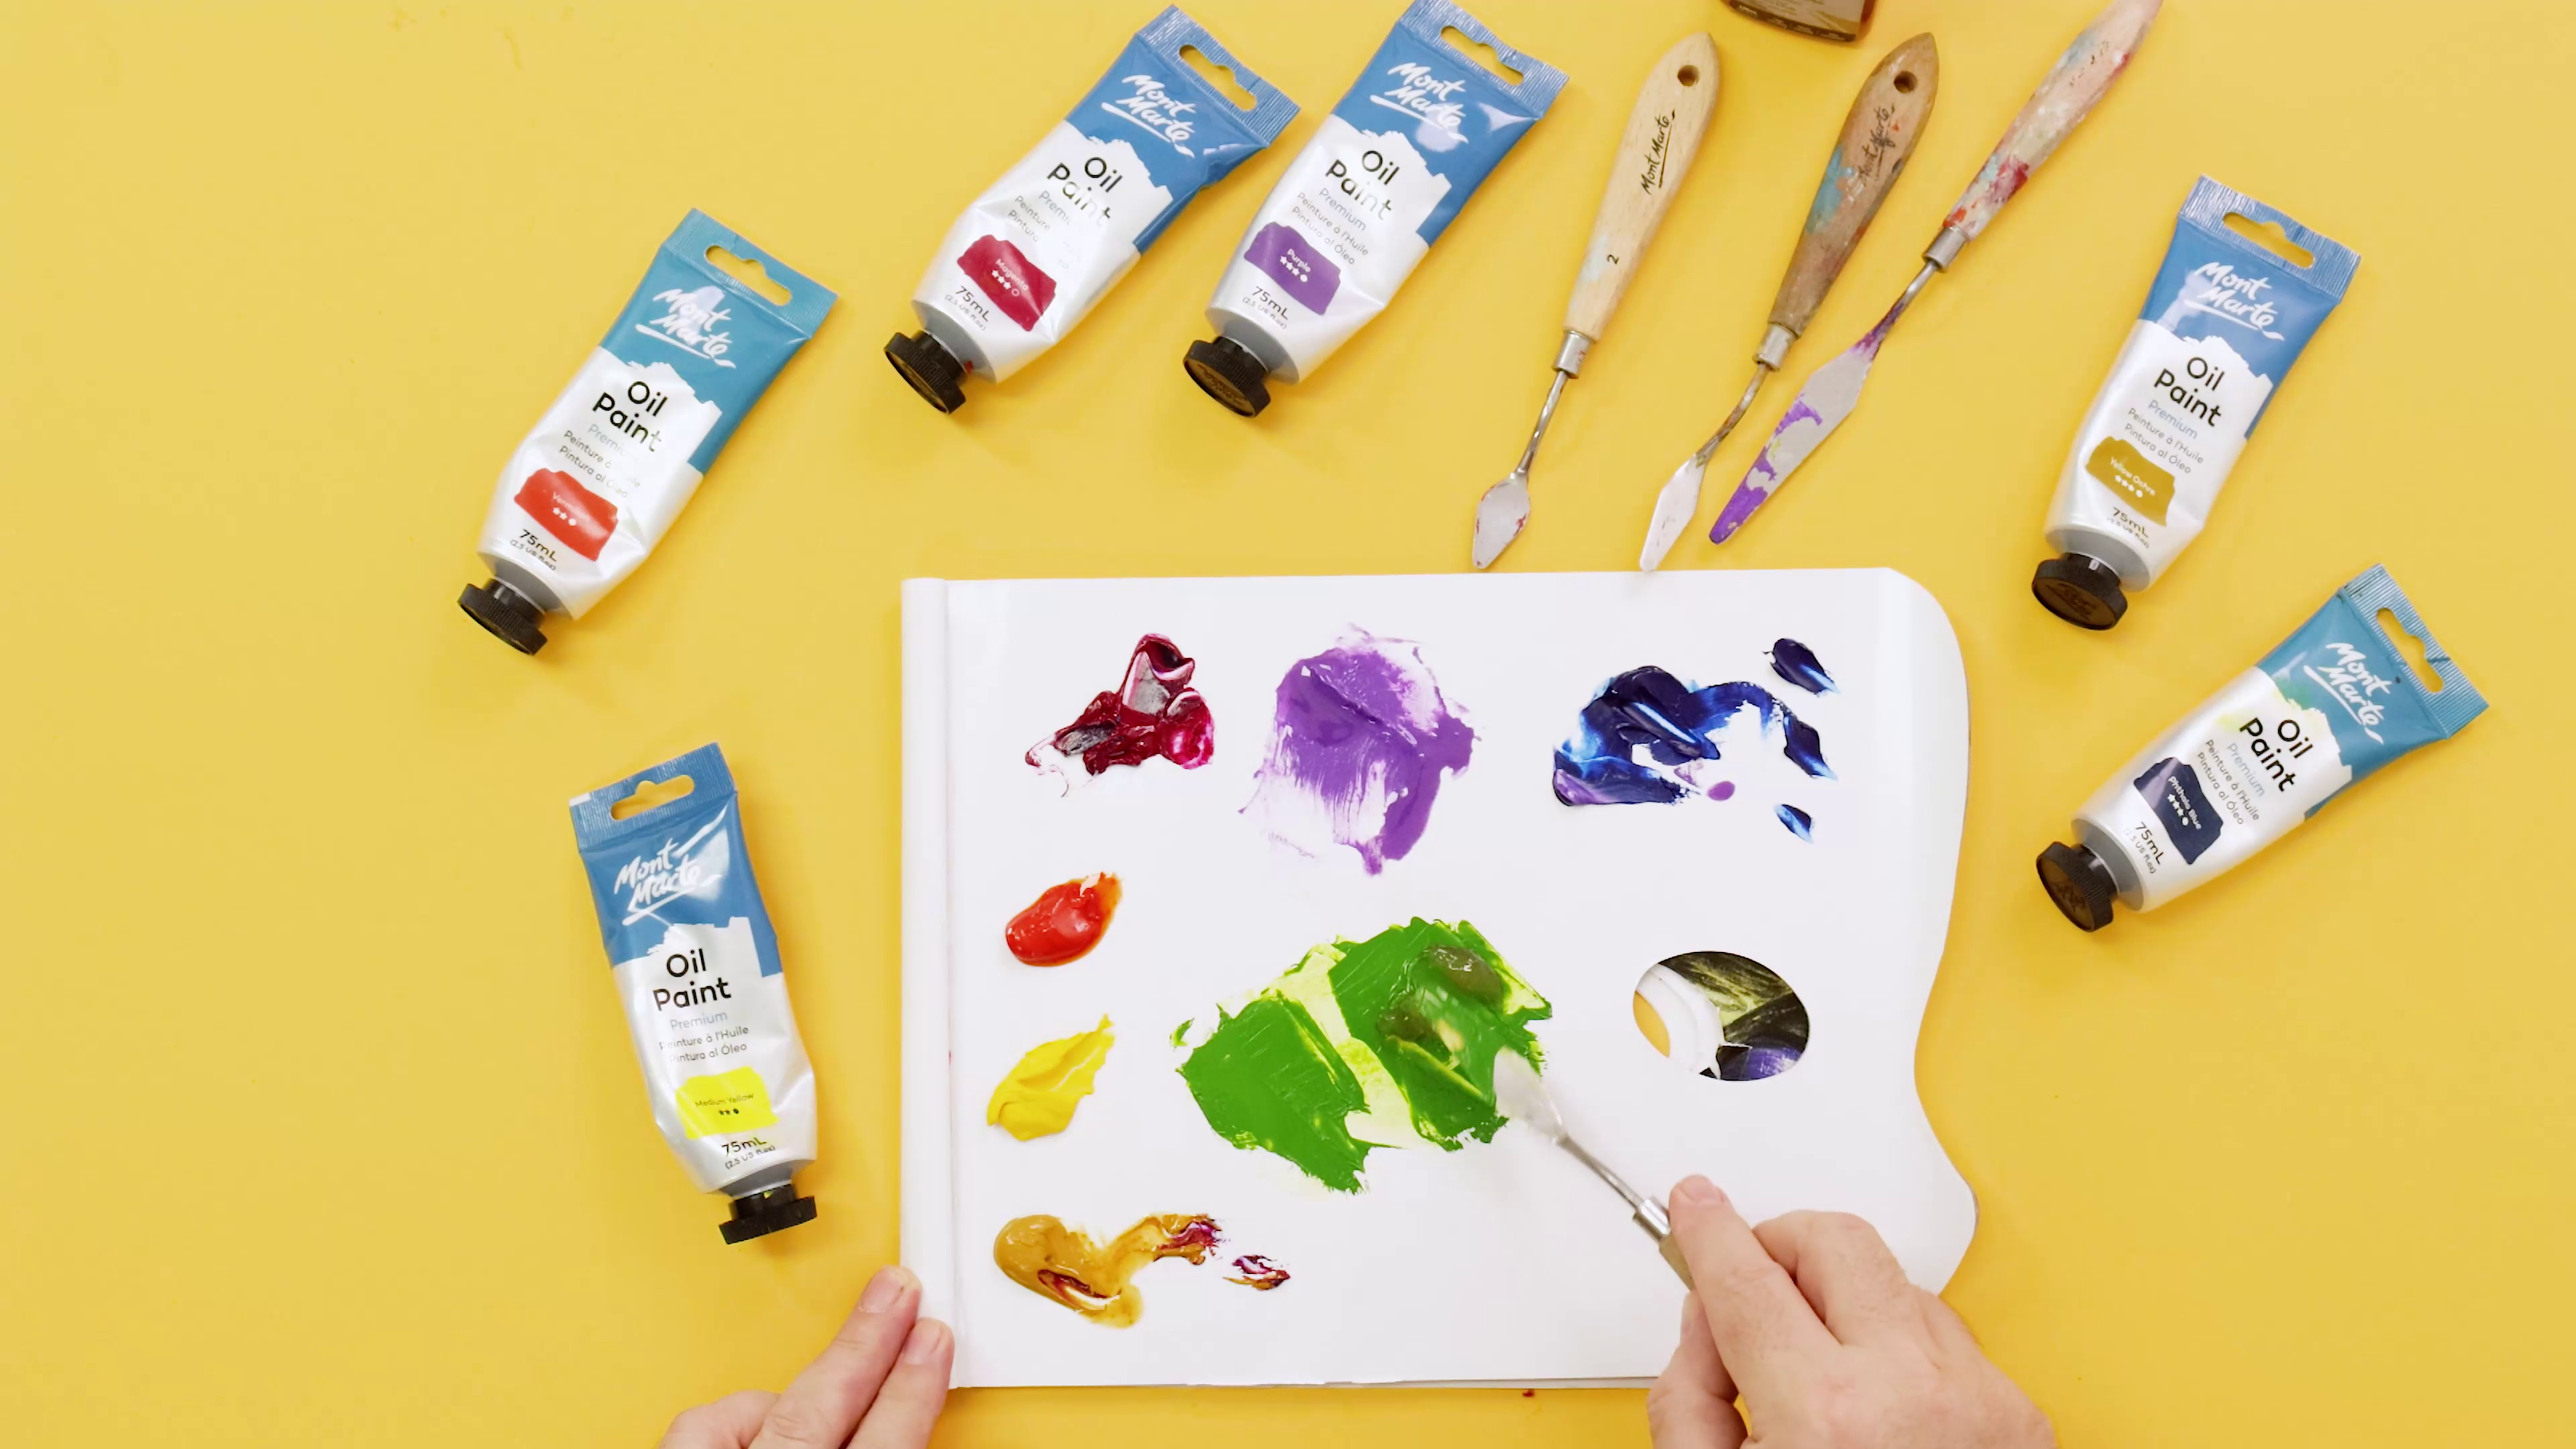
Start with Small Amounts: Oil paints are highly pigmented, so a little goes a long way. Begin by squeezing out a small amount of paint onto your palette and mixing little by little.
Use Your Palette Knife: Use a palette knife to mix your colours. This keeps your brushes clean and helps get a smooth, even blend. Between mixing, simply wipe your knife clean with an old rag or some paper towel to keep your colours from getting muddy.
Add Oil Mediums: If your paint is too thick or opaque, add a drop or two of oil medium to thin it out. Remember, adding more medium can also slow down the drying time of your paint, so plan ahead!
Test Your Colours: Before applying your mixed colour to your canvas, test it on a scrap piece of paper. This lets you see how it looks once it’s spread out.
Mixing is all about experimentation, so don’t be afraid to try new combinations and see what works for you. If you need some tips for mixing and colour matching, check out our how-to video.
3. How to apply oil paint
Using oil paint can feel different from other types of paint because of its slow drying time and thick consistency. But we swear it’s not as daunting as it seems – just follow the simple steps below to get started.
Start with a Thin Layer: Begin by applying a thin layer of paint to your canvas. This is called “underpainting”, and it helps to create the basic shapes and tones of your painting. You may even want to put a quick wash of acrylic beneath the underpainting so your colours have a warm or cool undertone. Acrylics dry fast so it’s often used as the first layer of underpainting – oil paints apply great on top once dry!
Build Up Layers: One of the advantages of oil painting is that you can build up layers for depth and dimension. Start with thinner layers (using more medium) and gradually move to thicker layers (using less medium). This technique is known as “fat over lean” and it helps prevent cracking as the painting dries. Try diluting your paints with oil mediums or solvent until the colours are transparent to experiment with washes and watercolour effects – this is great for building depth.
Blend and Soften: Oil paints stay wet longer than other paints, giving you plenty of time to blend and soften edges. Use a clean brush or your palette knife to blend colours on the canvas, creating smooth transitions between different areas.
Texture and Detail: For added texture, you can apply paint thickly with your brush or palette knife. This is the impasto technique, and you can find it in many great artists’ works like Van Gogh and Monet. Use smaller brushes for fine details and larger brushes for broad strokes.
Remember, oil paints take time to dry, so you don’t need to rush. Enjoy the process and take your time with each layer.
4. Oil paint techniques
Once you’re comfortable with the basics, it’s time to have a go at some trusty techniques that can take your oil painting to the next level. We’ve got a whole blog you can check out for loads more techniques, but we’ve included the essentials below to get you started.
Glazing
This technique involves applying a thin, transparent layer of paint over a dry layer to create depth and richness. It’s great for adding subtle colour variations, capturing light, and enhancing the overall look of your painting. Simply mix oil mediums or solvent into your paint to make it transparent and get glazing!
Impasto
If you love texture, impasto is for you. Apply your paint in thick, textured strokes with a brush or palette knife. The paint can be sculpted for three-dimensional effects!
Wet-on-Wet
Also known as alla prima, this technique is all about applying wet paint onto wet paint so you can blend colours directly on the canvas. It’s great for quick, expressive painting with bold contrast and shapes.
Dry Brushing
This technique uses a brush with very little paint to create a soft, semi-transparent effect. It’s great for adding highlights and details to your work. As the name implies, use a stiff, dry brush and pick up a very small amount of pigment, blending out on top of dry paint.
5. How to clean up oil paint
Taking care of your painting and cleaning up properly is crucial for keeping your tools in good condition and ensuring your painting looks its best.
Drying Your Painting: Oil paintings take time to dry, often needing several days to weeks before they’re touch-dry, depending on paint thickness. Most paintings take months to be 100% dry. Store your painting in a dust-free area to prevent particles from sticking to the surface while it sets.
Cleaning Your Brushes: Clean your brushes immediately after use with a solvent like turpentine or odourless mineral spirits. Swirl the brush in the solvent, then wipe it clean. Repeat until all paint is removed. We’ve got a video you can check out to see this process in action.
Disposing of Solvents: Never pour solvents down the drain – it’s bad for the environment. Store used solvents in a sealed solvent-safe container (e.g., glass jar) and dispose of them at a hazardous waste facility. A cool fact about solvents is that paint sediment will sink to the bottom of your storage container over time, so you can reuse the solvent at the top again and again until the whole lot is eventually discoloured!
Palette and Tool Clean-Up: Wipe down your palette with a cloth or paper towel to remove excess paint. Use a palette knife to scrape off any dried paint, or gently rub it away with solvents and an old rag.
Check out more tips about cleaning up after oils in our in-depth blog.
Don’t sleep on oil paints! They’re not just for the pros – they’re a great medium for any creator to explore. Experiment with mixing and layering your paints, try out different techniques, and don’t rush the process. Most importantly, enjoy the journey – the creative possibilities are at your fingertips!
Looking for more lessons and techniques? Explore our Tips & Techniques collection, or else browse Projects for your next big idea.
To stay up-to-date with the latest projects, inspo, tips, and tricks, join our Creative Connection community by signing up down below.


