


We’ve put together a bunch of handy tips to make pottery painting easier. Whether you’re new to using ceramic paint, or you’ve tried it before, we hope these hints make your exploration more fun! Which tip will you try first?

1. Preparing your project
Our ceramic paints can be used on porcelain, glass, and china, as well as air dry and polymer clays. To prepare your surface for the paint, you’ll need to make sure your chosen material is dry and waterproof. While porcelain, glass, and china are ready to go so long as they’ve been cured, other clays may need some extra steps.
Similar to firing porcelain, our polymer clay needs to be oven-baked to harden it for painting. This makes sure the clay is cured, so your paints can bind to the surface and stay in place once dry.
Our air hardening clay on the other hand, needs to dry completely and be sealed before painting. The first part is simple: leave your clay project to air dry. It will feel lighter once it is dry as the moisture has evaporated from the clay!
After that, pop on a clay varnish or even acrylic gloss medium to waterproof. This is essential, otherwise the porous clay surface will suck in moisture from your ceramic paints and soften once more. Check out our air dry clay techniques article for more info and a handy video on waterproofing.
2. Building colours
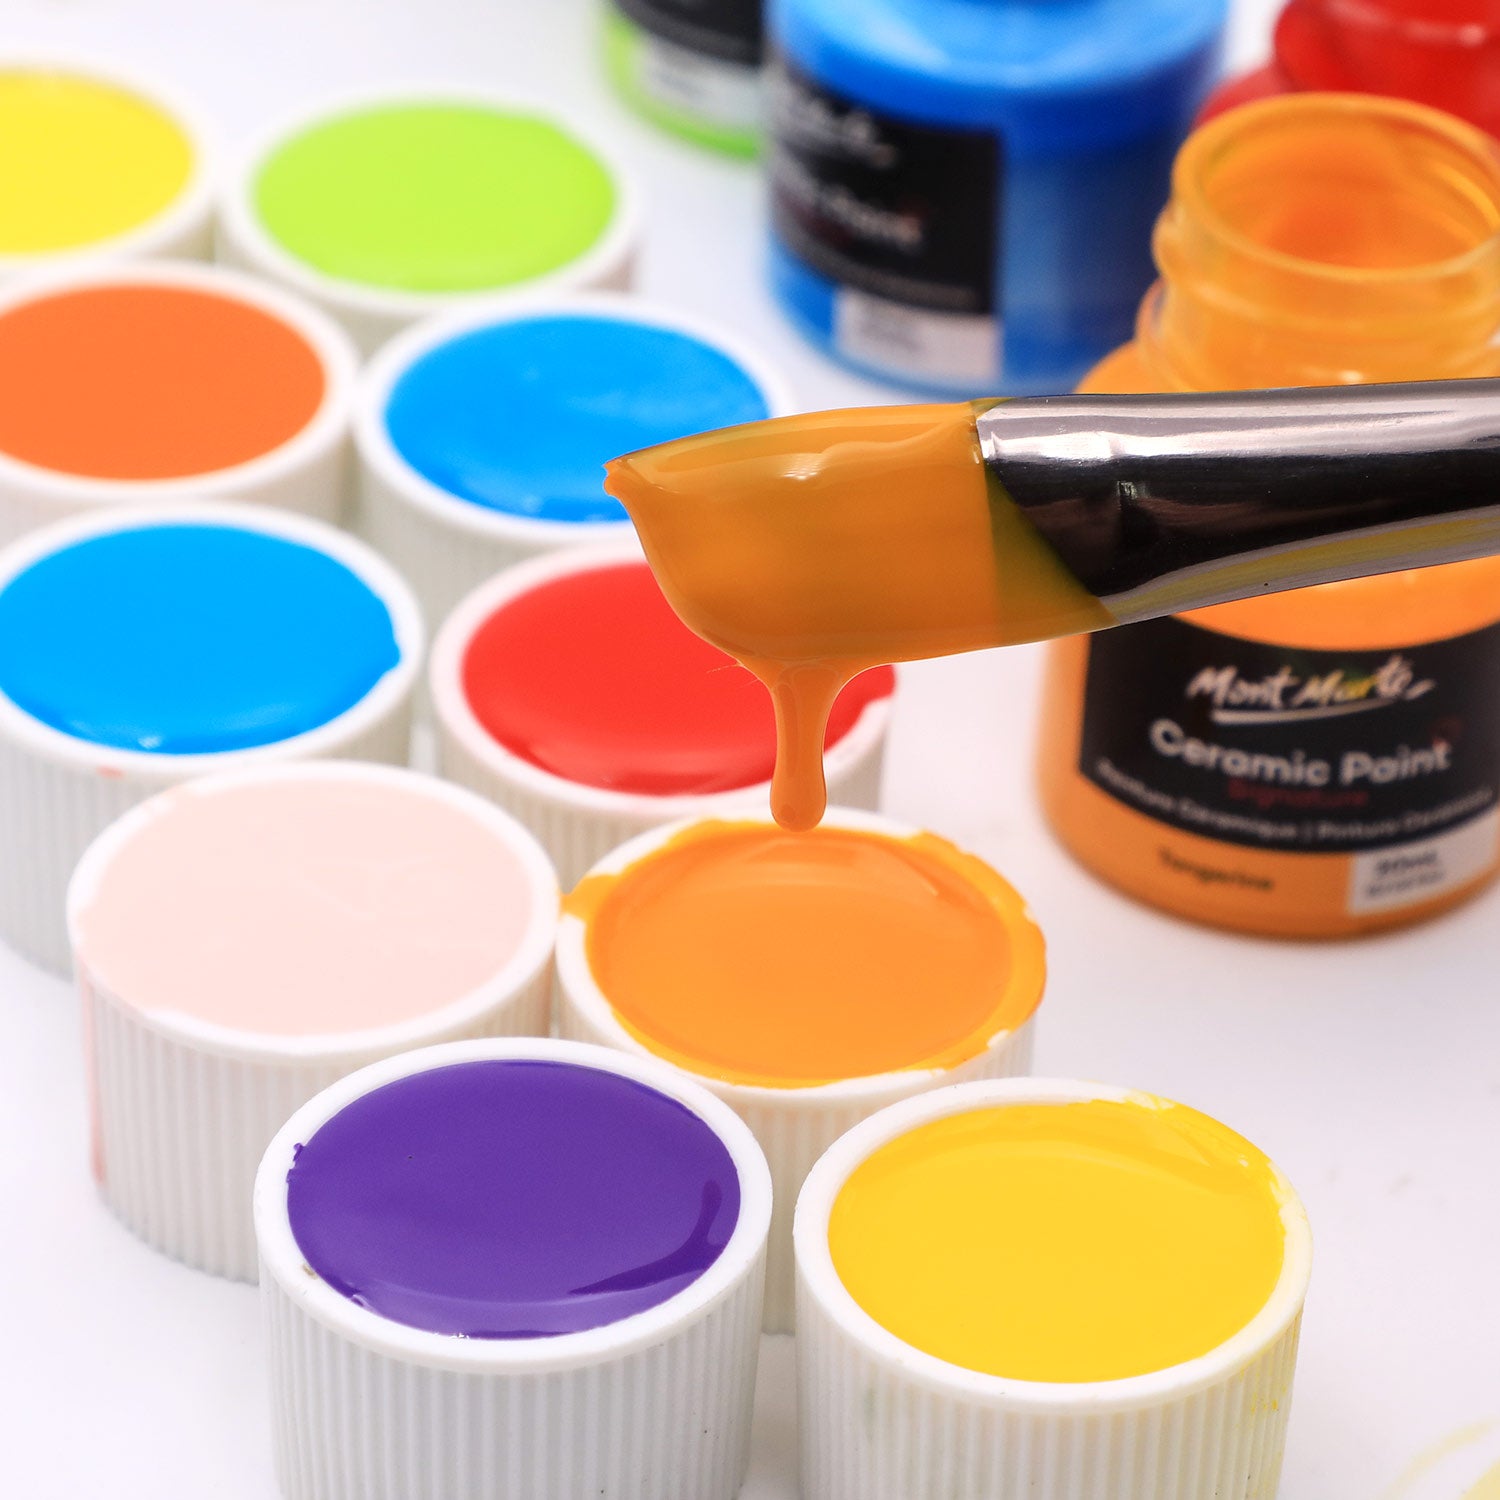
When laying down your colours, you can build paint opacity by brushing on a layer and allowing it to dry before adding on another coat. Painting layers on your project will reduce the translucency of the paints, helping you to saturate colours and bolden your design. The paints take roughly 24 hours to dry completely, however, you can add the next layer when they are surface-dry.
You can also mix our ceramic paints to make unlimited colour options so you can create the ideal shade for your project. We recommend using a taklon brush to apply the paint, and we have a range of different sizes and tips for different strokes and details.

3. Ceramic paint medium
Using ceramic medium can be great to increase the translucency of your paint. Both of our ceramic paint sets come with medium, so you can thin your paints for glaze and watercolour effects. Whether you’re trying to paint with a sheer finish, or you need more fluid strokes, ceramic medium may just be the answer. You can even use it as a clear gloss to seal the paint once it is dry! Check out our video on how to use ceramic medium for more info on getting the most out of the product.
4. Quick all over designs
There are a few great tips and techniques you can use to create all over designs for your next ceramic painting project. So, grab your paint and pottery and let’s dive into a few quick methods!
Sponge – Sponges are super handy for creating dimensional designs. When using a sponge, you can layer your translucent paints to create textured patterns with depth. Building up colour with the highly porous sponge surface creates rustic effects with a weathered or antique feel. Depending on the size of your sponge, you can cover large sections of your clay surface at once, with varying opacity depending on the pressure and paint saturation on each part of the sponge.
Glaze effect – Something to note is that this particular glaze effect is not the same as glazing ceramics before they have been fired. The glaze effect you can create with our paints is for cured and dry clay products, and it is simply made by mixing ceramic medium or water with your paints to create a sheer colour. You can add a translucent coat of colour to your ceramic project by brushing on thinned paint, letting the undertone of the clay shine through the colour. By glazing with ceramic paints after your clay is cured, you can choose the colour you want, knowing it won’t change hue as it dries.
Fluid art – Think pour painting, but on ceramics. Add some ceramic medium to your paints to thin them, then layer them in a plastic cup, or a split pouring cup, and pour onto your ceramic surface for an exciting swirl of colours! Tilt the surface until your paints are covering it, and the design looks how you want it to.
Lace – Try painting over lace to essentially create a stencil for intricate details! You’ll be able to find lace at your local fabric shop or maybe even an op shop. Lay lace over your ceramic surface in the place you would like the details to be. Tape the edges down so the lace stays in place before painting the colours of your choice over the lace. Once you have the level of colour saturation you’re looking for, carefully remove the tape and peel back the lace, moving slowly so as not to disturb the painted details. Voila – you have a lacey design on your clay!
Splatter – This is a super easy effect that anyone can try. The best way to splatter paint is by using a firm brush or toothbrush, loading up some paint on the bristles and running your finger over the top of them to flick colour onto your ceramics. Use as many or as little colours as you like and layer them up to create bold effects on your surface. Simple as that!

5. Fine details
If an all over design isn’t your thing, or you want to add in some details over the top, here are some popular ceramic painting styles that may suit your vision. The important part is to paint something you love, so check out these ideas and see which one suits you best.
Mandala – A mandala pattern is a great way to cover your ceramic project in intricate details with a central focus point. With countless ideas online, including our 7 mandala patterns article, it’s ideal for creatives who love details and symmetry.
Geometric – Geometry, as it turns out, is more handy than we may have thought in school! You can make mesmerising, interlocking designs across your ceramic surfaces by repeating and layering shapes. We dive into painting using geometrical shapes in our how-to video, which you can scale and adapt to fit your clay project!
Florals – Flowers are great because they can either be super simple or extremely detailed – it’s entirely up to you! Floral ceramics are a popular design choice because they offer so much freedom in terms of colours, intricacy, and placement. Whether you choose to paint just the petals or the whole garden, flowers are an ideal starting place for ceramic painting.
Critters – If you’re like us, you love animals. Why not add them to your ceramics? We’ve got a handy video showing you how to paint dancing brolgas on a ceramic vase, but really the sky is the limit! The beauty of ceramic painting is you can capture all sorts of animals by using medium to thin paints for smooth flowing lines or using translucent colours for layered details such as fur texture.

6. Locking it in
You may want to add a final layer of ceramic medium to add a glossy sheen to your project. This acts as a seal and protects your colours as a final step in the painting process.
To make sure your ceramic designs are going to last, it’s important to cure them. After you have left the paint to dry for 24 hours, it’s best to pop the project into the oven for approximately 30 minutes at 140°C. Curing paint temperatures may vary depending on the oven, so it’s handy to do a test sample first to make sure.
If you’re working with polymer or air hardening clays, after the paint has cured and the project has cooled down, you may want to seal it with a gloss clay varnish to add additional shine to your ceramics. The varnish is quick drying and should be surface dry after around 30 minutes.
7. Aftercare
To make your painted ceramics and clay last as long as possible, it’s important to look after them. Our ceramic paints are not food, microwave, or dishwasher safe, meaning that if you need to clean them, do so gently by hand with soapy water. This will help protect the paints and stop them from wearing or fading prematurely. Our ceramic paints are ideal for decorative use on ceramic and clay projects such as vases, trinket holders, ornaments, pots, and more!

We hope you liked these helpful ceramic painting tips! If any sparked your interest, why not have a go, and try it out for yourself? 😊
We’ve also got some cool air dry clay projects so you can make the foundation for your ceramic painting exploration. If you feel inspired to pick up some ceramic paints and get crafting, #montmarteart or tag us @montmarteart on Instagram or Facebook because we’d love to see what you create!
Looking for more? Check out our Projects & How-to’s for some inspiration. We have a cute mushroom painted pot project that may take your fancy!


