


Make a mushroom painted pot with ceramic paints
In this project, we’re guiding you through how to make a mushroom painted pot with ceramic paints. This painted pot makes for a great gift idea or weekend project to keep you busy. Plus you’ll have a fancy new friend for the garden, balcony or for your indoor plant family.
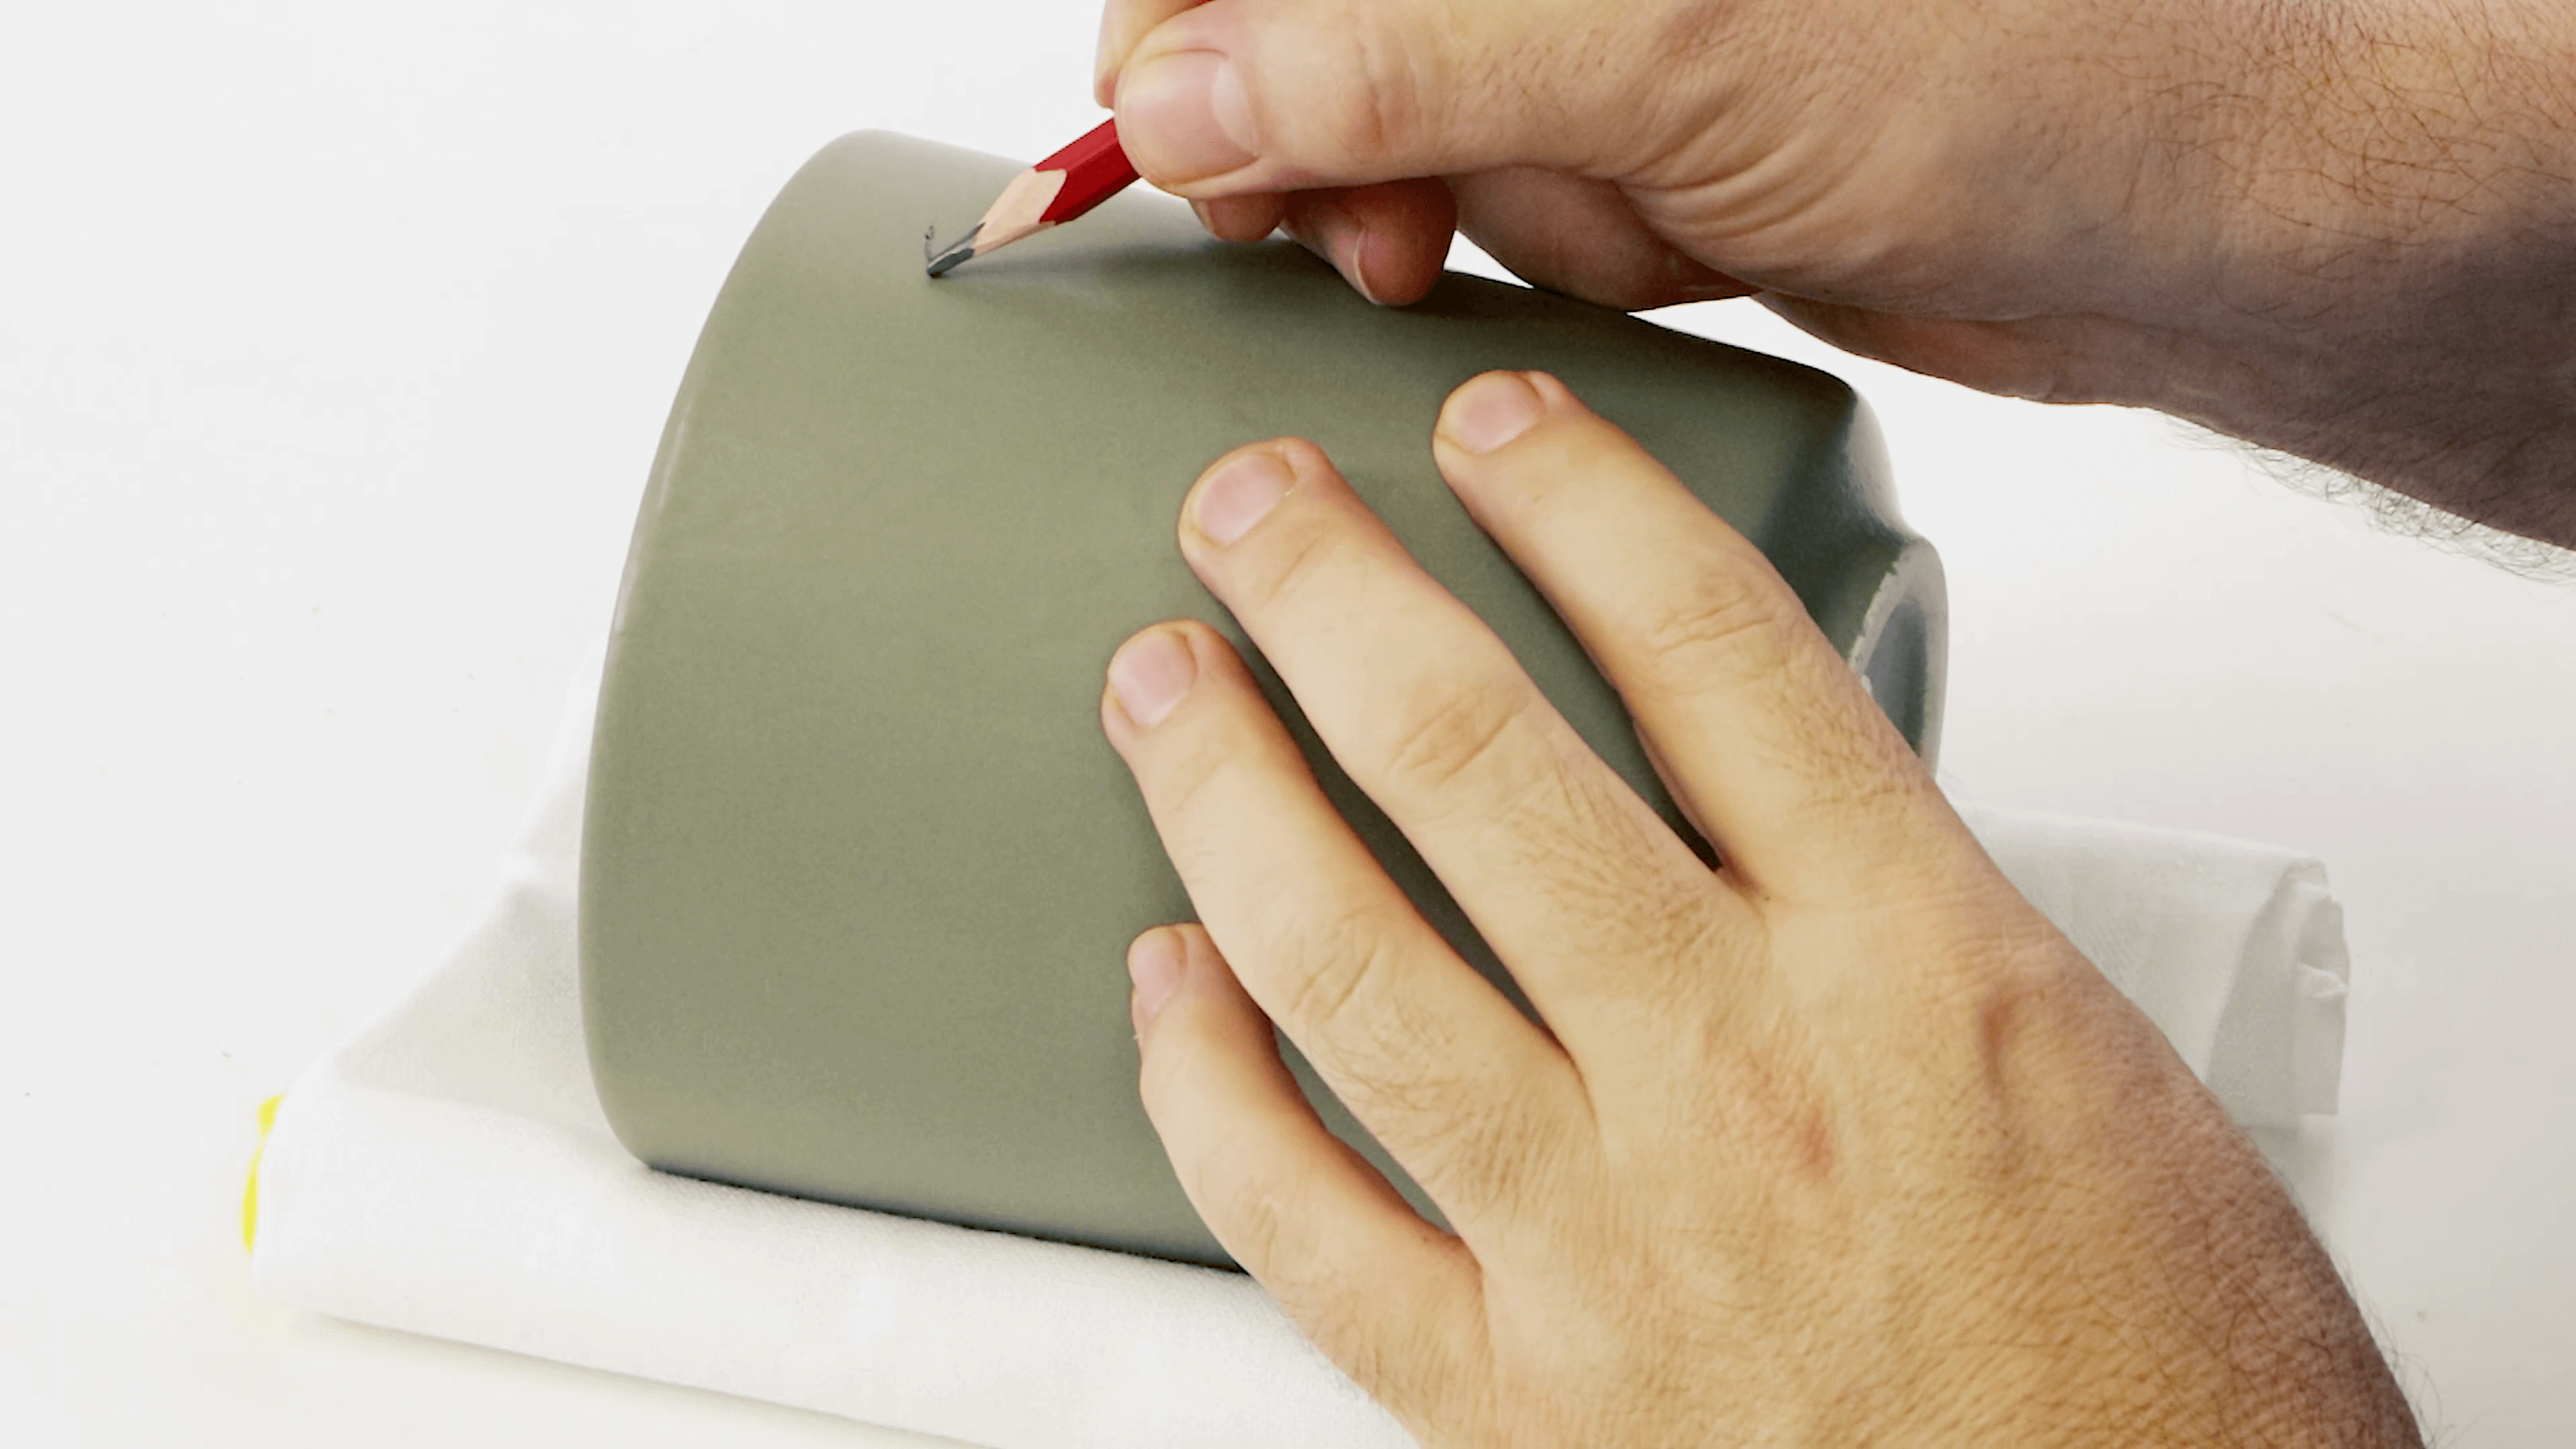
Roll a tea towel up using two markers to protect the pot from rolling around.

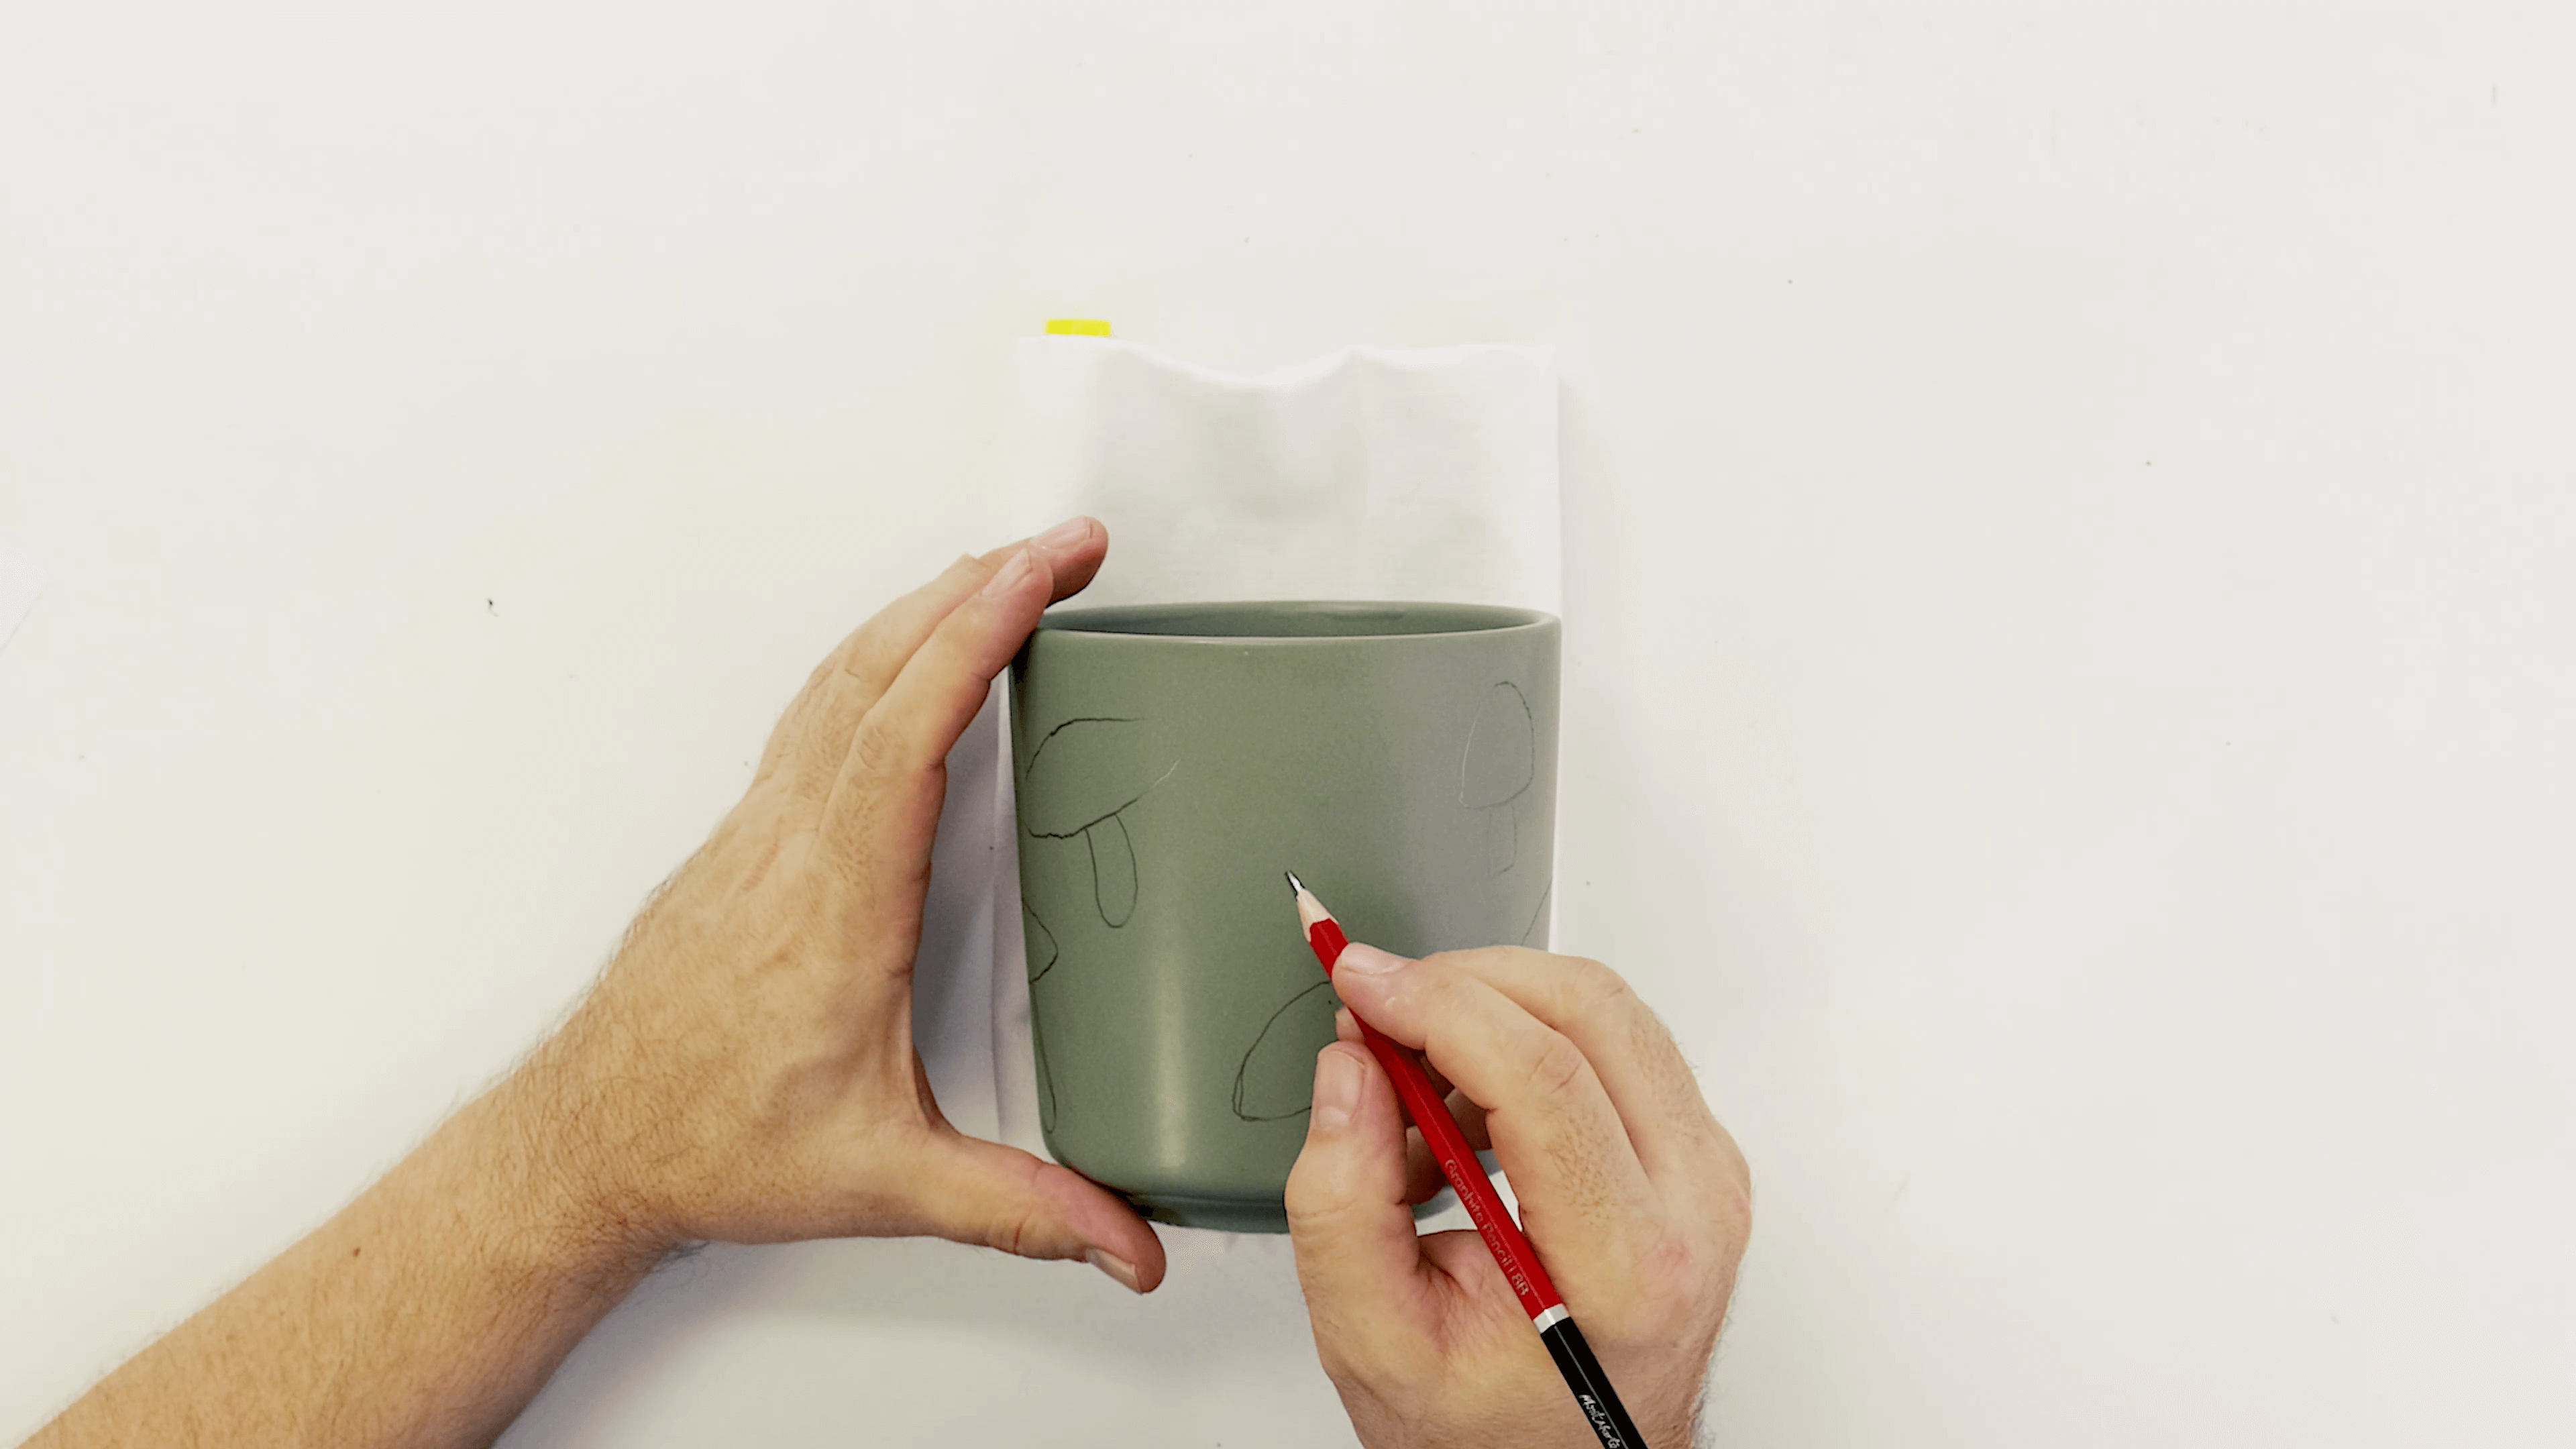
Grab a graphite pencil and begin drawing a rough mushroom shape onto the pot.
Sketch more mushrooms lightly around the pot as you go.
Add a white base coat with ceramic paints to your mushrooms using a flat brush.
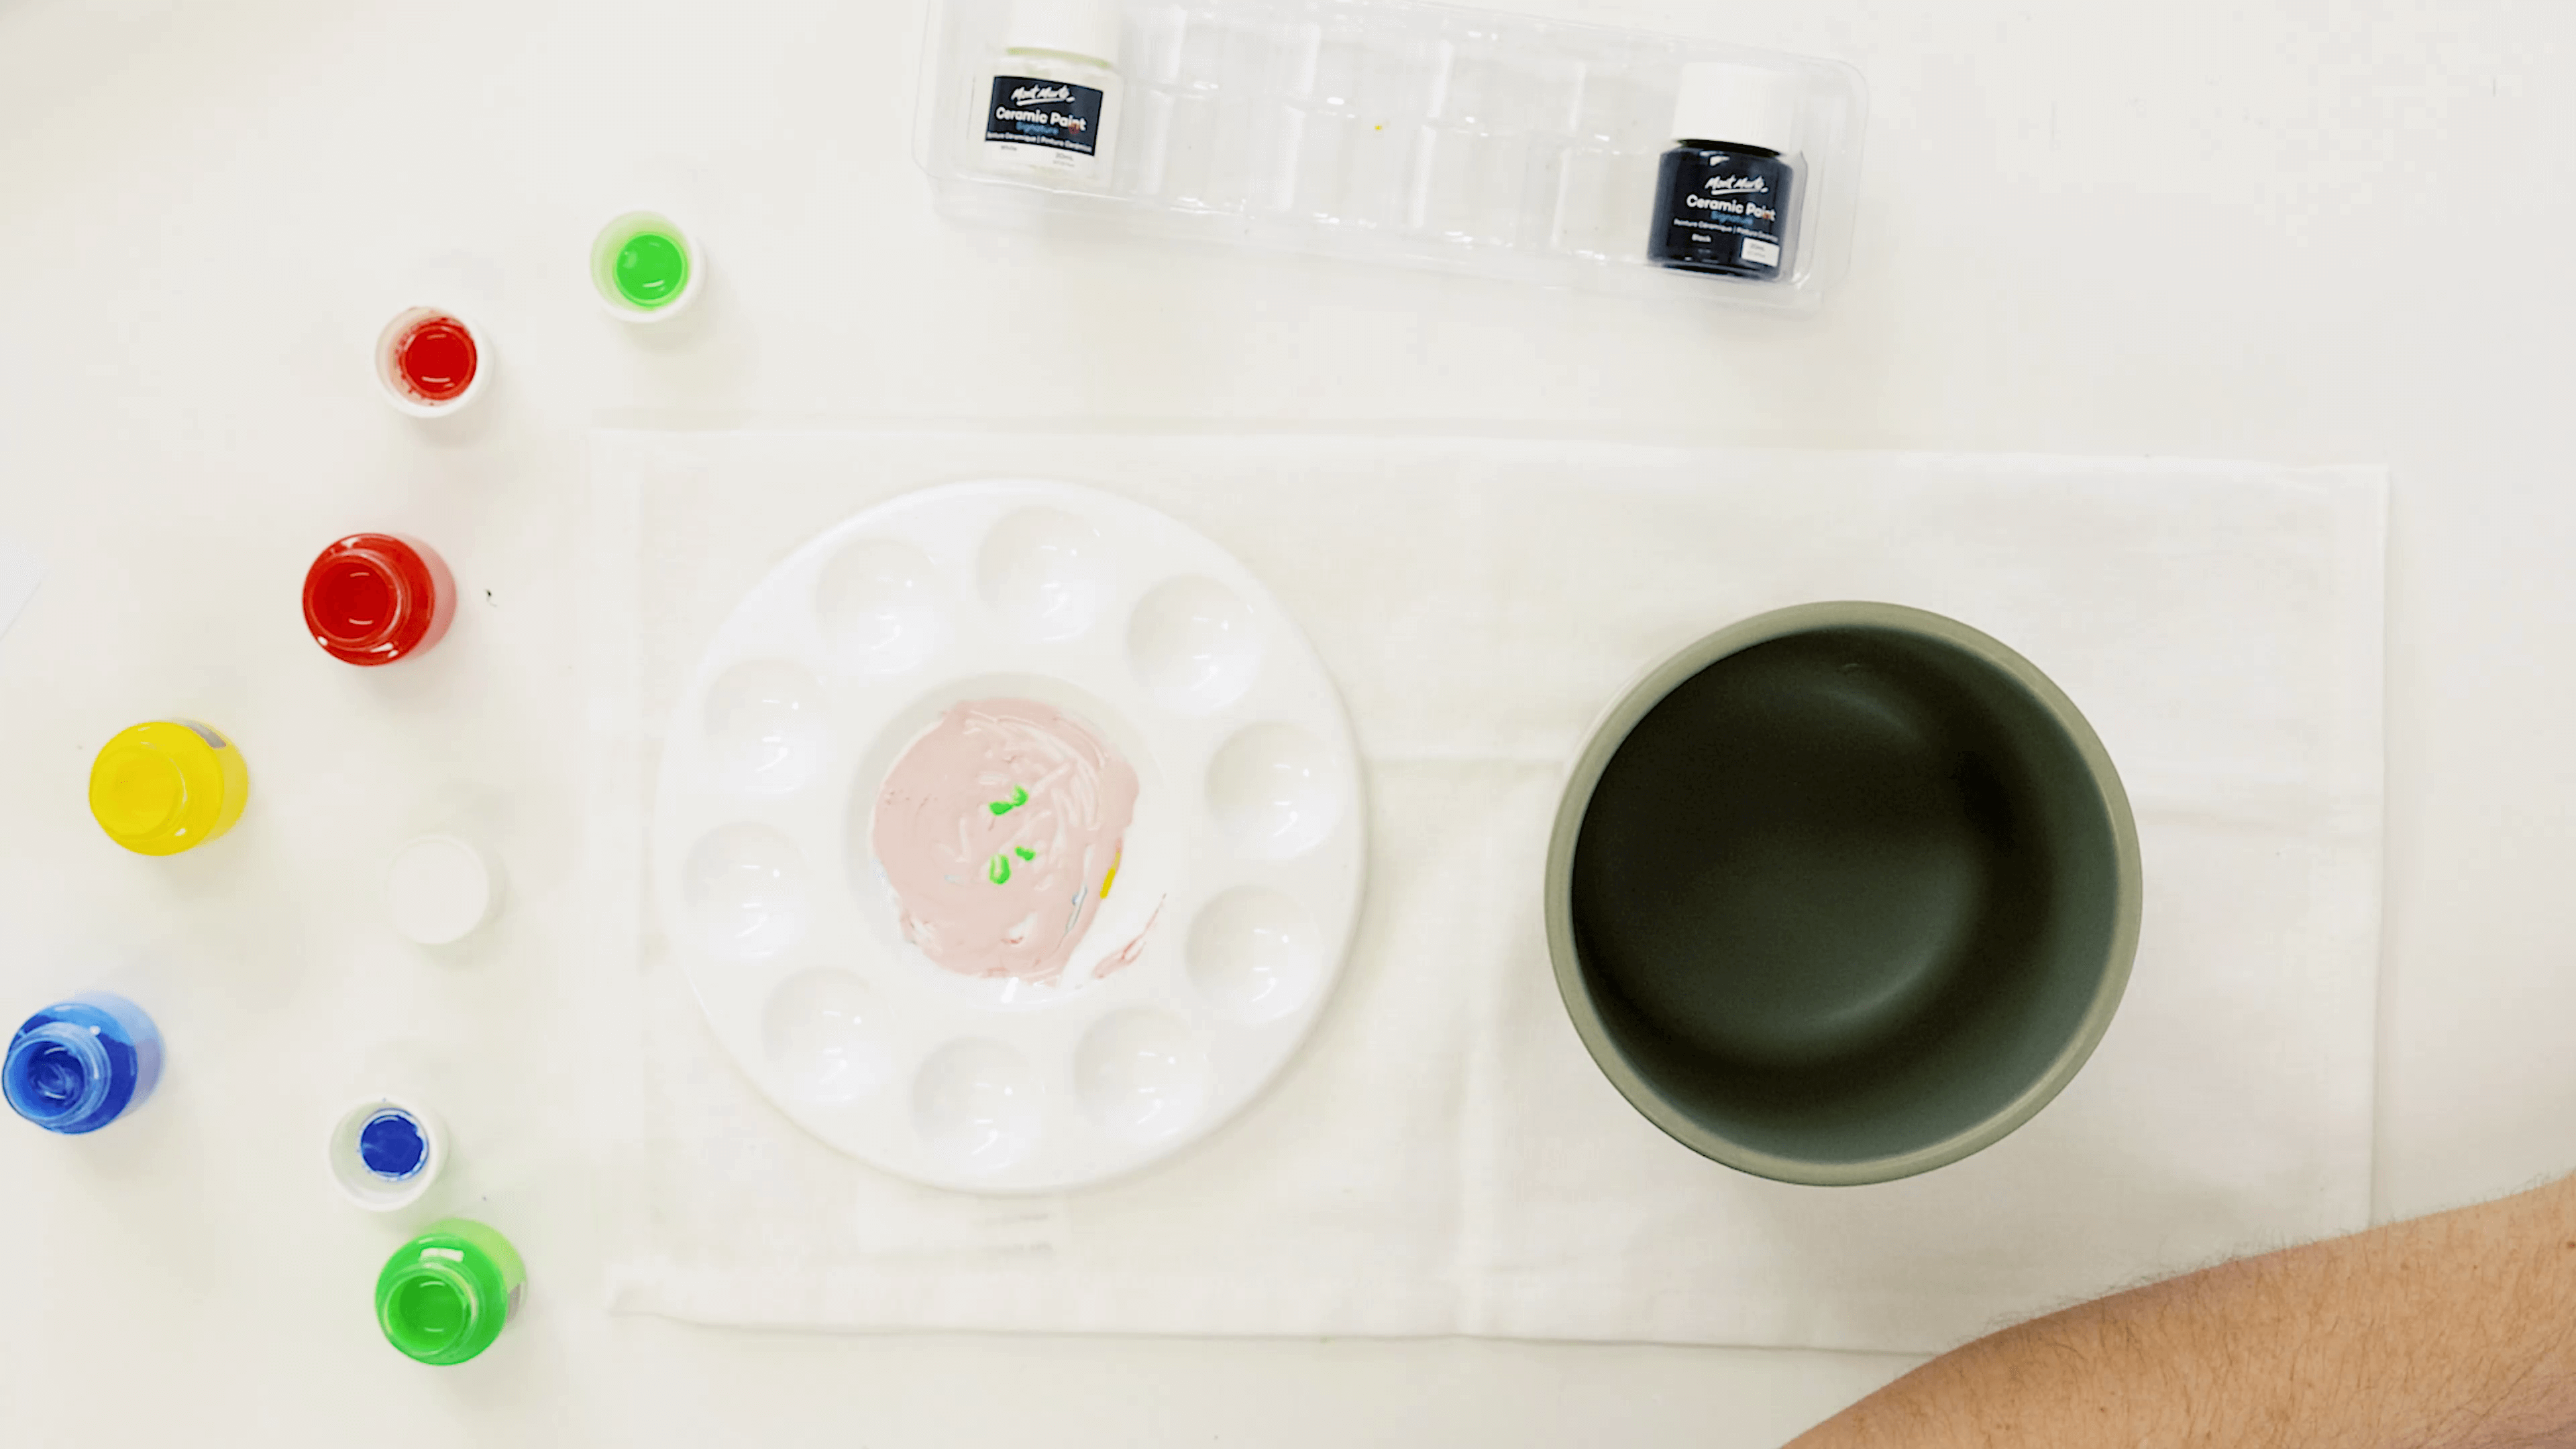
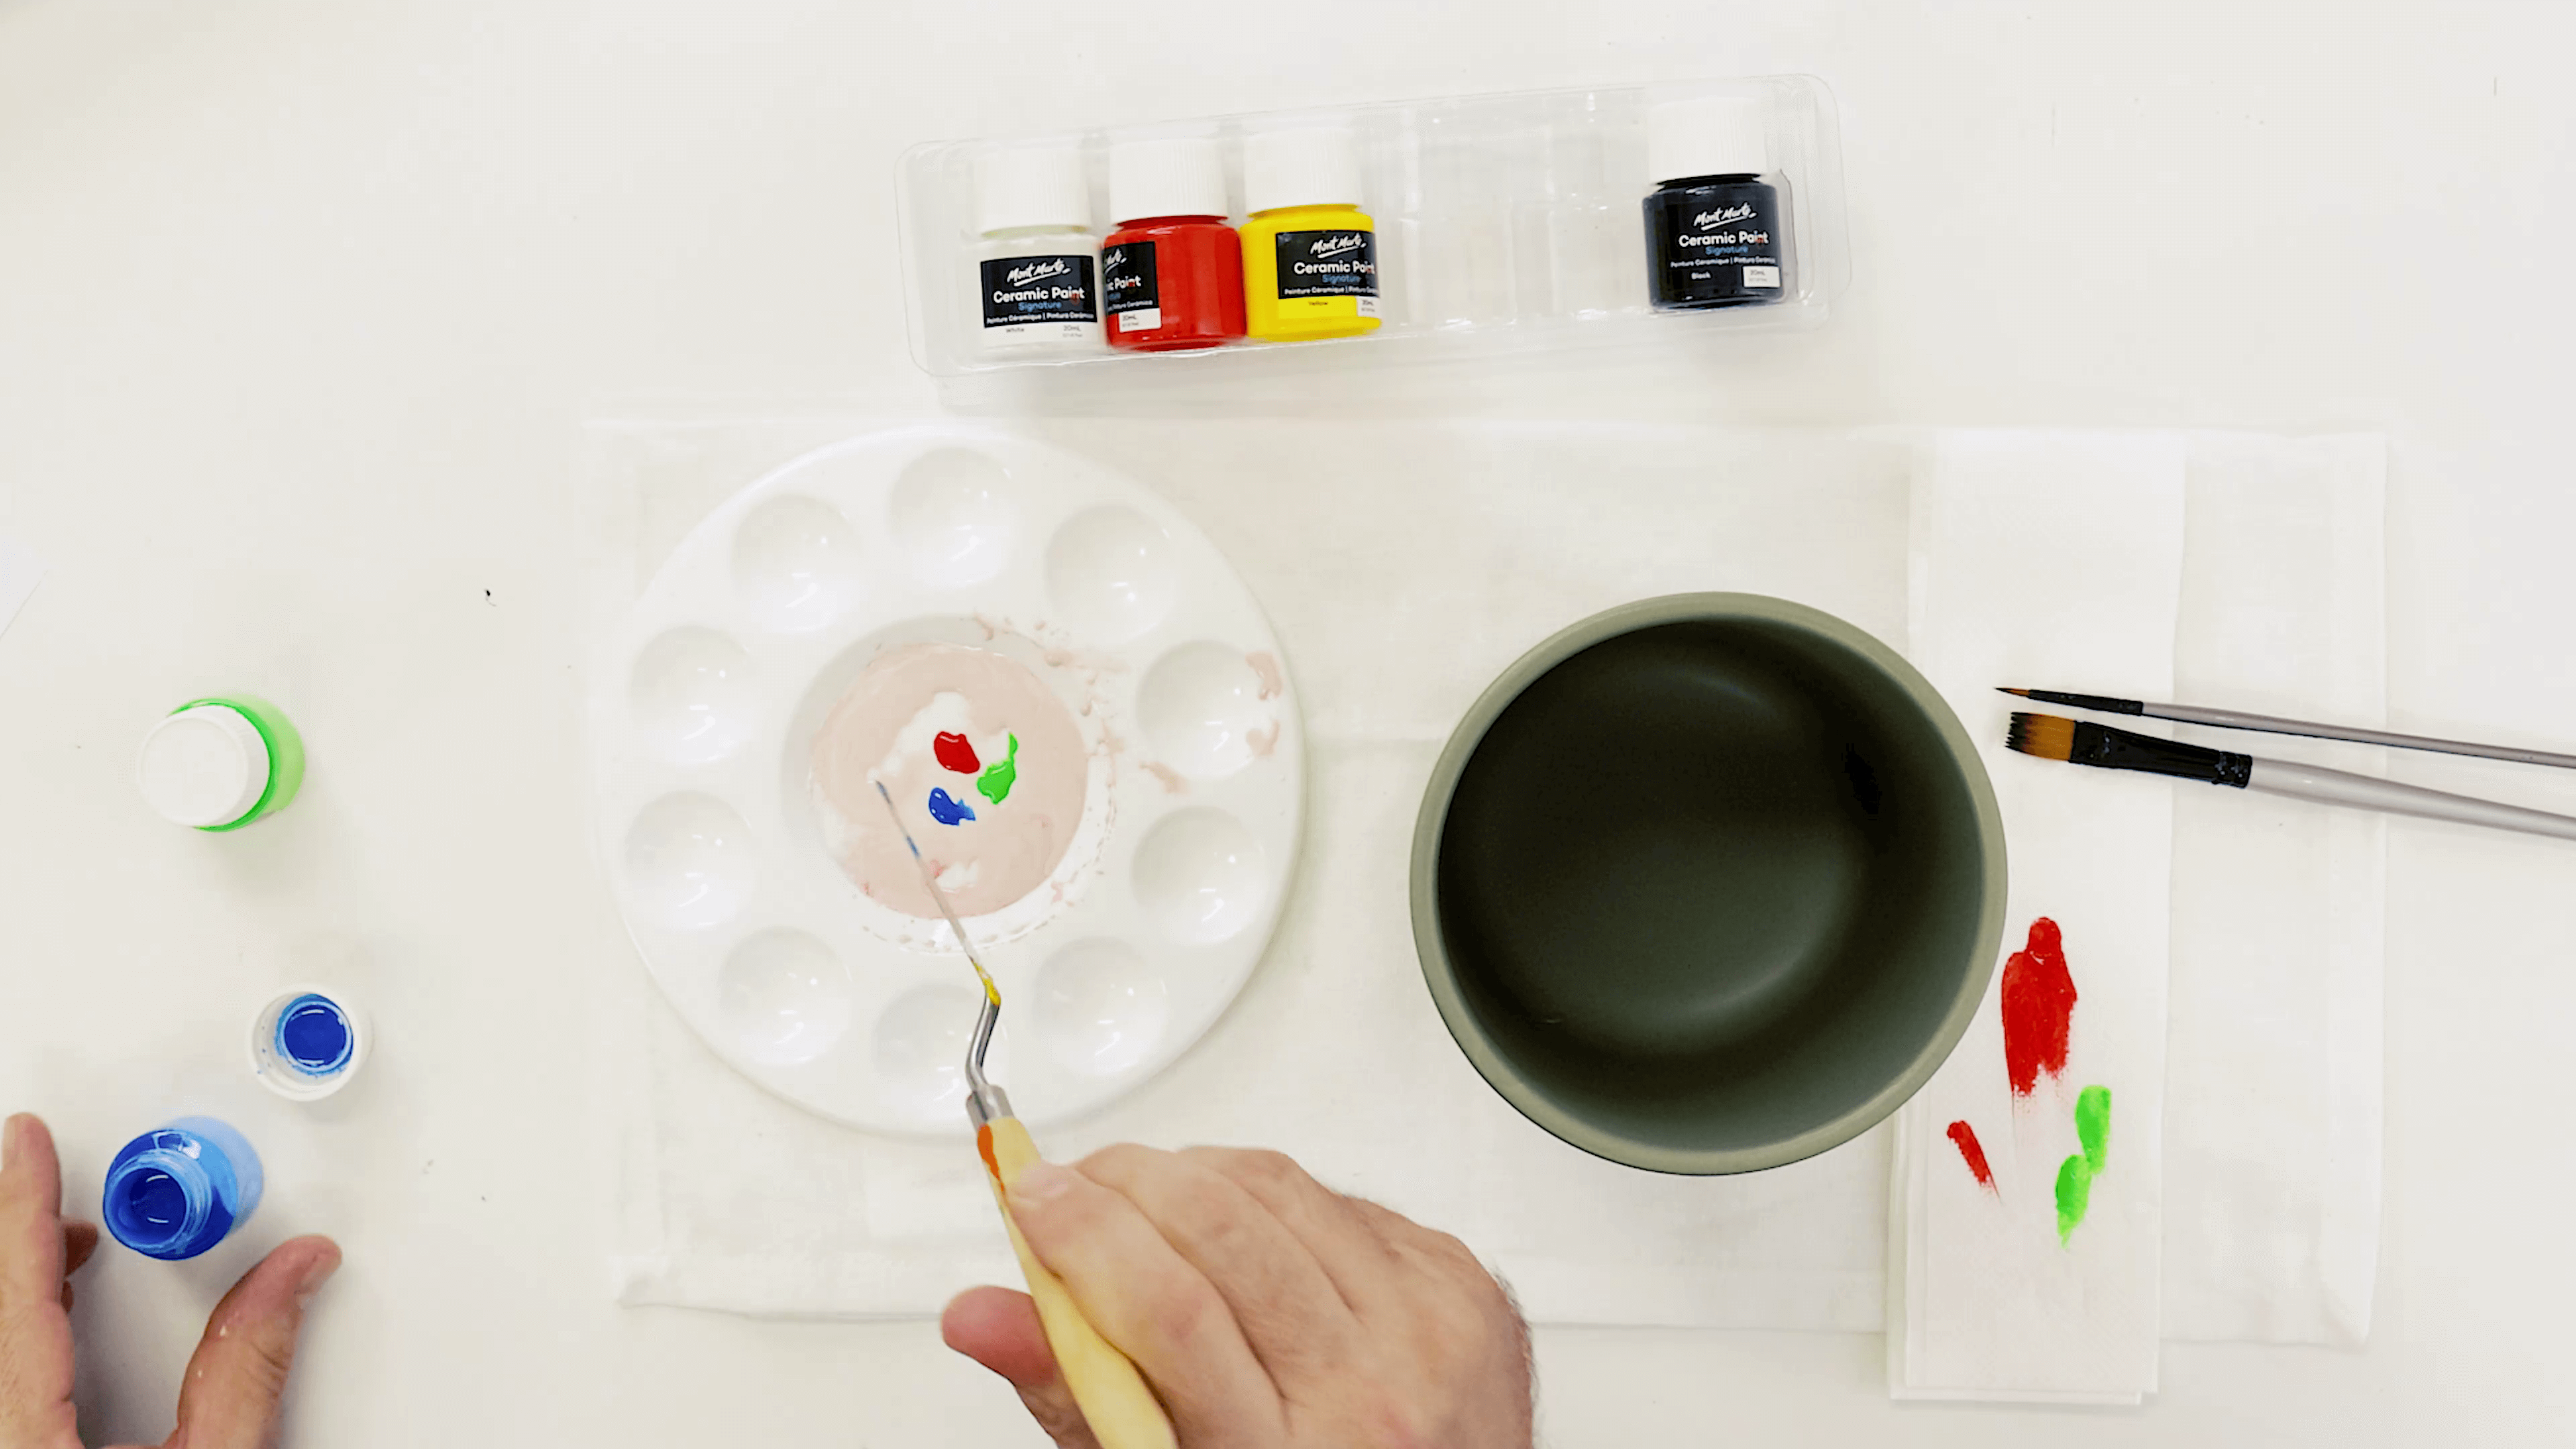
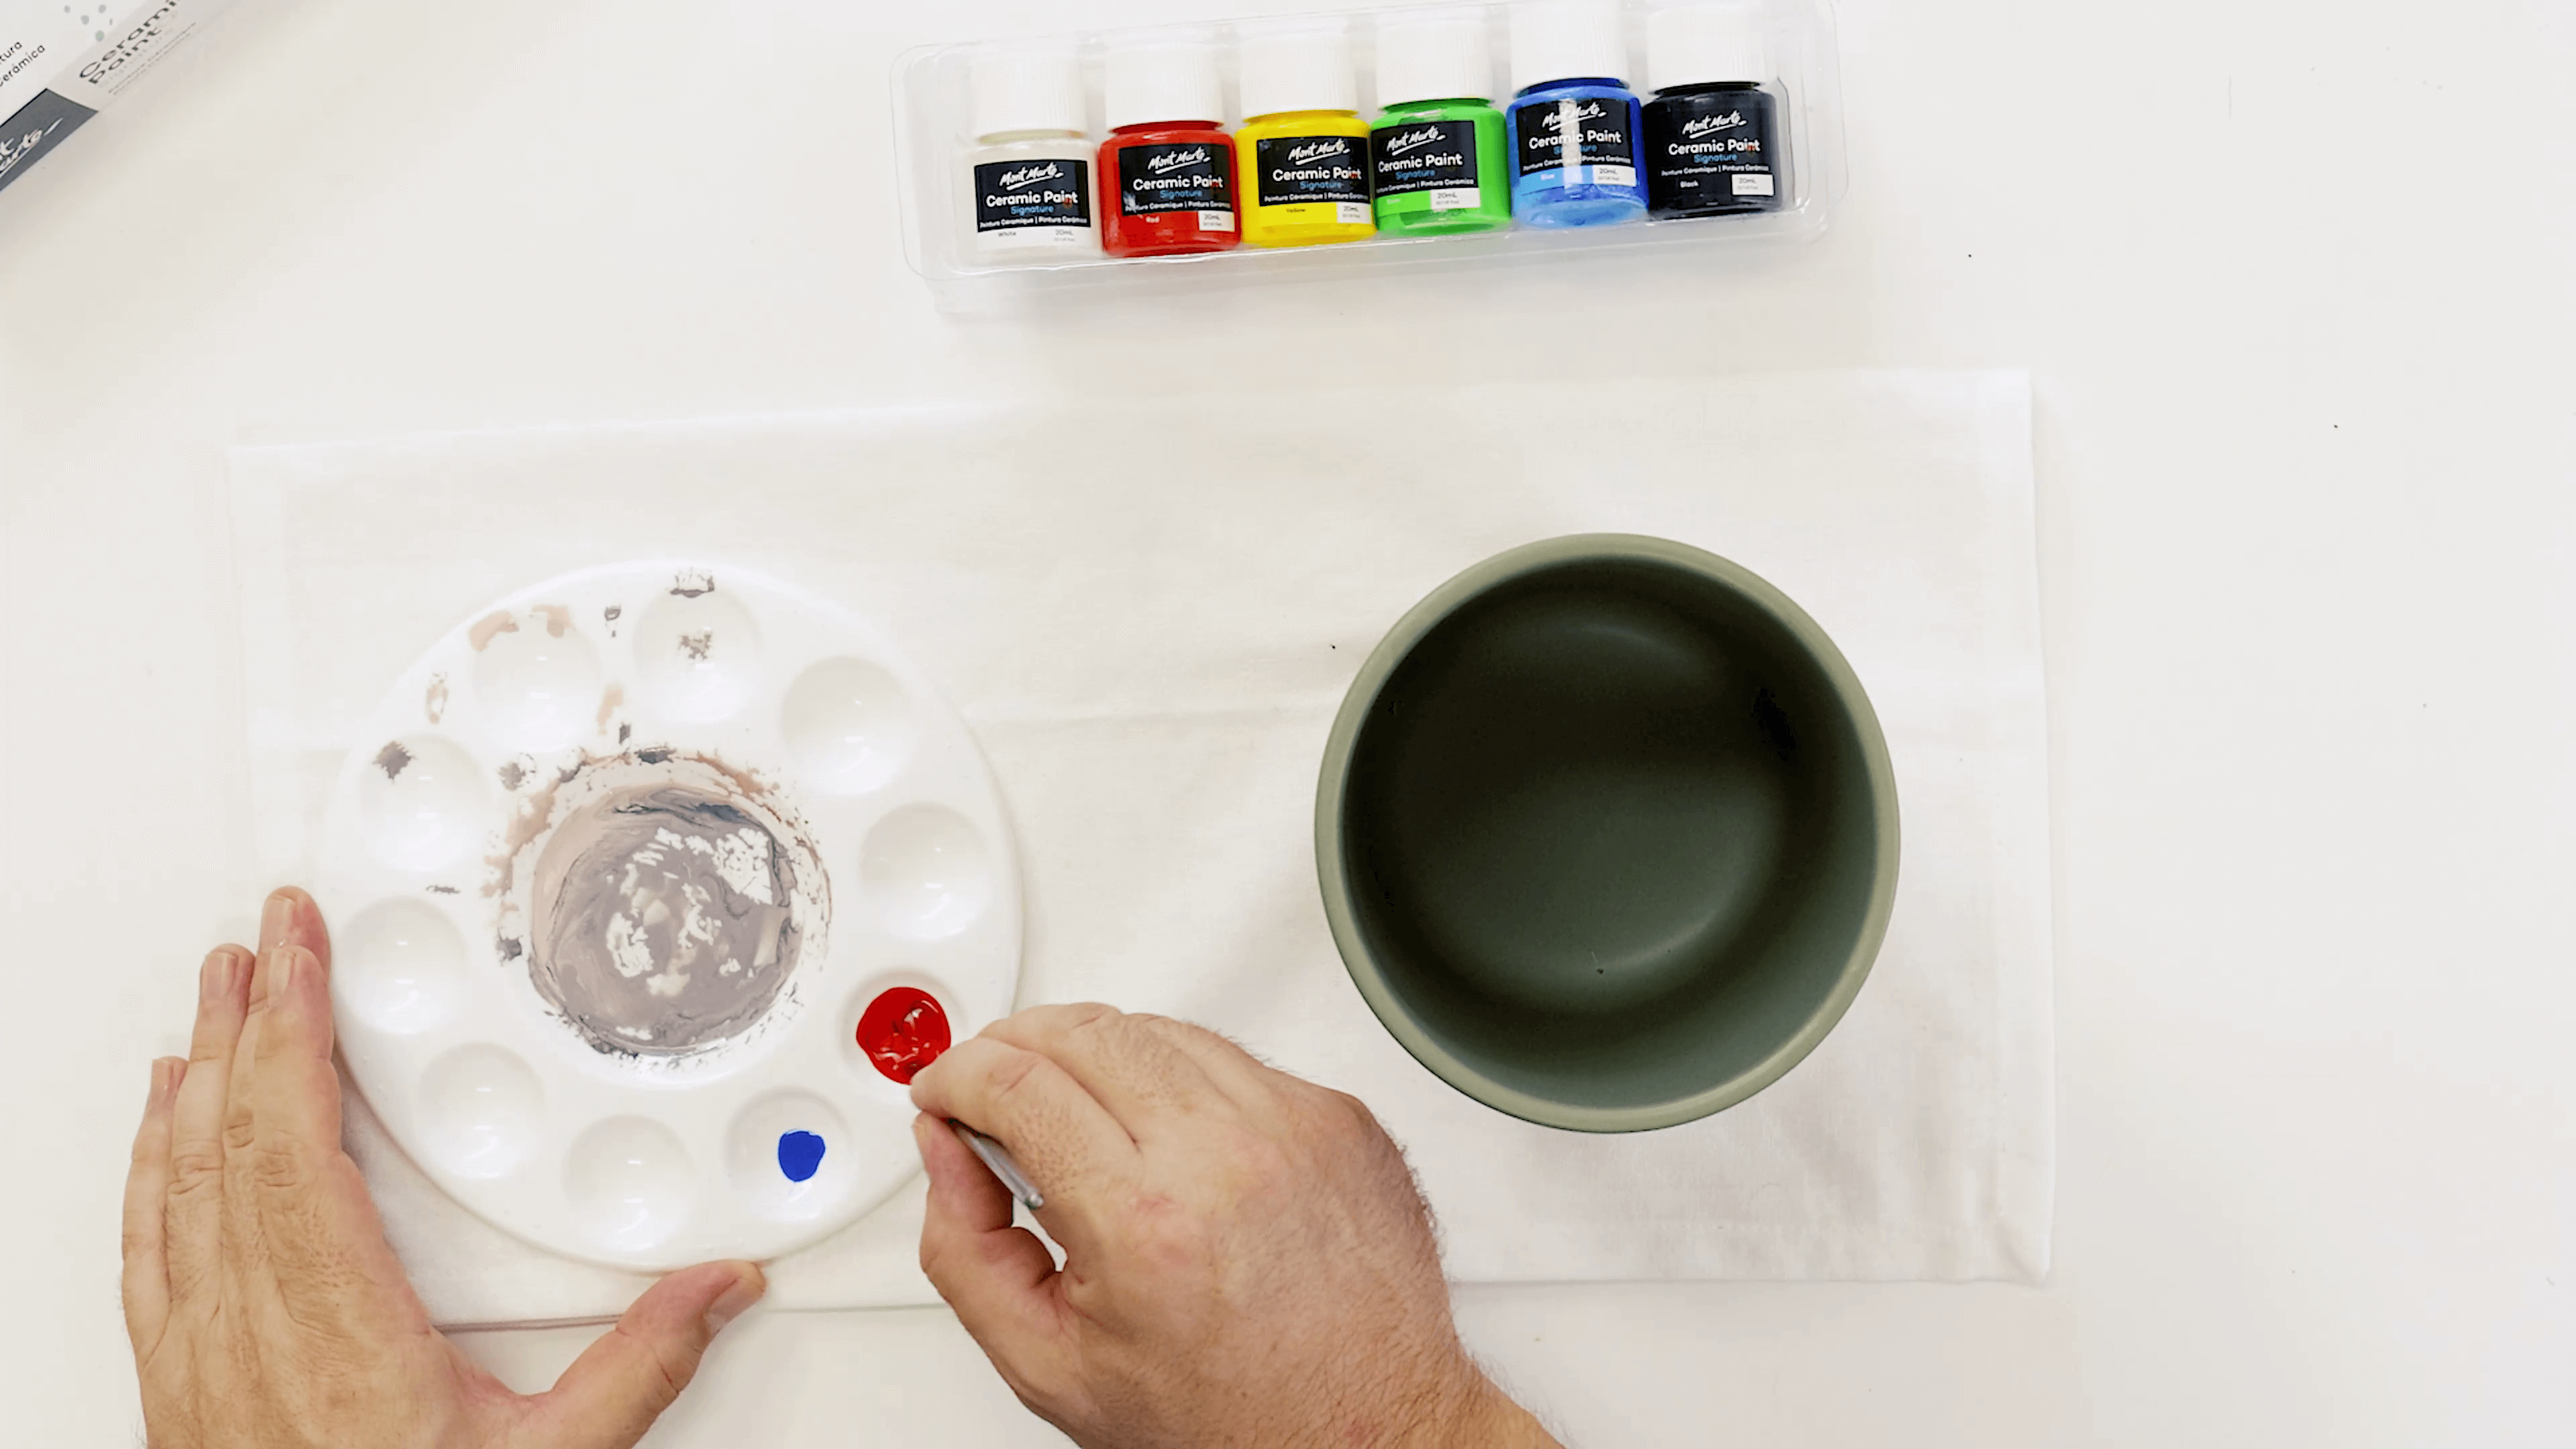
Mix in white with a dash of red, yellow and blue and stir.
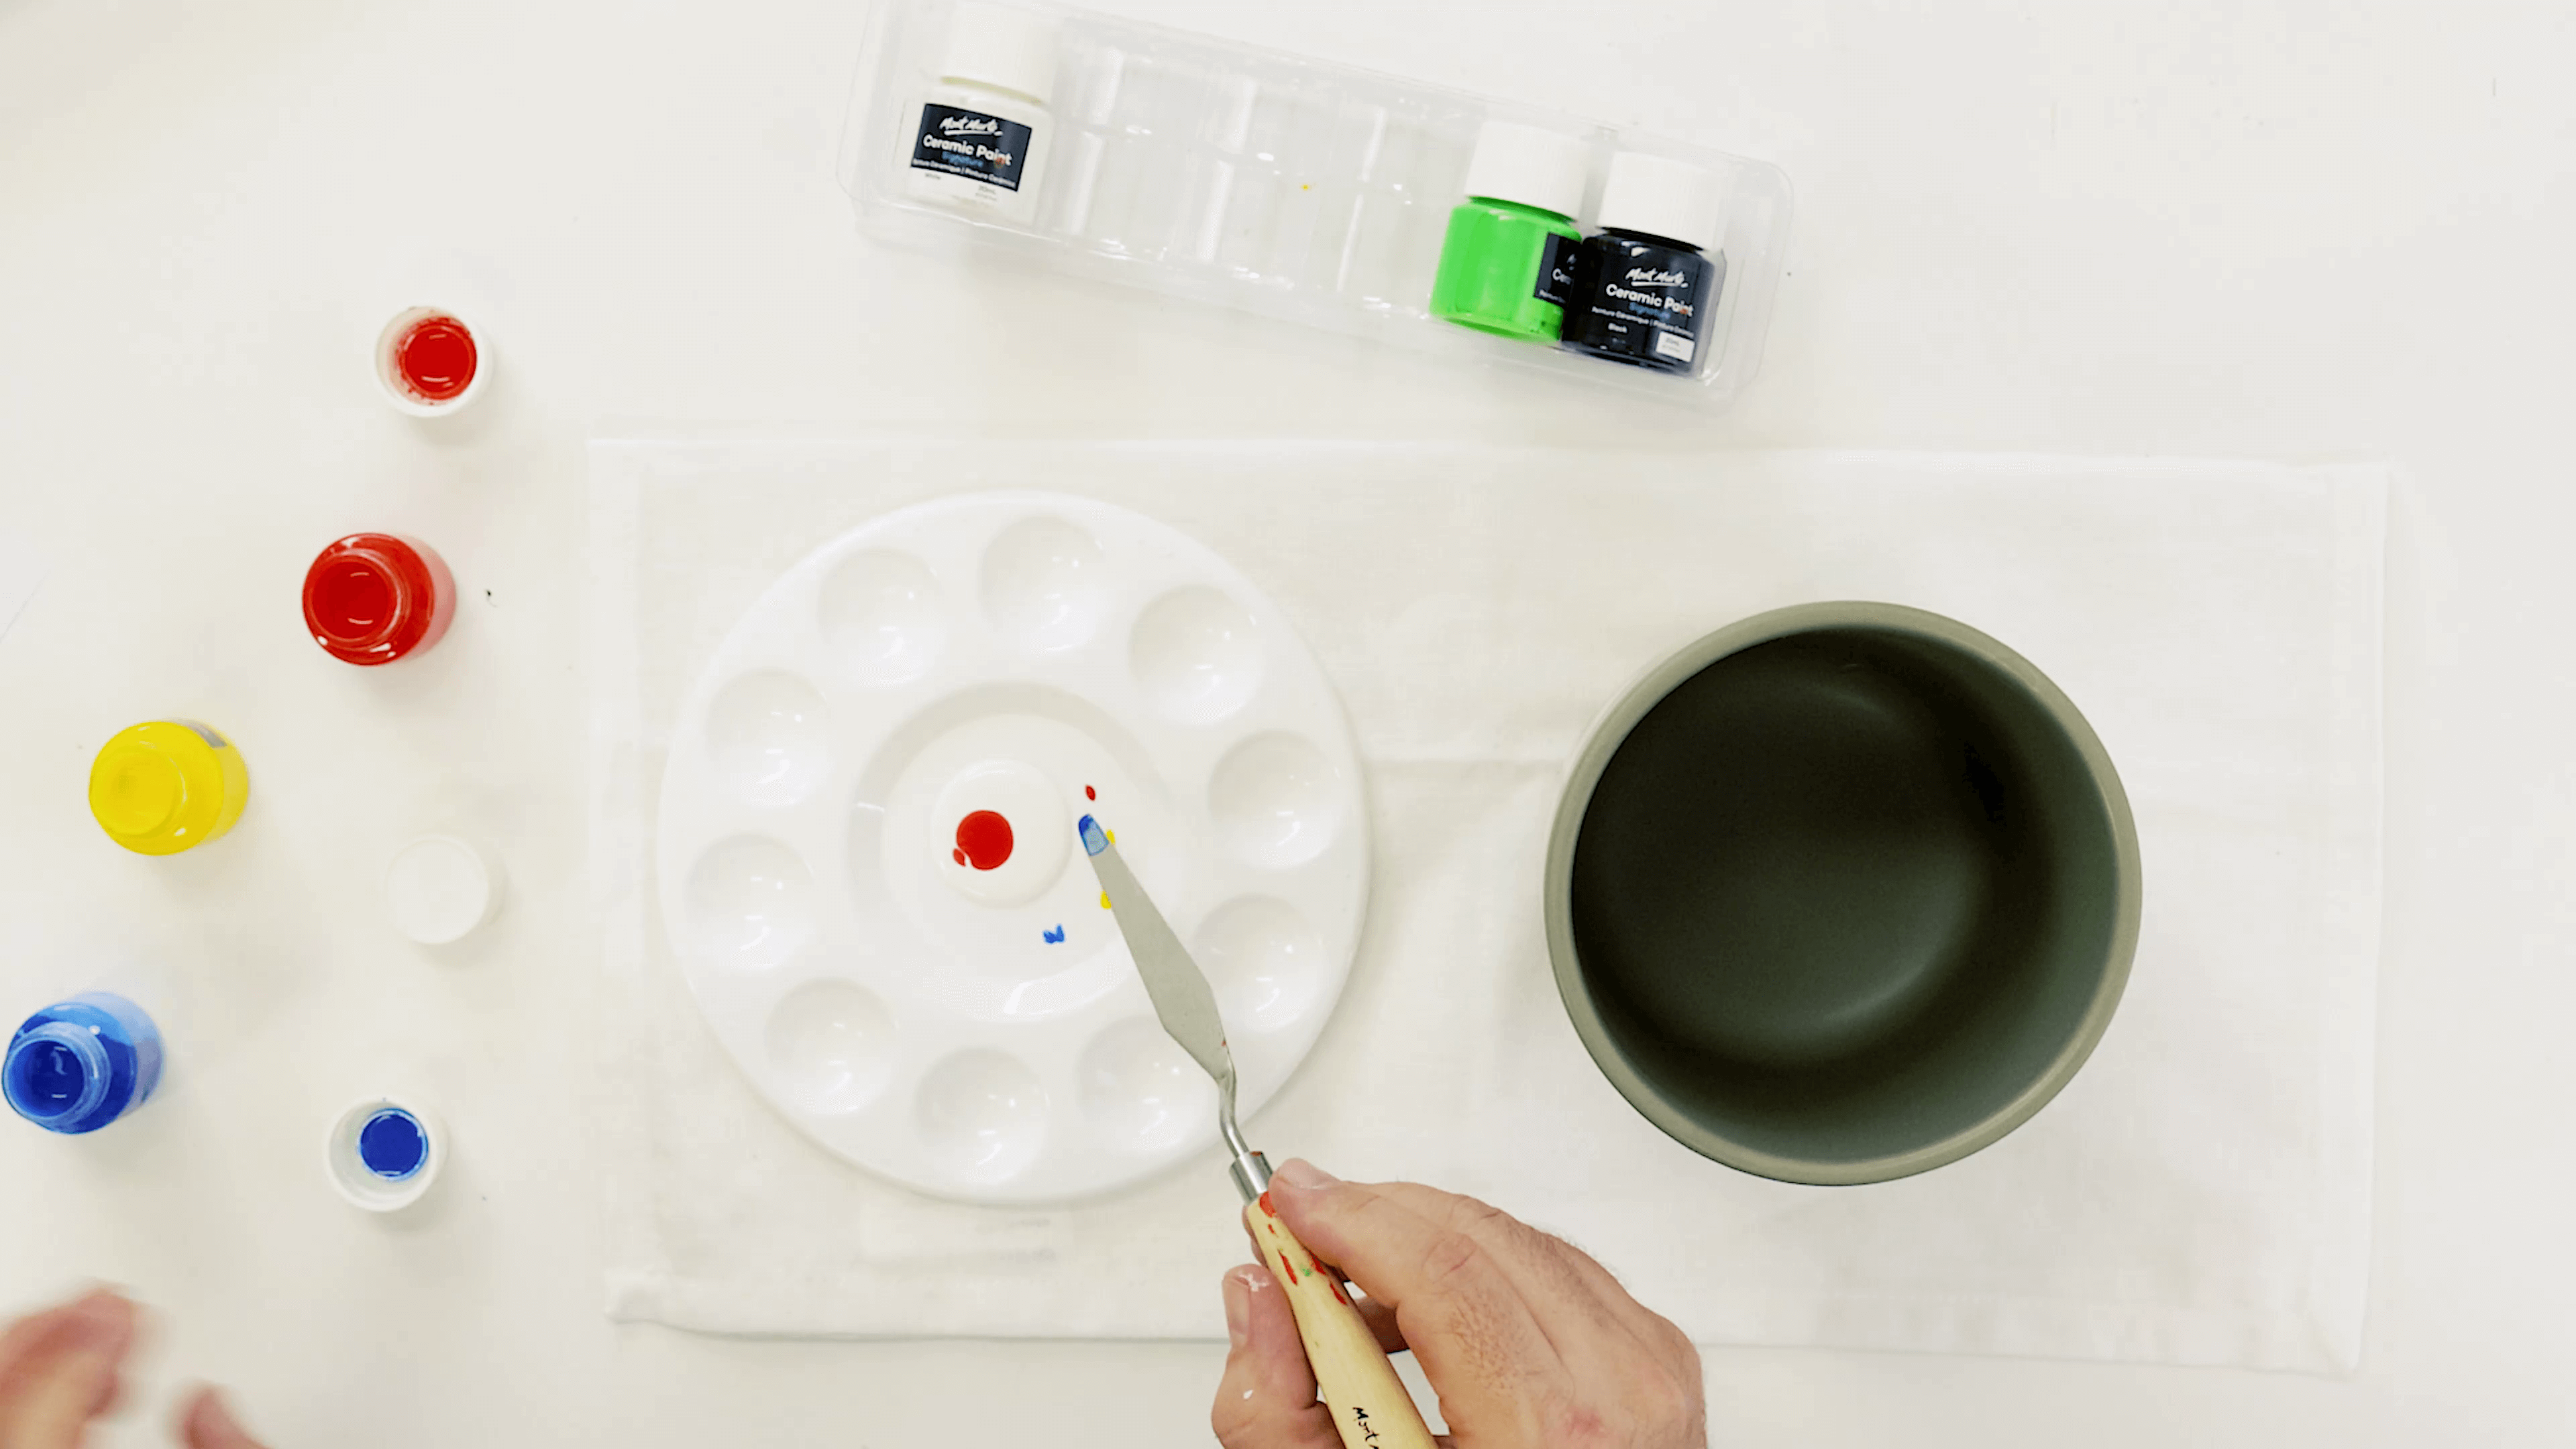
Add a dash of green and mix the paint together, add a dash of white if you need to. This will create a dusty pink.
Begin painting the stalks.
Add more red and a dash of green and blue to the dusty pink paint, then mix.
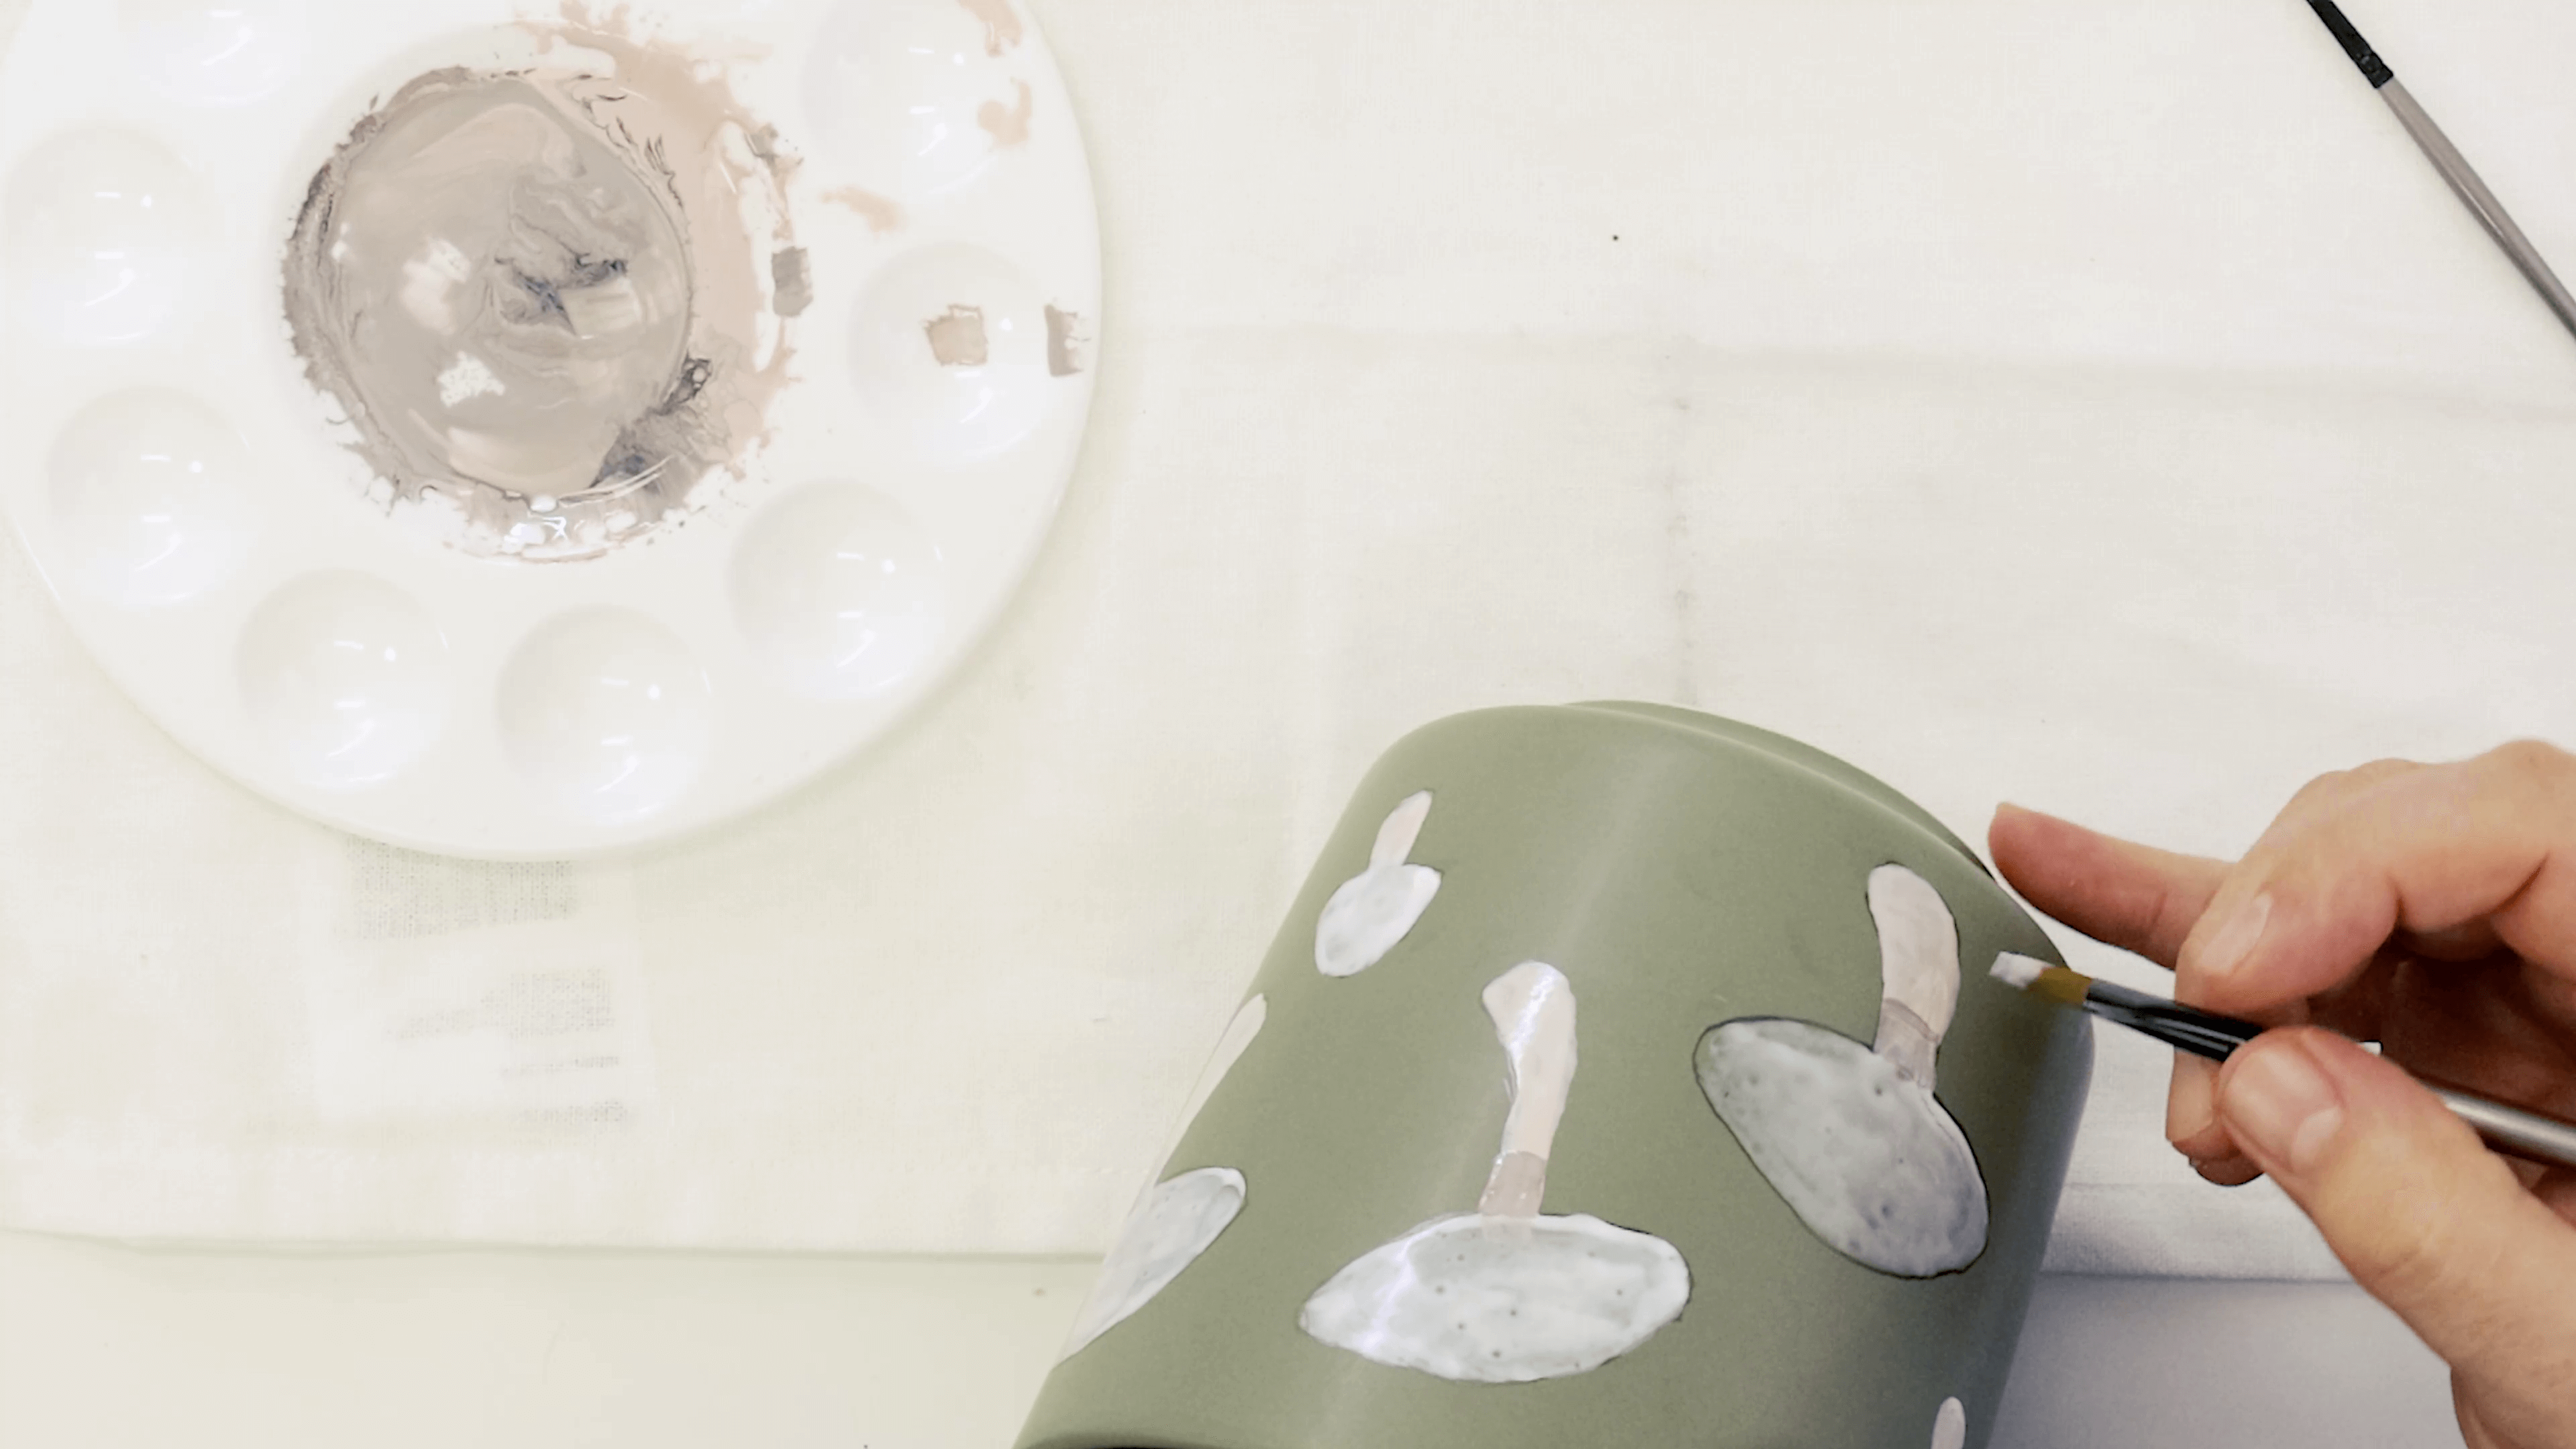
Paint the grey onto the top of the stalk.
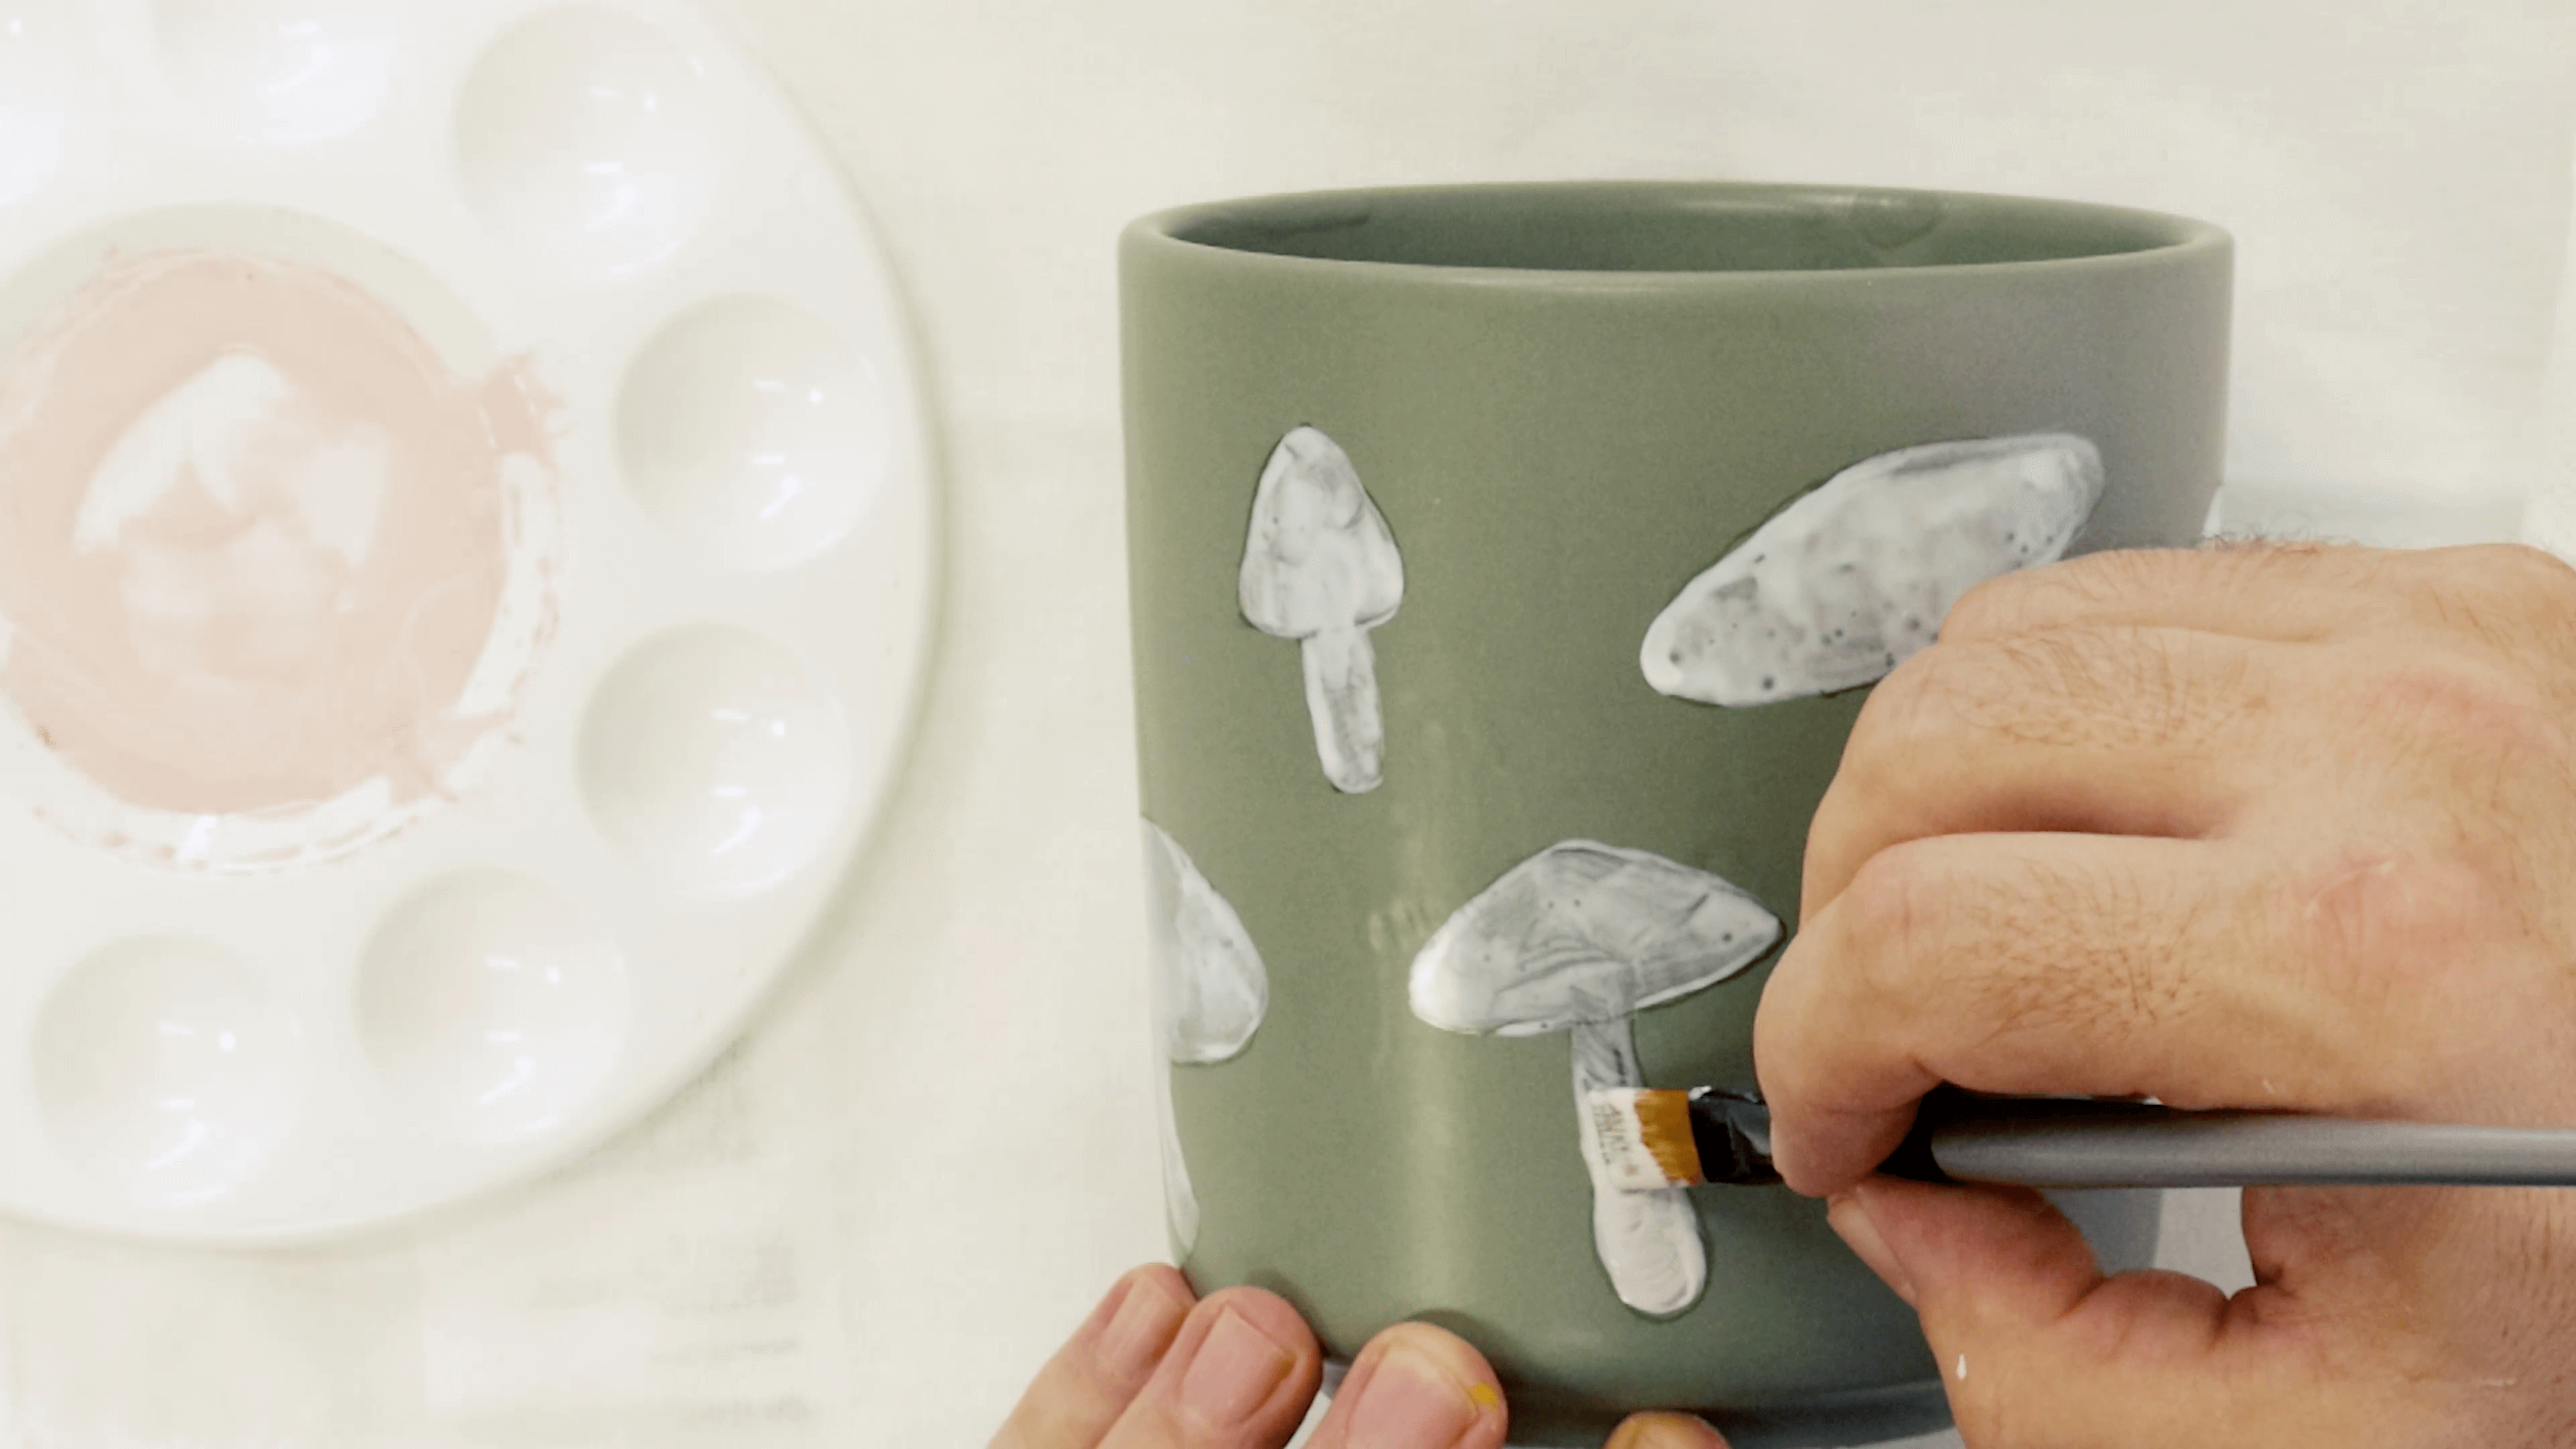
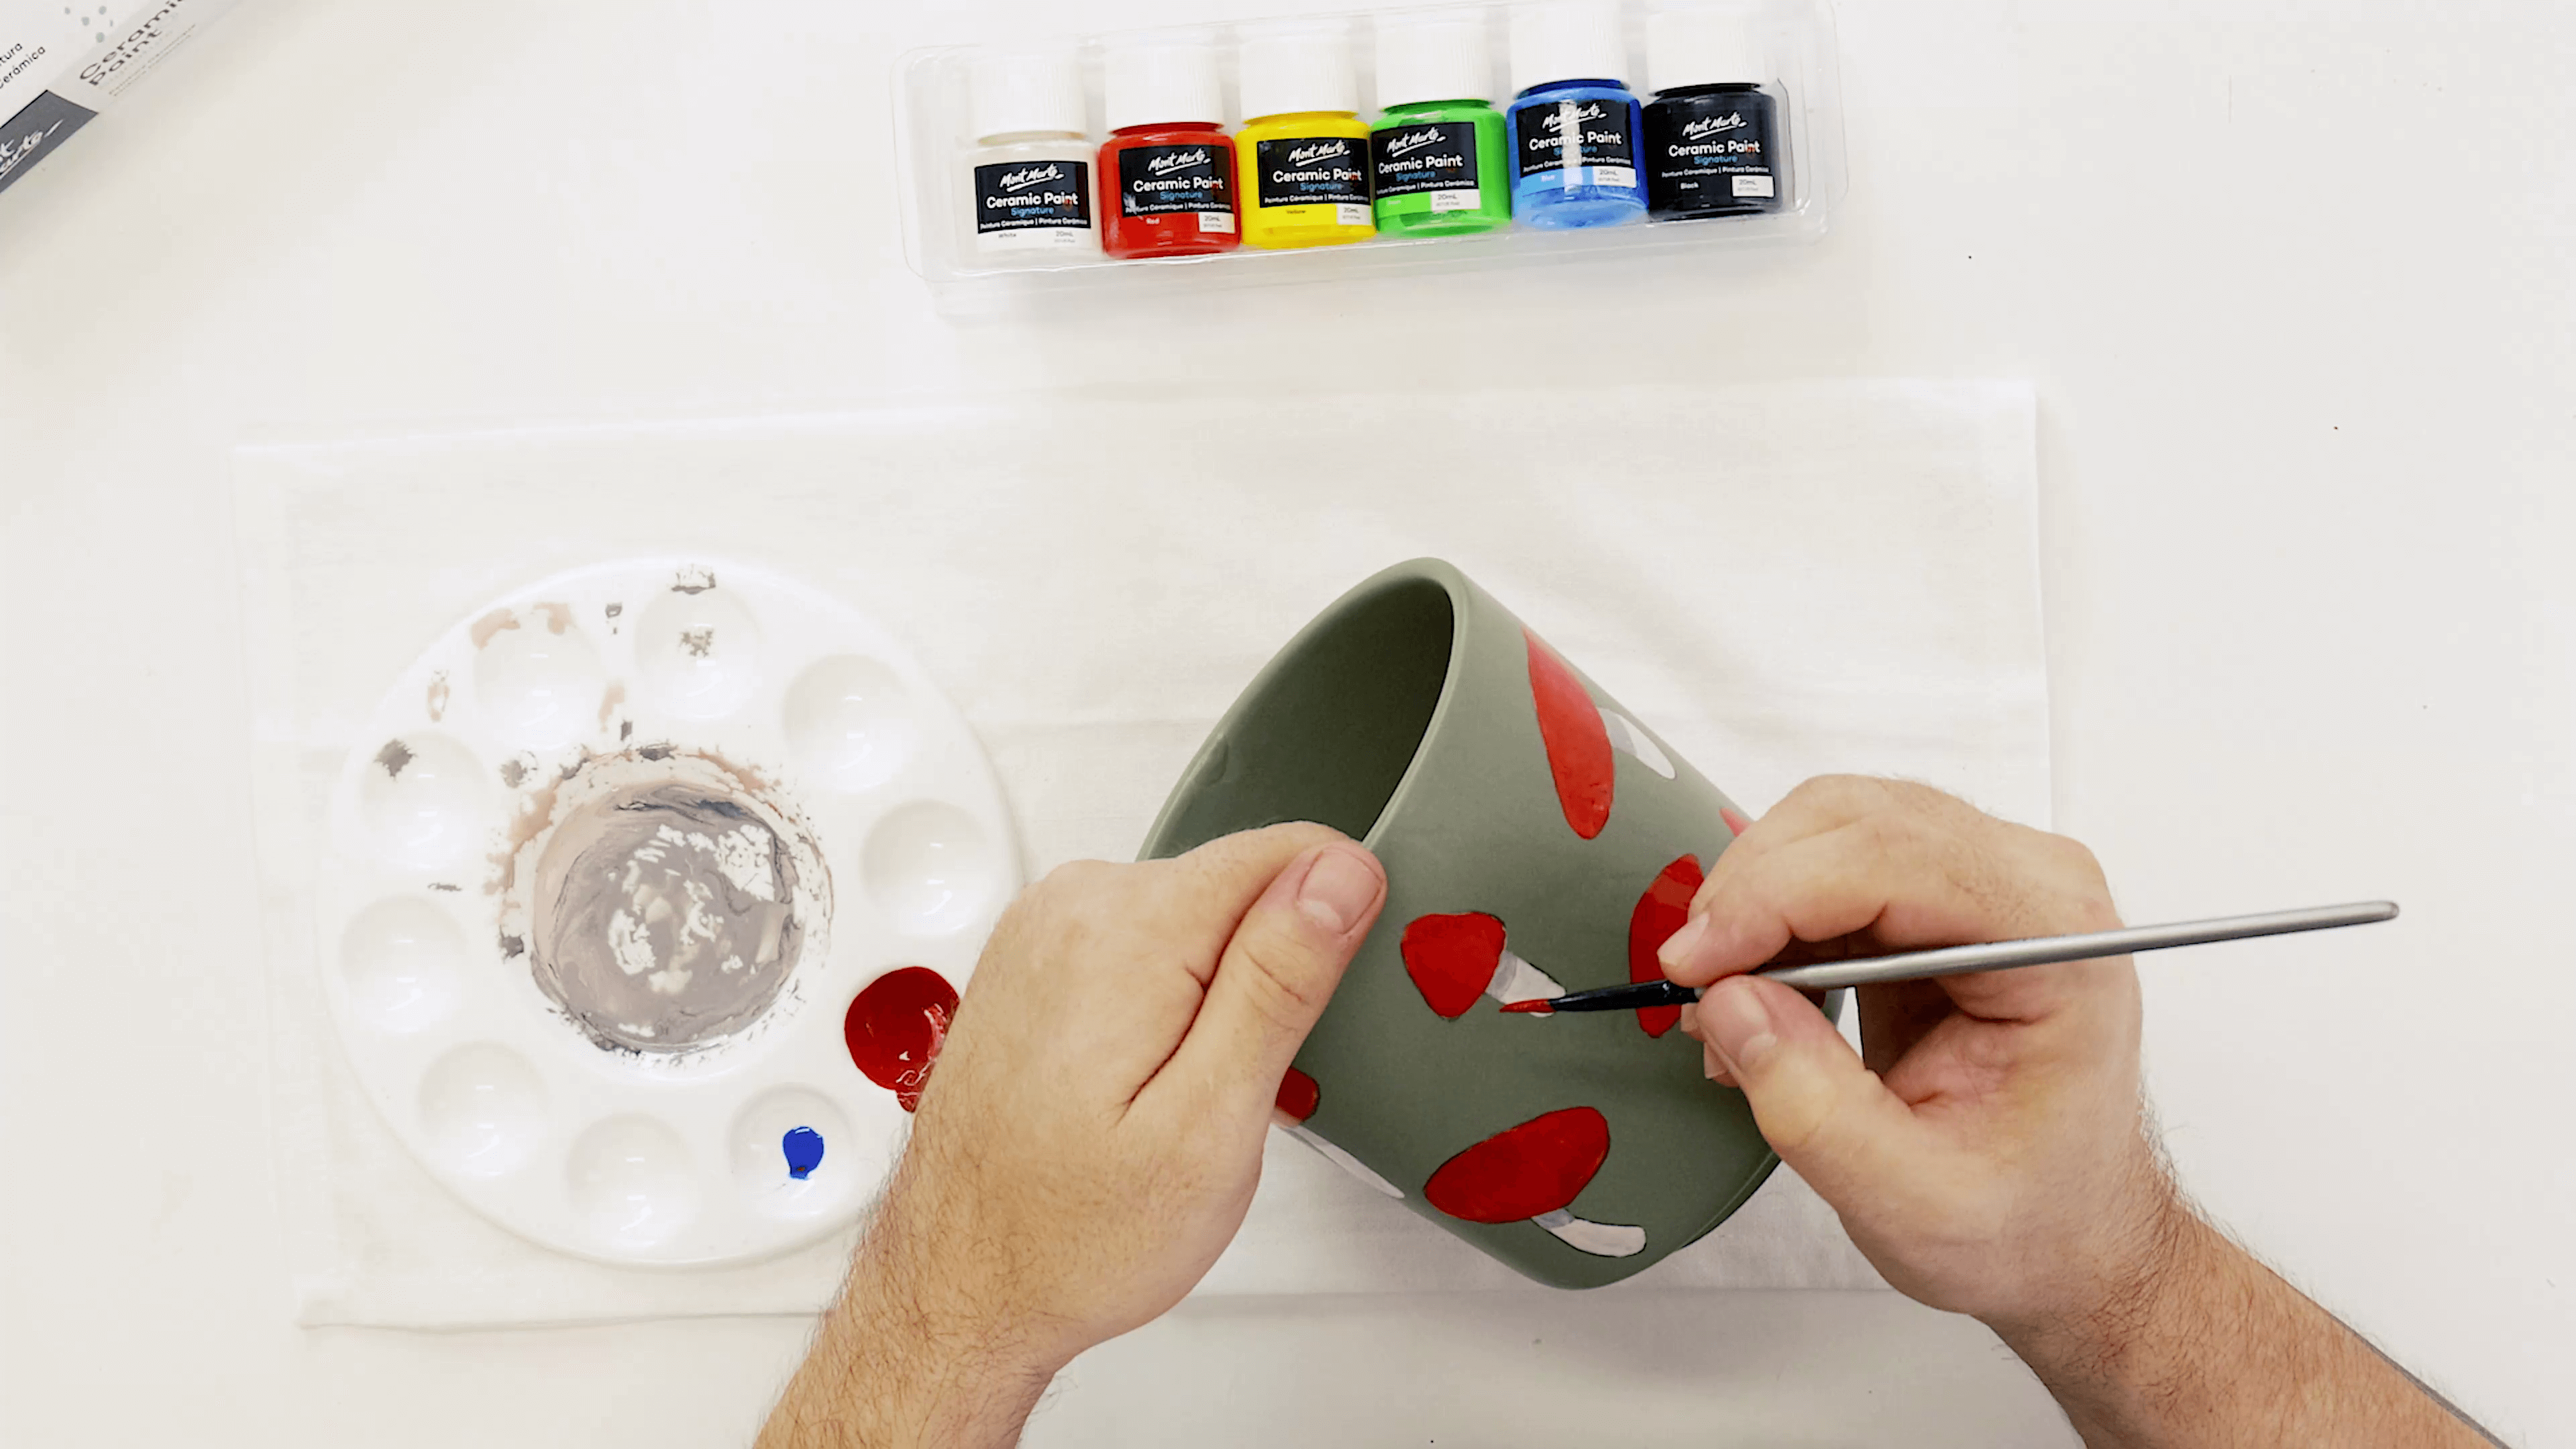
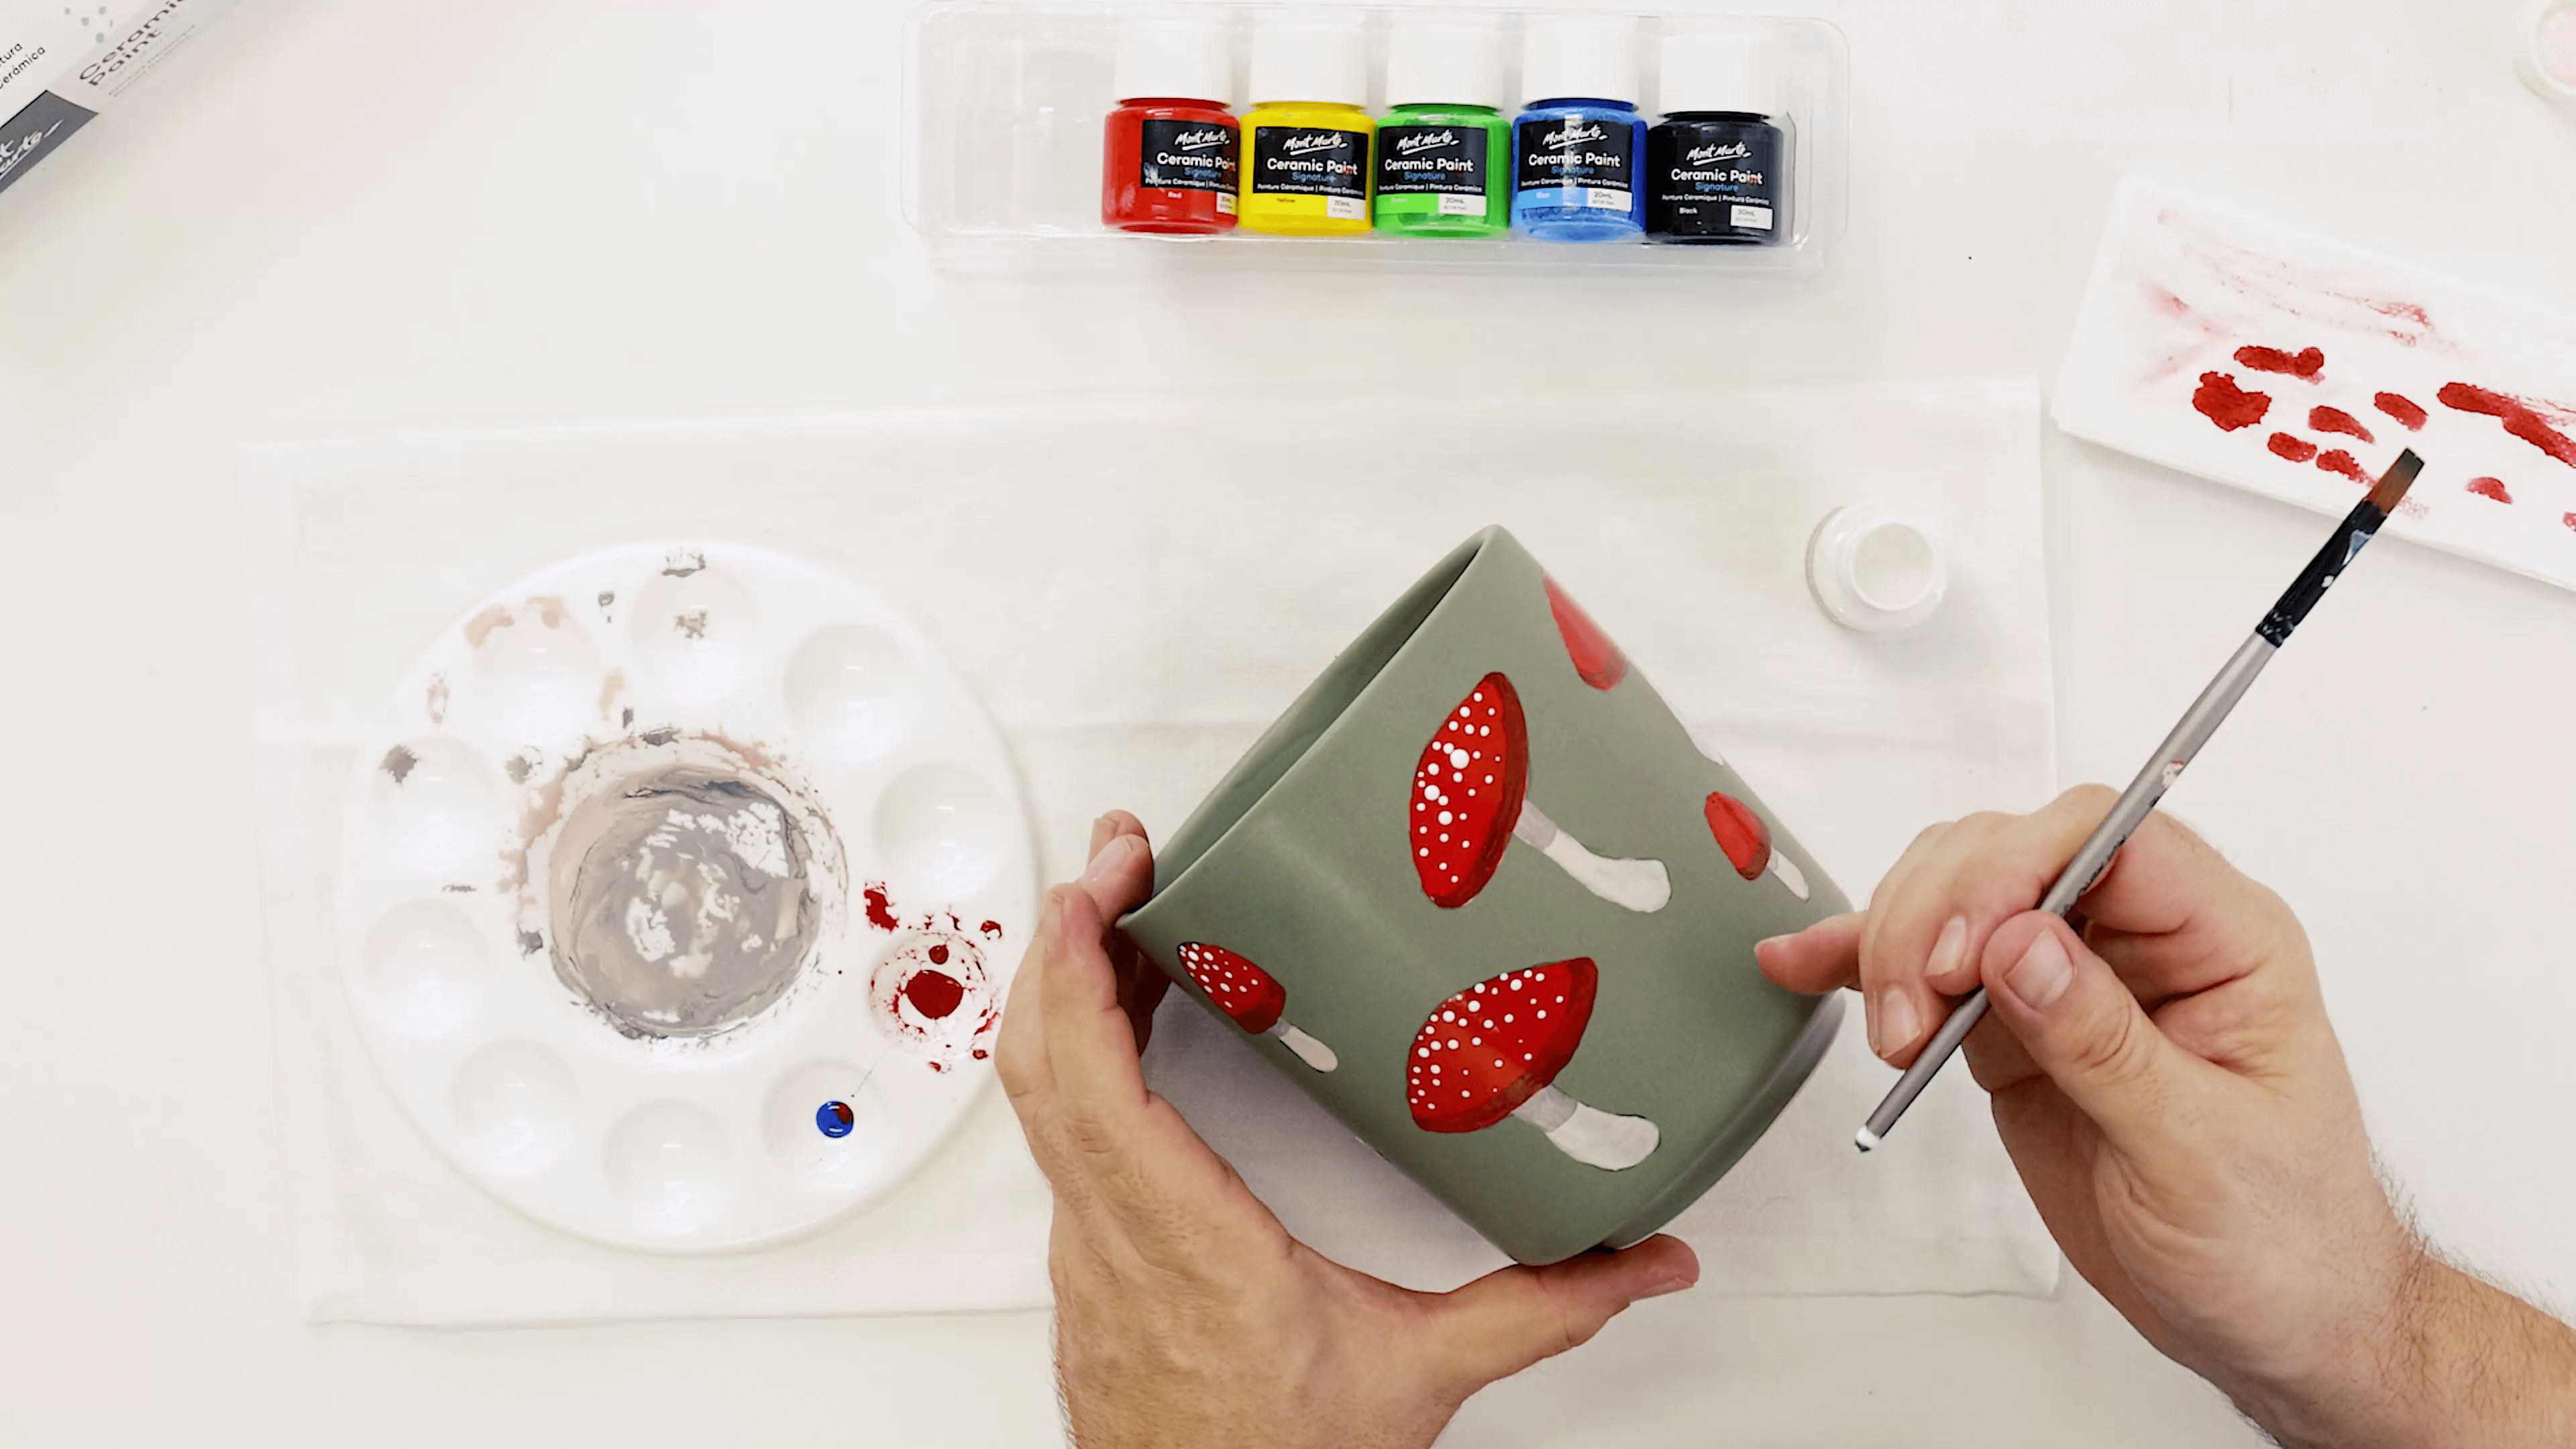
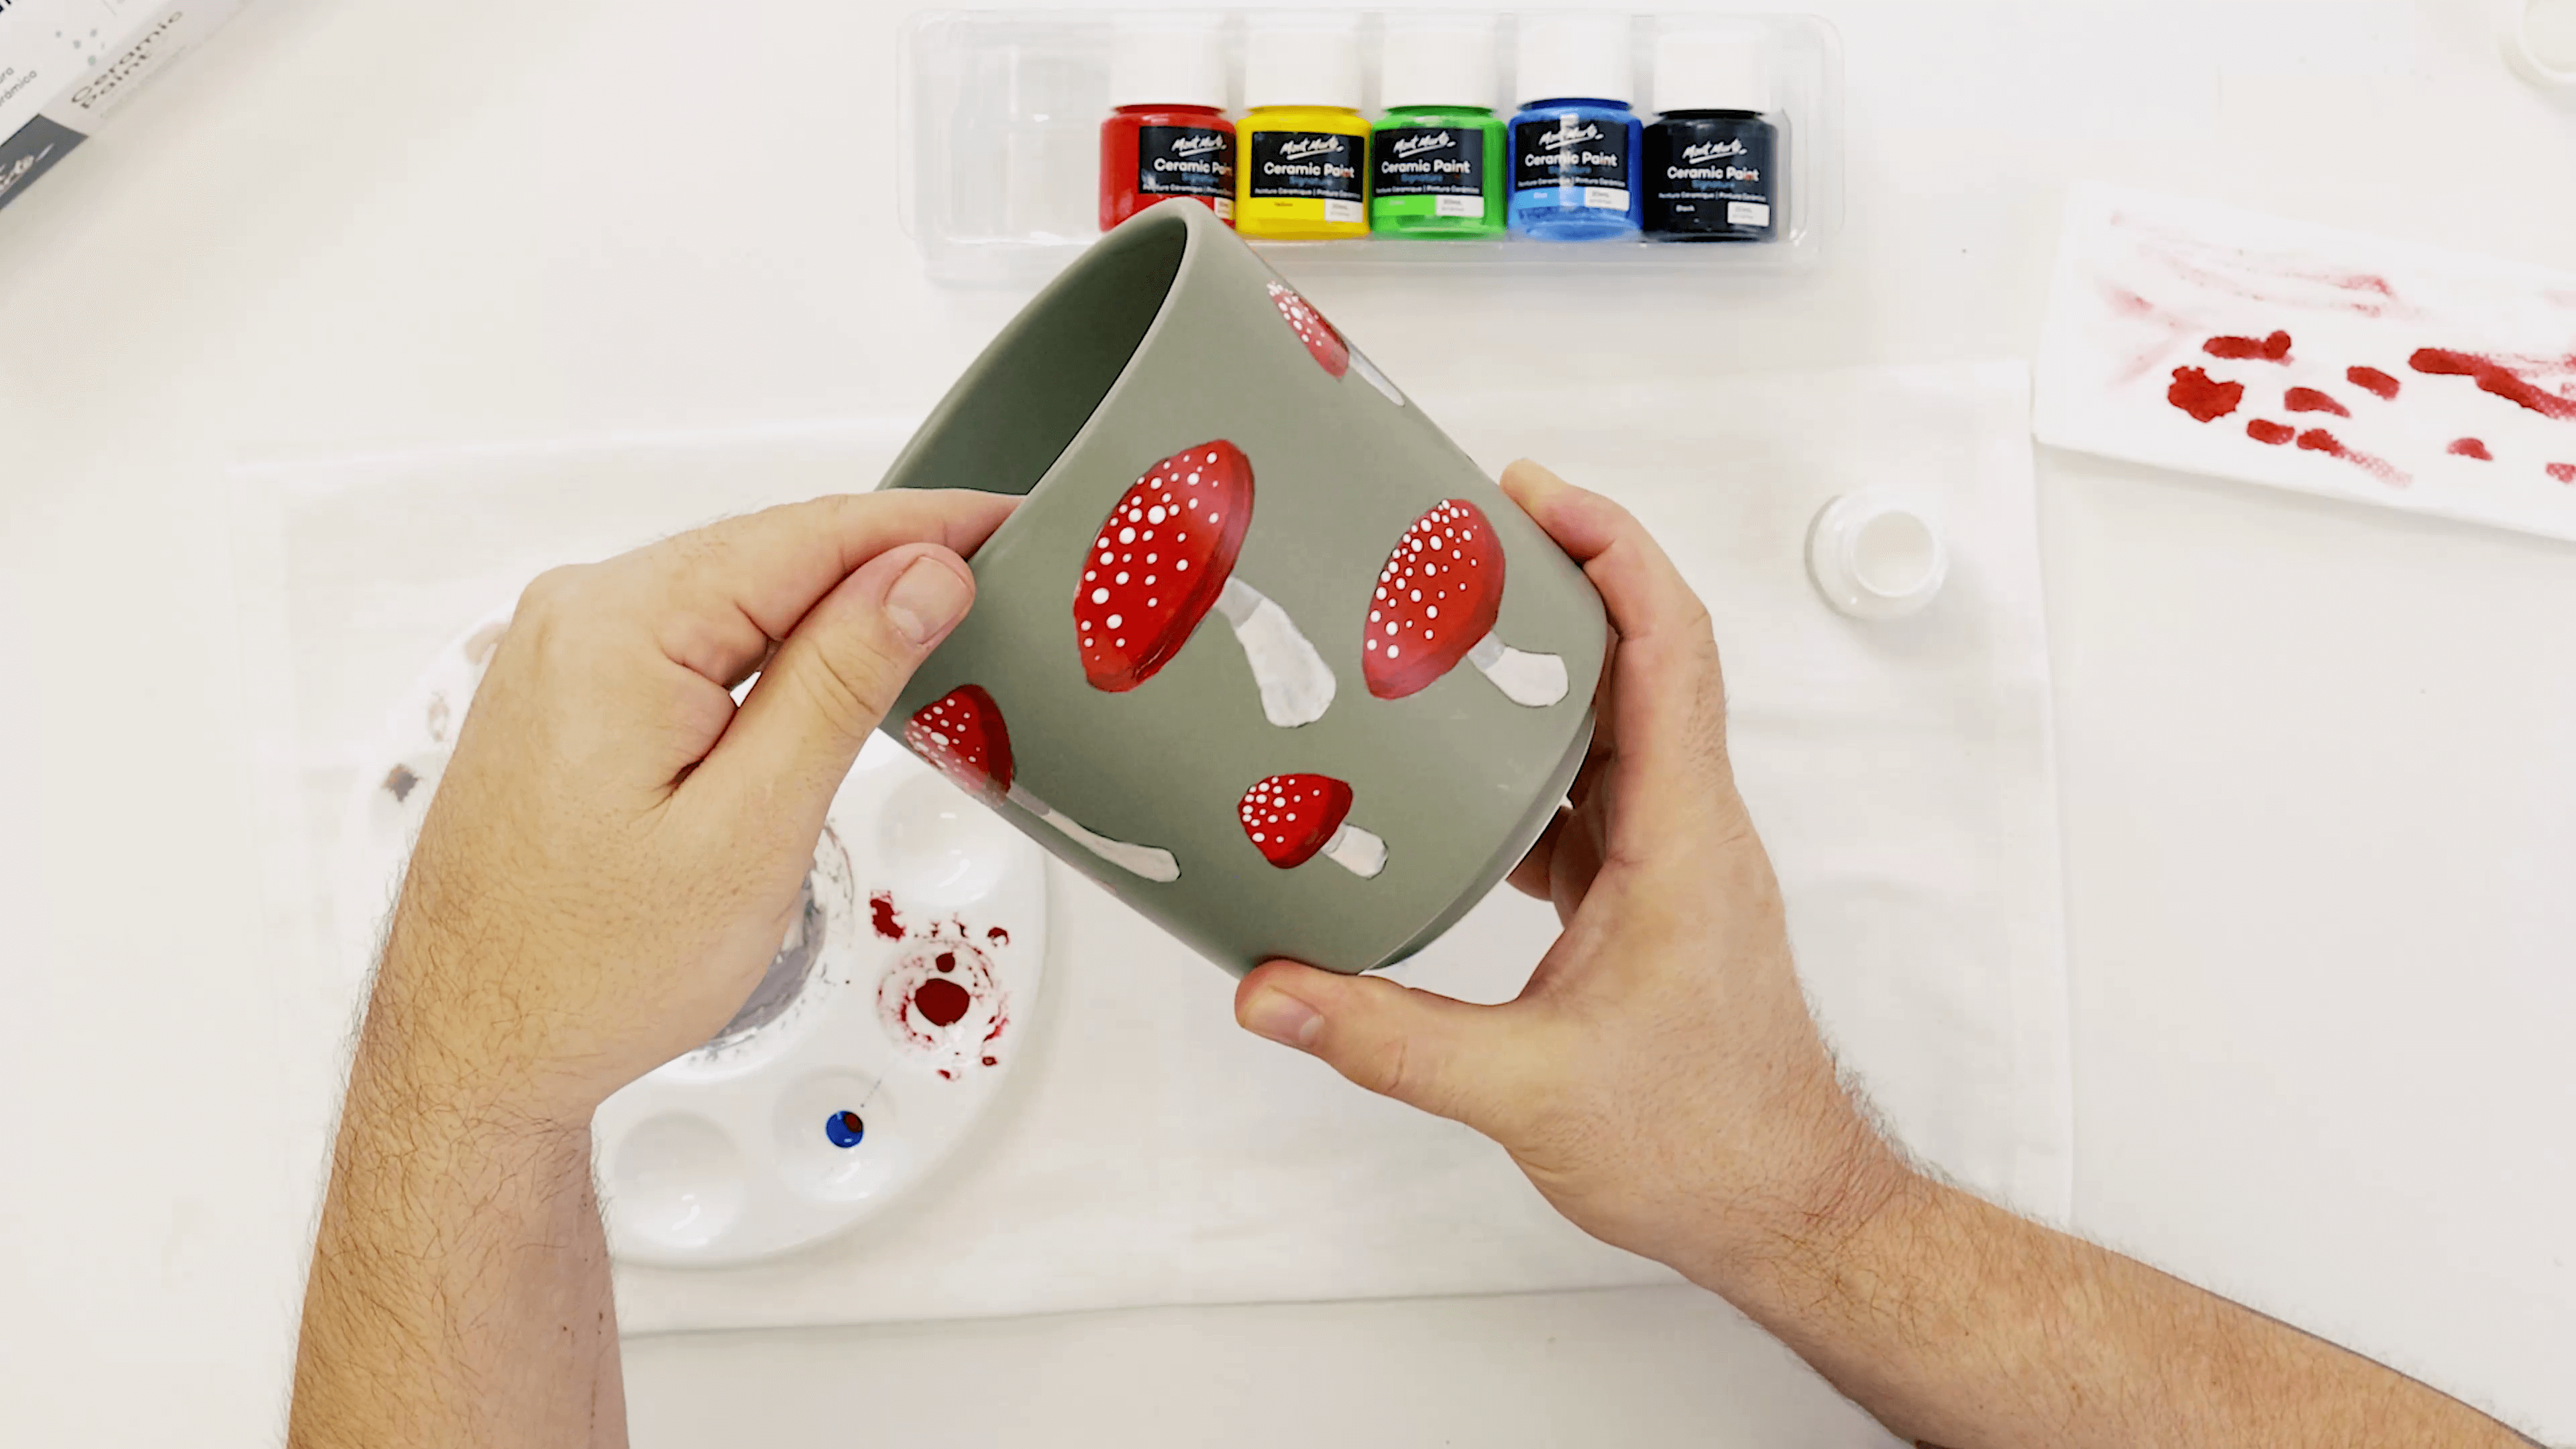
Add red paint to the cap of the mushroom.
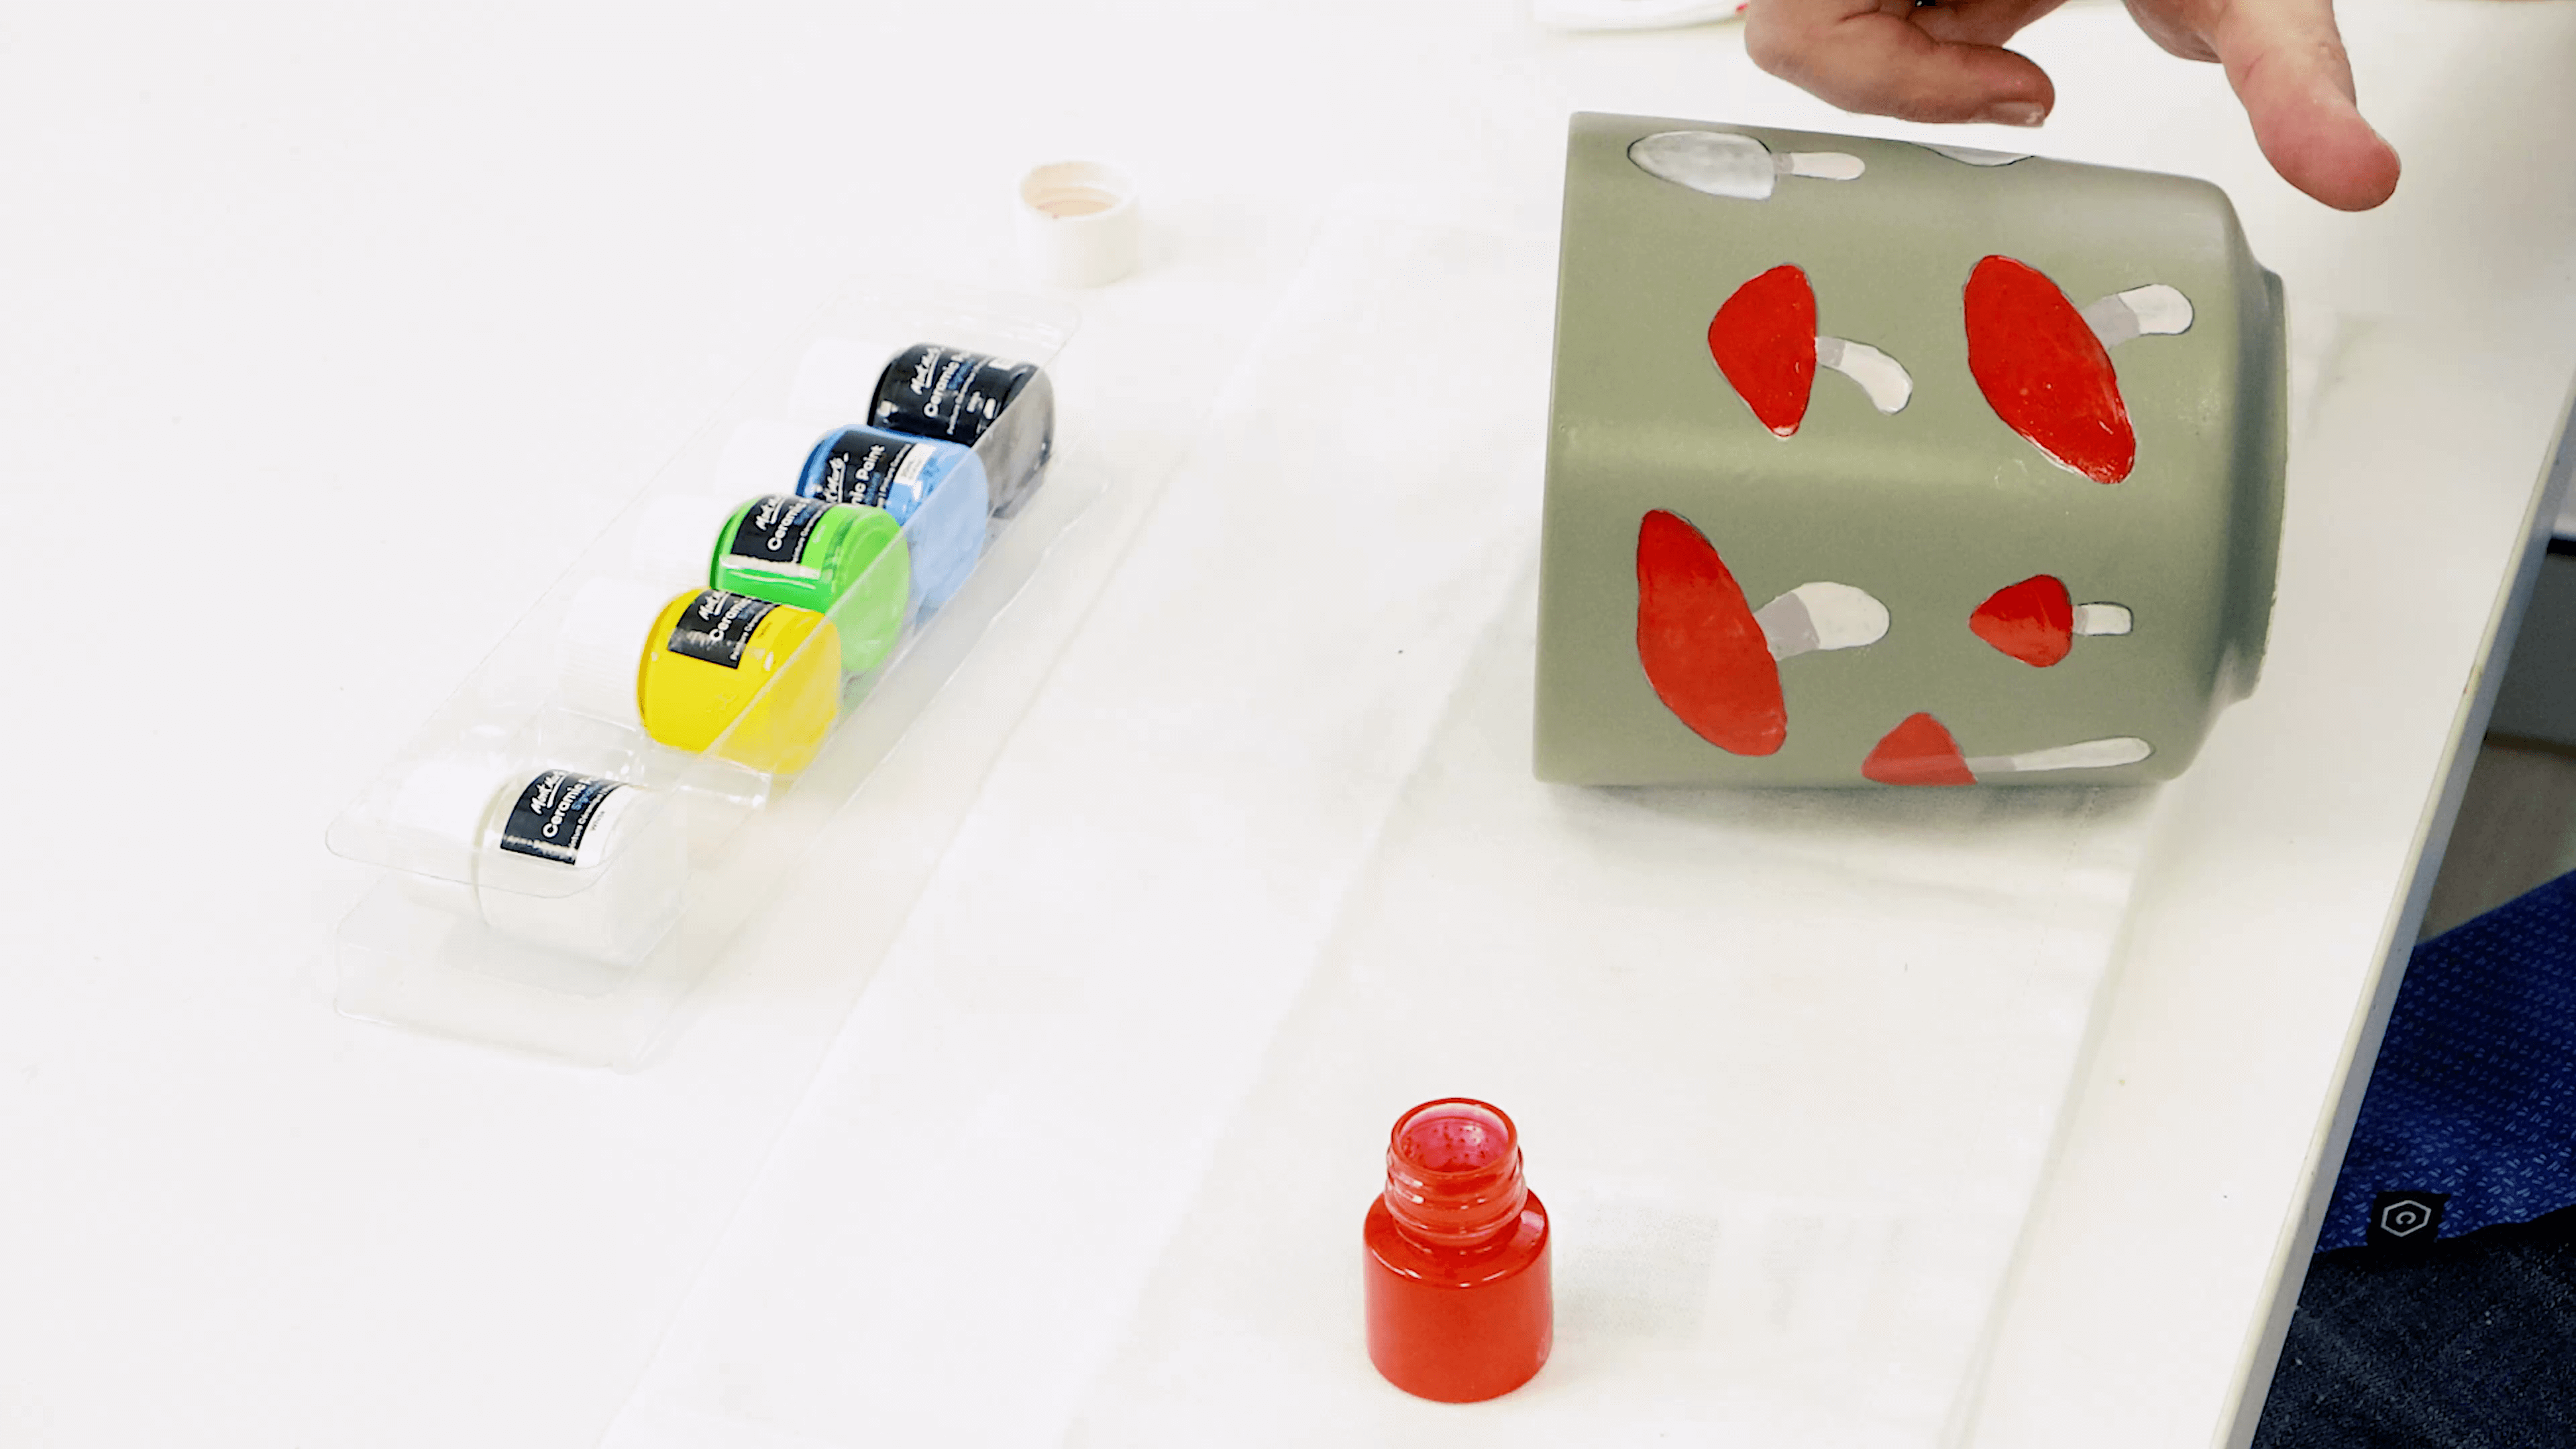
Mix in blue to the red to create a darker red for the base of the mushroom cap.
Use this darker red to line the bottom of the mushroom cap.
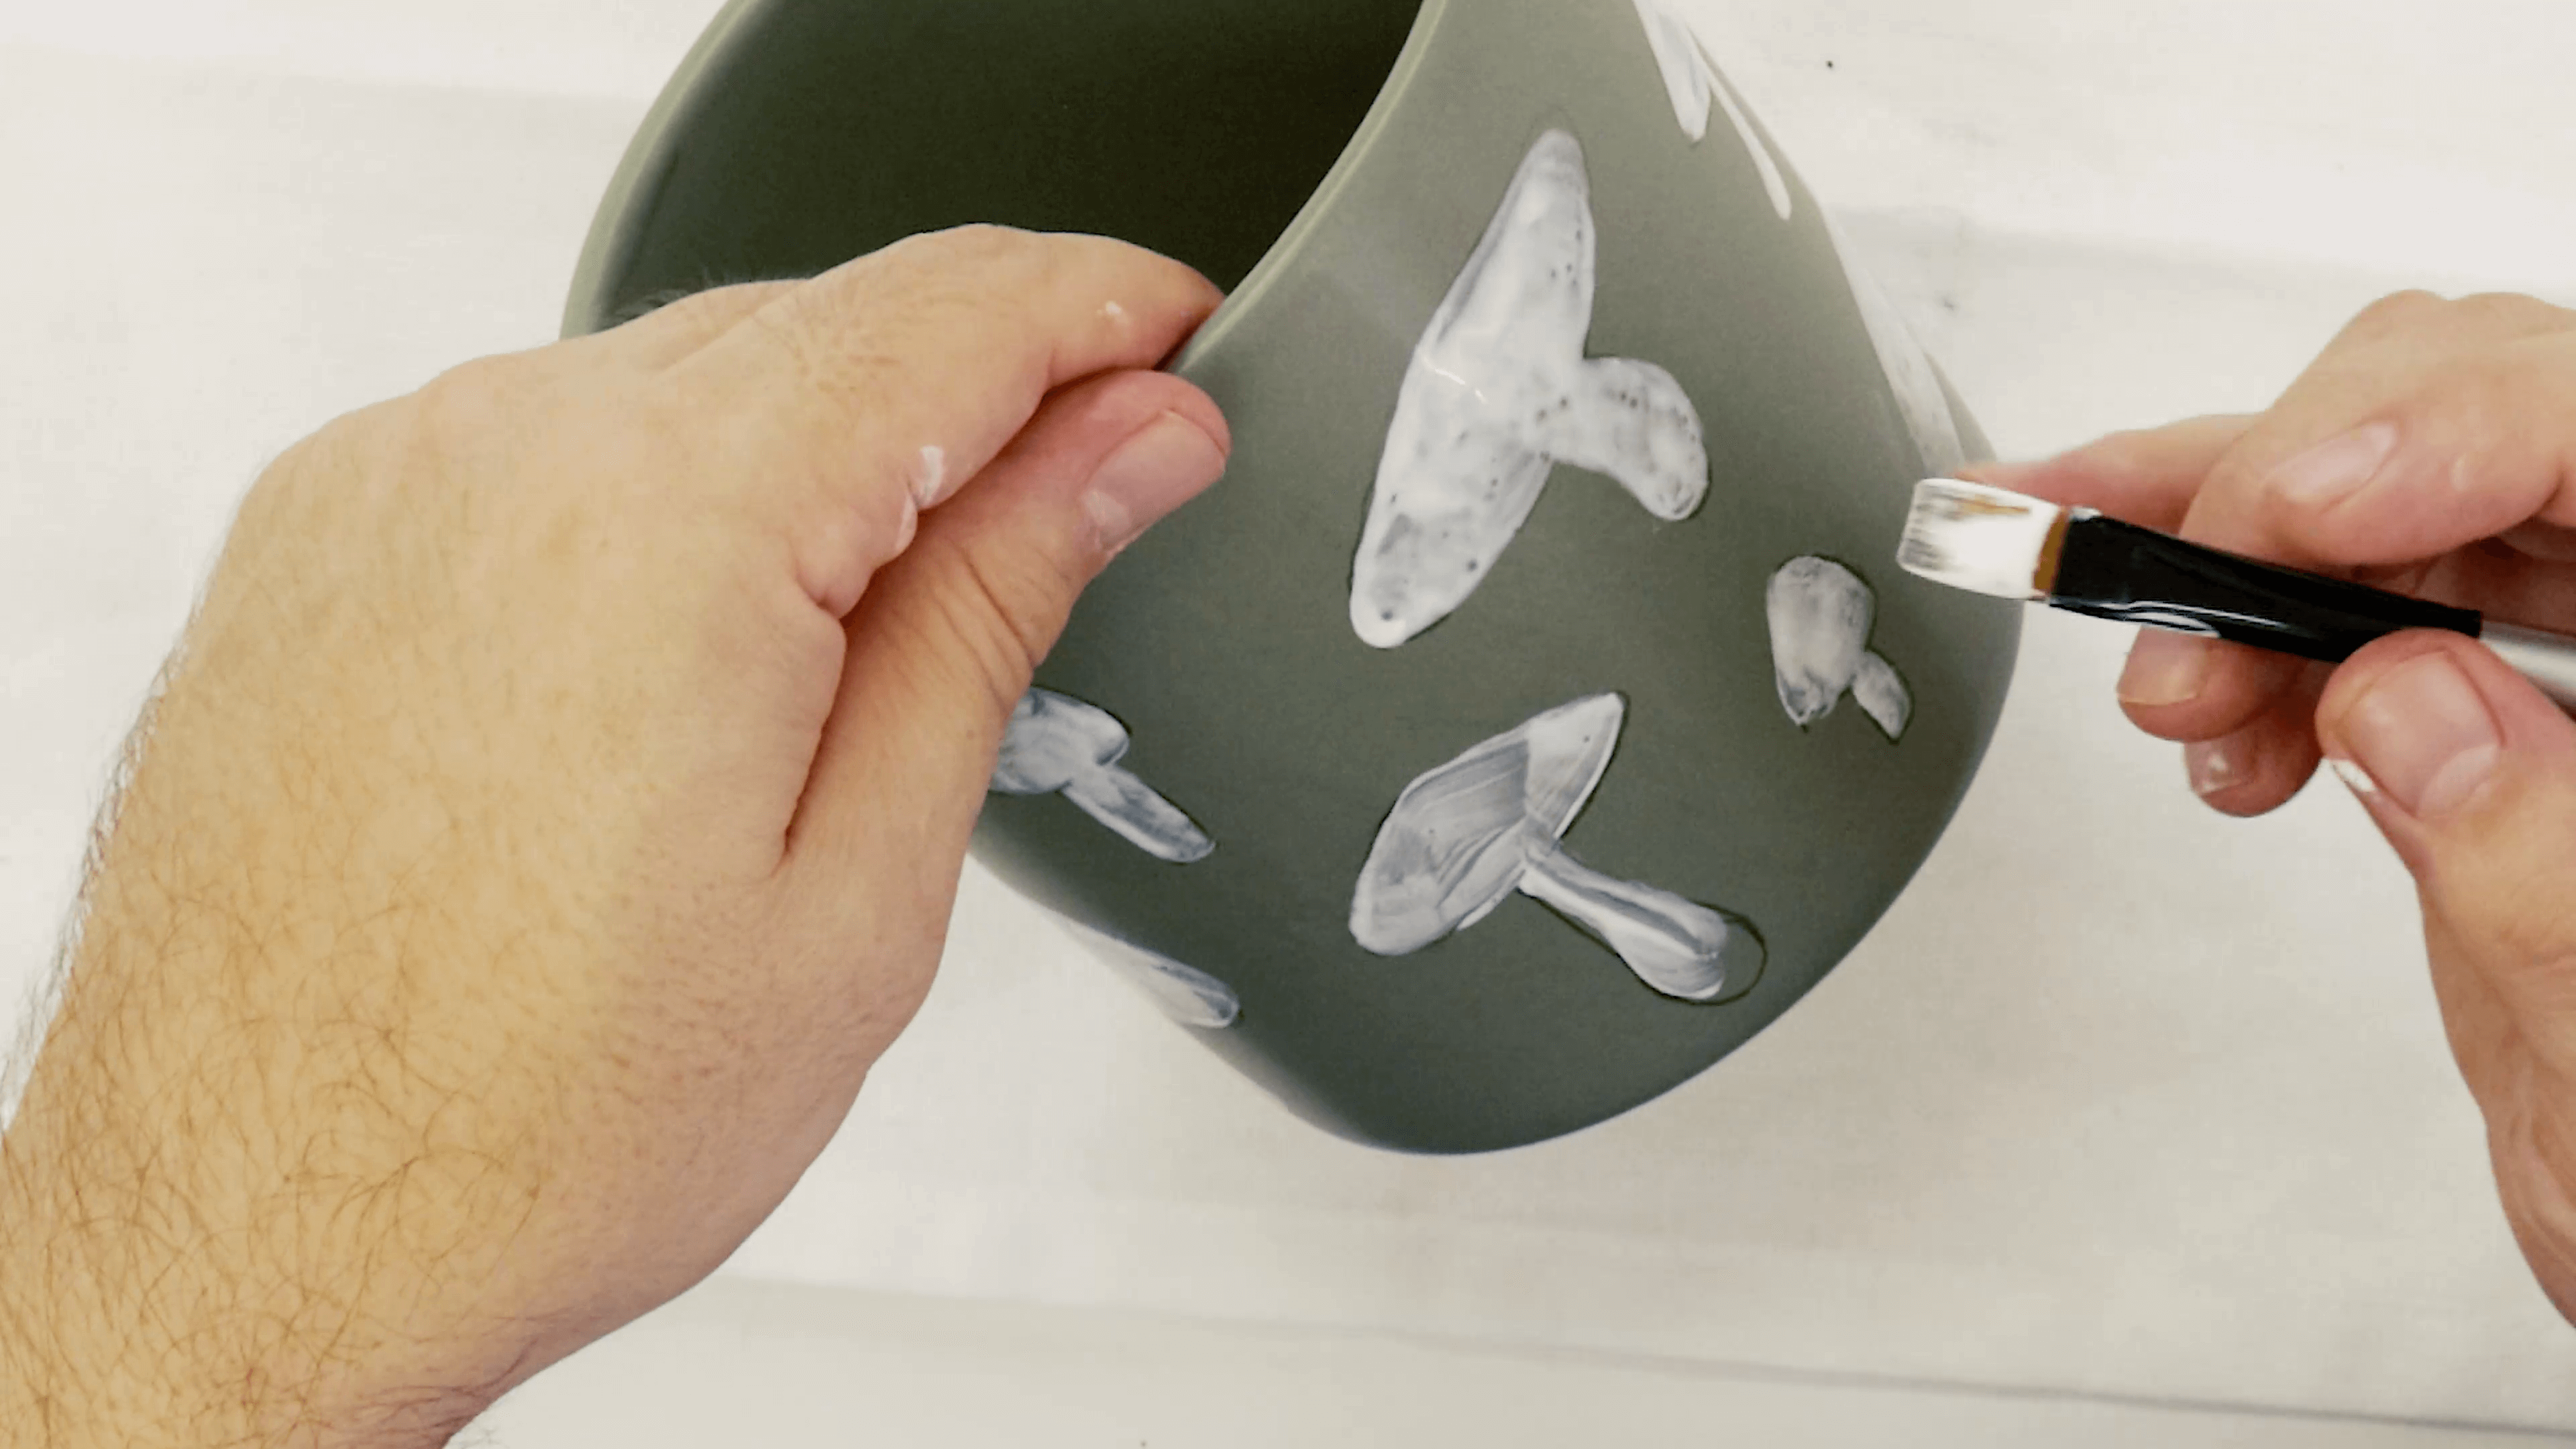
Add white paint to the mushrooms using the back of a paint brush. Experiment using smaller and larger dots.
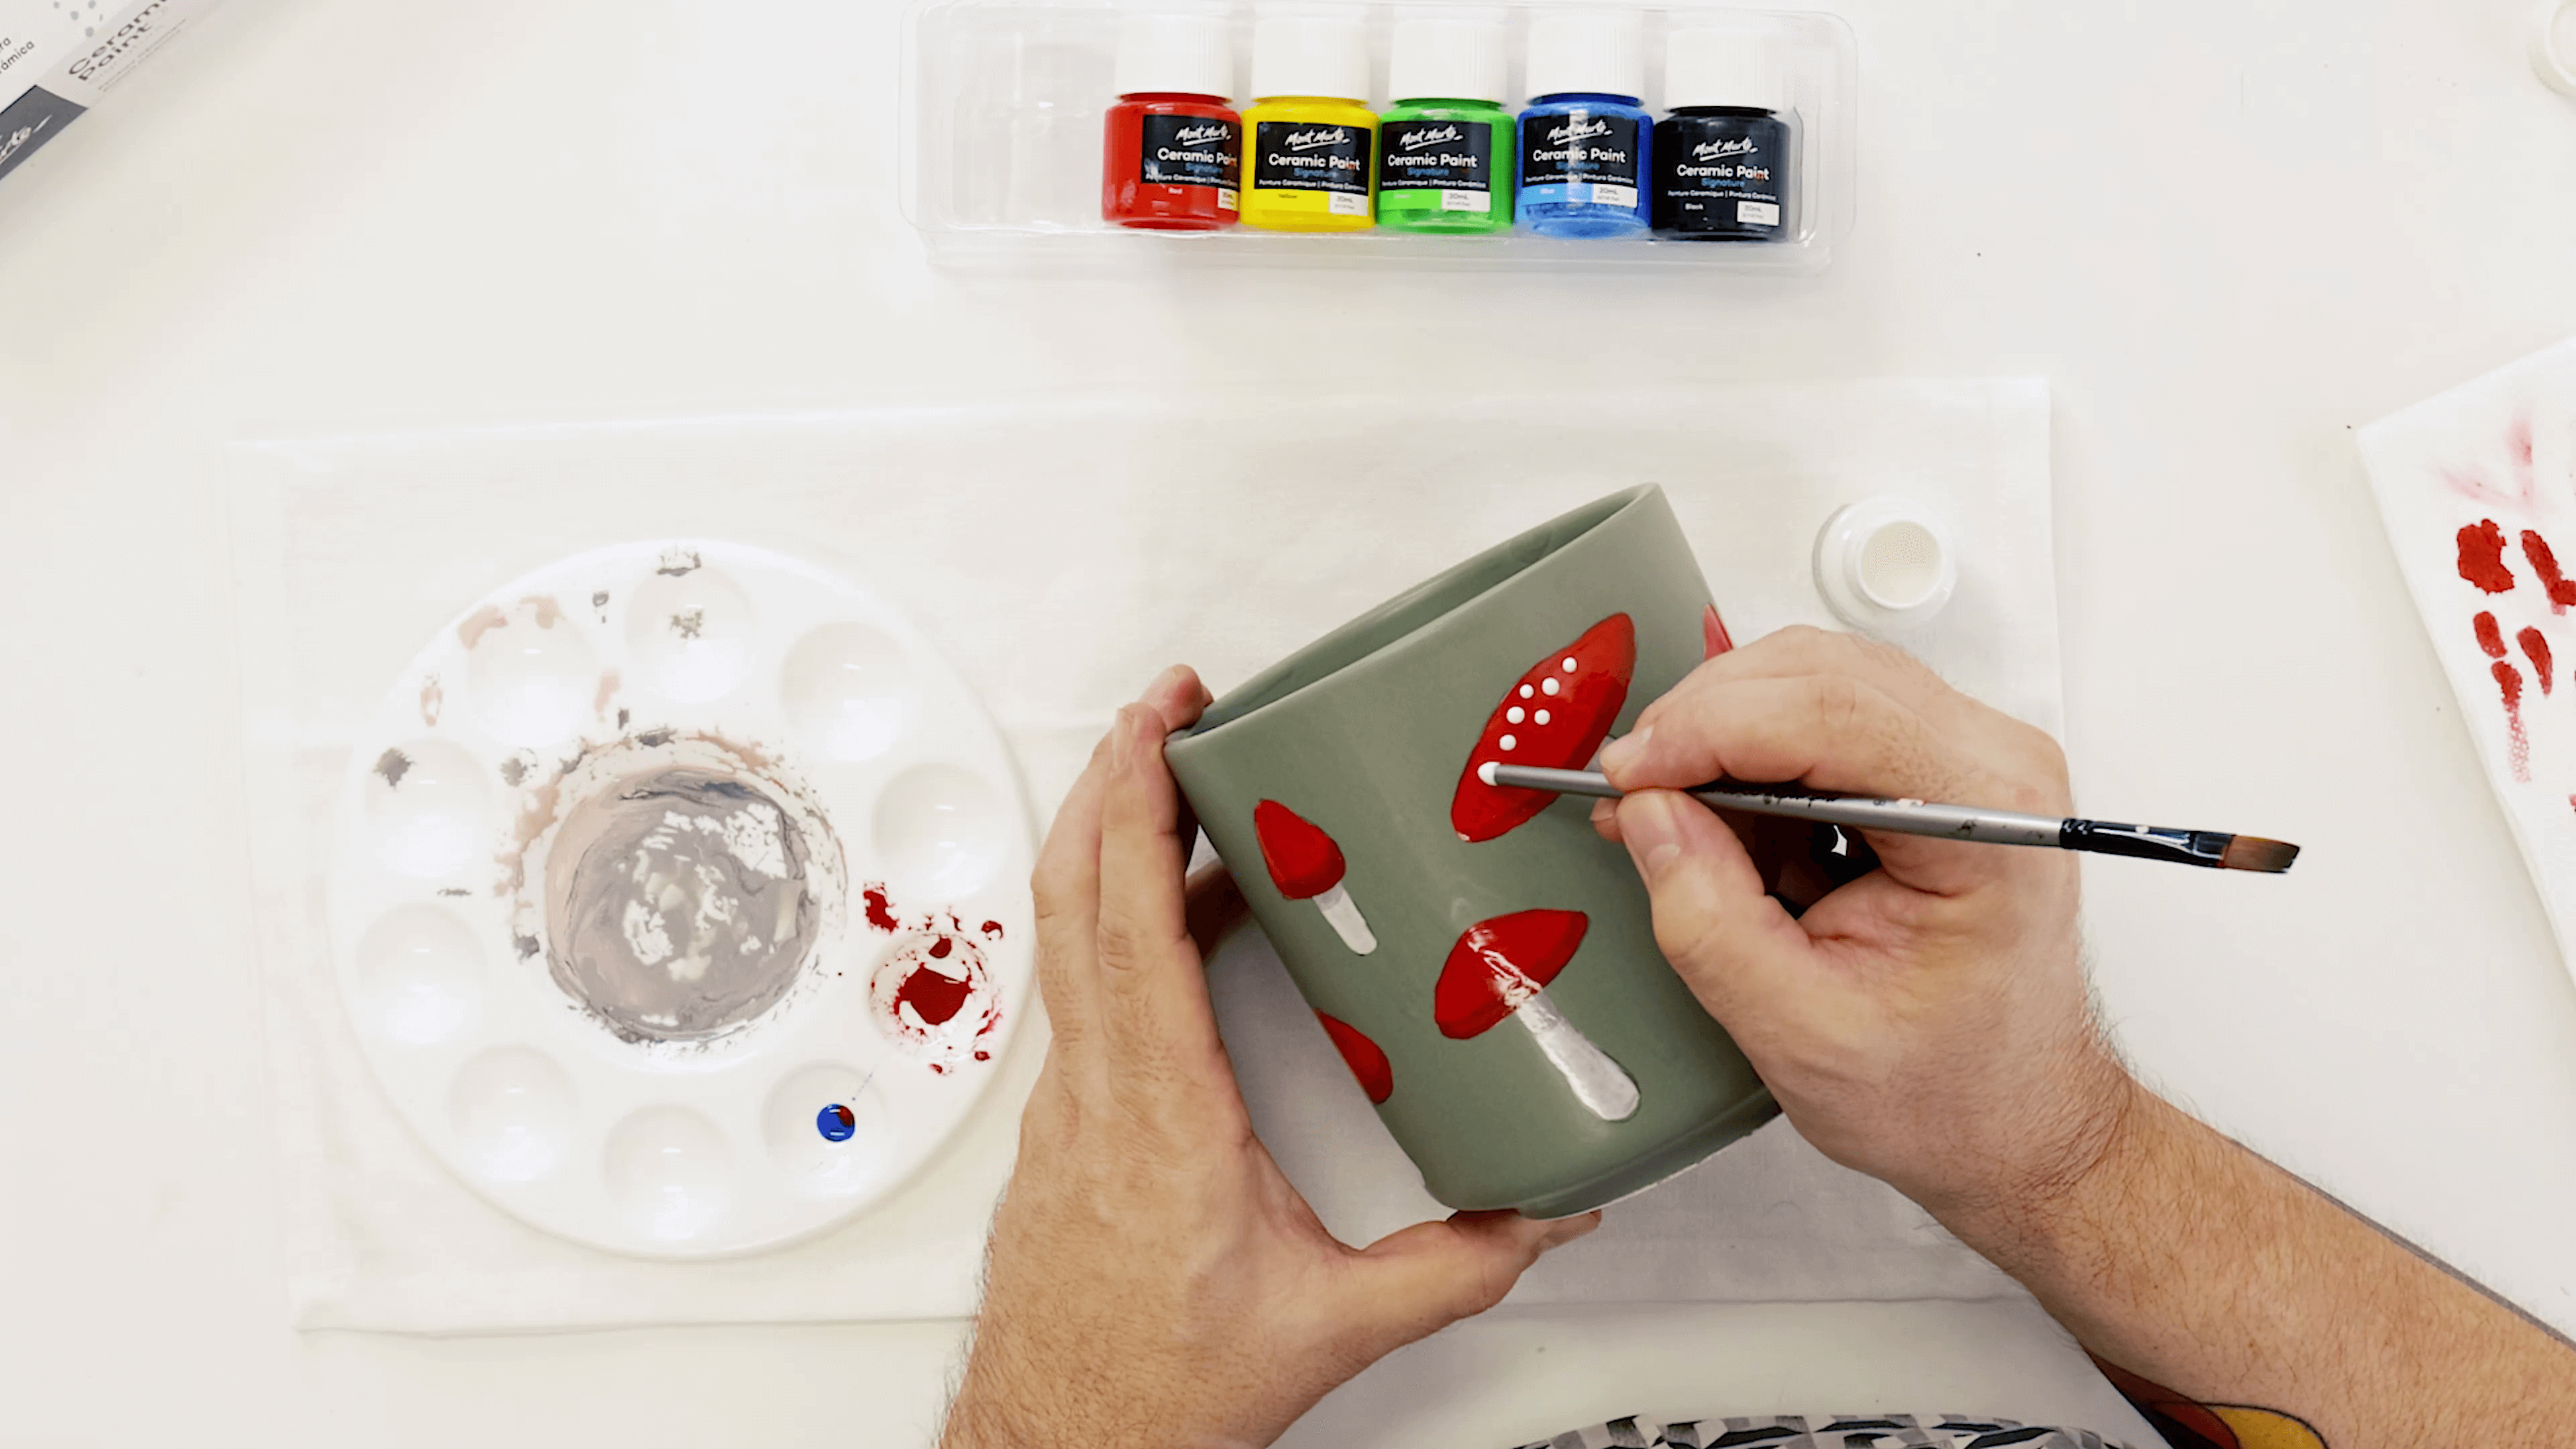
Add more white dots to the top of the mushrooms.
Leave the pot to dry, then you're done!
Material List
- Ceramic Paint Signature 6pc x 20ml (0.7oz)
Shop Materials List
You may also like

Peacock drawing in watersoluble oil pastels


How to use ceramic paint on a thrifted plate
