


Air dry clay flower vase
1. Rolling out air dry clay
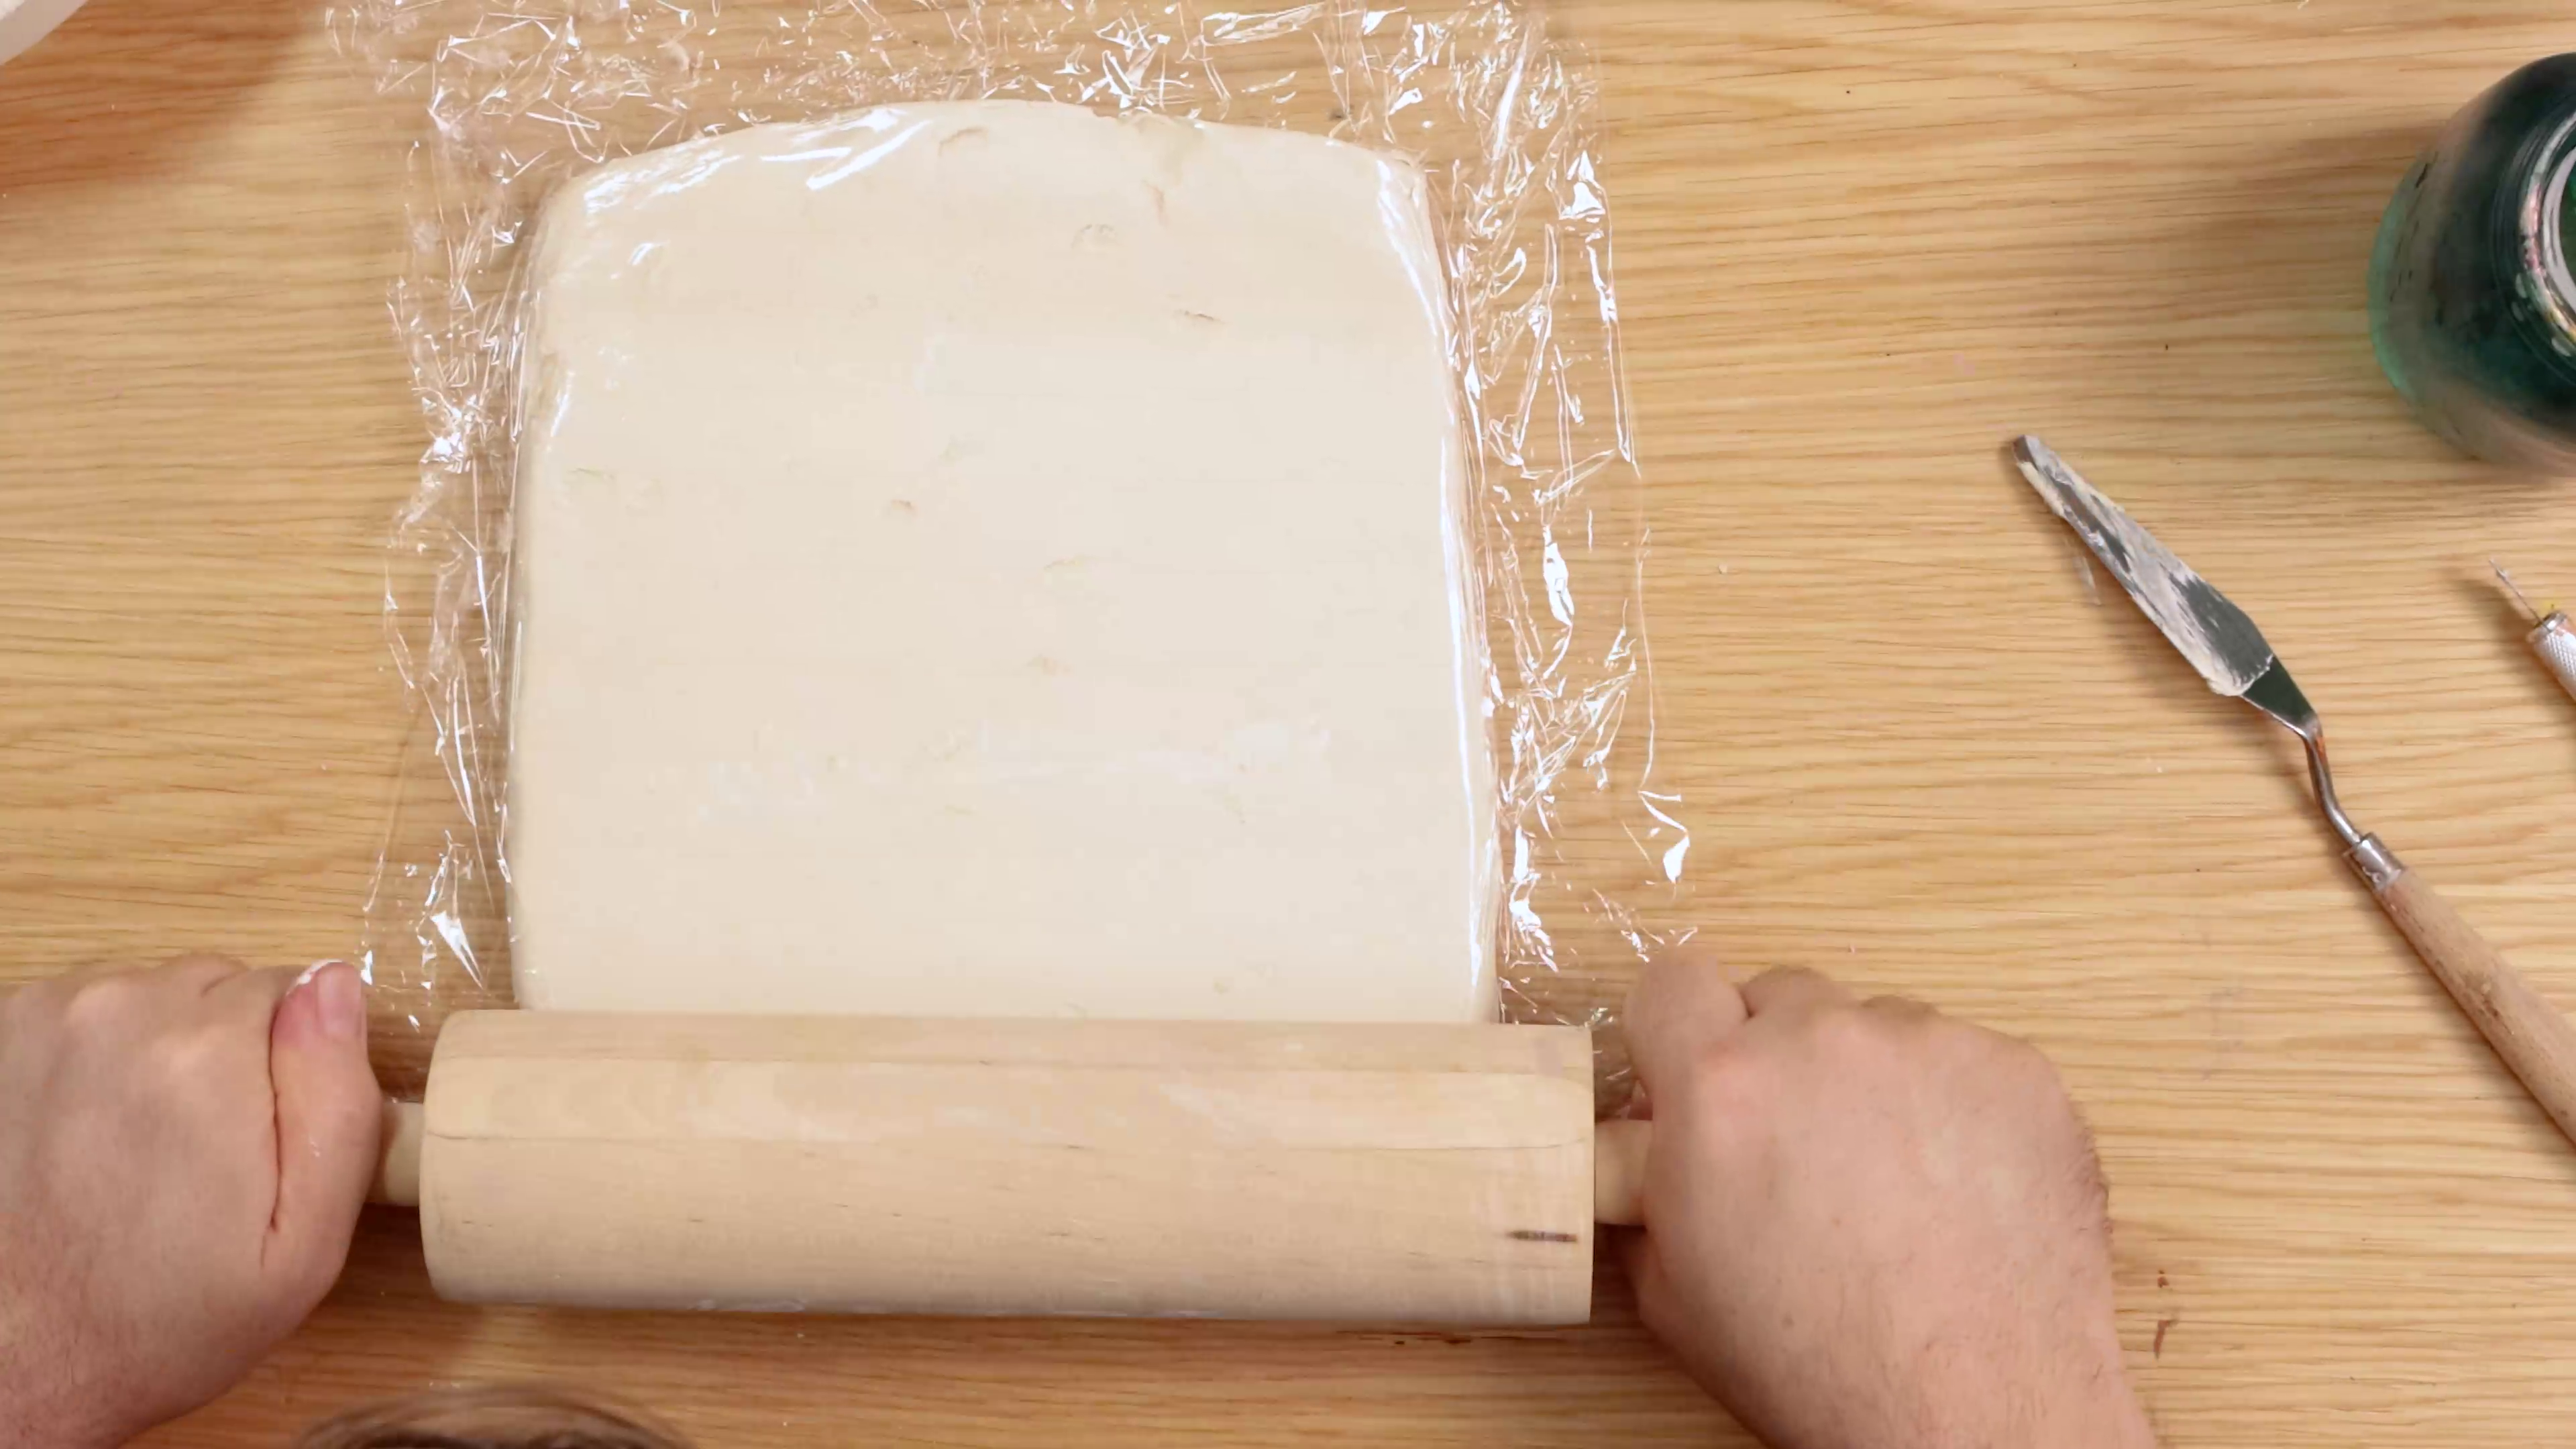
- Roll out the clay to around 5mm thick
- Keep the clay slightly thicker for strength
Tip: Place your clay between cling film while rolling to keep your surface clean!
2. Cutting clay
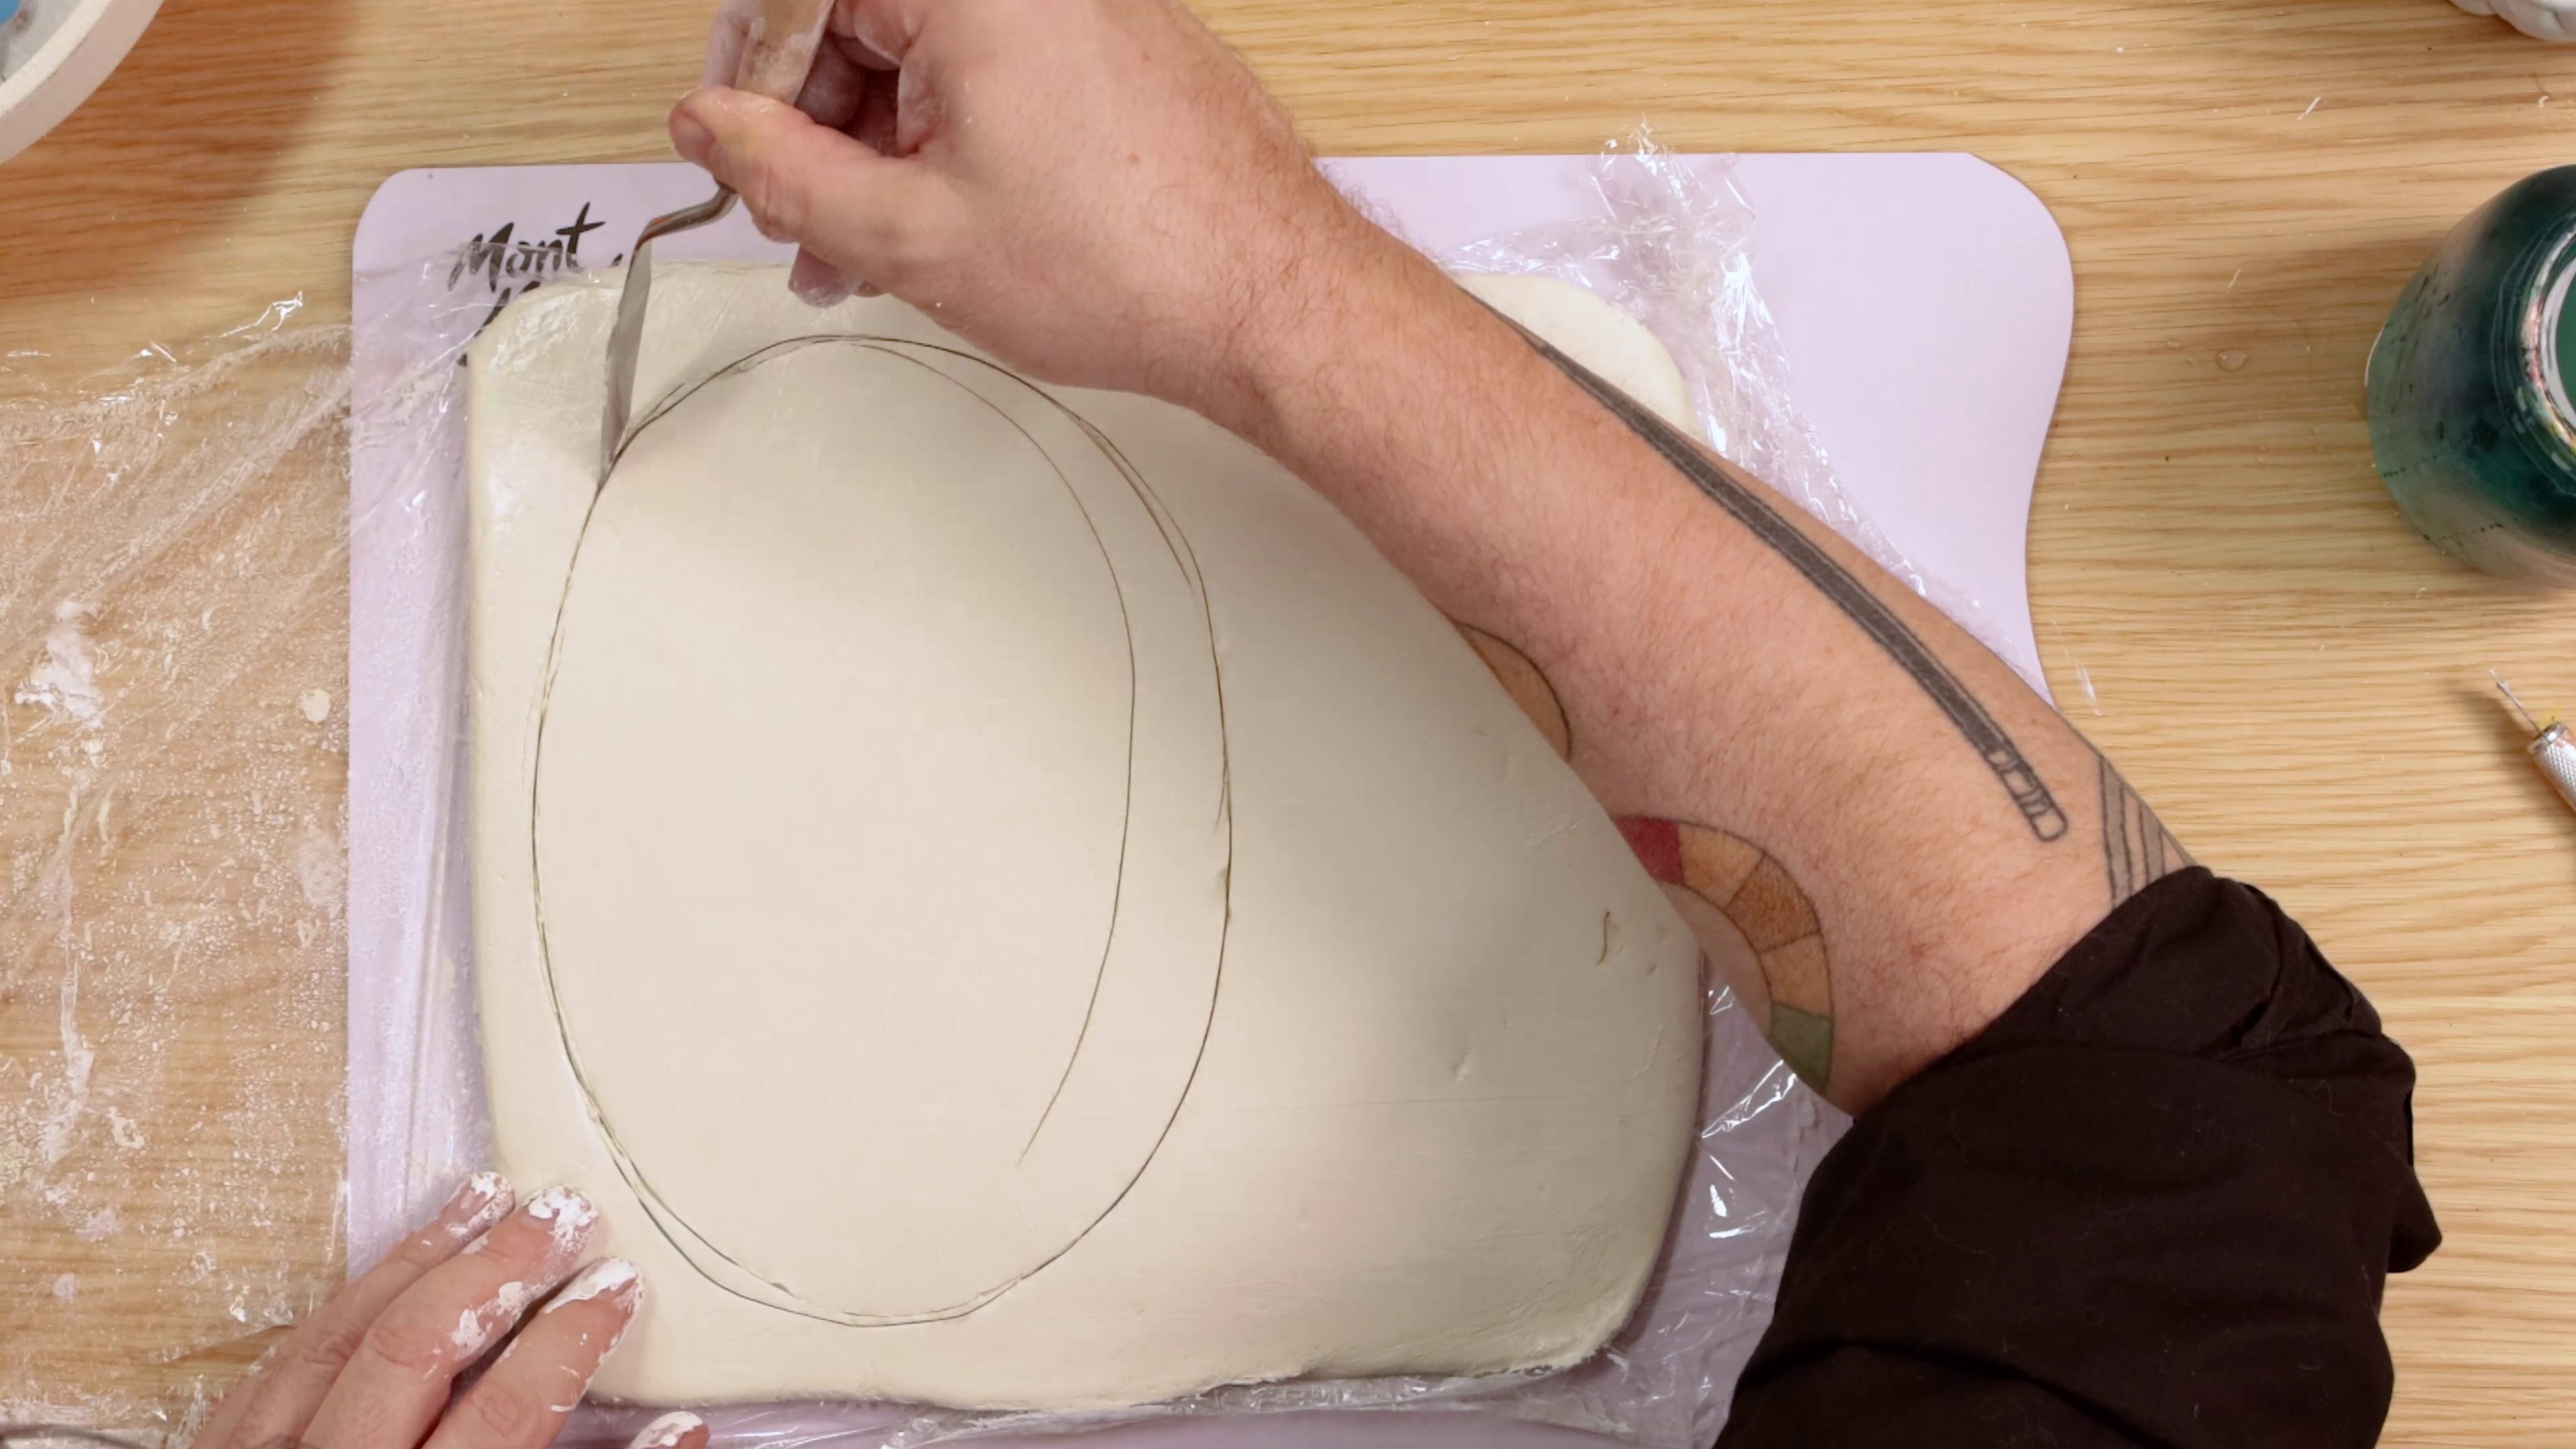
- Cut out your base shape – ours is an oval
- Keep the shape simple so it sits flat against the wall
- Smooth the edges gently with your fingers
3. Shaping clay
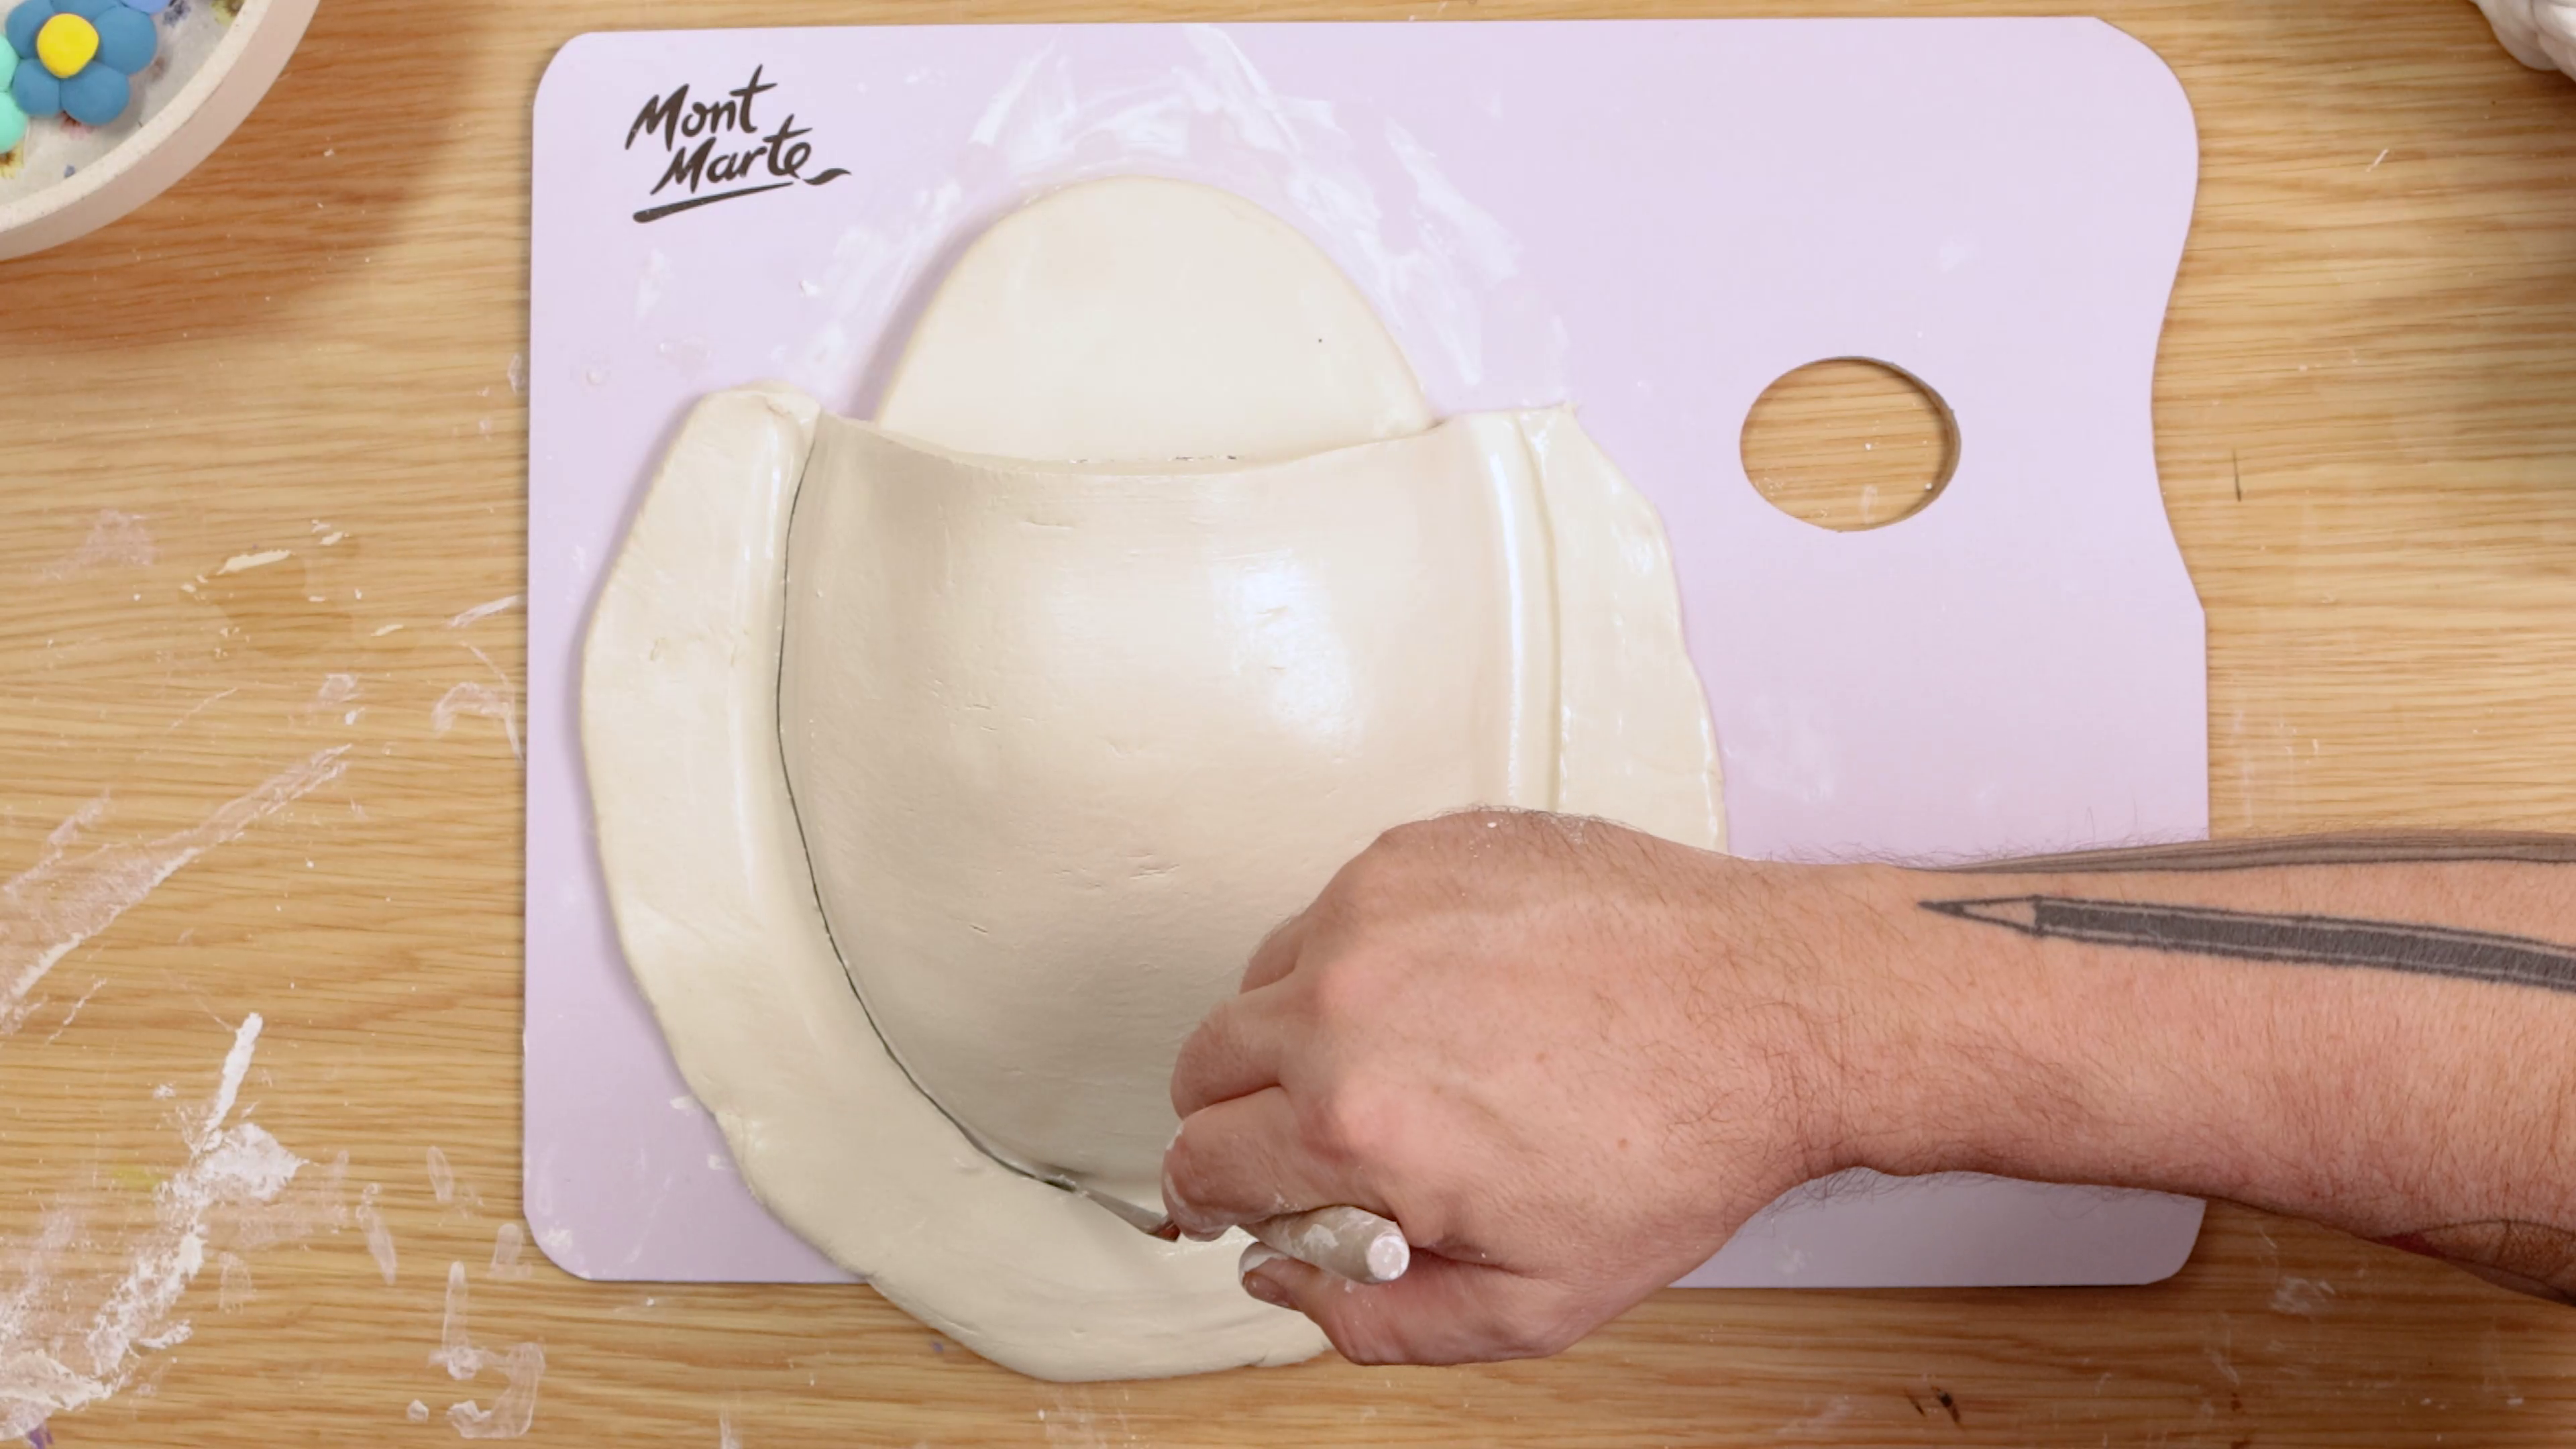
- Roll out a second piece of clay for the vase outer wall
- Shape it to suit your base shape and curve it slightly to make the pocket
- Press the pocket onto the base shape
- Smooth the join using a little water on your fingertips
- Take your time and blend the seam so it feels seamless
- Add a ball of aluminium foil inside for extra support while drying
4. Dry your clay
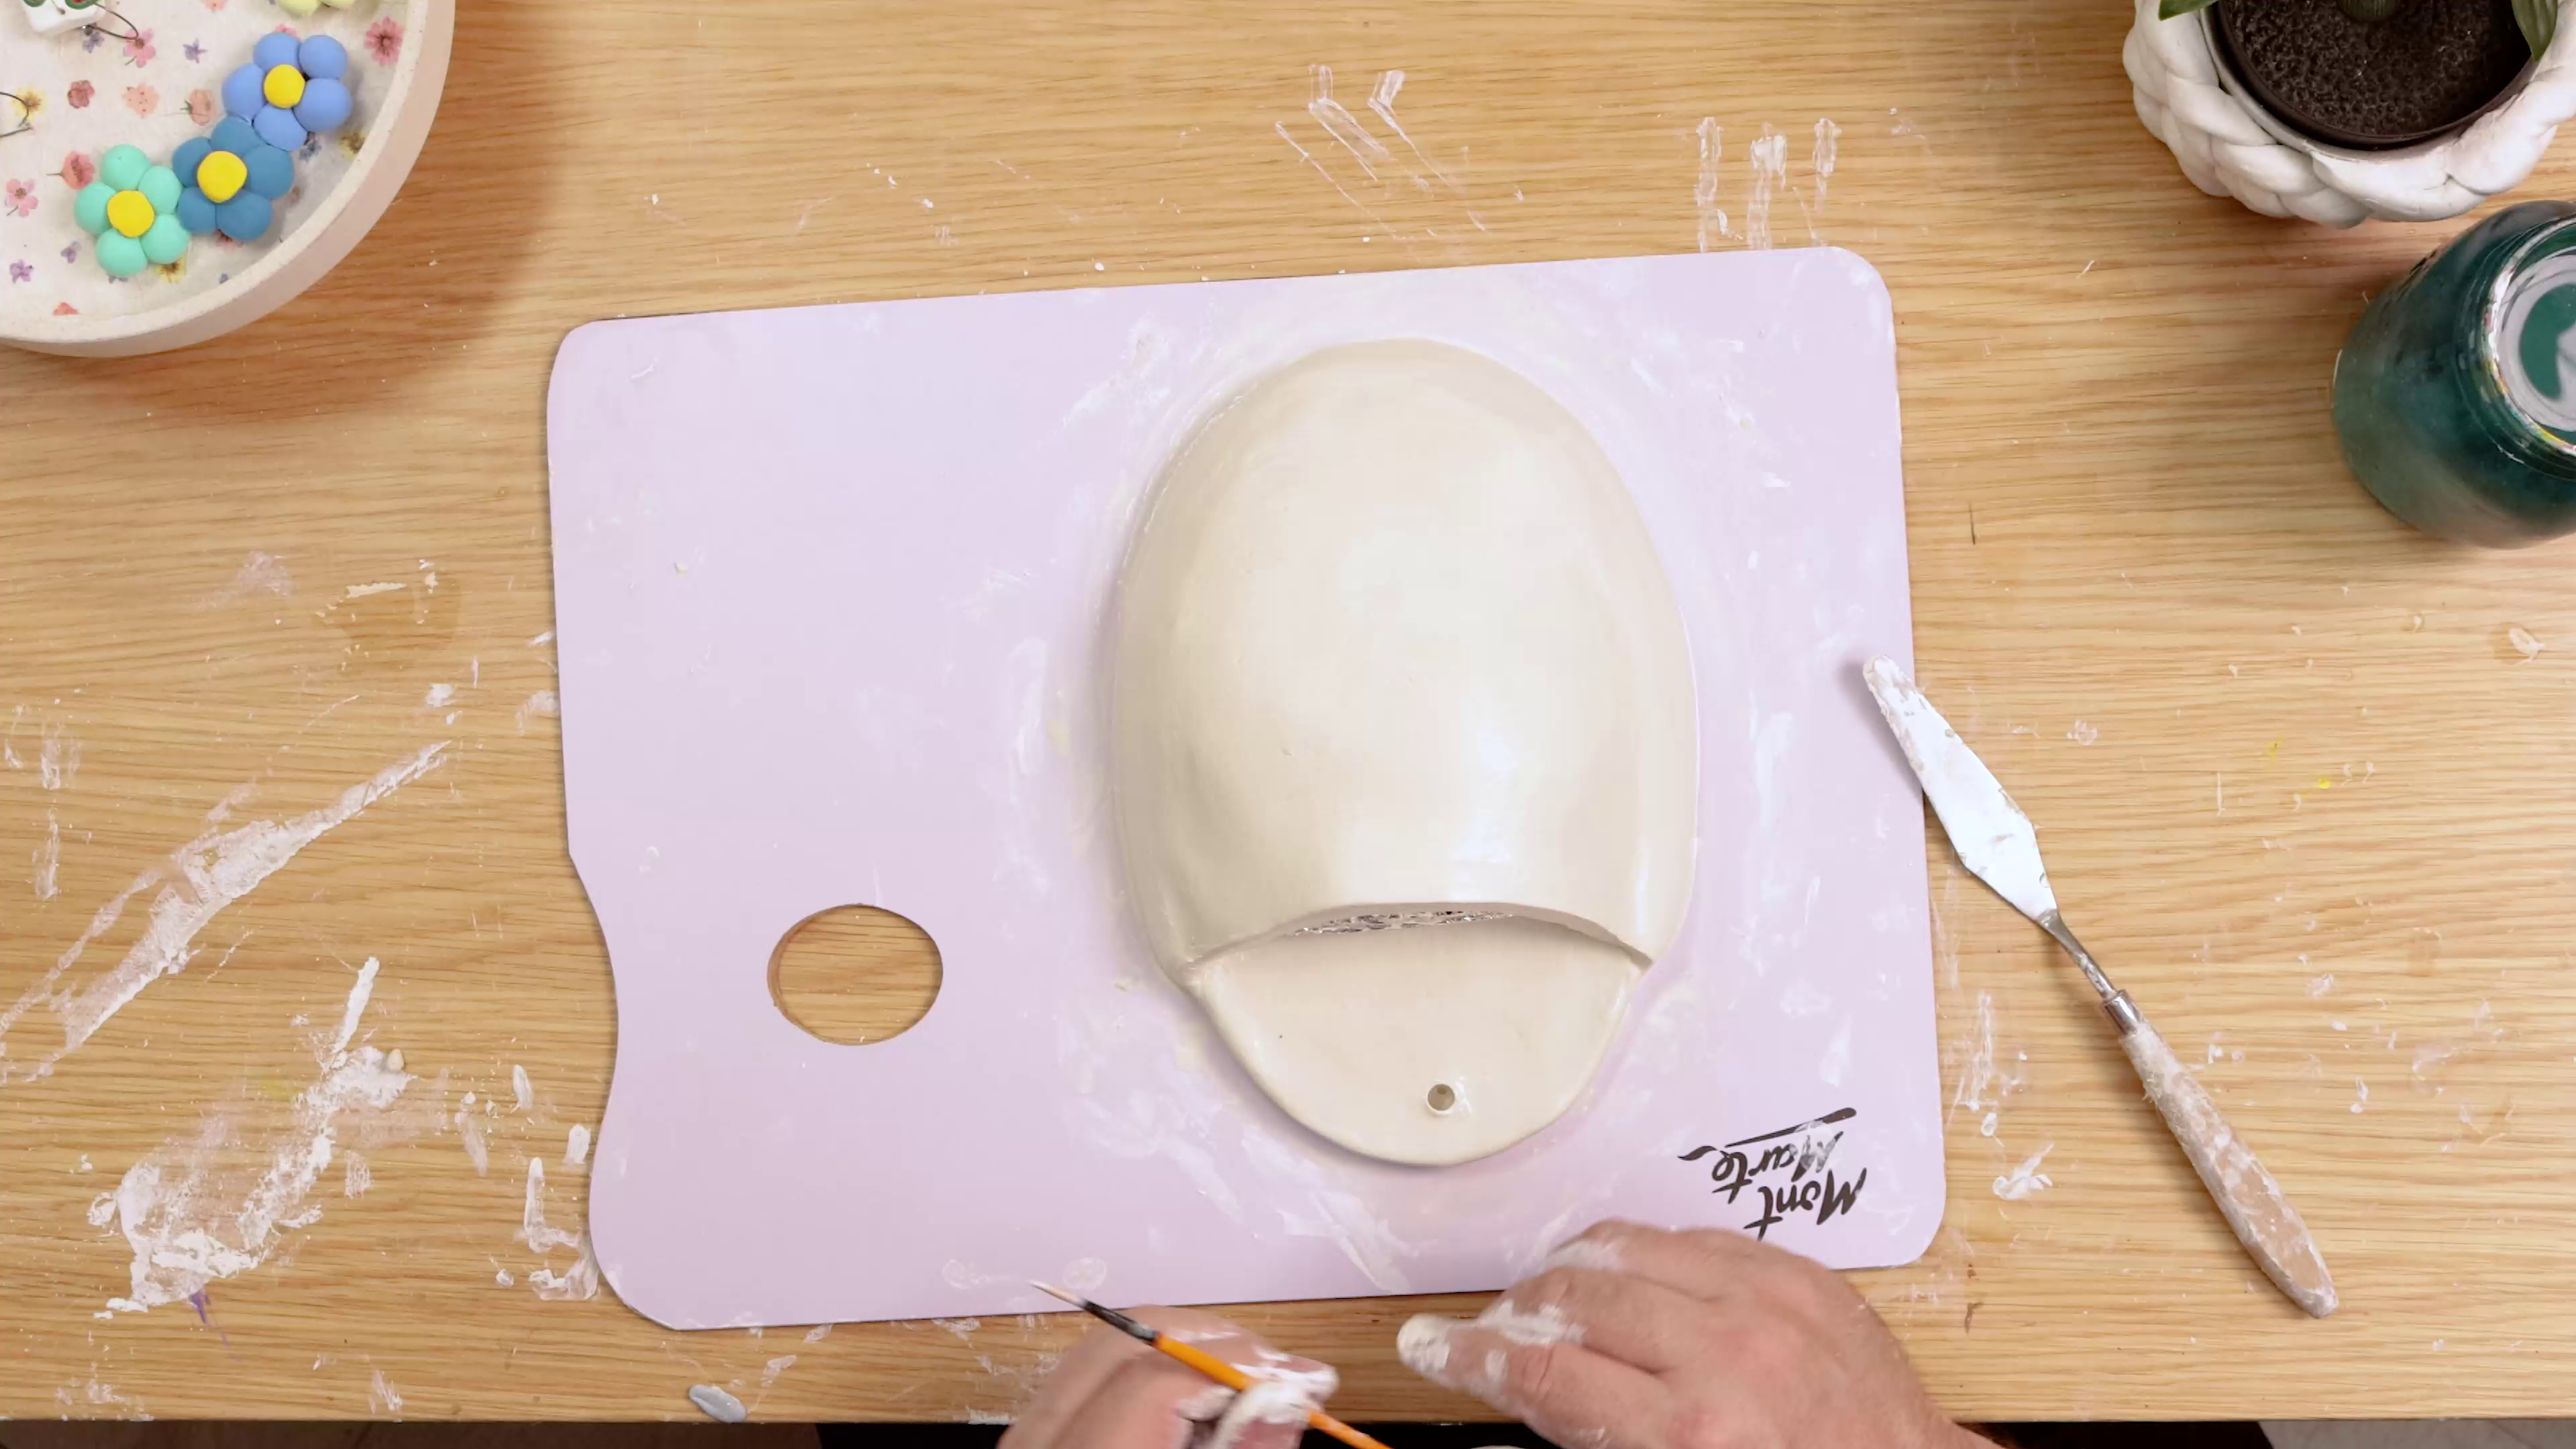
- Leave the surface smooth or add light texture with a tool or brush end
- Use a pencil, straw, or skewer to make a hanging hole near the top
- Leave the wall vase to dry completely for 2–3 days
- Speed up drying with a hairdryer if needed
- Make sure the clay is fully dry before painting
5. Painting gingham
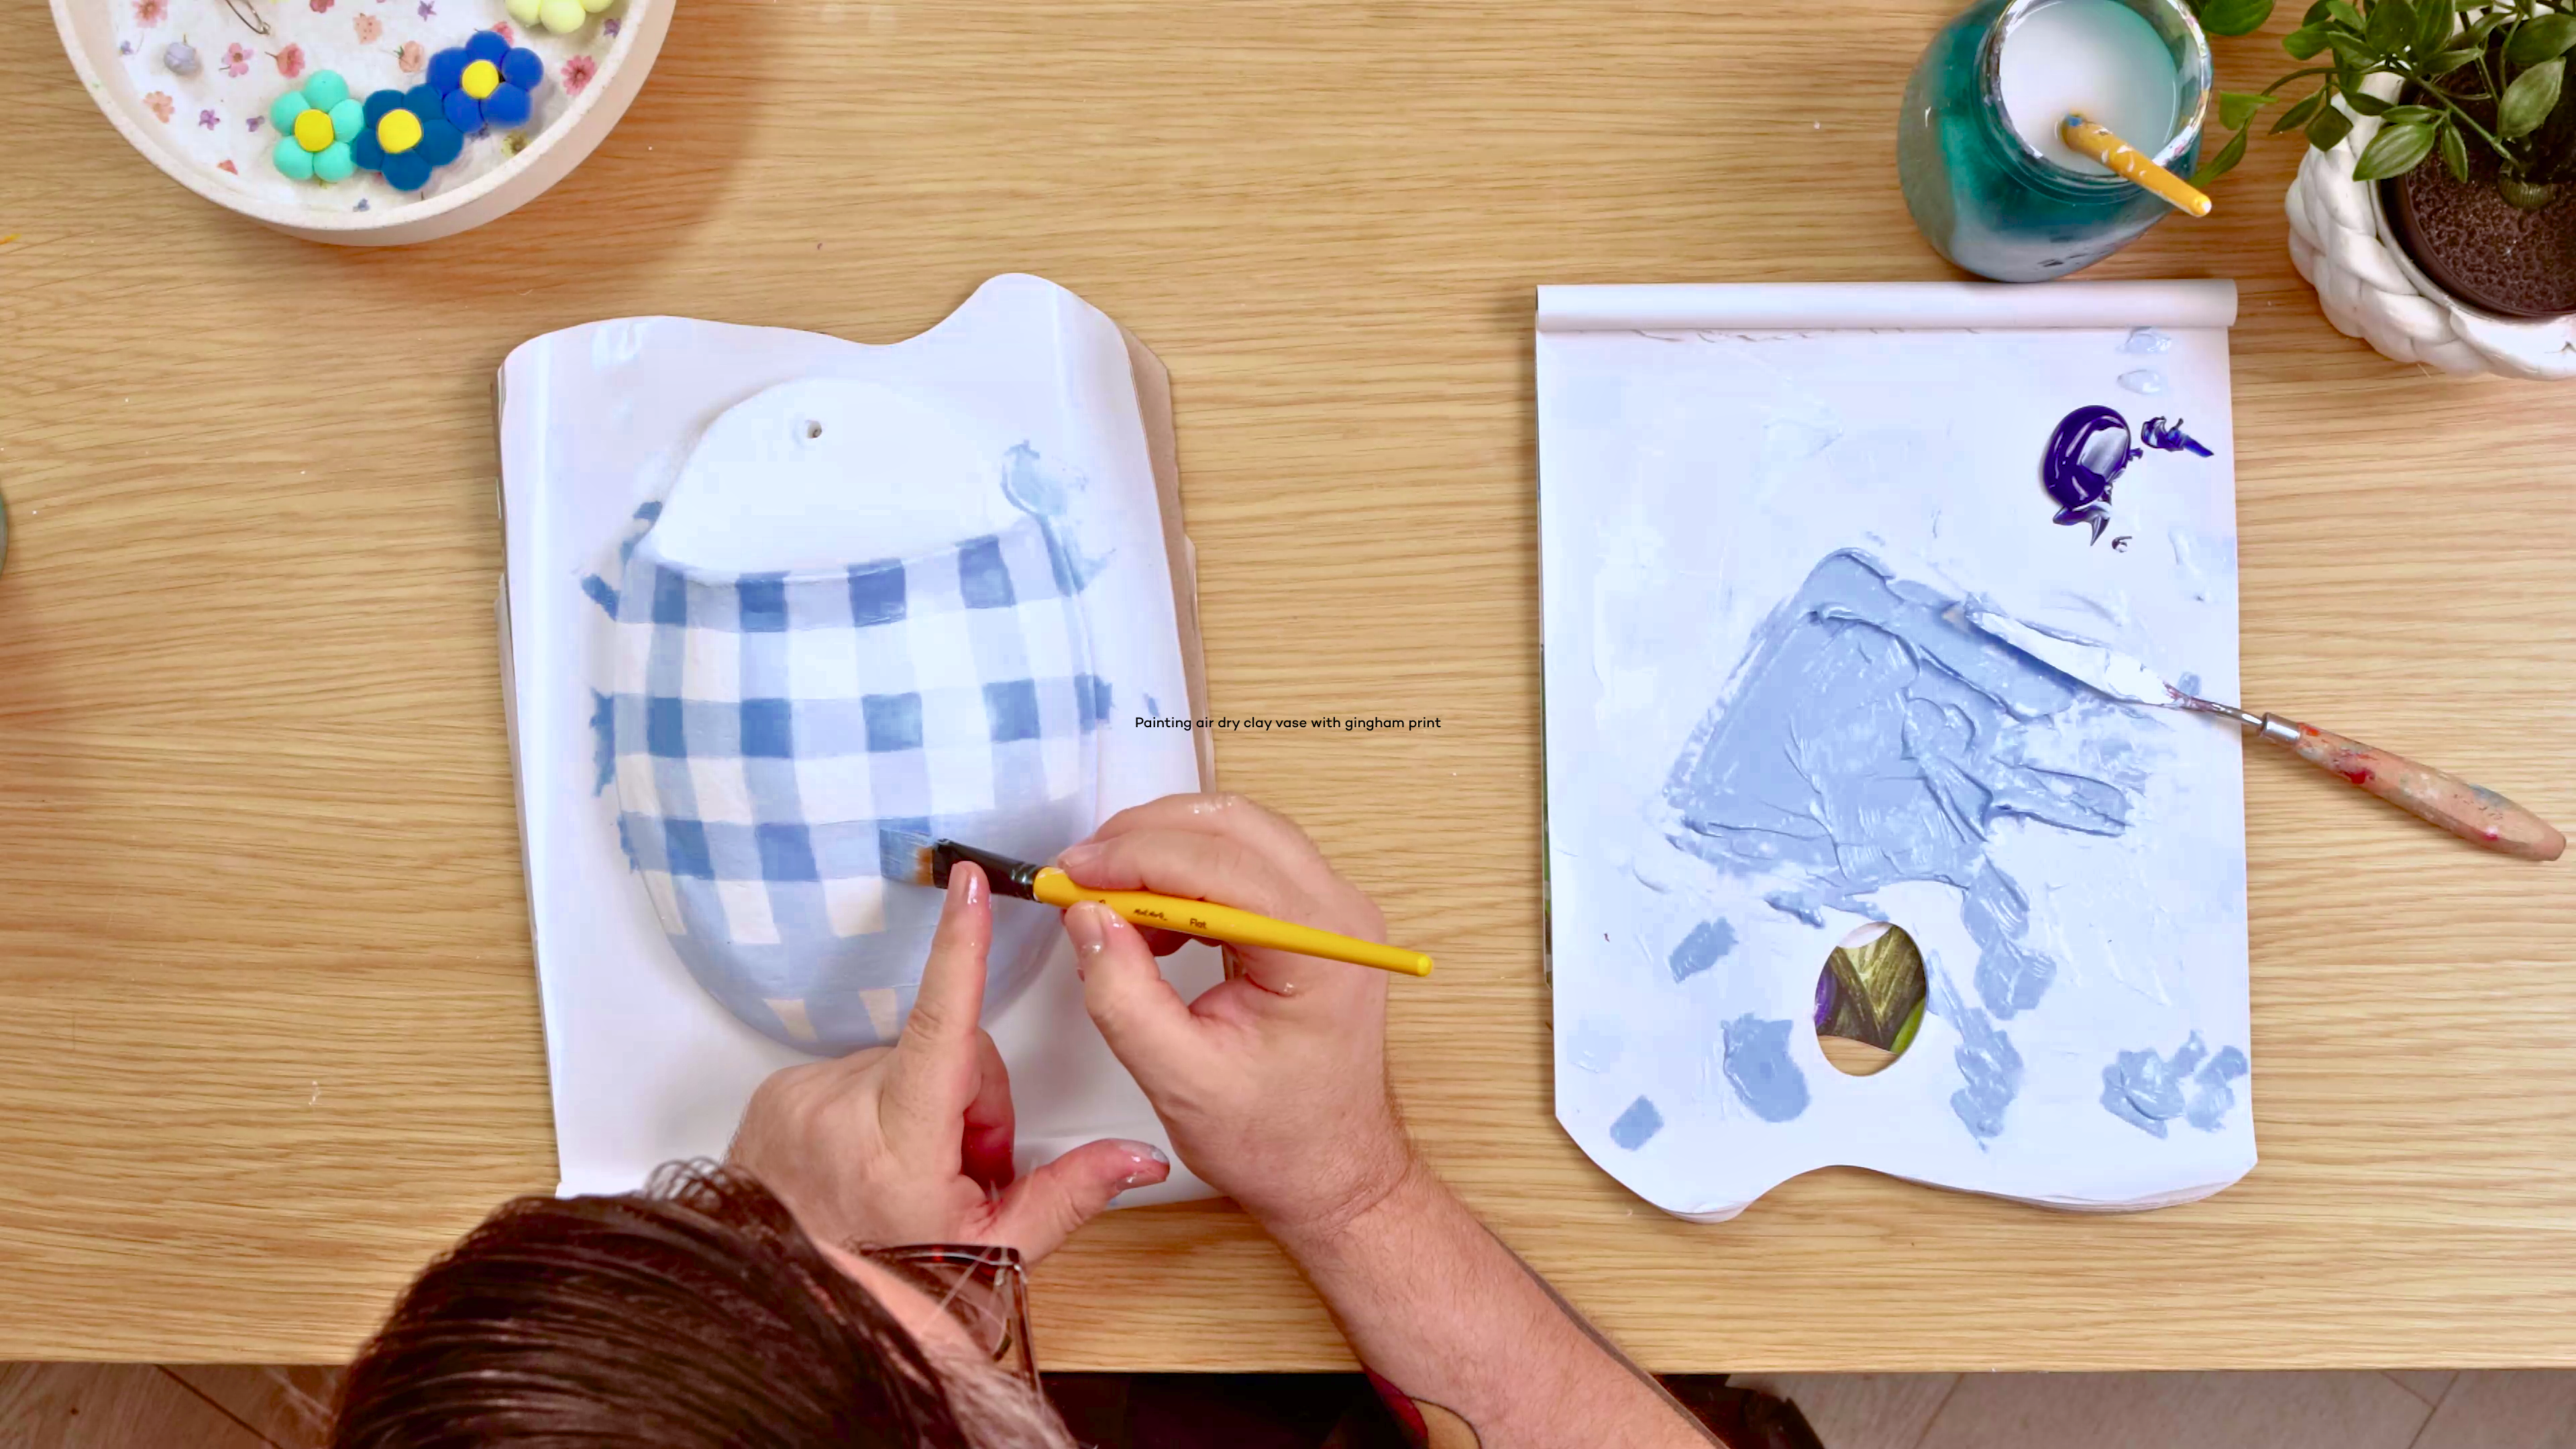
- Choose colours that suit your space
- Use acrylic paint and apply a couple of light coats
- Gingham print can be made by applying your colour in vertical and horizontal stripes and adding a darker shade where they intersect
Tip: Apply a Gloss Clay Varnish for a shiny finish or Natural Clay Varnish for matte finish.
6. DIY wall flower vase
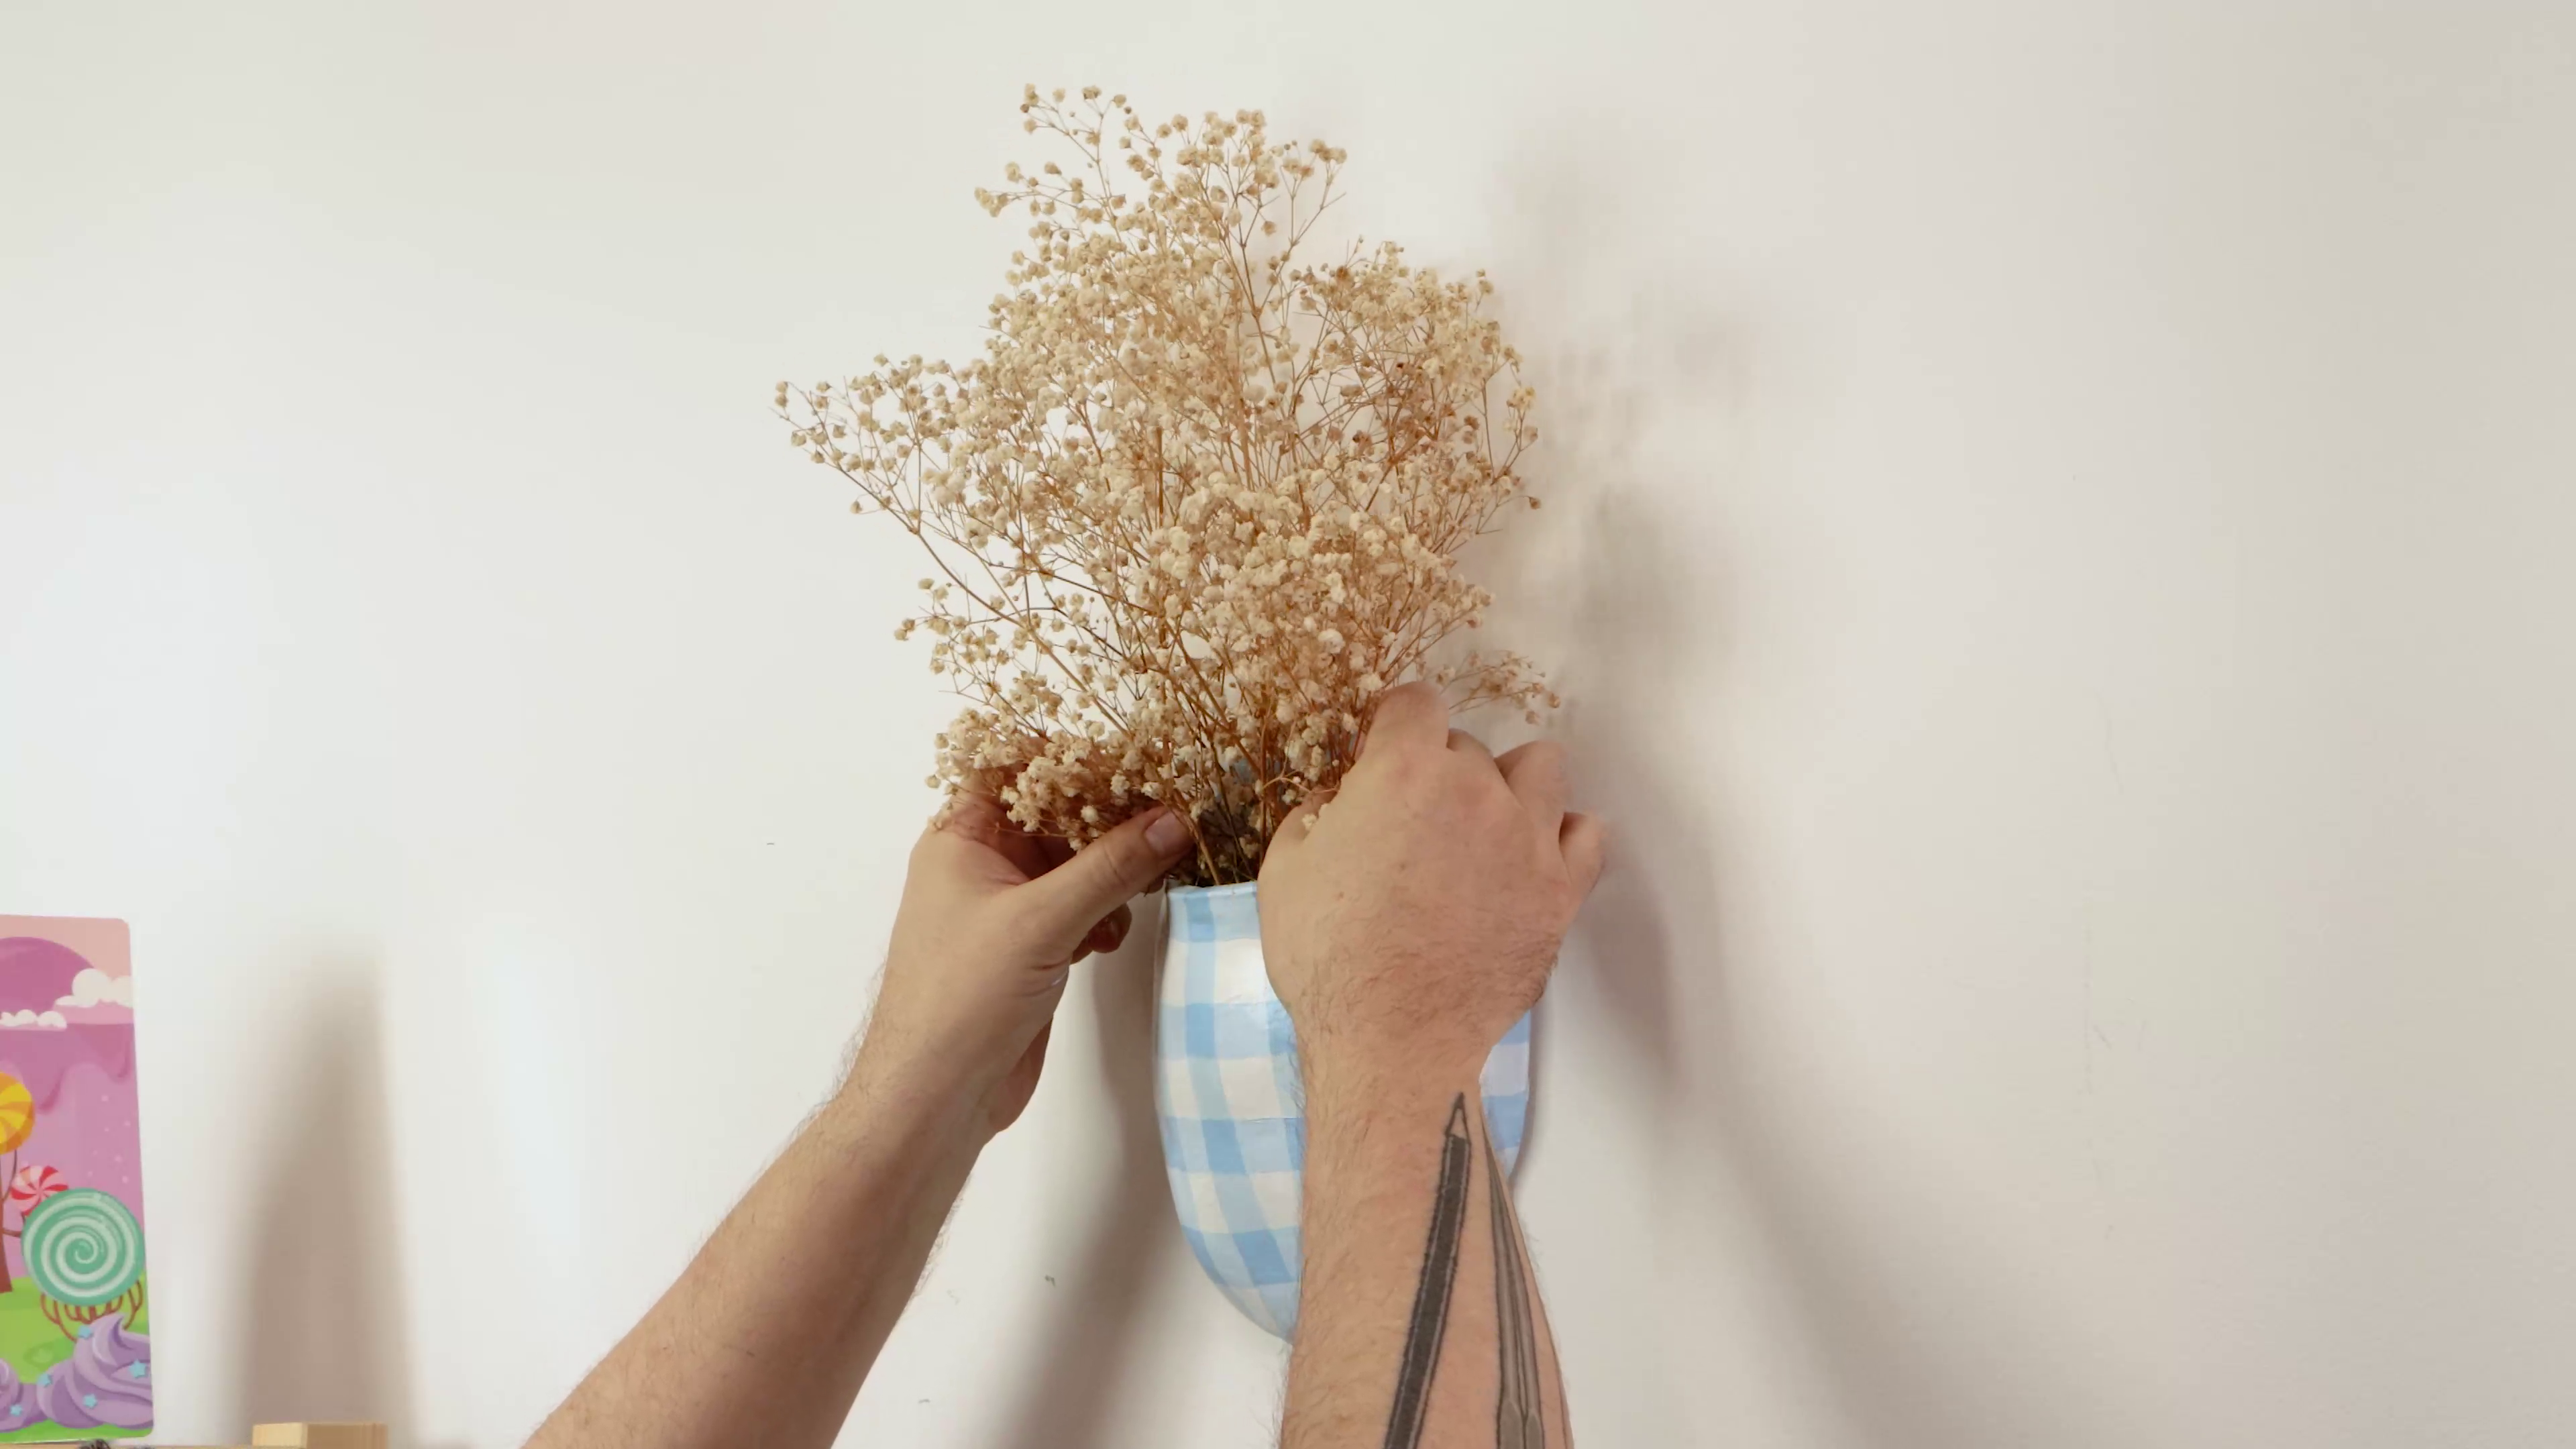
- Once dry, style by adding dried flowers, grasses, or herbs
- Hang your wall vase in a space that needs a natural touch
- Air Hardening Modelling Clay
- Roller, bottle, or similar
- Acrylic paint
- Craft knife or clay tool
- Paintbrush
- Water
- Pencil, skewer, or straw
- Dried flowers or grasses (for display)
- Aluminium foil
- Glad wrap (optional)
You may also like

Peacock drawing in watersoluble oil pastels


How to use ceramic paint on a thrifted plate
