


We have compiled a list of quick and easy techniques to create watercolour texture for your next project. While watercolours dry flat, that doesn’t mean creating texture with watercolour is out of reach! Follow along to see how household products can help you get the most out of watercolour.
Salt and watercolour
Common table salt can be applied to watercolour paintings at different stages of the drying process to create texture and dimension. The more wet the painting is, the greater the effect of the salt. The more water and colour the salt has to soak up, the more spread-out the effect will be as it absorbs the liquid. On damp (but not wet) paper, the effect will be more pinpointed as the salt has less liquid to absorb. The effect will range from a blooming, washy effect, to a small speck roughly the size of the salt grain, depending on the dryness of the paper. This effect is commonly used in landscape watercolour paintings to create fine texture in foliage and blooming light in clouds.
Bloom
This technique is an awesome way to create blooming, inky, tie-dye effects for watercolour projects. You start by applying plain water to your paper first, usually in a freeform shape across the page. You can also cover the whole page in water for a page-wide effect. Tip: let the page dry just a little to avoid the water colour pooling rather than spreading!
Touch a brush loaded with watercolour to your water-washed page, letting the colour bloom as it contacts the wet paper. Experiment with applying a little and a lot of the watercolour to see the different kinds of effects it can have as it spreads across the paper. This can be great as a background to a piece, or to create dynamic skies and oceans.
Sponge
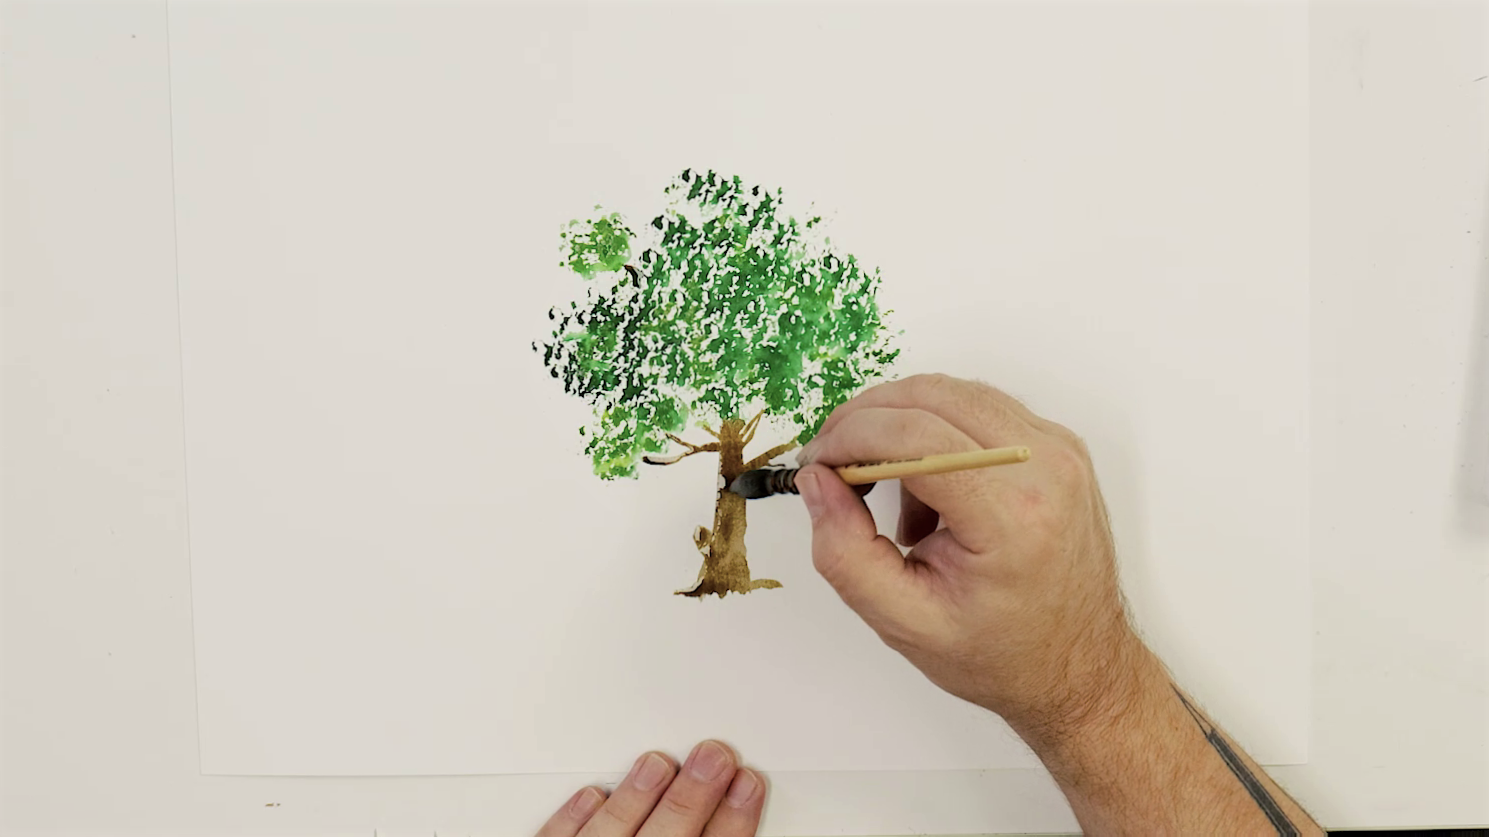
The sponge technique is as simple as you’d think: dip a piece of sponge into water colour and apply it to your paper! You can experiment with layering colour placement to create dimension, as well as saturating different parts of the sponge to deepen some areas and produce texture. This technique is excellent for representing foliage, flora, and coral, as well as bringing dimension to skies and water.
Plastic wrap
While your watercolour is still wet, pop some plastic wrap over it to create different textures and colour effects. You can either crumple the wrap or stretch it in a chosen direction before placing it onto the piece. Directional placement will create lines as the paint settles in the spots that don’t touch the plastic. Crumpling the plastic creates a less predictable and more free-form textured effect. Both techniques lend themselves to creating watercolour water texture, while directional placement can capture marbling for mountainous landscapes.
Sgraffito
Sgraffito is a fun and easy technique with a bit of a funky name. It can actually be done with lots of different mediums, but basically, it involves scratching through a layer of wet paint to create indentations in the paper. Note: it’s best to use good quality paper for this, otherwise you may just tear straight through! We’ve also answered some commonly asked water paper questions in a previous blog if you want to find out more.
Once the indentation is made, the colour will pool in the puncture, creating a darker and more defined line than the rest of the painting. It is awesome for bringing fine-line details to leaves, wood, and other flora, as well as outlining your subjects.
Negative space
Whether it’s by blocking with masking tape or using white crayons, creating negative space in your watercolour projects can be a great way to produce unique texture and layering. White crayons are awesome for quickly blocking out details that you want to remain white or highlighted. As crayons are wax, watercolour will not cover the white crayon marks, making it seem like exposed paper. This can be used to highlight where the sunlight touches clouds on your landscape painting or even to create a dynamic outline of your subject. It’s so super easy and is really fun to experiment with!
You can also create negative space by blocking out a portion of the painting at the start, before layering watercolours on your paper. For example, you may block out the space where sunlight reflects off of the ocean before putting down blues and greens on your paper. You can do this by cutting strips of masking tape to block out the shape of the reflections. Then layer watercolour on top to capture the colour of the ocean. Once the watercolour is dry, carefully peel back your masking tape to reveal the negative space that gleams like light hitting the water!
Paper towels
Paper towel is a household material that is super handy for lifting watercolours from your page. The paper towel can be used to create texture and depth by absorbing wet colour from the paper, resulting in highlights and light in your artwork. This can be awesome for creating movement and depth when capturing an ocean swell or else adding clouds to a blue sky. There are many ways to use this technique and it’s super simple – we recommend experimenting!
Brush techniques
Brushes can be used in different ways to affect colour placement. Dry brushing is a really easy technique that is excellent for creating rough textures such as bark or even demonstrating movement in an ocean. Basically, you take a dry brush and dip it into your watercolour paint, being careful not to fully saturate the brush. As you spread it across your dry paper, the brushstrokes will look really textured with lots of negative space where the brush has not held the colour.
You can also use brushes for spattering and drop-like effects, where your watercolour hits the paper in a speckled and organic way. For spattering, a stiff brush is best (e.g., a toothbrush) as you use your finger to flick the bristles and release watercolour paint onto the paper in a splash effect. Stiff bristles are a must, so the paint is flicked off of the brush properly. This can be perfect for capturing ocean spray, stars in the night sky, or even flora details such as berries or flowers on a tree. We’ve got a range of watercolour brushes that can be used to create a variety of textures.
Multimedia
You can collage and layer paper to create fun texture and dimension in your watercolour artwork. Often the edges of the paper can be left raw and exposed to capture highlights and negative space, whether it be the ridges on mountains or cloud lines breaking up the sky. This can bring certain shapes to the forefront and push others to the background, producing easy and readable textures.
Finish
You can finish your paintings with a varnish or spray to create an all-over texture quickly. For example, you could use our iridescent varnish on your painting once it is fully dry to leave a shimmery, dimensional texture on your work. This would be perfect for capturing an ocean scene or scaley creature.
Now that you know 10 ways to create texture with watercolour, you’ll be set to have a go and try them out yourself! 😊 If you’re starting out with watercolour, we have a guide for beginners that may help you feel even more comfy with the medium.
We hope that you feel inspired to pick up some watercolour and find out your favourite ways to add dimension and depth to your artwork.
#montmarteart or tag us @montmarteart on Instagram or Facebook. We’d love to see what you create.
Looking for more? Check out our Artist Gallery for some inspiration. If you need supplies or want to experiment with one of the techniques mentioned, jump online to check out our watercolour paints and papers.


