


If you’re getting into pastels but not too sure where to start, pick up some oil pastels and check out these 10 oil pastel techniques. Whether you’ve got an oil pastel landscape or project in mind, give some of these a whirl!
1. Blending
Add detail, soften fine lines or improve textures with blending. Pastel mediums blend easily so you won’t have to spend hours rubbing away. To blend, apply light pressure to the pastel and gently rub the surface either using your finger, a tissue, a blender or a cotton stick. This will help blend the tone and wisp away any harsh areas.
2. Watercolour effects
Though they might be called “oil pastels,” you can still create light, watercolour-type effects using them. To create watercolour effects, place a pastel colour down, then using a taklon brush with water, apply a wet wash on dry paper to activate the pastel. This technique works wonders for both oil and watersoluble pastels and creates stronger colour blends.
3. Glazing
Glazing is a great technique to try with both oil and watersoluble oil pastels. This is because the pastels will react when they come into contact with an oil medium or turpentine. First, lay your colours down on dry paper, then using a taklon brush, apply linseed oil or turpentine over the pastel to create a glaze effect. Keep this trick up your sleeve to seamlessly blend colours or add tone to your artworks.
4. Sgraffito
Italian for “to scratch,” the sgraffito technique is a fun way to add in texture and show off bold colours. Place your colours down first, then add a darker pastel colour over the top (a colour like black will make the colours pop). Remove the layer underneath by scratching with a sharp object like a toothpick or a fork, (or for delicate work, try a round brush that’s shaped to a point). Begin lightly scratching away to reveal the bright colours of the pastels underneath, just be careful not to cut through the paper!
5. Scumbling
Loose, circular strokes over the top of a layer will create a semi-opaque pastel colour that will still show the original colour underneath. To scumble with oil pastels, apply loose circular strokes using the side of the pastel. This technique is great for adding in tonal details and it can be used to show movement. Keep in mind, when applying the first layer, to apply a good amount of pressure to hide as much whiteness or tooth of the paper, then add a darker tone on top for a smoother blend.
6. Mixed media
You can use pastels along with other media to create abstract works or for when those details just need a pastel polish. To use pastels with acrylic paint, wait until the acrylic is dry, then use your pastels to define or add in any movement or expressive marks. Plus, oil pastels can create nice texture working harmoniously with acrylic and they’ll leave a nice shiny, texture to canvas or paper.
7. Masking
If you’ve ever found creating crisp lines with oil pastels to be a limitation, you might want to try using a masking technique. Use masking tape to protect the edges of your artworks, this will create clean, crisp borders or cover areas. Then as you colour the area with the pastel, the tape will protect the paper. Once you’ve finished, you can remove the tape and your area will remain the same colour as the paper. This oil pastel technique can be helpful if you’re wanting to use the white or colour of the paper for skies, rivers, or for texture like water or pebbles.
8. Wax resist
Wax resist, is where the paint sticks to the paper, but resists the wax in the oil pastels, creating this patchy, random effect. This technique is great for texture or for adding in scales, skin features or patterns to wildlife. Apply watersoluble or oil pastels to paper, then apply a light wash of paint, like watercolour over the pastels to create a wax resist. The combination of oil pastels and watercolour mixed media, adds a nice wash without removing the pastel underneath. For a stronger result, try a rough surfaced paper with more tooth for grip.
9. Flat edge
Oil Pastels are great for texture, but if you’re looking for something more specific or for thick markings, maybe look to the flat edge technique. For this, grab an oil pastel and apply pressure vertically, lift your pastel off the paper and you’ll have a flat marking on the paper. Experiment with various colours, amounts of pressure and lengths to find what works for you.
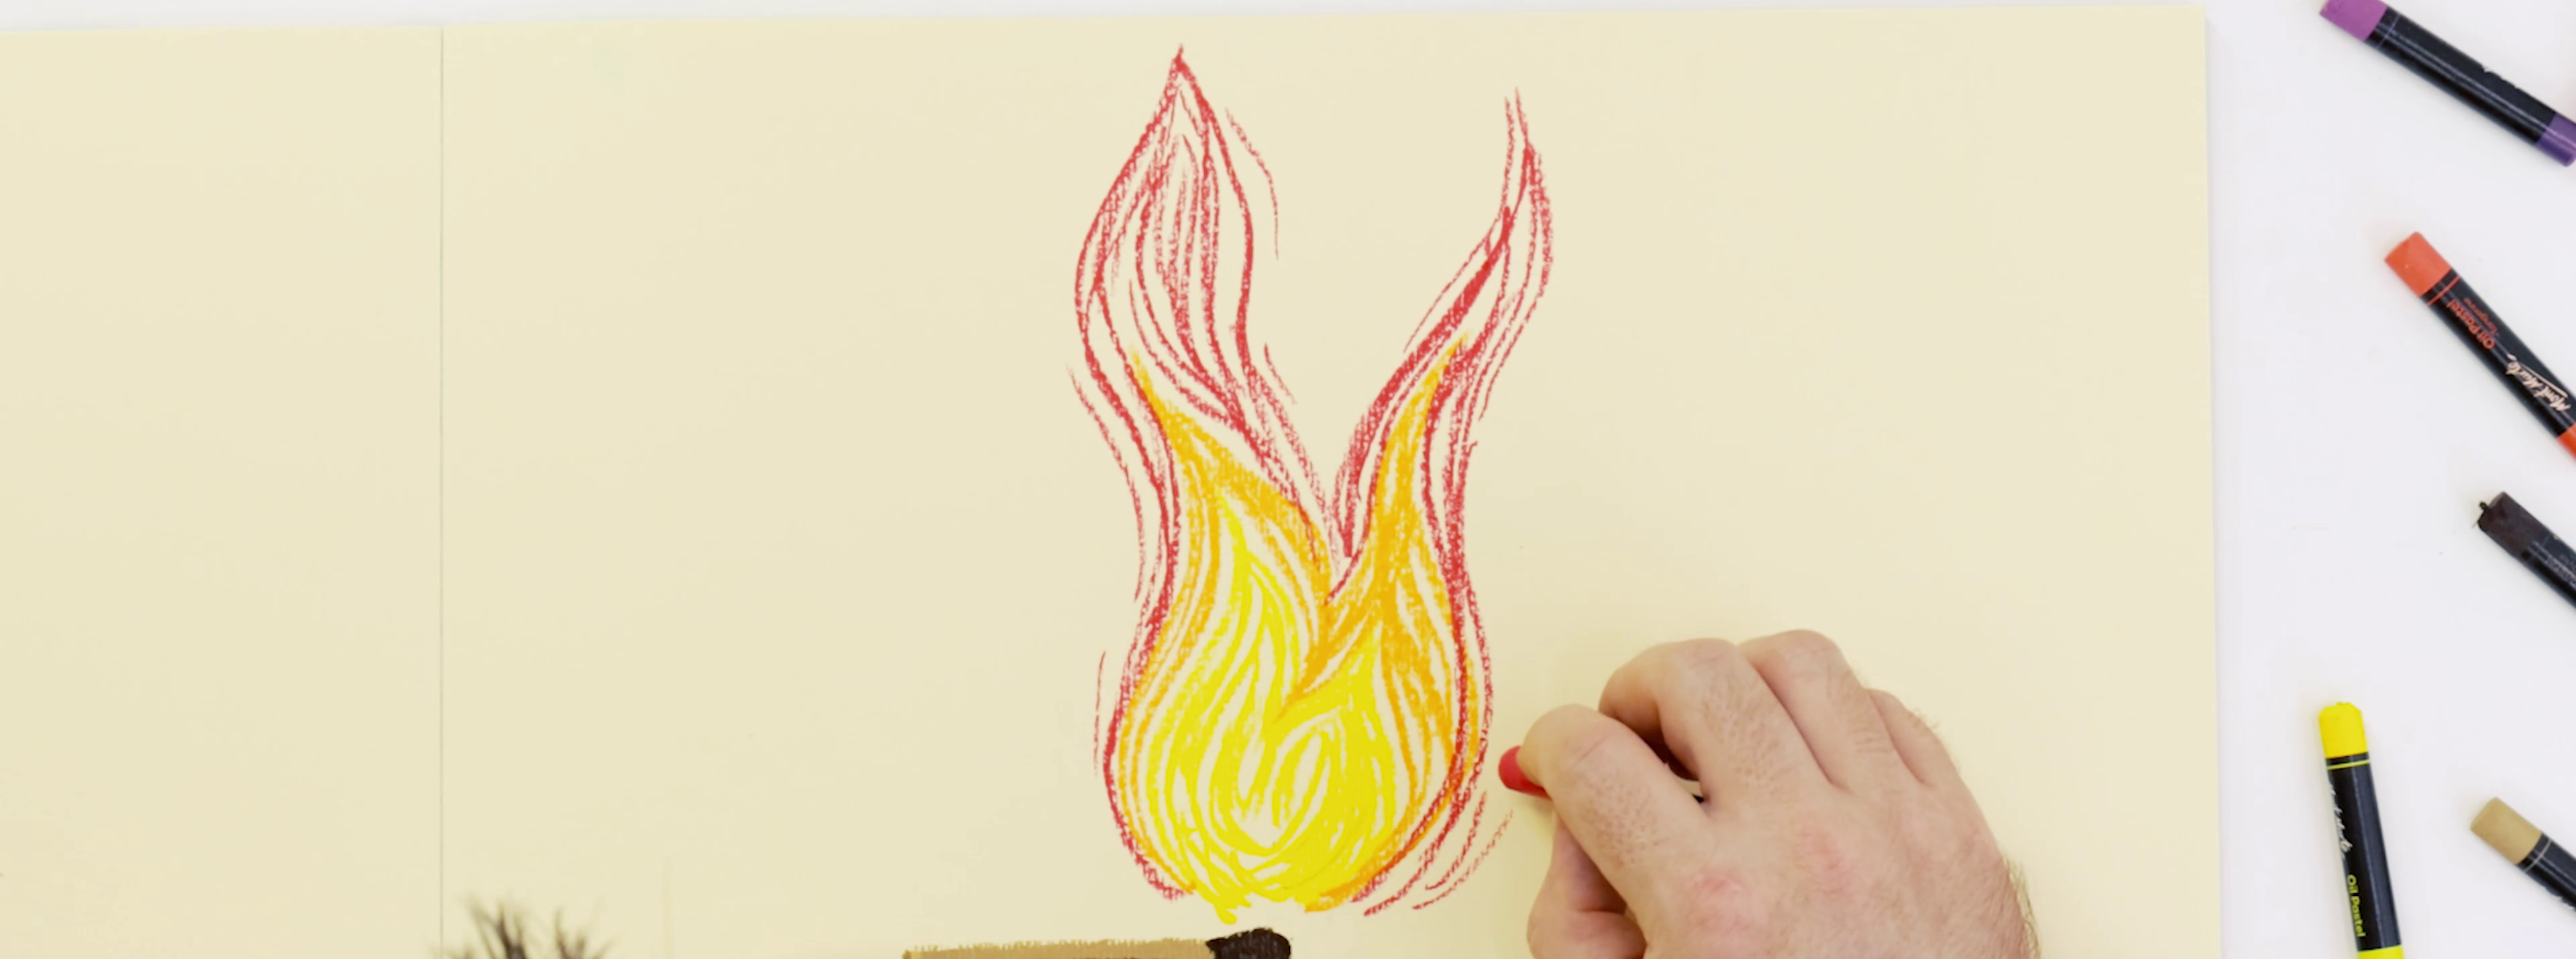
10. Directional lines
For specific linework or textures in landscapes and portraiture, directional lines can help. This technique is also great to add to your toolkit if you’re looking to add movement to your artworks. Use your oil pastel to create a line in one direction, then add more and more lines in this same direction. Add more lines, making them a little more irregular and varying in size. This technique is quite simple to get the hang of, so we reckon it’s worth giving it a go!
We hope that you feel inspired to pick up some oil pastels yourself and try these yourself. #montmarteart or tag us @montmarteart on Instagram or Facebook, we’d love to see what you create.
If you’re looking for some oil pastel inspirations, check out these 22 oil pastel inspirations that’ll change how you see oil pastels. Or check out our oil pastel range here.


