


We’ve probably all heard about Pablo Picasso, but what about Cubism? The Cubist art movement was all about throwing the rules of perspective and dimension out the window and instead, it focused on creating geometric shapes on a 2D picture plane. Cubism, as unique as it is, can be tricky to get the hang of, so we’re showing off 7 Cubism techniques so you can have a go at it, yourself.
1. Subjects
The Cubists focused a lot on shapes in their artworks, so they often painted objects like musical instruments, bottles, glasses, newspapers and human figures. To create in the Cubist style, play around with subjects that have interesting shapes to them like a quirky still life or try a Cubism self-portrait.
2. Multiple perspectives
We’ve probably all seen Pablo Picasso’s quirky artworks like The Weeping Woman and you might have noticed the different perspectives that come together to make the fragmented face. Cubists used multiple perspectives when creating their objects and didn’t add in any foreshortening or shading for dimension, this gave Cubism that abstract look.
For this Cubism technique, show your object’s perspective from multiple angles all at once.
Layer the various angles of the subject on top of one another, or closely side-by-side to show all the angles on a flat plane. Resist the urge to add shading or proportion and show your objects as you see them.
3. Geometric shapes
One of the most well-known Cubism techniques is the use of geometric shapes. Both artists, Georges Braque and Pablo Picasso used a mix of shapes to show form in their art.
Plan your object with a quick suggestive sketch, then turn the object into any shapes that you can see. For example, a nose can easily become a triangle and a shoulder becomes a rectangle. Don’t worry about perspective and shading, this will give your work that 2D Cubist style look.
4. Sharp lines
Another technique in Cubism, is the use of sharp lines, this helped add to the 2D look of flatness in their artworks. Use a ruler to create sharp, strong lines. If you’re painting, a ruler can help keep your colour blocking sharp and your edges looking clean cut. Cubists also used thick outlines without shading to look flat. So, try outlining your shapes here and there or use a sharp, thick outline to show form.
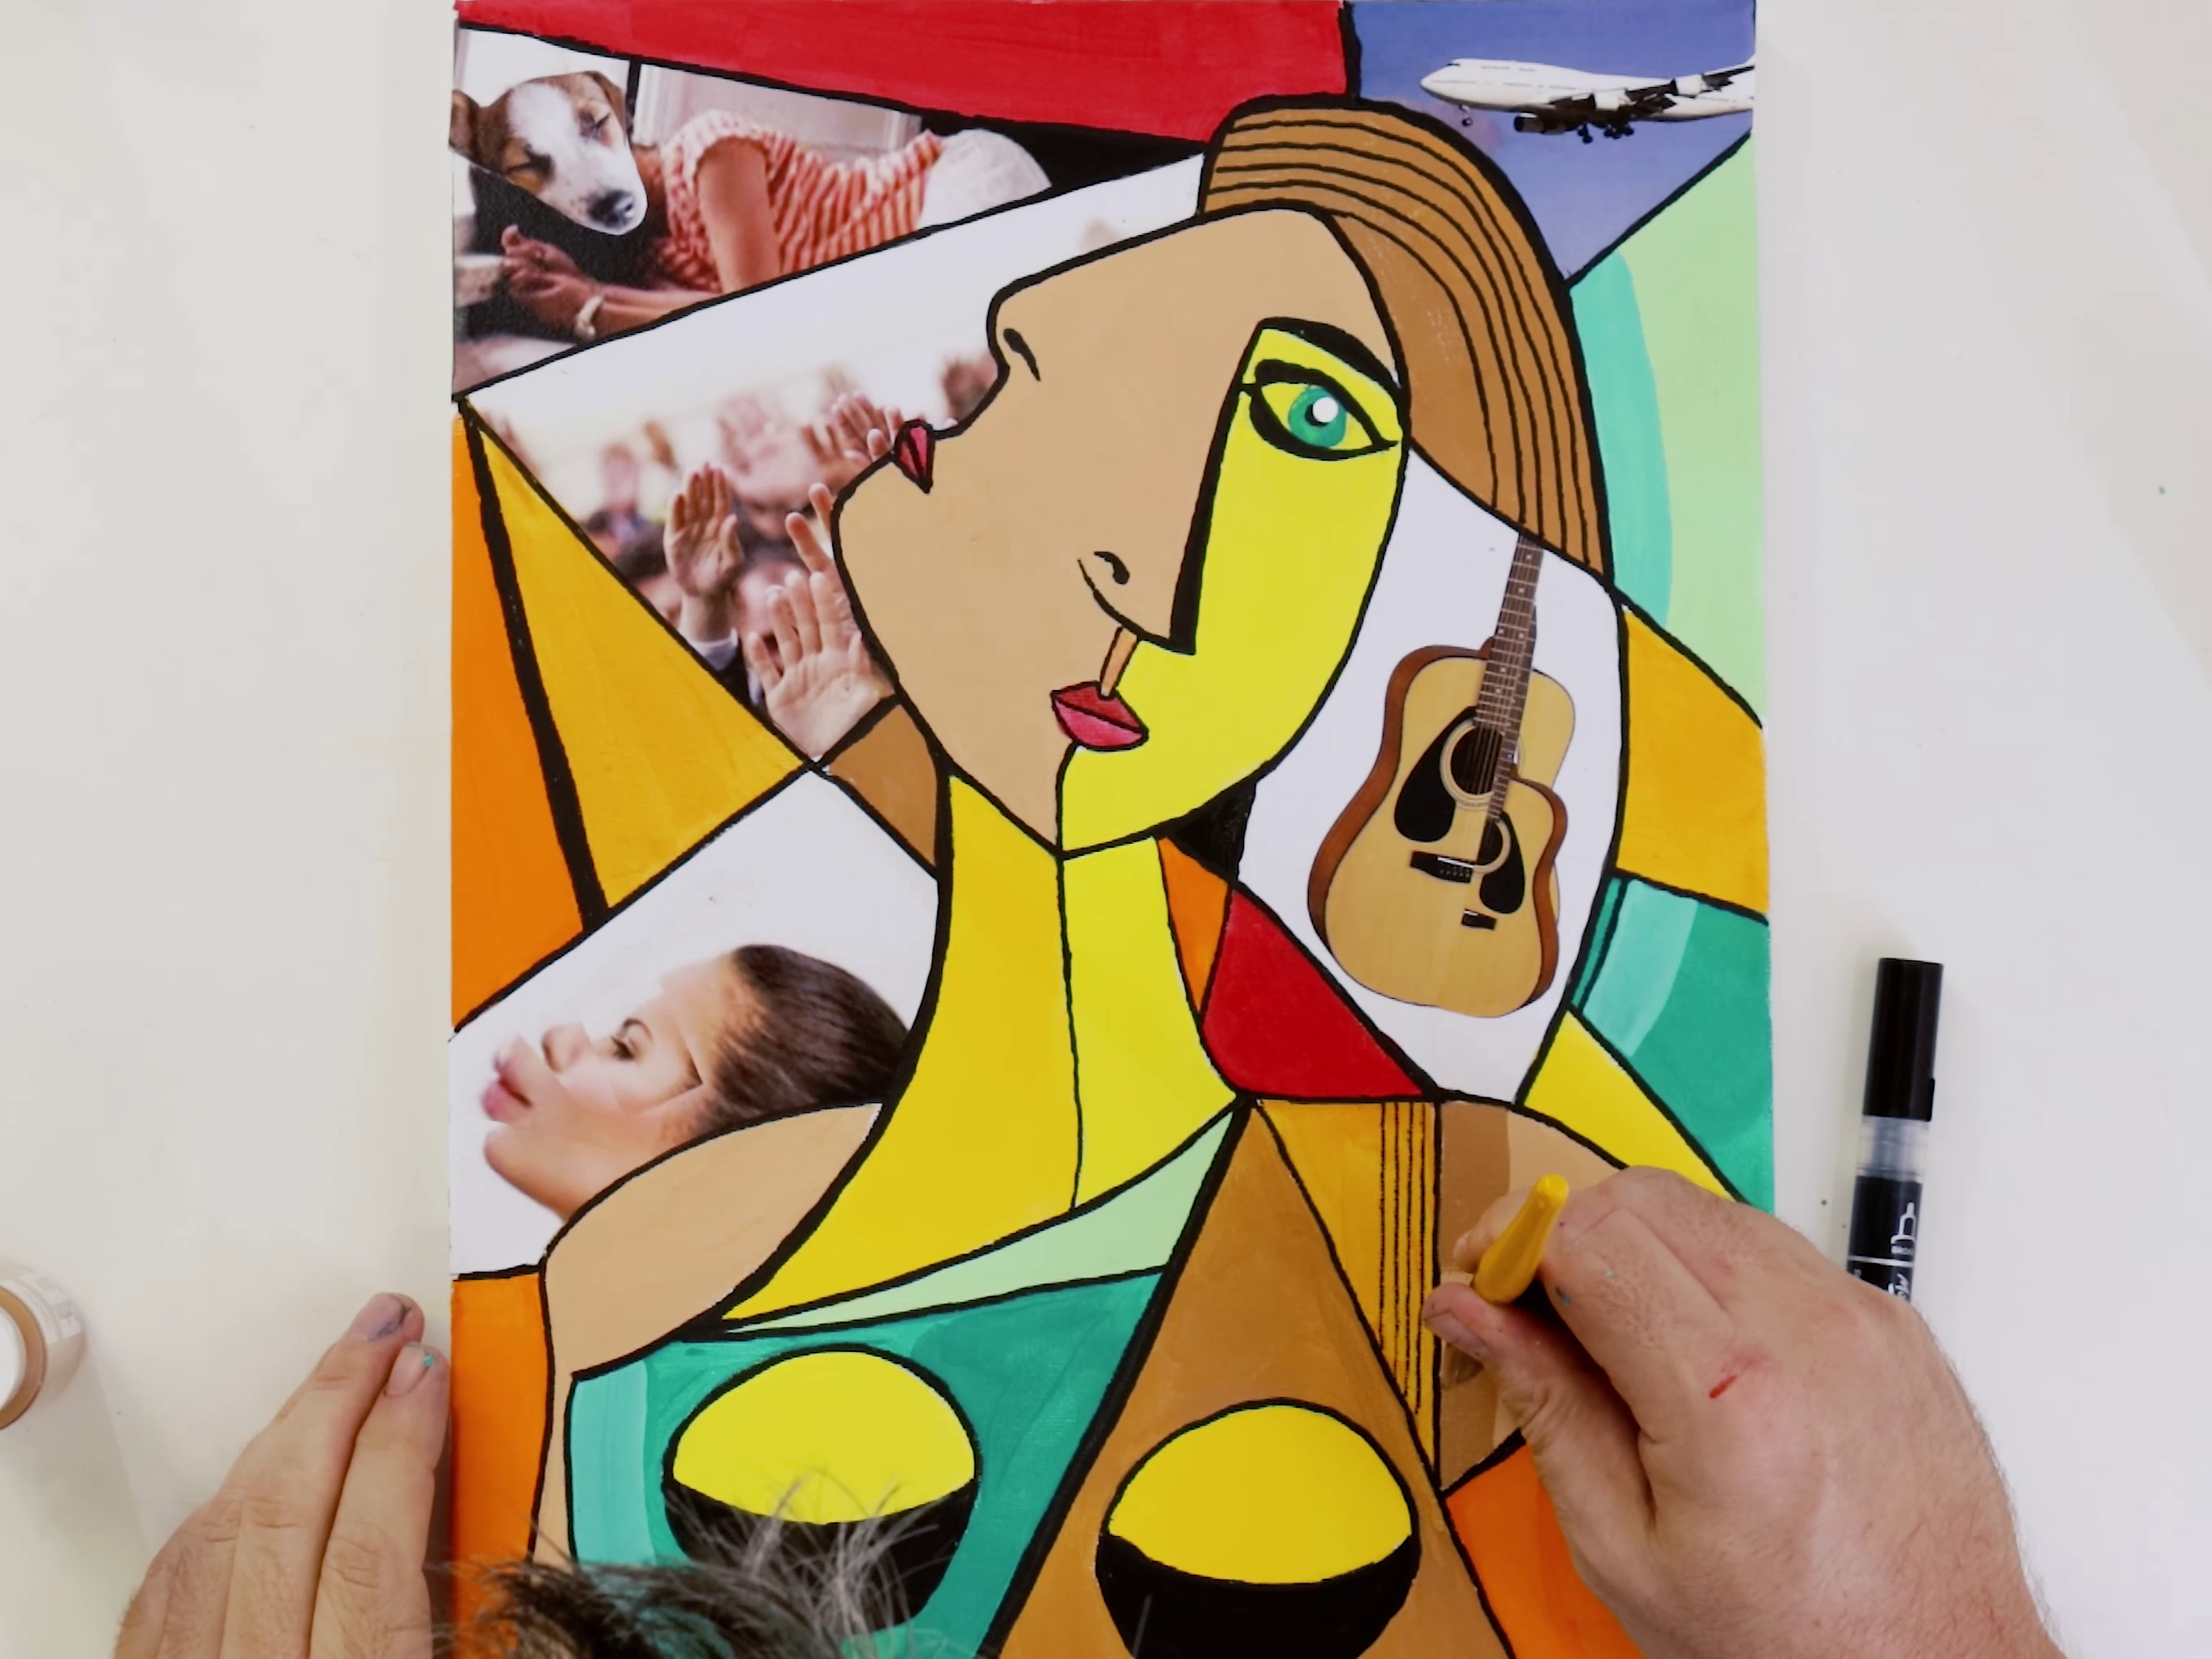
5. Collage
Pablo Picasso used a range of different angles in his work, then re-assembled them together to create a 2D object. Sounds tricky but, a collage can help with this process. Take a photo of your subject, print it out, and cut it into geometric shapes. Then, mess about with the different angles, juxtaposing various objects and elements. Then sketch your drawing onto a canvas or glue the collage to paper. Cubists didn’t often use texture in their paintings but found old scraps of newspaper to be a good way to add texture to their masterpieces, so experiment and see what works.
6. Paint using monochrome colours
When it comes to Cubist painting techniques, dipping into a monochromatic palette is key. A lot of Cubist paintings use grey, ochre, black or muted tones like blues or greens. This was because a muted colour palette gave more emphasis on the subject and didn’t distract the viewer with bright bursts of colour.
7. Transparency
In Cubism, you might notice that lines often overlap, including shapes. Don’t be afraid to try overlapping opaque shapes with transparent planes to create fragmented objects. This can also help add interest to the flatness of the shapes, so play around with transparency with your perspectives too.
Remember, the Cubists were all about rejecting the rules, so don’t be too strict or harsh on yourself. Have some fun with it and give these techniques a crack.
We hope that you feel inspired to try these Cubism techniques. We’d love to see what you create #montmarteart or tag us @montmarteart on Instagram or Facebook.
Ready to get started? Follow along and create a Cubism self-portrait with coloured paper or check out more of our techniques.


