


Believe it or not, there’s actually a lot you can create with art markers. Whether you’ve used them before or you’re almost ready to grab yourself a pack, get ready to scribble with these 10 art marker techniques.
1. Stippling
Stippling is a great art marker technique for creating light and dark areas in your artworks by using dots. Lighter areas will have fewer dots that are further apart and darker areas will have more dots that are closer together to look like a darker tone. When stippling with markers, be careful not to stamp too heavily on the nib or you can damage your markers. If you’re looking to create a stippling effect like Pointillism, you’ll want to use the same size dots (like a dot marker) to achieve the same effect. You can also try using two colours in the same area for a nice mix of hues.
2. Hatching
Hatching is an easy art marker technique where rough parallel lines are drawn closely together to form a shade or texture. Crosshatching is a similar technique, but lines here crisscross over one another in a vertical, horizontal and diagonal direction. Both techniques are used to create shadows and textures. Hatching can be used with markers alone to show depth or be used on top of another coloured marker (like alcohol markers) to create textures or add new colours. Use a thin, fine nib to hatch and crosshatch line work or use a chisel tip for stripes of colour in textured work.
3. Optical blending
Like watercolours, it’s best to work from light to dark when it comes to using markers. This is because the eye will see the colours together to form a colour blend, called optical blending. For this art marker technique, work from the lightest to the darkest tone first. It’s best to use colours in the same colour family, or of a different hue to avoid muddying colours. You can also use a colour blender over the base colour and second colour to help blend colours together.
4. Layering markers
Both alcohol and water-based markers are quite translucent so adding subtle darker tones on top of one another will work well when layering markers. For both types of markers, apply your lightest colour first, then let it dry before applying the second. Layering water-based markers will take a little longer than alcohol markers to let dry, so be sure to layer from lightest to darkest first.
5. Scumbling
To add energy and texture to your artworks, try scumbling. This art marker technique will add texture, energy or abstract shadows to your work. Whether you use the fine nib to add thin scumbling drawings or the chisel edge for a thicker scumble, each approach will have a similar effect depending on the surface area and tonal values.
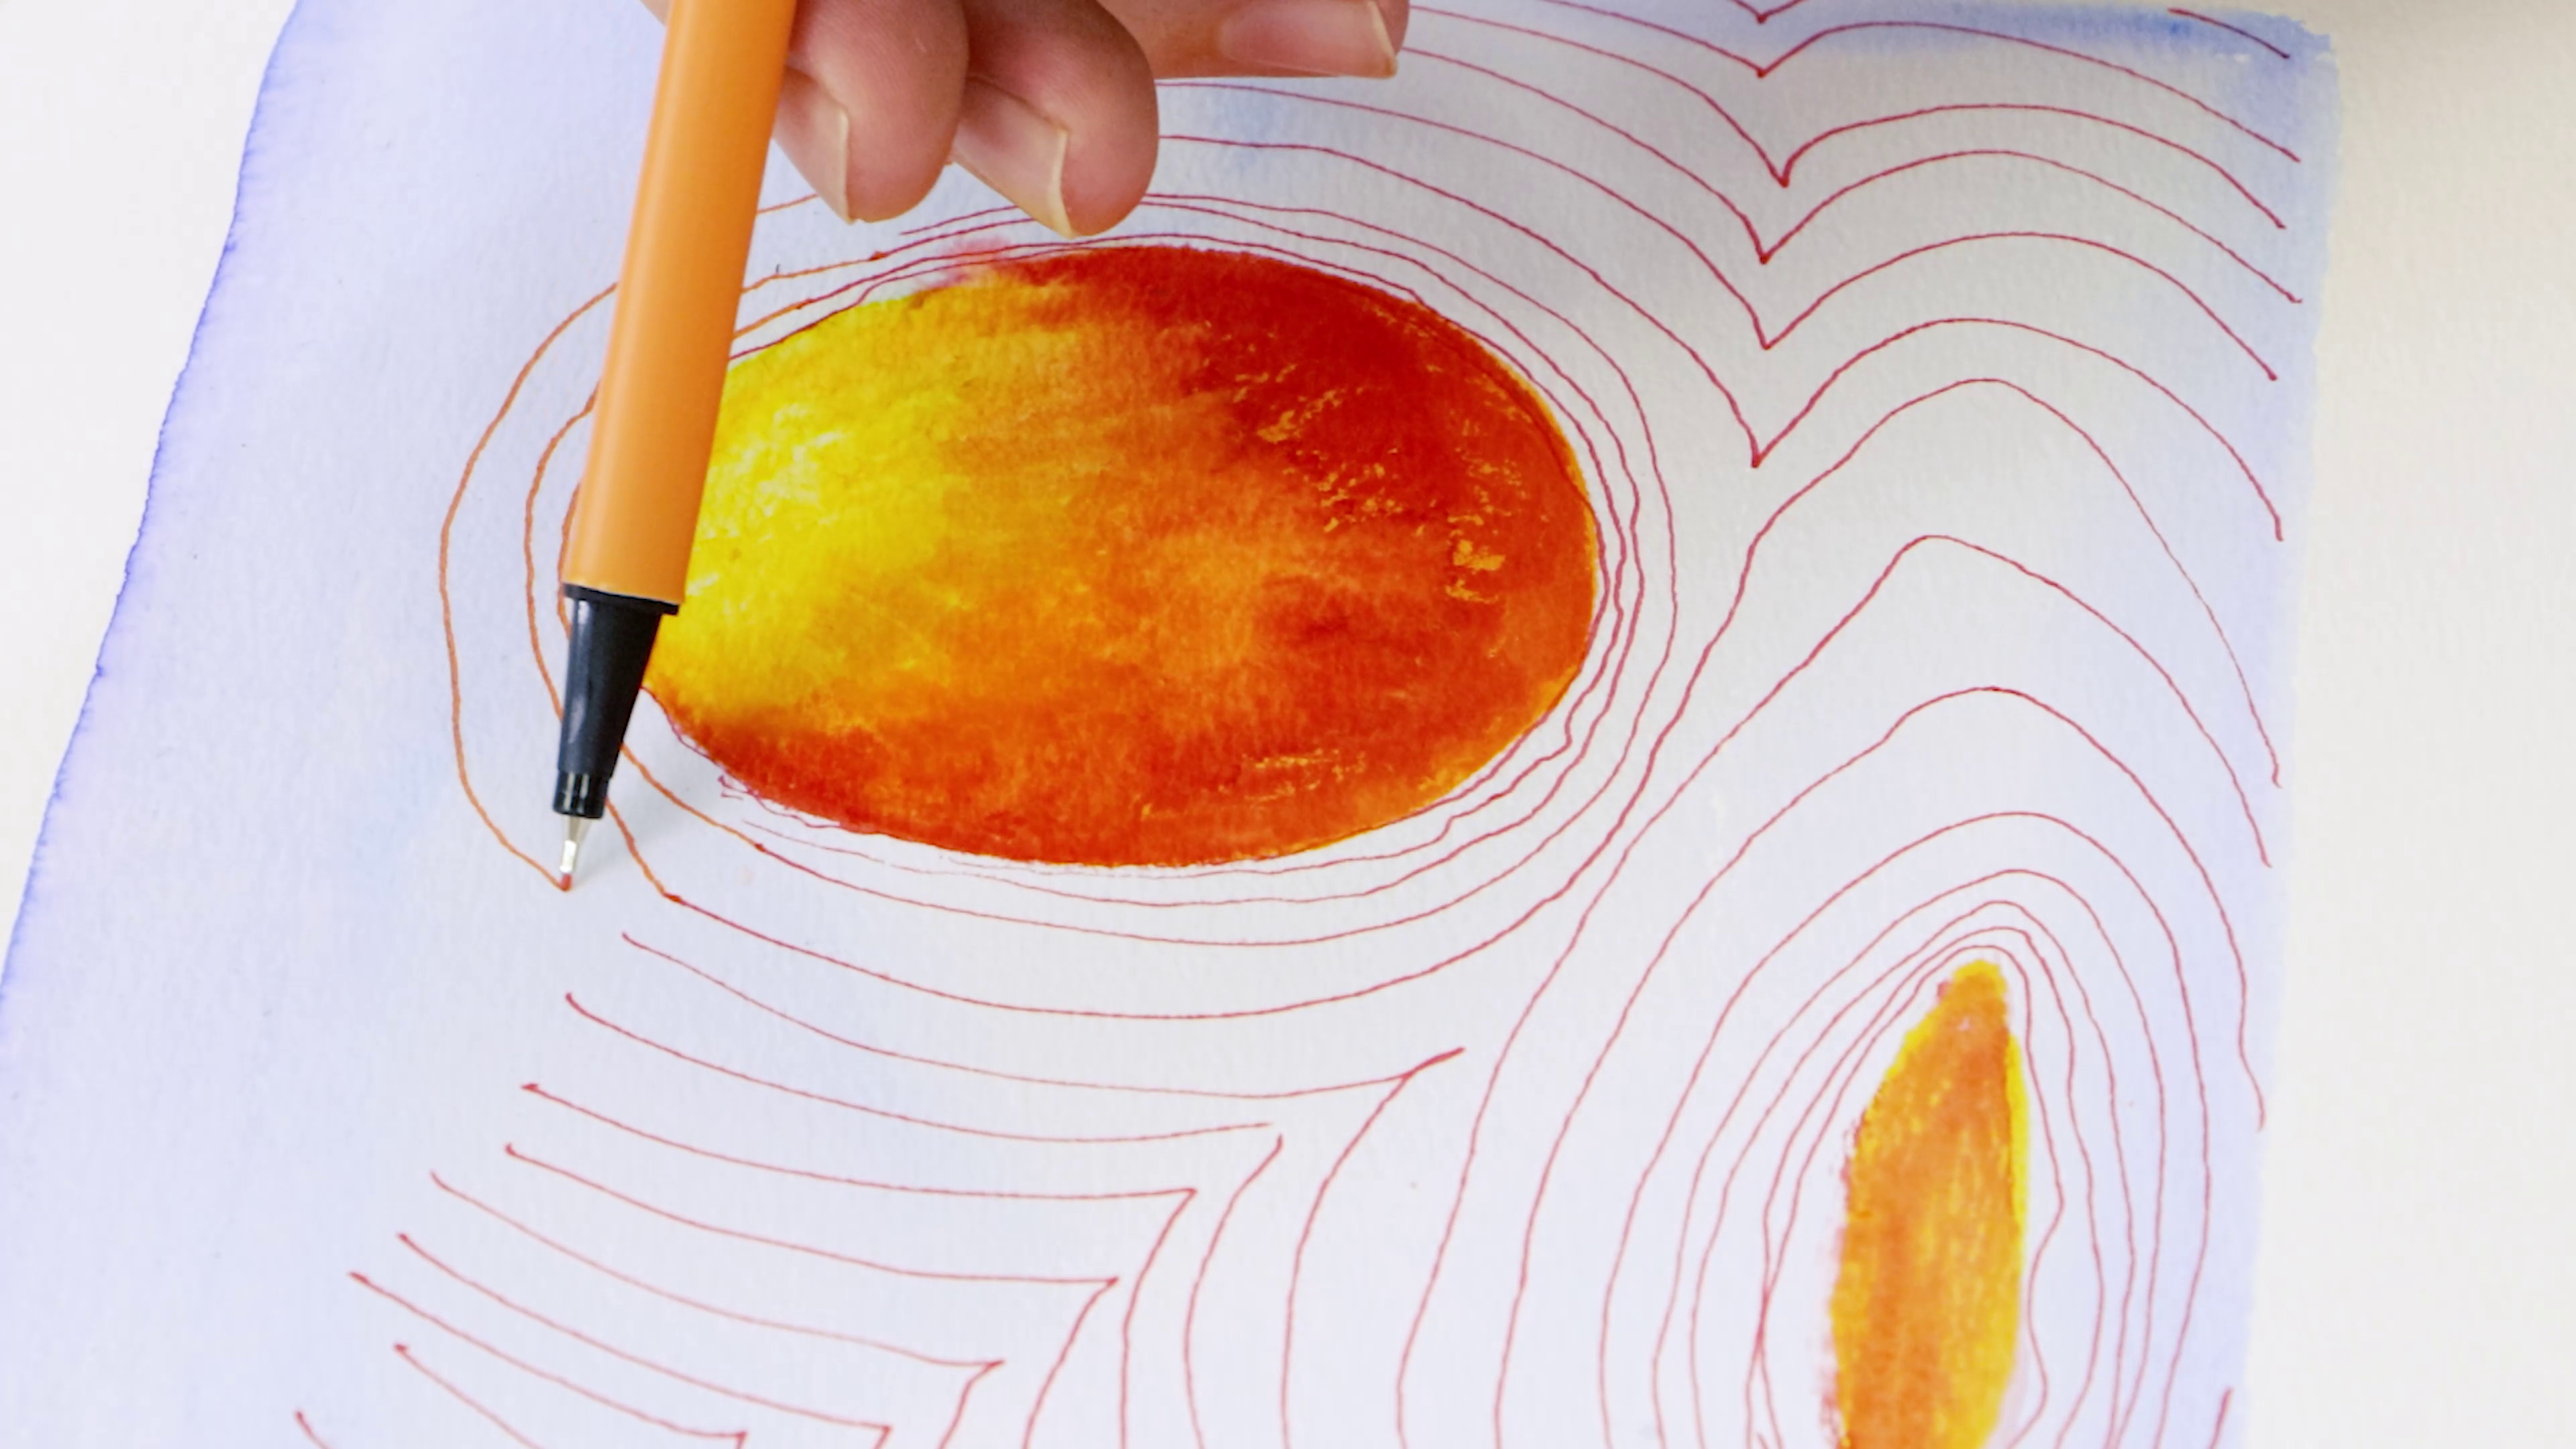
6. Watercolour effects
If you’re looking to add watercolour effects or wanting the crisp, sharpness of a marker, but with the effect of watercolours, try this art marker technique with water-based or watercolour markers. Apply the colour with the marker, then using a wet brush, activate the colour quickly using the wet on dry approach of watercolours, (you don’t want to apply water directly to the marker or risk it drying out.) If you’re using watercolour markers, you can remove areas of colour with paper towel, like watercolours. However, once the ink has dried, it will become quite permanent.
7. Mixed media
You don’t have to be restricted when it comes to creating mixed media artworks. You can add a range of different mediums to your mixed-media marker artworks to mix things up. Permanent markers can be used alongside water-based markers for a mixed media effect. For this technique, you can create strong lines or designs in permanent marker, before applying a water-based marker over the top then activating the water-soluble element. Markers can be used over the top of watercolours to define stronger lines, or if you’re wanting to create stronger lines over the top of acrylic colours, then reach for acrylic paint pens.
8. Double loader
If you’re looking for a clear, crisp line that combines two colours together, press the tip of a marker against the edge of a colourless blender then apply the second colour to the other side of the blender, this is called double loading. Apply the blender to the paper to create a stripe of two colours. This is great for designing or for areas of works that have a striped effect. Be sure to wipe the blender with a piece of scrap paper to remove the colours, before storing away your blender.
9. Using solvents
For interest or texture in your works, try using a solvent. Solvents can remove markers from the paper to expose areas of the paper that are not coloured. For this art marker technique, lay a single colour onto the paper, then dip a cotton bud or paper towel into a solvent, then apply this to the paper. Experiment with dabbing across the paper with different levels of pressure to find the effect you’re after.
10. Air spray
Before you throw away a broken marker, you might actually want to try this air spray art marker technique. Disassemble the marker, then using the fine end or nib, rest the broken pen body onto the fine end of the nib, (match up the marker's fine end, with the fine end of the pen), and then gently blow into the end. You can control how far you hold the pen to the paper for a stronger or weaker affect. Just remember to blow out rather than in!
If you’re looking for a project to get your hands on, try our one point perspective drawing with graphic fineliners, this urban illustration with markers, or our cherry project using alcohol markers here, to get your creative juices flowing, plus it’ll teach you how to blend and layer alcohol markers, win, win.
We hope that you feel inspired to give some, or all of these art marker techniques a go and create something new. Try them for yourself and #montmarteart or tag us @montmarteart on Instagram or Facebook, we’d love to see what you create. You can also browse our marker range here.
1. Stippling
Stippling is a great art marker technique for creating light and dark areas in your artworks by using dots. Lighter areas will have fewer dots that are further apart and darker areas will have more dots that are closer together to look like a darker tone. When stippling with markers, be careful not to stamp too heavily on the nib or you can damage your markers. If you’re looking to create a stippling effect like Pointillism, you’ll want to use the same size dots (like a dot marker) to achieve the same effect. You can also try using two colours in the same area for a nice mix of hues.
2. Hatching
Hatching is an easy art marker technique where rough parallel lines are drawn closely together to form a shade or texture. Crosshatching is a similar technique, but lines here crisscross over one another in a vertical, horizontal and diagonal direction. Both techniques are used to create shadows and textures. Hatching can be used with markers alone to show depth or be used on top of another coloured marker (like alcohol markers) to create textures or add new colours. Use a thin, fine nib to hatch and crosshatch line work or use a chisel tip for stripes of colour in textured work.
3. Optical blending
Like watercolours, it’s best to work from light to dark when it comes to using markers. This is because the eye will see the colours together to form a colour blend, called optical blending. For this art marker technique, work from the lightest to the darkest tone first. It’s best to use colours in the same colour family, or of a different hue to avoid muddying colours. You can also use a colour blender over the base colour and second colour to help blend colours together.
4. Layering markers
Both alcohol and water-based markers are quite translucent so adding subtle darker tones on top of one another will work well when layering markers. For both types of markers, apply your lightest colour first, then let it dry before applying the second. Layering water-based markers will take a little longer than alcohol markers to let dry, so be sure to layer from lightest to darkest first.
5. Scumbling
To add energy and texture to your artworks, try scumbling. This art marker technique will add texture, energy or abstract shadows to your work. Whether you use the fine nib to add thin scumbling drawings or the chisel edge for a thicker scumble, each approach will have a similar effect depending on the surface area and tonal values.
6. Watercolour effects
If you’re looking to add watercolour effects or wanting the crisp, sharpness of a marker, but with the effect of watercolours, try this art marker technique with water-based or watercolour markers. Apply the colour with the marker, then using a wet brush, activate the colour quickly using the wet on dry approach of watercolours, (you don’t want to apply water directly to the marker or risk it drying out.) If you’re using watercolour markers, you can remove areas of colour with paper towel, like watercolours. However, once the ink has dried, it will become quite permanent.
7. Mixed media
You don’t have to be restricted when it comes to creating mixed media artworks. You can add a range of different mediums to your mixed-media marker artworks to mix things up. Permanent markers can be used alongside water-based markers for a mixed media effect. For this technique, you can create strong lines or designs in permanent marker, before applying a water-based marker over the top then activating the water-soluble element. Markers can be used over the top of watercolours to define stronger lines, or if you’re wanting to create stronger lines over the top of acrylic colours, then reach for acrylic paint pens.
8. Double loader
If you’re looking for a clear, crisp line that combines two colours together, press the tip of a marker against the edge of a colourless blender then apply the second colour to the other side of the blender, this is called double loading. Apply the blender to the paper to create a stripe of two colours. This is great for designing or for areas of works that have a striped effect. Be sure to wipe the blender with a piece of scrap paper to remove the colours, before storing away your blender.
9. Using solvents
For interest or texture in your works, try using a solvent. Solvents can remove markers from the paper to expose areas of the paper that are not coloured. For this art marker technique, lay a single colour onto the paper, then dip a cotton bud or paper towel into a solvent, then apply this to the paper. Experiment with dabbing across the paper with different levels of pressure to find the effect you’re after.
10. Air spray
Before you throw away a broken marker, you might actually want to try this air spray art marker technique. Disassemble the marker, then using the fine end or nib, rest the broken pen body onto the fine end of the nib, (match up the marker's fine end, with the fine end of the pen), and then gently blow into the end. You can control how far you hold the pen to the paper for a stronger or weaker affect. Just remember to blow out rather than in!
If you’re looking for a project to get your hands on, try our one point perspective drawing with graphic fineliners, this urban illustration with markers, or our cherry project using alcohol markers here, to get your creative juices flowing, plus it’ll teach you how to blend and layer alcohol markers, win, win.
We hope that you feel inspired to give some, or all of these art marker techniques a go and create something new. Try them for yourself and #montmarteart or tag us @montmarteart on Instagram or Facebook, we’d love to see what you create. You can also browse our marker range here.


