


Whether you love all things anime and manga or just looking to try something different, challenge yourself and your drawing skills with these 5 basic anime techniques. From expressions to how to draw anime hair, we’re stepping you through it.
Manga refers to the Japanese comics and anime is short for ‘animation,’ so think the Japanese-style cartoons or animated films. Though these two share similar techniques, we’re going to look at both, but take you through the drawing side.
1. Drawing faces
For drawing anime or manga, the proportions for the faces are slightly different than English cartoons and drawings. For this anime technique, draw a circle outline for the head and a dividing line like you would for a regular drawing.
Next, draw two horizontal lines about ¾ of the way down. Add a V shape for the chin, connect this to the circle for a jaw and strengthen the round head, erasing any extra lines you have.
Generally, the middle of the eyes should align with that first horizontal line. Ears should also sit between this line and hair sits in the first quarter of the head.
This can take some time getting used to, so don’t beat yourself up if you don’t get it right the first time. Some characters might also have different proportions, so this is just a general rule of thumb when it comes to drawing anime. For more on how to draw proportion, check out our how to draw anime style.
2. Creating the eyes
One of the most iconic or (eye-conic), anime techniques are the eyes. The eyes are often quite detailed and realistic to show how the character is feeling. For the eyes, let’s start with the basics before adding more detail.
Draw an oval shape, adding a slightly higher arch for the lash line. You’ll want to add a curve on the lower inside of the eye for a tear duct too. Next, strengthen the outer corner of the eye for an obvious lash line. Then add an iris and pupil, these are generally perfect circles.
For the eyebrows, add an eyebrow line, a few centimetres above the eye. Thicken it towards the nose and make it thinner towards the edge. Then, add an arch shape for the eyelid closely above the lash line. It might help to plot the eyelid crease line in first, before drawing in the eyebrow (especially if you find proportions tricky).
For the details, add a line in the upper pupil and iris, this will become a shadow. For highlights, add a circle in the shadow we’ve just created. Then add another circle adjacent to this for another highlight, aim for the iris. These highlights will make the eye look more realistic. Finish by adding a few wispy lines to show eyelashes in the outer corner. You can also add some extra outward lines to the iris for details.
As a tip, larger eyes and larger pupils can show surprise or excitement in your characters. While, angling the brow and narrowing the eye shape can show anger or be used for villain characters.
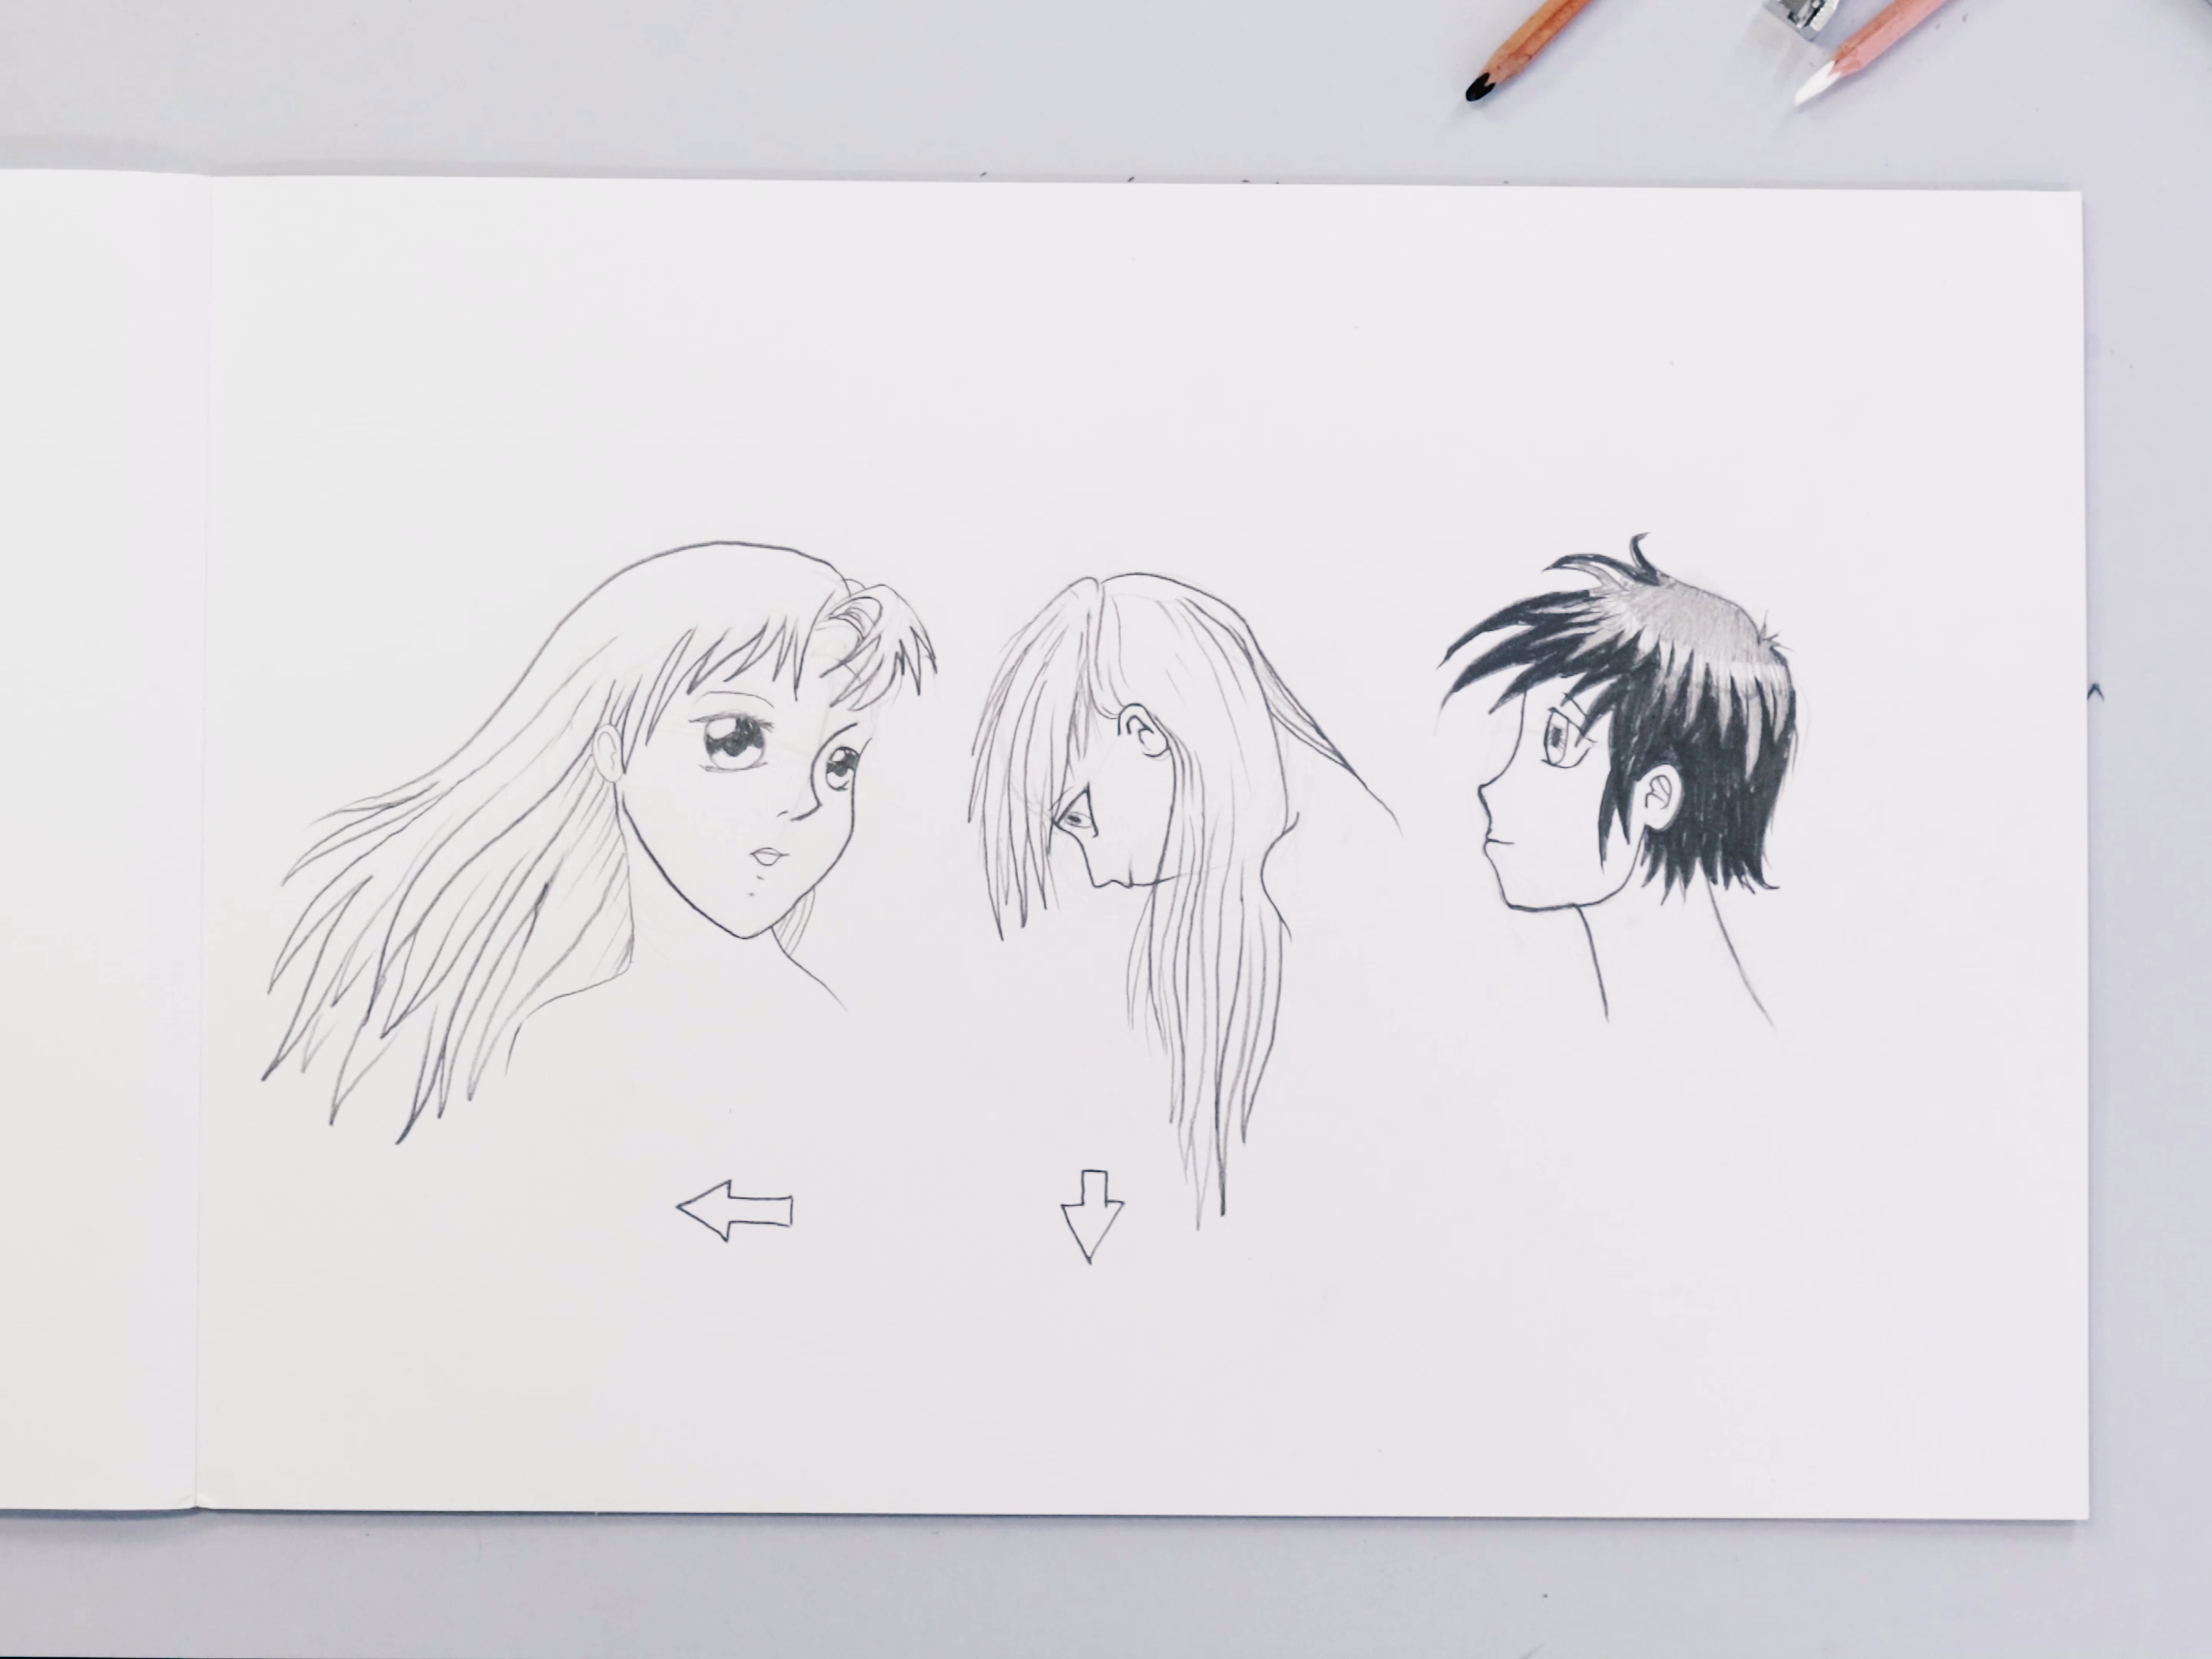
3. Hairstyles and hair
When it comes to how to draw anime hair, it can be tricky, because the hairstyles are often as different as the personalities themselves.
Things to consider here are the movement of the characters and the wind’s direction. For example, hair will float up with movement, or to one side if the character is running. Or if they’re looking down, the hair will naturally sit towards the ground too. Manga and anime characters usually have wisps of spiked hair towards the face with some hair covering parts of the face too.
Shy characters might have hair covering their eyes while strong characters might have angular, shorter haircuts or long, free-flowing hair. Consider the characters you’re drawing and what type of styles they might have. Don’t feel like you need to colour hair with natural hair colours either. Blue, yellow, red, and green are all hair colours in the anime world too.
For highlights, add a zig zag shape in the mid-band of the hair to show light shining on the hair. Depending on the light source, you can add a gradual shading of white or lighter tones. This can show natural light or a light overhead. Female characters or those with longer hair, may have a few more zig zags to show light in their hair too.
4. Creating expressions
Another important anime technique is drawing their expressions. Anime and manga characters use a lot of their expressions to show their emotions, especially manga as it relies on the visual to tell a story.
For laughter, narrow or close the eyes, widen the mouth and heighten the eyebrows.
Happiness, heighten the eyebrows and curve the mouth and eyes upwards slightly.
Surprise, widen the eyes, add sweat droplets or add background lines to show the impact.
For a normal expression, add a straight line or a slight curve to the mouth.
For sad expressions, bend the eyebrows so that they almost meet together. Turn the mouth downwards and add lines below the eyes for tears. For weeping, you can open the mouth or have it slightly opened.
Anger, narrow the brows, turn the mouth downwards. Add a few lines to show muscles in the face. You can add crosshatching or a few parallel lines on the forehead to show more anger.
5. Drawing anime backgrounds
Backgrounds can also help tell the story or communicate an emotion. This manga technique is used to show emotion and can help develop the character further too.
A close-up of the character with a shining light background (using lines that fan outwards) can show a hero or general happiness. Adding a background of small dots with stippling can show a gentle character. While swirling backgrounds (think of Munch’s scream) can show fear and anxiety.
For anger and rage, crosshatching can be used or fiery backgrounds.
So, play around with close ups and backgrounds and see how you can develop your anime characters.
We hope that you feel inspired to create your own anime and manage characters for yourself and #montmarteart or tag us @montmarteart on Instagram or Facebook, we’d love to see what you create.
Looking for a helping hand? Check out how to draw an anime character with this project.


