


If you’ve ever wondered how to use charcoal, we’ve got some handy tips and tricks to get you started! From beginner basics to trying different styles, there’s something for everyone. Explore below to get inspired!
1. Tonal values

Step one to using artist charcoal, is learning to find and understand different tones in your reference pictures. We’ve got a useful video you can check out to learn how to identify tonal values.
Tonal value refers to how light or dark a shade is. Essentially, there are range of tones in a reference, still life, and all around you. Being able to pick out the different range of tones and replicate them in your artwork helps to increase realism and capture your reference accurately.
The highlight is the lightest tone, where the light source directly hits your subject matter. Next are the light tones, where light is reflected onto the surface. Mid tones are where shadows come into play. Mid-tone shadows are typically cast onto the subject itself, not by it. These are called core shadows. Finally, the darkest tone is usually the shadows created by the subject, which are called the cast shadow.
Once you can identify the tones in your reference, you’re ready to pick up the charcoal!
2. Drawing line weights

Before you start to draw from an image, from life, or your mind, it’s a good idea to practice creating different line weights with your charcoal. Try our Charcoal Pencils for fine lines, detail work, and adding colours to your piece.
If you’re wondering how to sharpen a charcoal pencil, it’s best to use a hobby knife, rather than a standard sharpener. The cores inside charcoal pencils can be fragile and easy to break if you don’t know the best way to look after them. Using a hobby knife to re-point your pencil will minimise fractures. Make sure to direct the blade away from yourself and take extra care!
When using charcoal sticks, you can use sandpaper to create sharper points as needed. Simply rub one end of the stick lightly across the sandpaper, rotating to sharpen the tip evenly.
Using sharp and unsharpened charcoal, apply varying pressure while drawing on your paper to experiment with different line thicknesses and opacity. Try shading with the flat side of the charcoal, and blending using your finger, blenders, or even a cotton tip.
3. Charcoal highlights

Now you know how to draw and blend using charcoal, it’s time to tackle highlights! You can create highlights by leaving areas of your paper exposed, or by lightening your shading with an eraser. Kneadable erasers are great for charcoal, as they can be moulded for precision lifting, cleaning up edges, or gradually lightening certain areas. They can completely erase light marks, or partially lift darker areas, so you can edit tonal values with ease.
Another benefit to using a kneadable eraser is they don’t create rubber shavings on the artwork. Rubber shavings can be tricky to remove from charcoal artwork without smudging details and linework.
4. Protecting artwork

As charcoal smudges quite easily, it helps to know some easy ways to protect your art as you work. Check these out!
Mahl stick – DIY a mahl stick by following along with our how to make a mahl stick video. This stick is used to keep your hand off the page as you draw, to prevent smudging your work and dirtying your hand.
Use paper – Grab a piece of paper and place it under your sketching hand while you draw. Pick it up and move it as you work your way across the page, being careful not to drag it so as not to smudge the work underneath.
Plan your drawing – Before beginning your artwork, plan which side you want to start first, so you can create a flow that minimises working over existing charcoal shading.
Once your artwork is complete, you can seal the charcoal so it doesn’t smudge by using a spray fixative. This will also protect your work, making it last longer!
5. Drawing on coloured paper

Using toned paper is a fun way to explore different charcoal pencil colours. Drawing with white charcoal on black paper helps extend understanding of tonal values, as you need to explore negative space as a source of shadow, rather than highlights.
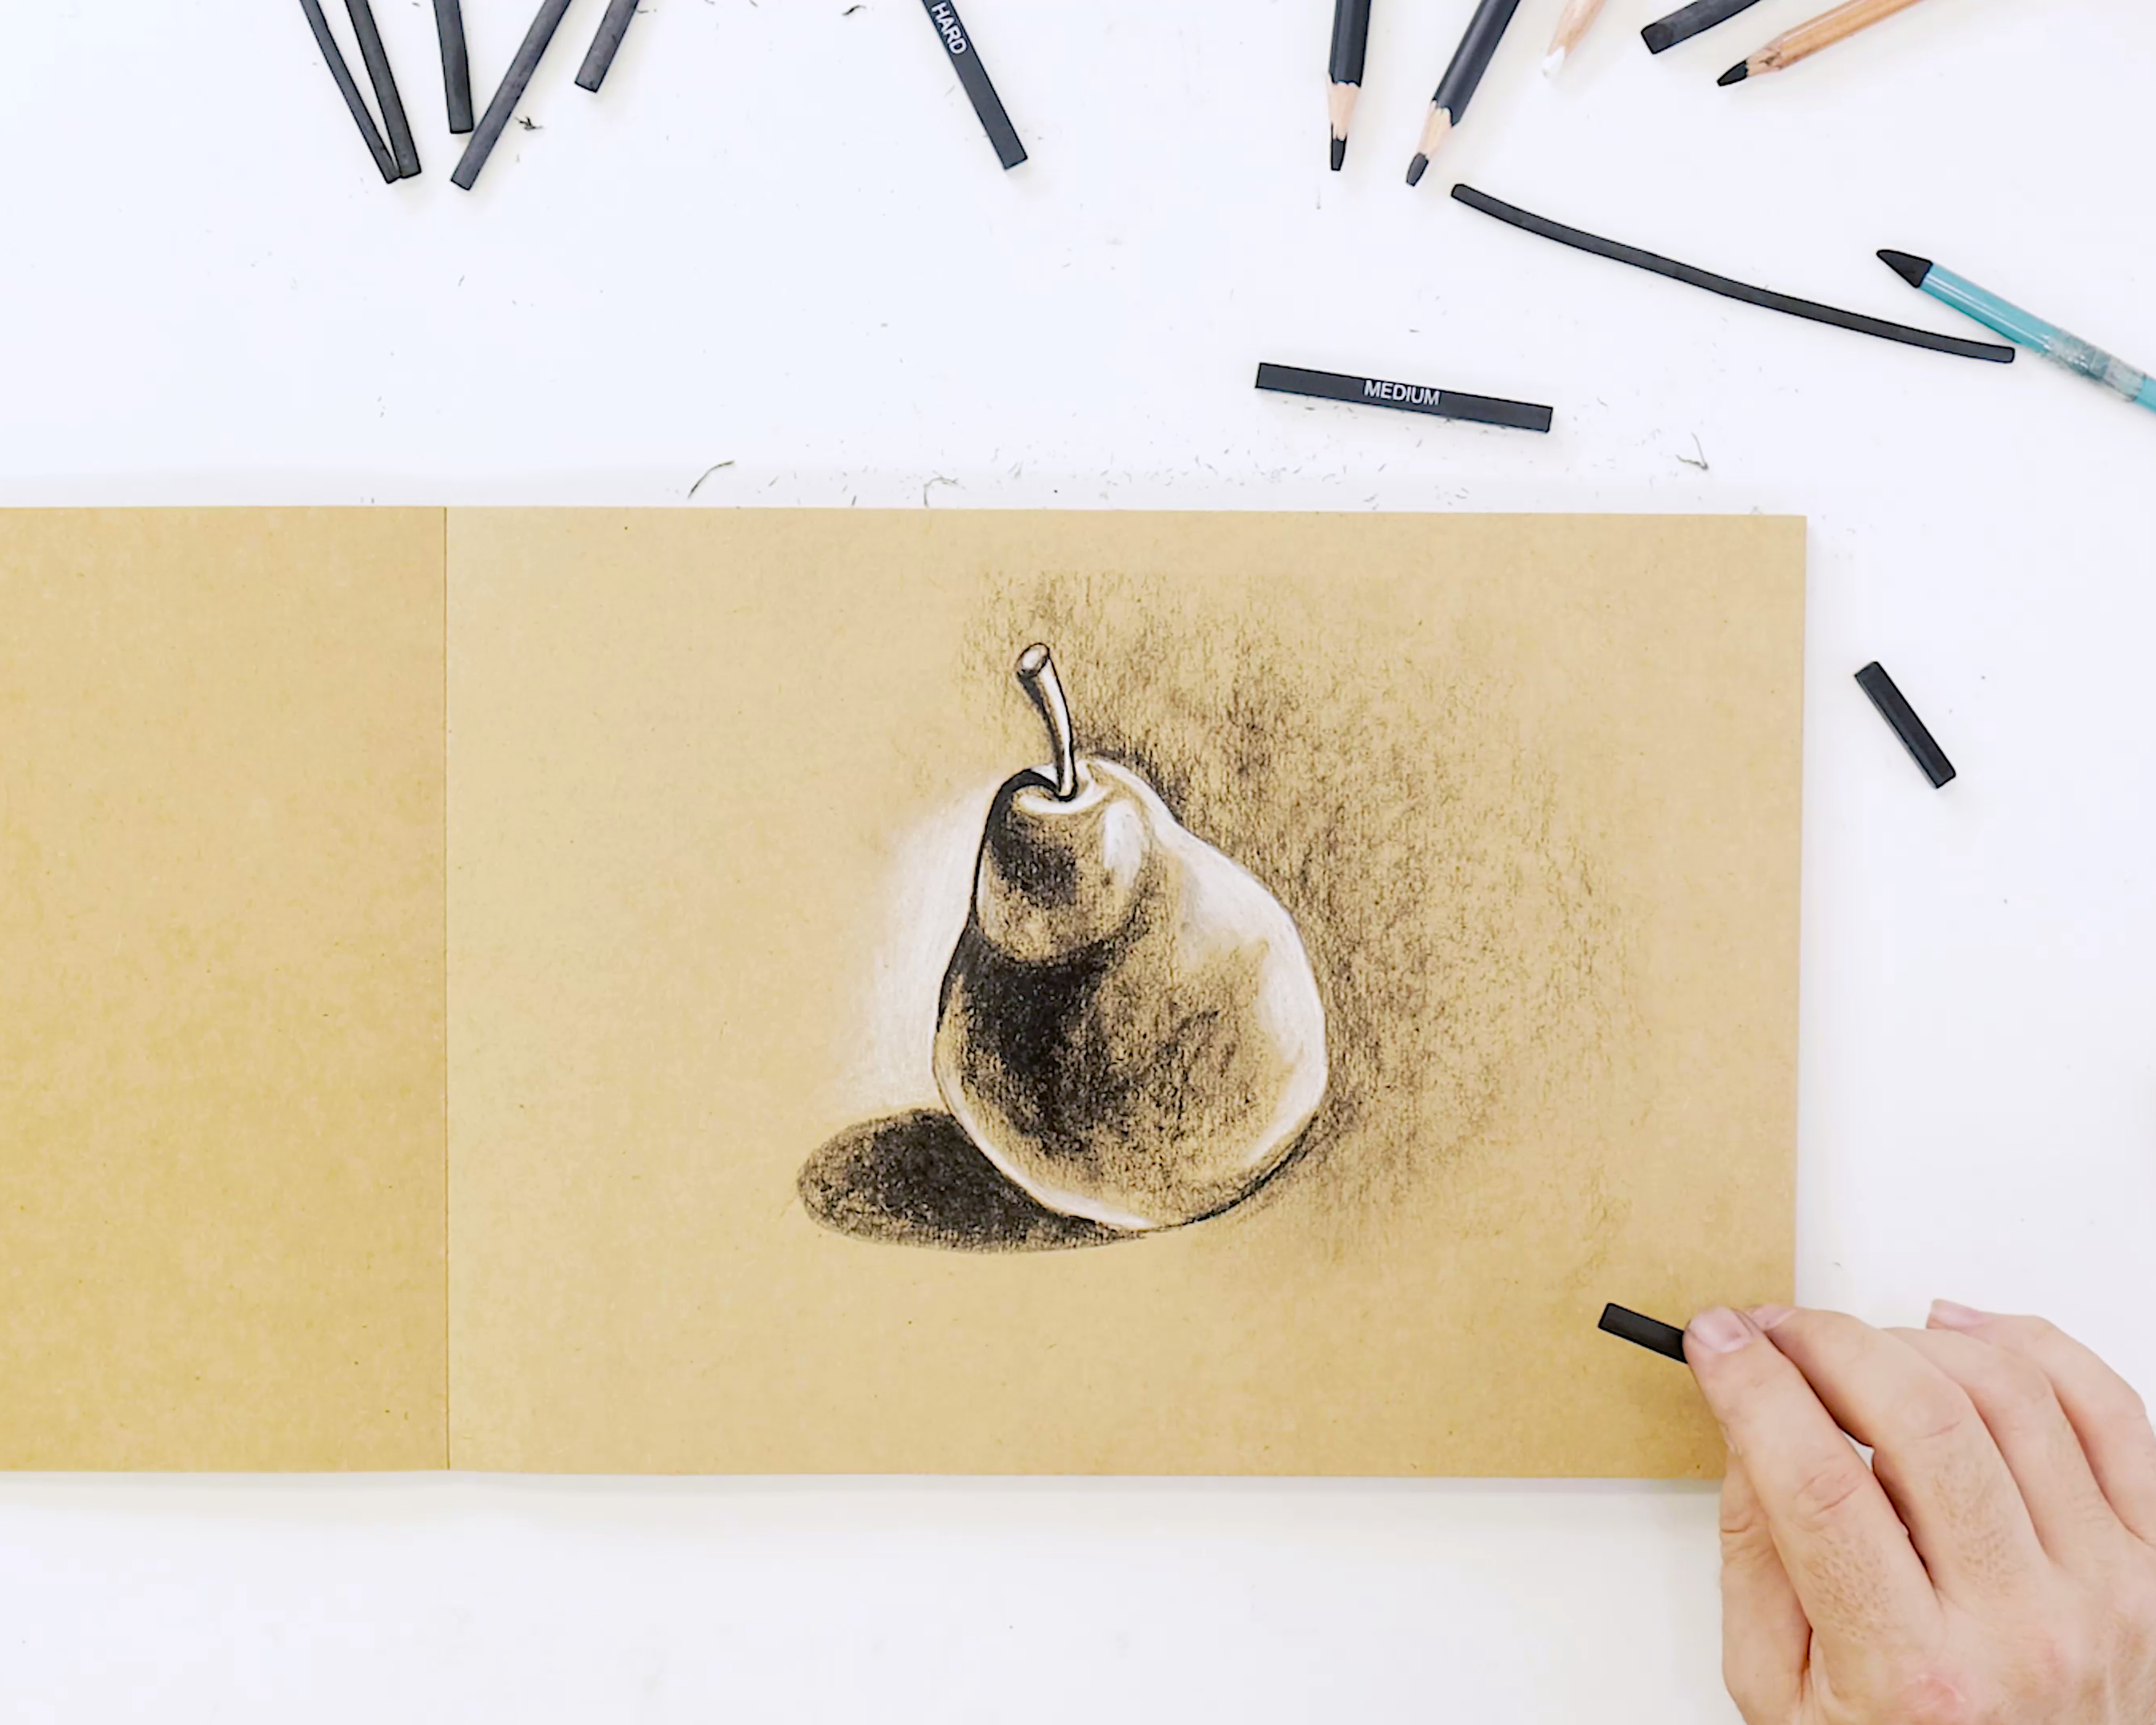
Using tan paper brings warmth to the artwork, allowing you to use a both black and white charcoal for a broader range of tones.
Try out all kinds of paper colours to create different effects and find out which tone is your fave!
6. Charcoal and pencil drawings

Pencil and charcoal go hand in hand for realistic drawings. Using charcoal offers smoother blending and deeper tones, while graphite brings fine lines, concentrated shading, and precision. Combining each medium’s strengths broadens the range of tones at your disposal, as well as line weight, opacity, and shading ability.
Tools such as blenders work well with charcoal to smooth out shading and remove texture, making skin tone, moving water, and other sleek surfaces easier to capture. Graphite comes in handy for details like defined textures, outlines, and clean linework. Both mediums can be lightened using erasers for highlight effects.
7. Charcoal styles

Charcoal portraits
Charcoal is a flexible medium to use when drawing someone’s portrait, as it can be lifted, manipulated, and blended easily. The huge range of tones that you can create is ideal for realism, and if you need a finer point for details, you can always grab a charcoal or graphite pencil.
As our skin texture is typically fairly smooth, it’s handy to use a medium that blends out with minimal definition.
Charcoal nature drawing
Use charcoal to create organic shading that you can lift in places for tree canopy effects. The powdery texture of charcoal makes it great for shading natural landscapes; just use short strokes for leafy branches, lighten sporadically with an eraser for dappled lighting, and combine shadows and highlights for textured bark. Likewise, fine-pointed erasers can be used to work in fur texture in animal drawings, creating tonal depth.
Check out our How to Draw a Tree video to see some nature charcoal techniques in action!
Charcoal still life
Like graphite, charcoal is simple to erase and edit when creating on the fly. This makes it a great medium for life drawing, as you map out and build up your subject matter while you take in the reference before you.
Start by pressing lightly and freely to block in the overall shape and shadows. As you add more and more details, switch up your line weights and tones, capturing fine lines, mid-tones, and shadows. Lastly, bolden your highlights with an eraser!
We hope these tips help with charcoal drawing for beginners to professionals. If you do make something, #montmarteart or tag us @montmarteart on Instagram or Facebook. We’d love to see what you come up with!
Stock up on sketching supplies and grab some charcoal so you can start creating sooner. Find more ideas by checking out our Techniques blogs on our Create space. We have a blog dedicated to 11 Charcoal Techniques that you can try!
Stay updated with our latest tips, tricks, featured artists, projects, and more, and subscribe to Creative Connection by entering your email down below.


