


It might look easy, but there’s certainly a method to the art of acrylic pouring. So, we asked pouring artist and friend, Mr Goodriddance (@mrgoodriddance) for some words of wisdom, covering pouring techniques to some of the best acrylic pouring tips and tricks.

1. Pre-mixed paints will save you time, but mixing your own colours gives you more options
I use both pre-mixed paints and mix my own. I prefer to use pre-mixed paints because it saves me a lot of time preparing my colours, and it ensures a lot more consistency in the dried results. At the same time, mixing my own ratios allows me to have a wider palette choice and it’s much cheaper, which makes it a better option for large canvases or artworks where I want a rich chromatic presence.
2. Play with tones, new colour combinations or look at a colour wheel for ideas
I always like to have at least three tonalities of the same colour, and two or more colours to mix,
depending on which pouring technique I’m using. Sometimes I’ll find an acrylic paint brand that sells a tint of a colour I’ve never found before, and I’ll start building the pour idea around it. I mostly decide which colours to use, by putting all the colour tubes next to each other until I find a combination I like, or sometimes I’ll look at colour wheels to find some new combination to try.

3. For a ring pour, try tilting your cup on a 45 degree angle and use gravity to your advantage
Is there a method to layering paints? Probably. Do I follow any method? Not really 😛
It also really depends on why you’re layering colours: are you going to use it for a ring pour? In that case, you should layer colour after colour in a gentle way, making sure they simply stay on top of each other, tilting your cup about 45 degrees and adding the colours close to the cup wall to make sure gravity doesn’t make your paint fall and splash on your previous layers.
4. For a flip cup, try to aim for the centre
If you’re doing a flip cup, you can do anything you want because everything you do will have a different result. If you drop the paint from higher up, the colours will start mixing, if you do it from lower down, they’ll stay more separated (especially if you mixed silicone oil in the colours). In an open cup pour, it doesn’t matter how you pour the paint, as long as you aim for the centre -- and even if you miss it, it doesn’t matter that much.

5. If your colours are muddy when wet, it could be the paint
If they’re muddy when wet, there are a few different reasons why this could happen. You chose colours that don’t mix well together and tend to make a brown/grey tone when mixed (think red, yellow, green. If these are mixed together too much, they’ll end up looking really muddy). If you bought acrylic paint with a matte finish, then it can muddy your colours. Or maybe you diluted your paint with too much water and the pigments in the paint broke up too much. Cheap paint tends to do this more easily than nicer paint, and mixing different brands might sometimes affect your colours, too.
6. If your colours are muddy after drying, this is normal
If you find the colours are muddy or duller after drying, this is the curse of acrylic pouring lol. It’s the reason why we’re always experimenting with different ways to dilute our paint: it’s normal that a wet painting will look duller than a dry one.

7. There’s a few ways you can make dull colours pop once they’re dry
There are a few things we can do to make the colours pop again, like covering the painting in epoxy resin, or using a bright varnish.
There are also a few things we can experiment with to find the root cause. Are you mixing your colours with a lot of black or darker tones? Are you mixing different brands together? Are all of your colours a matte finish?
There are a few things you can do to add more pop from the beginning, like using fluoro colours, a pearlescent or iridescent paint and balancing your colours better to avoid picking too many heavy tones.
8. Try a dirty pour in a zig zag motion for an easy masterpiece
I think the easiest way to get a beautiful painting on your first try is to do a dirty pour in a little plastic jug, and then pour the jug in zig zag motions from one side of the canvas to the other one. This makes it so that you need minimal movement post-pour to cover the entire surface. Your composition won’t stretch too much, and it’s easier to fill empty spots (you can press down on the canvas in empty areas to allow the paint to flow to that spot without having to further incline the surface.

9. Discount pieces you’re not happy with because painting over them can cause some issues.
I have a storage room with around 300 paintings I’m not happy with, I often let friends go through them and keep the ones they like. Sometimes visitors will buy a few, and I’m planning to open a new part on my website to put the pours I’m not happy with on sale at really reduced prices.
You know the saying “one man’s trash is another man’s treasure?” The 300 paintings I’m not happy with aren’t necessarily ugly, they’re just something I wouldn’t advertise for full price because they don’t represent my aesthetic ideas to their fullest - but that doesn’t mean that many people wouldn’t appreciate those artworks more than I can, and maybe even enjoy buying them for their homes.
One thing I recommend against is painting over your pours, unless you go through a tedious process of cleaning the canvas, priming it, and waiting for it to be completely dry. If you skip or don’t do any of these steps properly, you risk running into a few problems: cracks on your new layer, silicone oil filtering through the paint and opening cells you didn’t want, the paint sliding off the surface, or worse still your composition can get stretched out too much. Two of my all-time favourite pours I did were on re-used canvases, and they both cracked when drying. A real heartbreak.
10. Use a combination of silicone oil, heat from a blow torch and pouring techniques for bigger cells
If you’re looking for big cells, open cups or flip cups are a great start, especially if you set your canvas on a spinning wheel, this will help you stretch your cells even larger. If you’re looking for more of an “interlaced” look in your cells, then you should do a swipe pour: add silicone oil to all of your colours except for the one you’re wanting to swipe across, and use something (a napkin, a plastic sheet, anything light that you can easily manipulate) to swipe it over all the other lines of colour you have set down.
I use silicone oil by Mont Marte to mix into my paints, and a blow torch to get the silicone to react and form the cells.

11. Do not let the flame of a blow torch touch the paint
Something very important for beginners: your flame should NOT touch the paint, and if you’re using a blow torch on your pours and cells aren’t forming, don’t raise the flame or get any closer than 5cm. Don’t spend too long (no more than a second, really!) on the same area. Cells should appear immediately because you’re using the heat of the blow torch, not the flame to activate the silicone.
There shouldn’t be any bubbles, there should not be any smoke either. If you’ve mixed silicone oil and you are not getting cells, it means you have probably added it to paint that is too thick. So try adding a bit more water or use a diluting agent in your next ratios!
12. Leftover paint can be re-used for jewellery or as a base colour for new work
If the leftovers look beautiful, I let it dry and then use it to make earrings and rings. I’ve actually, sold a lot more jewellery than I have paintings, just because it’s so much more accessible and the custom looks always fascinates people!
If the leftover paint doesn’t look too appealing, I’ll try to collect as much as possible in a cup and use it for a different painting, maybe as base colour on a spinning pour so it helps by only getting rid of the “ugly” paint when stretching the composition.

13. Protect a drying painting with a cardboard box
Once I’ve finished a pour painting, I don’t do anything, which inevitably leads to the occasional insect getting stuck or even ruining the painting, so don’t copy my technique! But ideally, if you have a lot of space and you don’t bother other people living in your place, and you don’t mind the eye sore, then putting cardboard boxes on top of your drying painting is the best you can do to protect them from damage. Just make sure the boxes are completely empty and clean beforehand!
14. Pouring isn’t just limited to pour painting, you can create mixed media too.
Mixed media is something that I’m planning on doing more and more. I’d like to experiment more with the surfaces I pour on (I want to paint a guitar, some furniture, a few skateboards, etc). I’d like to add more details to my composition using airbrushes and other techniques and materials. I have some wacky ideas for some epoxy resin/wood/acrylic pour sculptures that I’ll be starting to work on really soon!

15. Most importantly have fun, experiment and learn from others
Like everything artistic: just have fun! Experiment, mess up, have happy mistakes, learn from them, make beautiful stuff, try to recreate it and possibly fail, learn from those mistakes too! Find the pouring techniques that satisfy you the most, stick to them till you get bored, then find new techniques and new inspirations!
The acrylic pour community is full of amazing talents who are always sharing tips and supporting people who are only now approaching this art, so as a beginner you’ll always feel welcome, and you’ll always find new things to try and discover!

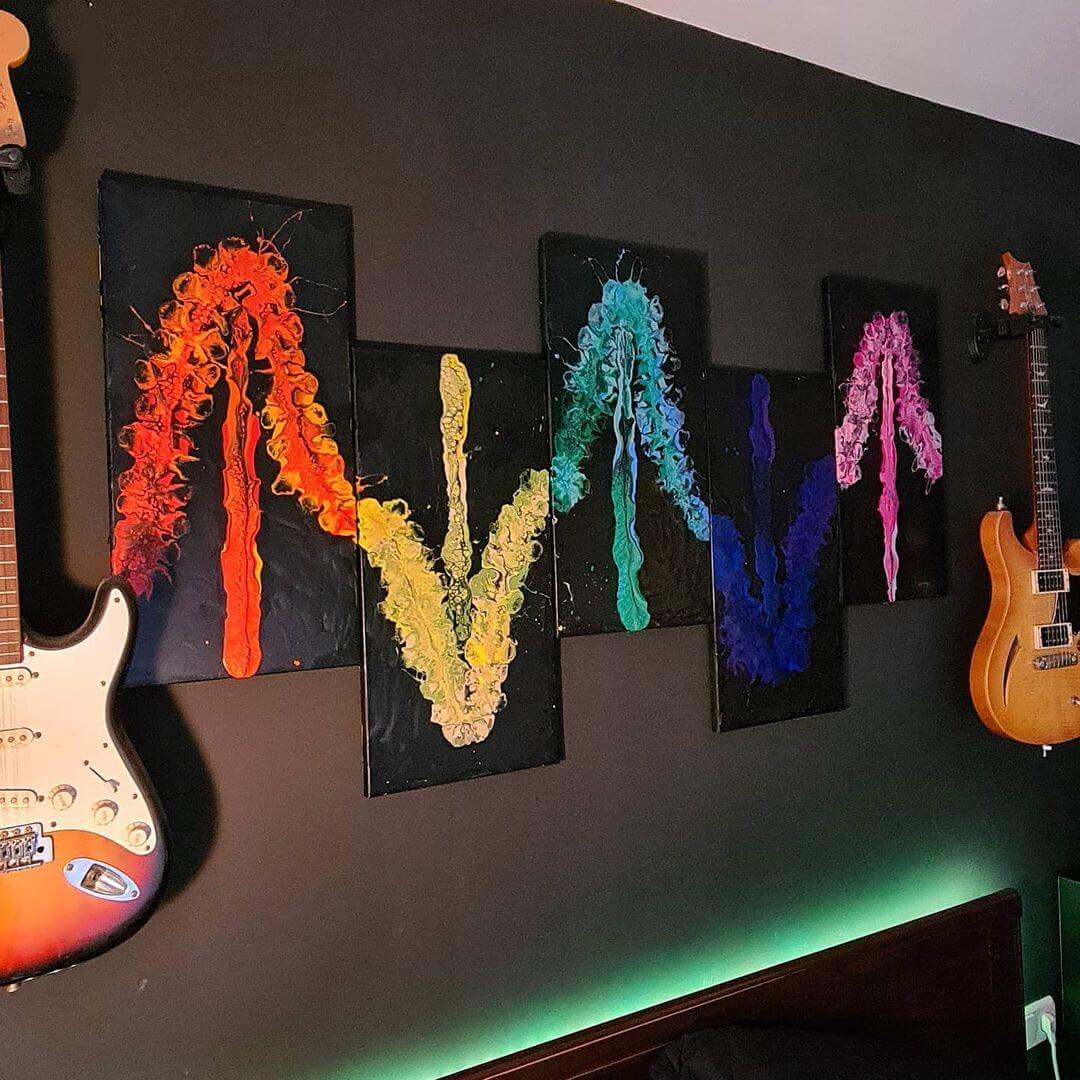
Mr Goodriddance is a Barcelona-based pouring artist. Previously a musician, the retired rockstar turned to art during the pandemic for a creative outlet and hasn’t looked back since. Often inspired by music, his eye-catching colours and unique techniques create truly one-of-a-kind masterpieces.
You can find more about Mr Goodriddance’s creative journey here or discover more about his art in our gallery listing.
Loving the content? Join our Creative Connection community and receive regular tips, tricks, inspos and projects delivered straight to your inbox! To join, scroll to the bottom of our site and pop in your email, it’s that easy.


