


Are you looking for a new hobby or skill? Maybe it’s time you tried your hand at calligraphy. This style of art has grown in popularity over the past few years, so we thought we’d share our top tips to get you started.
1. Choosing your calligraphy tools
If you’re thinking about trying calligraphy there are a few different tools you can use (brushes, bamboo nibs, glass pens, feather quills, fountain pens and dipper pens). For beginners, we’d suggest starting with a fountain pen because you can write and practice your technique without needing to dip back into an ink well.
2. Pick a nib to suit the style

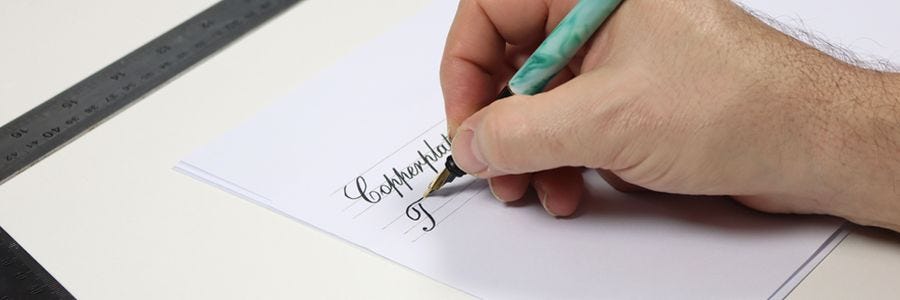
Calligraphy nibs can be round or flat and come in a range of widths. Round tips are great for flowing script styles with cursive details (such as the Copperplate Script in the image above). Chisel tips, on the other hand, are great for Old English and Gothic styles because they create thick downward strokes and thin upward strokes.
3. Use smooth paper
The best surface to use for calligraphy is smooth paper (cartridge paper). This gives you clean lines, whereas rougher paper can cause your lettering to bleed.
4. Set up your workspace

There’s nothing like a happy workspace. You’ll need a fair bit of concentration for calligraphy, so good lighting and a comfy chair is a must. A lot of people also swear by drawing boards because they can be tilted to get the perfect angle.
5. Put extra paper underneath while you work
To create a smooth work surface you can lay down a drawing pad or a few sheets of paper underneath the sheet you’re working on. This will prevent any wood texture in your desk from effecting your drawing.
6. Draw a base line

To keep your words and letters straight, we’d recommend lightly drawing in a base line with a pencil. This can be gently erased once your artwork is dry.
7. Ink matters
There are two types of ink you can use for calligraphy. These are water-based and pigmented ink (also called waterproof ink). Fountain pens use water-based ink because other ink types can clog the nib. Waterproof ink is great for dipper pens, but you’ll need to clean the nib immediately after use to keep them working at their best.
8. Fill your fountain pen correctly

If you’ve picked a fountain pen as your tool of choice, there’s a bit of a trick to refilling them. Below are a few handy hints to help you out if you’re using our pens (these steps may also work for other models).
Step 1: To insert your ink cartridge, gently unscrew the black nib of the calligraphy pen and put the cartridge (smaller opening end first) into the opening.
Step 2: Hold the inserted ink cartridge against a strong surface, such as a table top, and press down firmly on the pen to force the cartridge to click into place. You will hear a click when the back of the pen nib pierces the cartridge.
Step 3: Screw the nib back onto the pen and place the calligraphy pen upright for a minute or two, prior to use. Then gently press it onto a scrap piece of paper to start the ink flow - it should only take a couple of strokes for the ink to start flowing. You're now ready to start writing!
9. Hold the nib at the right angle
Calligraphy pens aren’t designed to be used the same way as regular pens. To keep the ink flowing smoothly, hold your pen so that the nib is angled between 30 and 45 degrees to the paper. Feel free to experiment with your angle so that you can learn what works best for the style of calligraphy you want to create!
10. Space out your letters evenly

When it comes to spacing, a great tip is to lightly rule up a series of boxes along the base line using a pencil. Make sure they’re spaced evenly and write your letters inside the boxes as you go.
11. Ink flow
If you’re having trouble with ink flow, below are a couple of tips you could try:
- Touch the paper lightly with the nib a couple of times to help get the ink flowing
- With fountain pens, make sure you insert the ink cartridge (make sure you hear a click when you insert it otherwise it may not be completely pierced)
- Clean dipper pens after each use by running them under warm water and cleaning them with a cotton bud or toothbrush
- After putting a dipper pen in the ink, draw a line on a scrap piece of paper to get the ink flowing smoothly before using it on your final piece
12. Practice

Chances are your calligraphy won’t be perfect on the first go and that’s okay! Some calligraphy sets come with a practice booklet, or you can search online and print off some exercises to try.
Learning a new skill is exciting, rewarding and can be a lot of fun. So take your time and enjoy the process, even if it’s a bit tricky at first. And don’t be shy - feel free to tag us on Instagram or Facebook using @montmarteart to show us your progress.


