


Chalk pastels, or ‘soft pastels’ are great for creating a range of cool effects. Learn something new and try some (or all) of these chalk pastel techniques next time you’re looking to create a chalk pastel artwork.
1. Dusting
If you’ve ever used chalk pastels, you’ll be familiar with the pastel dust that these chalky sticks can leave behind. With this chalk pastel technique, put that excess dust to good use and add light, airy colours to backgrounds or landscapes. Using a hobby knife, carve alongside the edge of a pastel to create dust, for sunrises grab a red, orange and yellow and begin lightly grating the pastel with the knife to create pigmented dust. Once you have enough dust, blend the pigment powder with your finger into the paper and you’ll have yourself a dreamy, soft coloured effect.
2. Flat edge
Use a pastel’s flat edge to your advantage and create thick, broken lines or dotted lines in your artworks. To use the flat edge technique, hold the tip of your pastel and apply pressure vertically, before lifting the pastel off of the page, creating short vertical strokes. This will add interesting texture to roads, houses, distant tree lines and horizons or bricks in your creative works.
3. Wet on dry
To help blend your colours or make your pastels look more like a painting, you can create light, watercolour-type effects using pastels. To create watercolour effects, place a chalk pastel colour down, then using a taklon brush with water, apply a wet wash on dry paper to activate the pastel. This technique is great for creating light, airy effects too.
4. Directional lines
If you’re looking to create grass, flames or texture, try directional lines next time you pick up the chalk pastels. For this pastel technique, use the edge of the pastels to create lines in the same direction then work to make them more irregular, random and varying in size. Experiment with drawing lines in different directions, size and density.
5. Feathering
Feathering with chalk pastels is a lot like the directional line technique, the main difference with this technique is to take the stroke out longer and work quickly. For feathering, the lines will often go in the same direction and look a little more linear. This can be used for adding tree foliage or hair and fur to your pastel pieces.
6. Side stroke
To cover large areas, you might find the side stroke technique to be helpful and it’ll cut down on a lot of time too. Lay the pastel flat and use it like a crayon, pulling the pastel away from yourself. As you push or pull the pastel, hold firmly onto the paper to stop it from moving. This pastel technique will fill in larger areas quickly for backgrounds or for bigger surface areas and it can be used with either chalk, oil or watersoluble pastels too.
7. Stippling
To stipple, tap your pastel’s point onto the paper, working either horizontal, diagonal or vertically and experiment using different sizes and amounts of pressure. Depending how you go about it, this technique can add weight and depth to your artworks or add texture like shadows. For this, you can use the fine edge of your pastel or try pastel pencils.
8. Layering
You can layer chalk pastels over one another to produce a technique similar to underpainting, but without the paint of course. Blend a lighter pastel colour as your base and then using the tip of the pastel, create an overlay using thin, linear lines. This can add depth, show texture or create a blended tone. For layering, a good rule of thumb is to work light to dark and stay in the same colour families, (warm and cool tones), to maximise your colours and make sure your blends don’t become dirty or muddy.
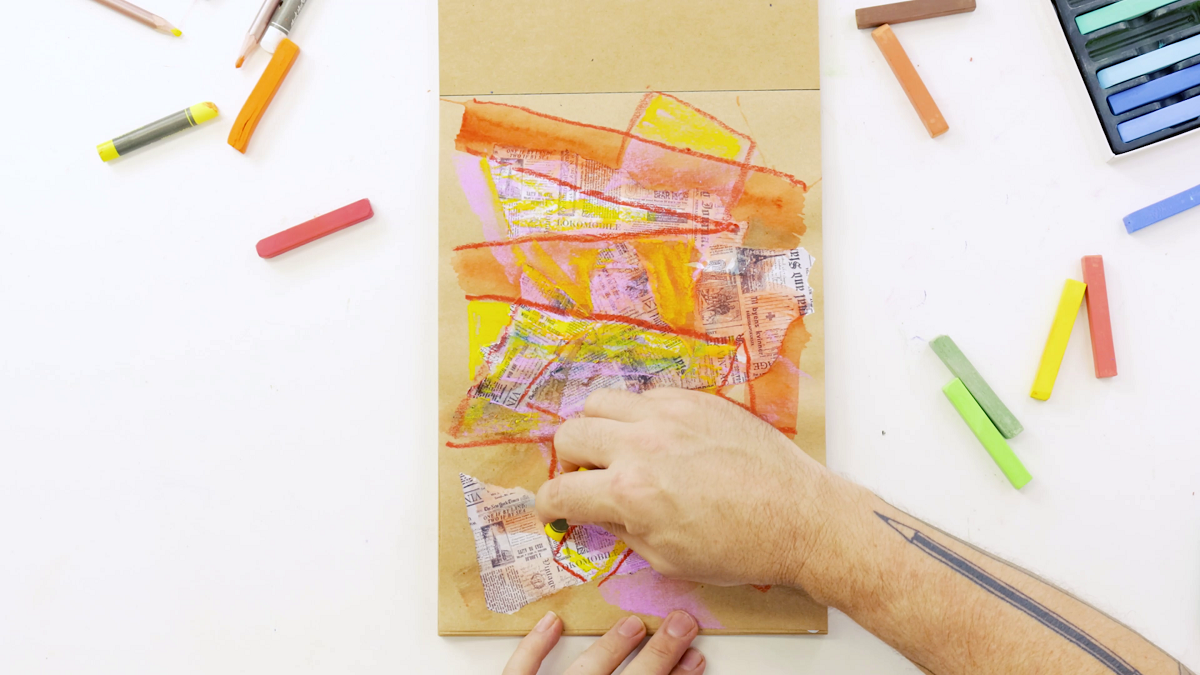
9. Mixed media
Try something new and play around with pastels in mixed media artworks. Use chalk pastels to add extra details, expressive marks or pops of light colour to your finished watercolours. You can even use pastels over collage works, just make sure your work has dried completely before starting. Or use chalk pastels along with their fellow pastel friends like oil, watersoluble and pastel pencils.
10. Highlights
If you’re working with dark paper, you’ll need to use the darkness of the paper as your highlights and draw in your shadows with a lighter-coloured pastel like a white. For this pastel technique, you’ll be shading in reverse, so start with the shadows and background first and then add any extra tones or light shading to suggest light.
We hope that you feel inspired to pick up some pastels yourself and try these yourself. #montmarteart or tag us @montmarteart on Instagram or Facebook, we’d love to see what you create.
Looking for more? Check out our range of chalk pastels here. Or if you’re wondering what the difference between soft pastels and pastel pencils are, check out our pastel pencil FAQs.


