


How to whittle a Tasmanian Devil wooden sculpture
In this tutorial, we’ll step you through how to whittle a Tasmanian devil sculpture from bass wood. This is a fun project to chip away at and learn some great techniques along the way. You can follow along with the full video and step by step guide below.
Extra materials you will need:
- Block of bass wood measuring 150x50x50cm
- An F clamp
- A coping saw
- A soft sanding block
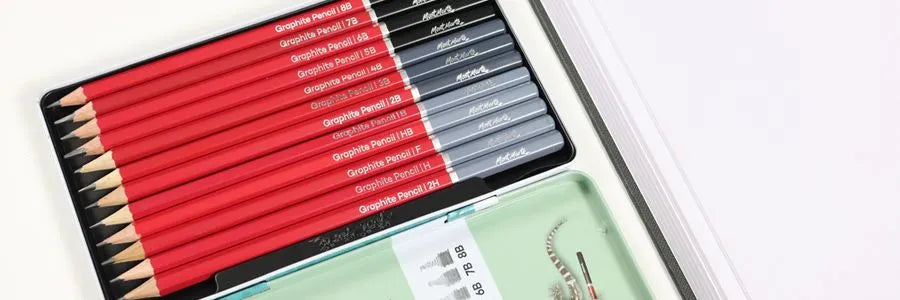
- A HB pencil
- Plaster bandages (if you make the thumb guard)
While whittling is fairly simple, if you’ve never done it before, you might be cautious about accidentally cutting yourself. So, we’ve popped this optional step in of making a thumb guard.
To make a thumb guard, cut some bandage plaster to size so that it sits over your thumb. Then, wrap a dampened 30cmx5cm strip around your thumb. Smooth it down with some water and let it dry.

Start by marking up the block of bass wood. To help, we have supplied an outline with a front and side view of the sculpture, along with three reference images. You can find it on the lesson webpage under “Resources”.
Cut the sheet to size, shade the backside and tape it into position and retrace the outline using the HB pencil.
Repeat these steps to trace the front profile.


Secure the block to a table using the F clamp. Use the coping saw to profile cut around the shape, ensuring the saw is vertical as you cut.

Retrace any outlines in pencil that disappeared in the cutting stage, including the front profile and where the back legs will sit. Turn it upside down and draw in where the feet will be.

Now you can start whittling the sculpture. Start by rounding the corners. You can use the 7.2mm angle chisel to carve out the general shape. For larger areas, you can use the coping saw.

Continue whittling away to get closer to the shape of the Tasmanian Devil. You can use the gouge tool to remove a lot of the wood quickly and the concave grooves can be removed in the refinement stage.
Use a stop cut to carve the back of the legs.

The tail is the most fragile part of the sculpture, so just roughly carve the general shape and define it in a later stage of the project.

Once the general shape is carved, you can switch to a hobby knife. Although, if you’re inexperienced, wear the thumb guard or use the 8.8mm flat chisel tool in the carving set.
At this stage, gently work over the whole sculpture, gently paring away at the wood. You can refer to the reference images to get the correct shape.

Use the coping saw to carve out the gap in the legs. Once the wedges from between the front and rear legs have been removed, continue to refine the underside.

Once the wedges from between the front and rear legs have been removed, continue to refine the underside. At this stage, the legs are a square shape, so you can use sweeping and paring cuts to round the edges off.
You can then refine the tail and underside of the head.

Cut a slice off the sanding block and use this to gently smooth over the sculpture.

Next, draw the facial features of the Tasmanian Devil.

Use the gouge chisel to cut the line work in on the eyes and the nose.
Use the hobby knife to cut the mouth. The cuts can be widened slightly with the fine 3.3 mm point chisel. This is done by creating a very fine “V” cut.

Use the sanding block to smooth it off.
If you'd like to take your sculpture to the next level, you can add a splash of paint!
Squeeze out a small amount of Brilliant Red, Lamp Black and Titanium White on the palette. Add some water to the paint. This will thin out the consistency so that it paints on the surface like a stain.
Using Brilliant Red, paint the muzzle, around the mouth, the ears, eyes and feet. You can test the mix on a scrap piece of wood first so that the ratio of paint to water is correct.

Paint some Titanium White around the eyes, a band across the chest, and a band across the back, above the base of the tail.

Paint the rest of the sculpture in Lamp Black. Paint up the white areas and then add small black strokes to soften the edge.

To make the feet look pink, use a dry brush to gently paint some black over the feet. This will allow the red underpainting to show through.

And, you’re done!

Material List
- Wood Carving Set Premium 12pc
- Precision Craft Knife Signature 3pc
- Acrylic Colour Paint Signature 75ml (2.5 US fl.oz) - Brilliant Red
- Acrylic Colour Paint Signature 75ml (2.5 US fl.oz) - Titanium White
- Acrylic Colour Paint Signature 75ml (2.5 US fl.oz) - Lamp Black
- Round Plastic Palette Discovery 17cm (6.7in)
- Gallery Series Brush Set Acrylic 4pce
Shop Materials List
You may also like

Book edge painting with watercolour

How to make clay plant markers

Cookie-themed air dry clay coasters
