


Sculpt an alien with polymer clay
Download and print the outline and reference image to start creating the armature and base.
Cut out the footprint and lay it over the round canvas. Punch two holes through the canvas.
Next, take a wire coat hanger and bend it straight. Use the footprint guide again and create two 90 degree bends to create a square "U" shape. Place this through the canvas and then lay the canvas face side down on some glasses. Make sure the wire is sitting in the middle of the canvas.
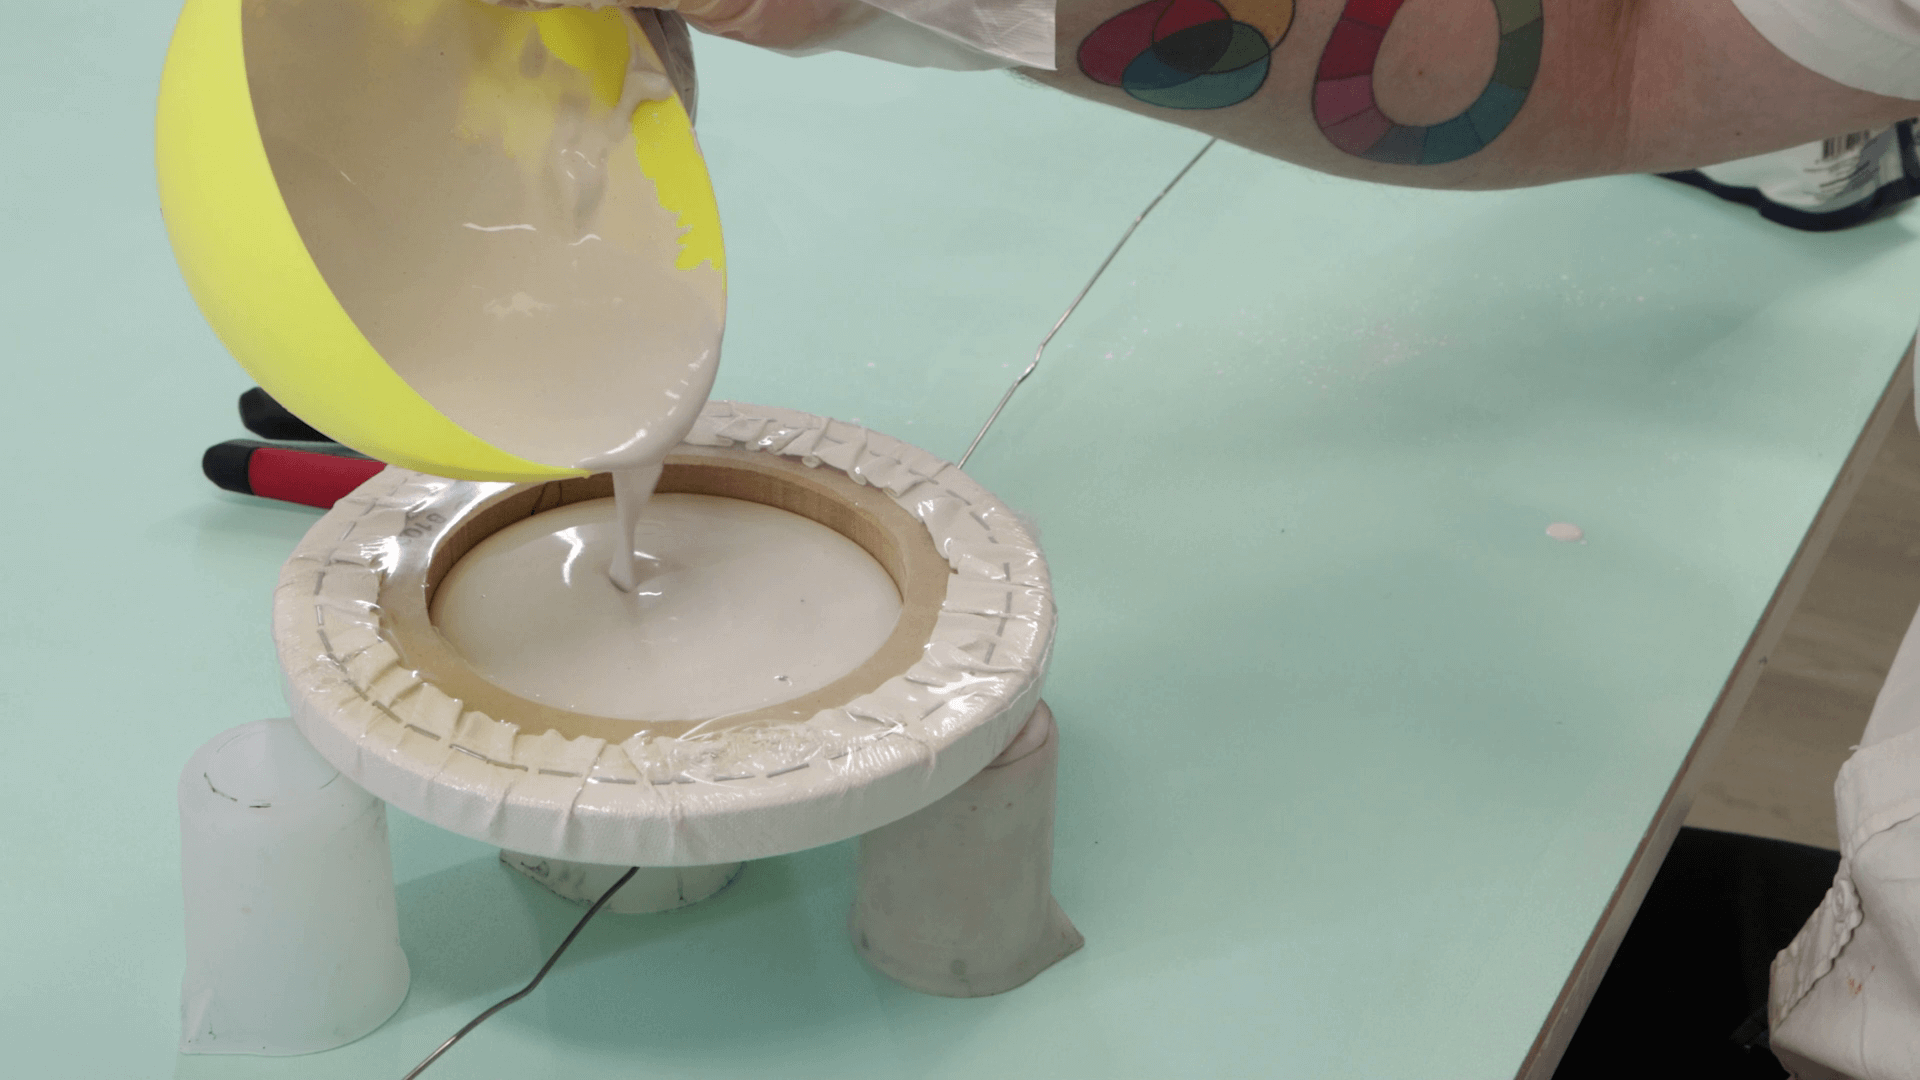
Mix the plaster with one part water to two parts plaster. Use gloves to mix the plaster and carefully pour the plaster into the back of the canvas. Leave it overnight to dry.
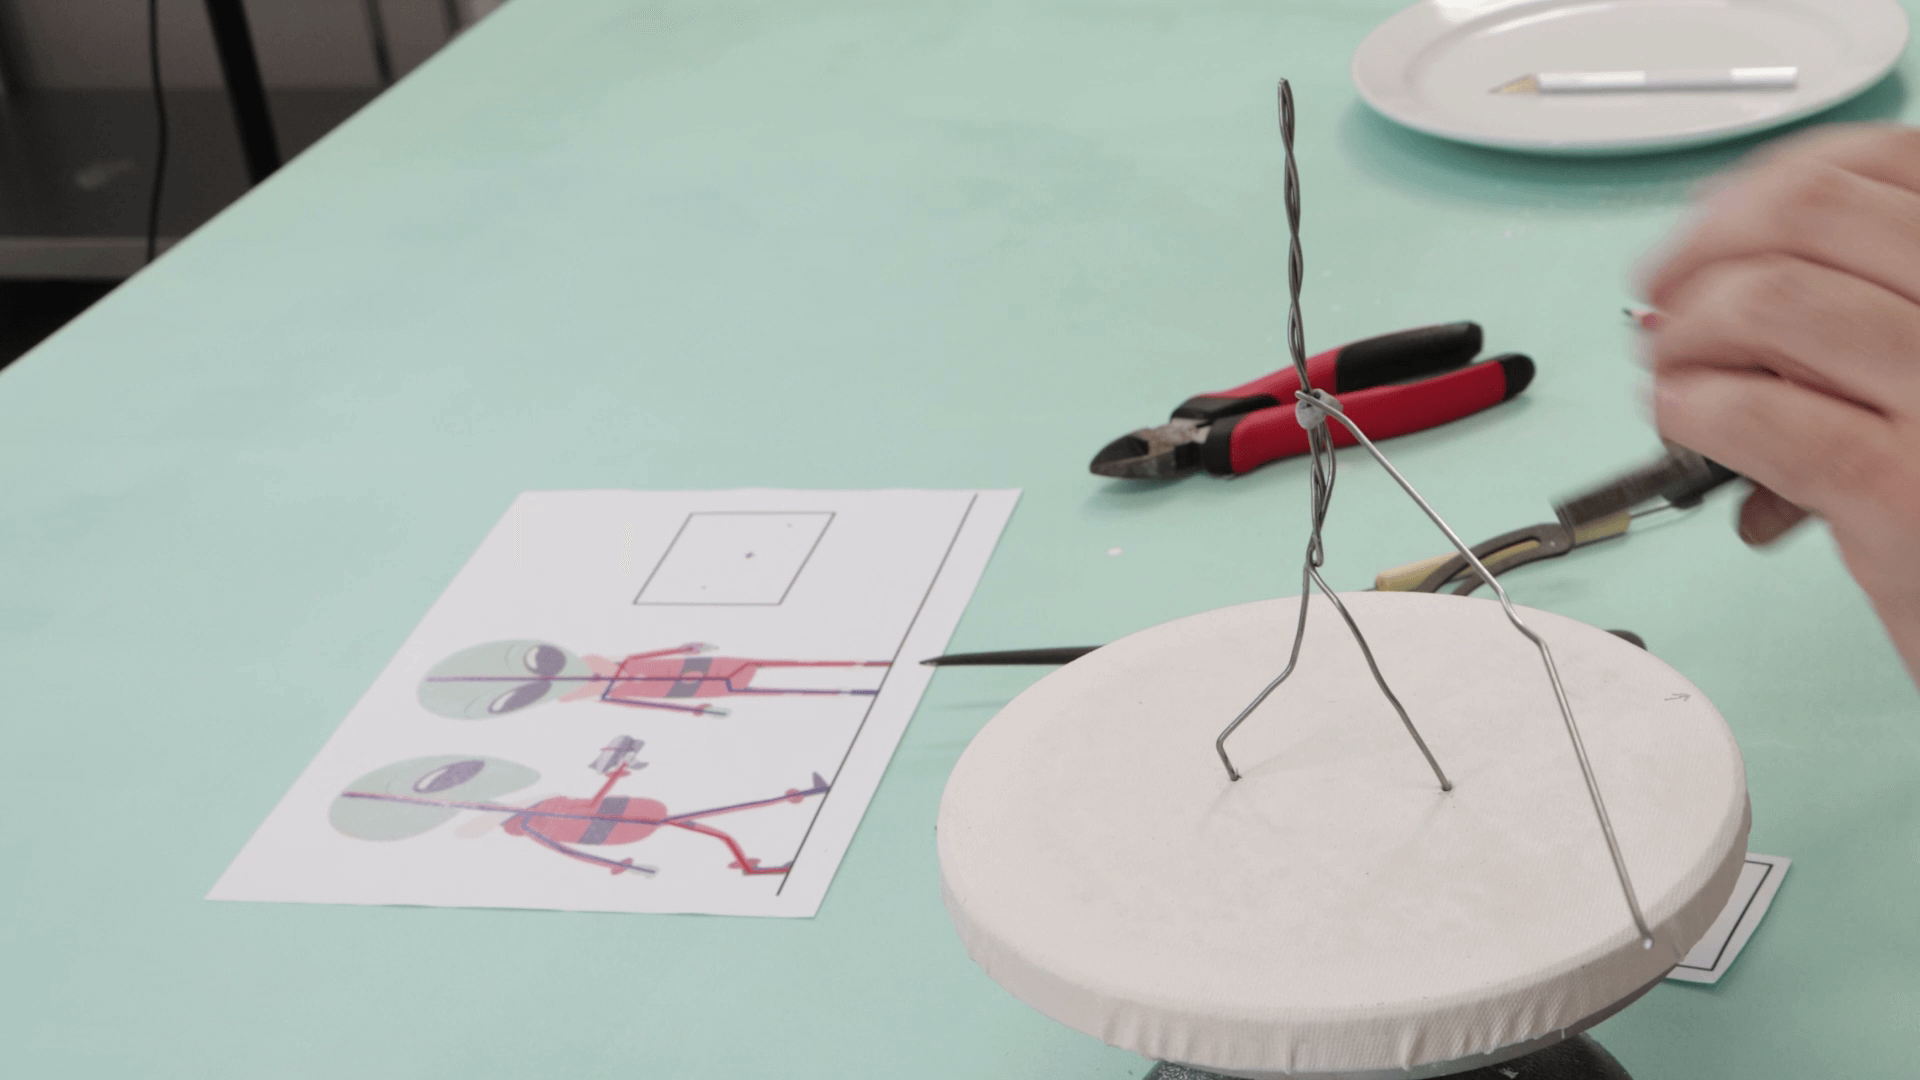
To create the armature, refer to the outline and bend one leg back at an angle. Make another bend at the hip that curves back up to the head area.
For the other leg, make a bend at the knee and hip and curve it up to the other wire. This will make the spine. Put a slight bend in the spine so it has a slight lean forwards. Use the snub nose pliers to clamp the wires near the hip and twist them together. You can then measure against the plans and cut the wires to size.
Measure the point where the arms sit on the spine and twist a length of wire tightly around the spine, bend it to shape and cut it to size. Create the other arm and cut that to size. Ensure the shoulders bend back slightly.
Next, wrap some thin tie wire around each leg and arm. We also created a loop of wire on the leading foot to provide a support for the clay boot. This tie wire will create more surface area for the clay to adhere to and will secure any wobbly bits of wire.
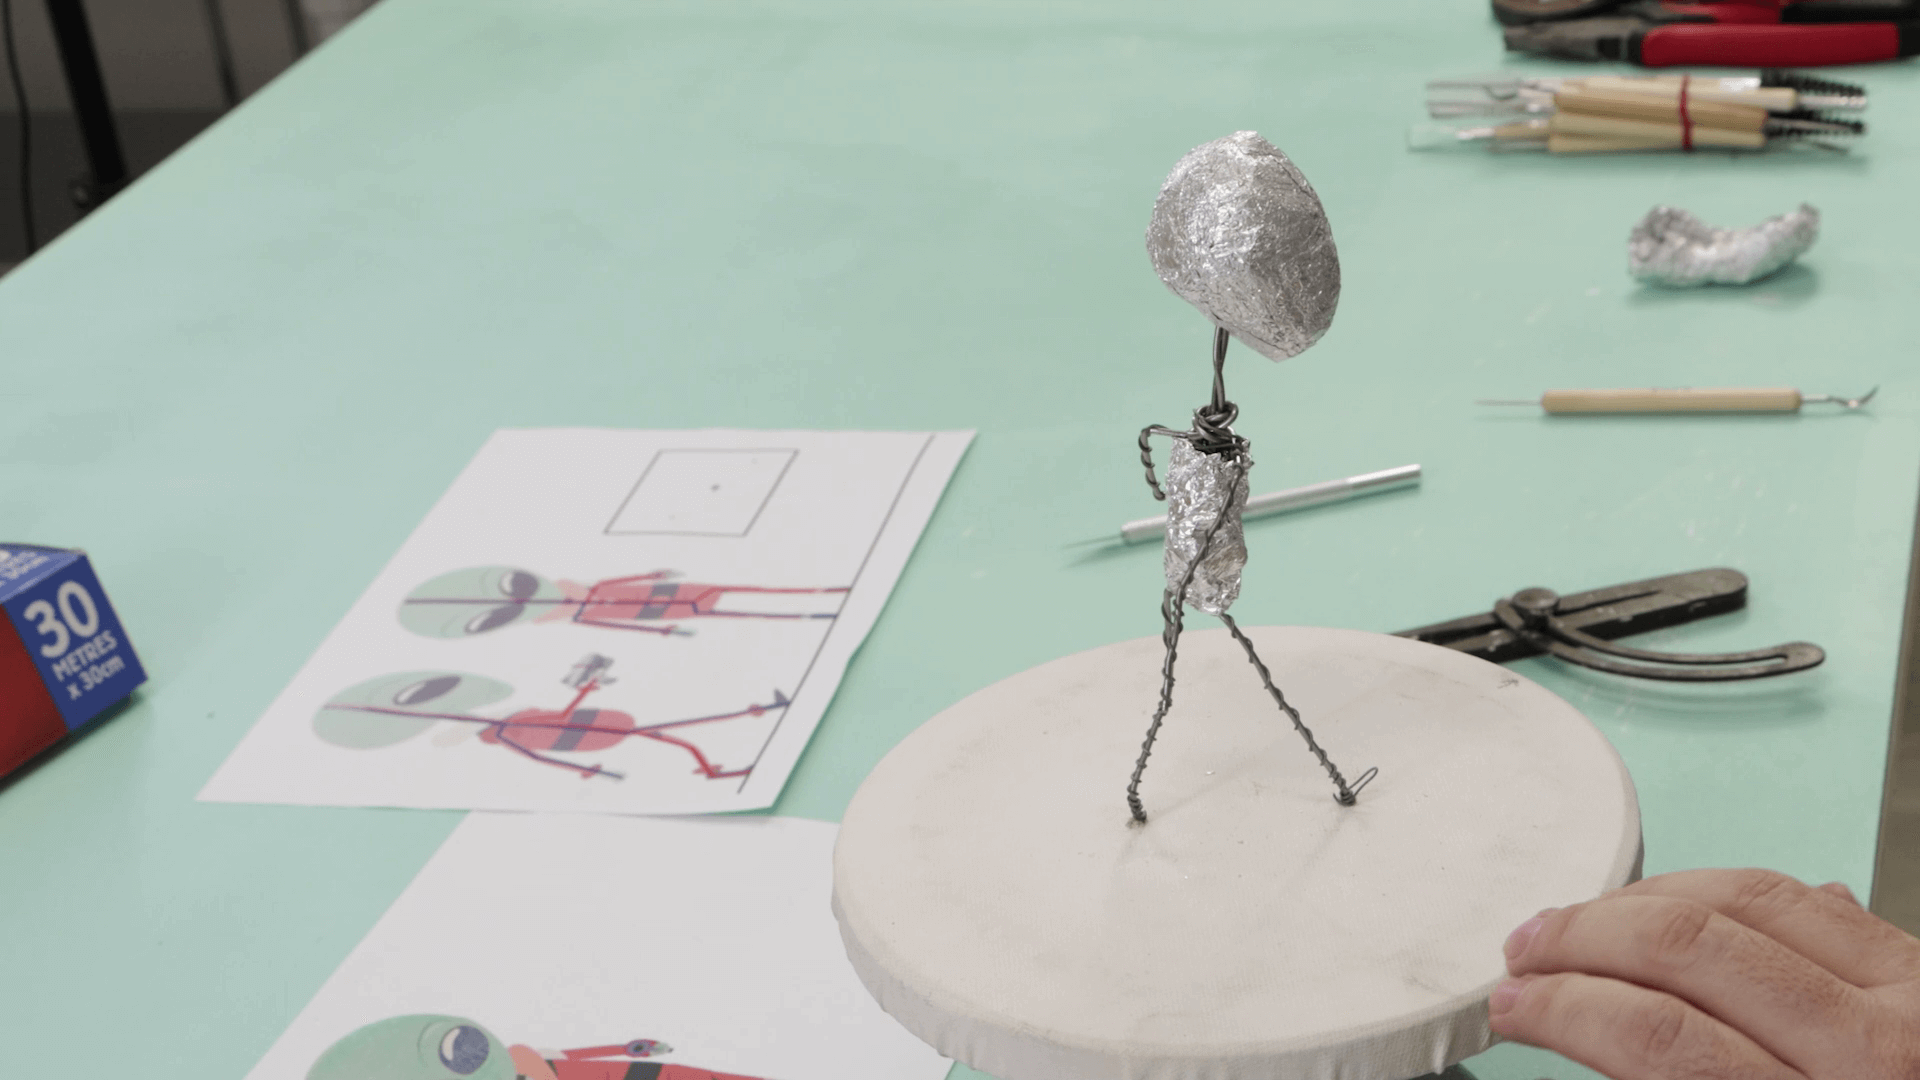
To create the oversized head, shape some aluminium foil into a kidney bean shape and secure it onto the spine.
Then bulk out the rest of the body with more aluminium foil. Once you’re happy with the thickness, cut the foil and tightly bind it with clear tape.
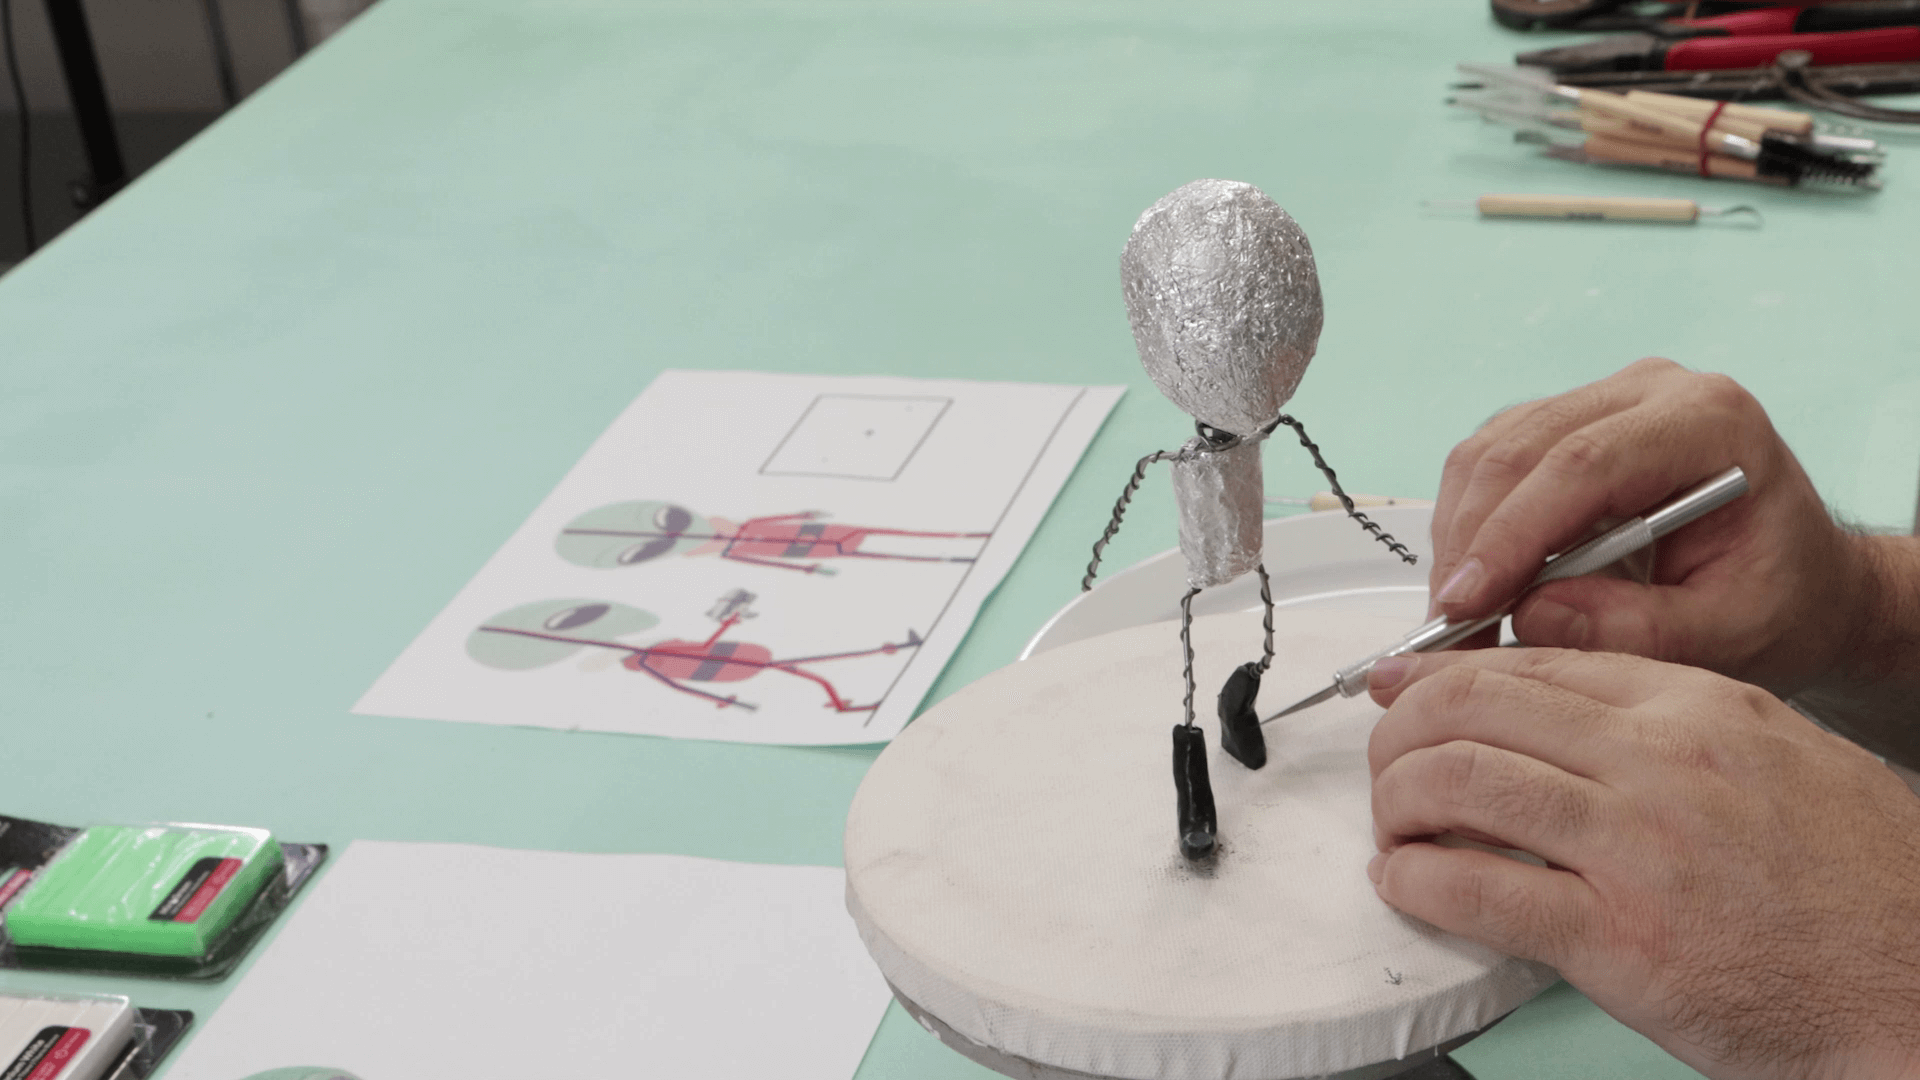
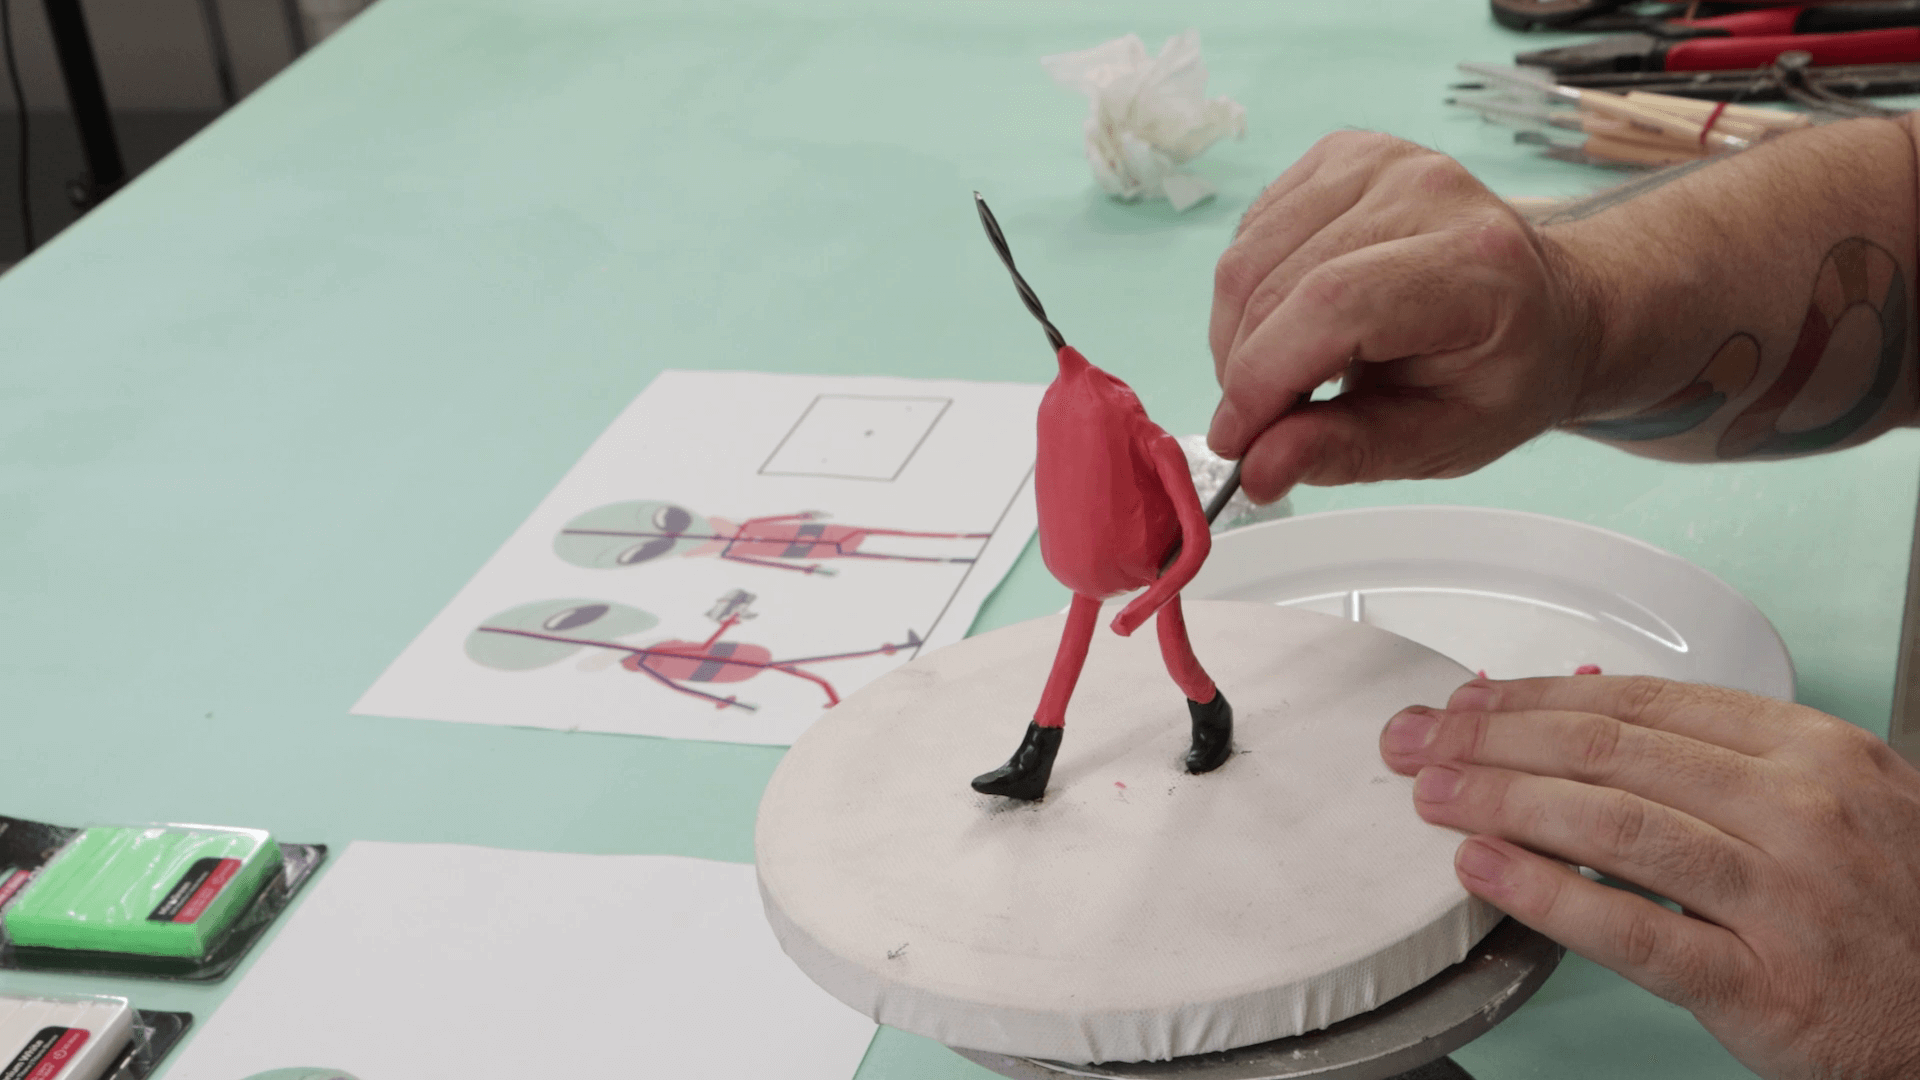
Then you can start adding clay. After conditioning it, press some Black clay on the bottom of each leg and use the hobby knife to carve the shape of each boot. Smooth the clay using the end of the old paint brush.
Take the Salmon clay and pack it around each leg up to the hips. Carve away the clay to get the desired thickness. Repeat this step for the arms.
Build out the belly and back areas. Refer to the reference images to create the right shape. Blend these areas into the arms and legs.
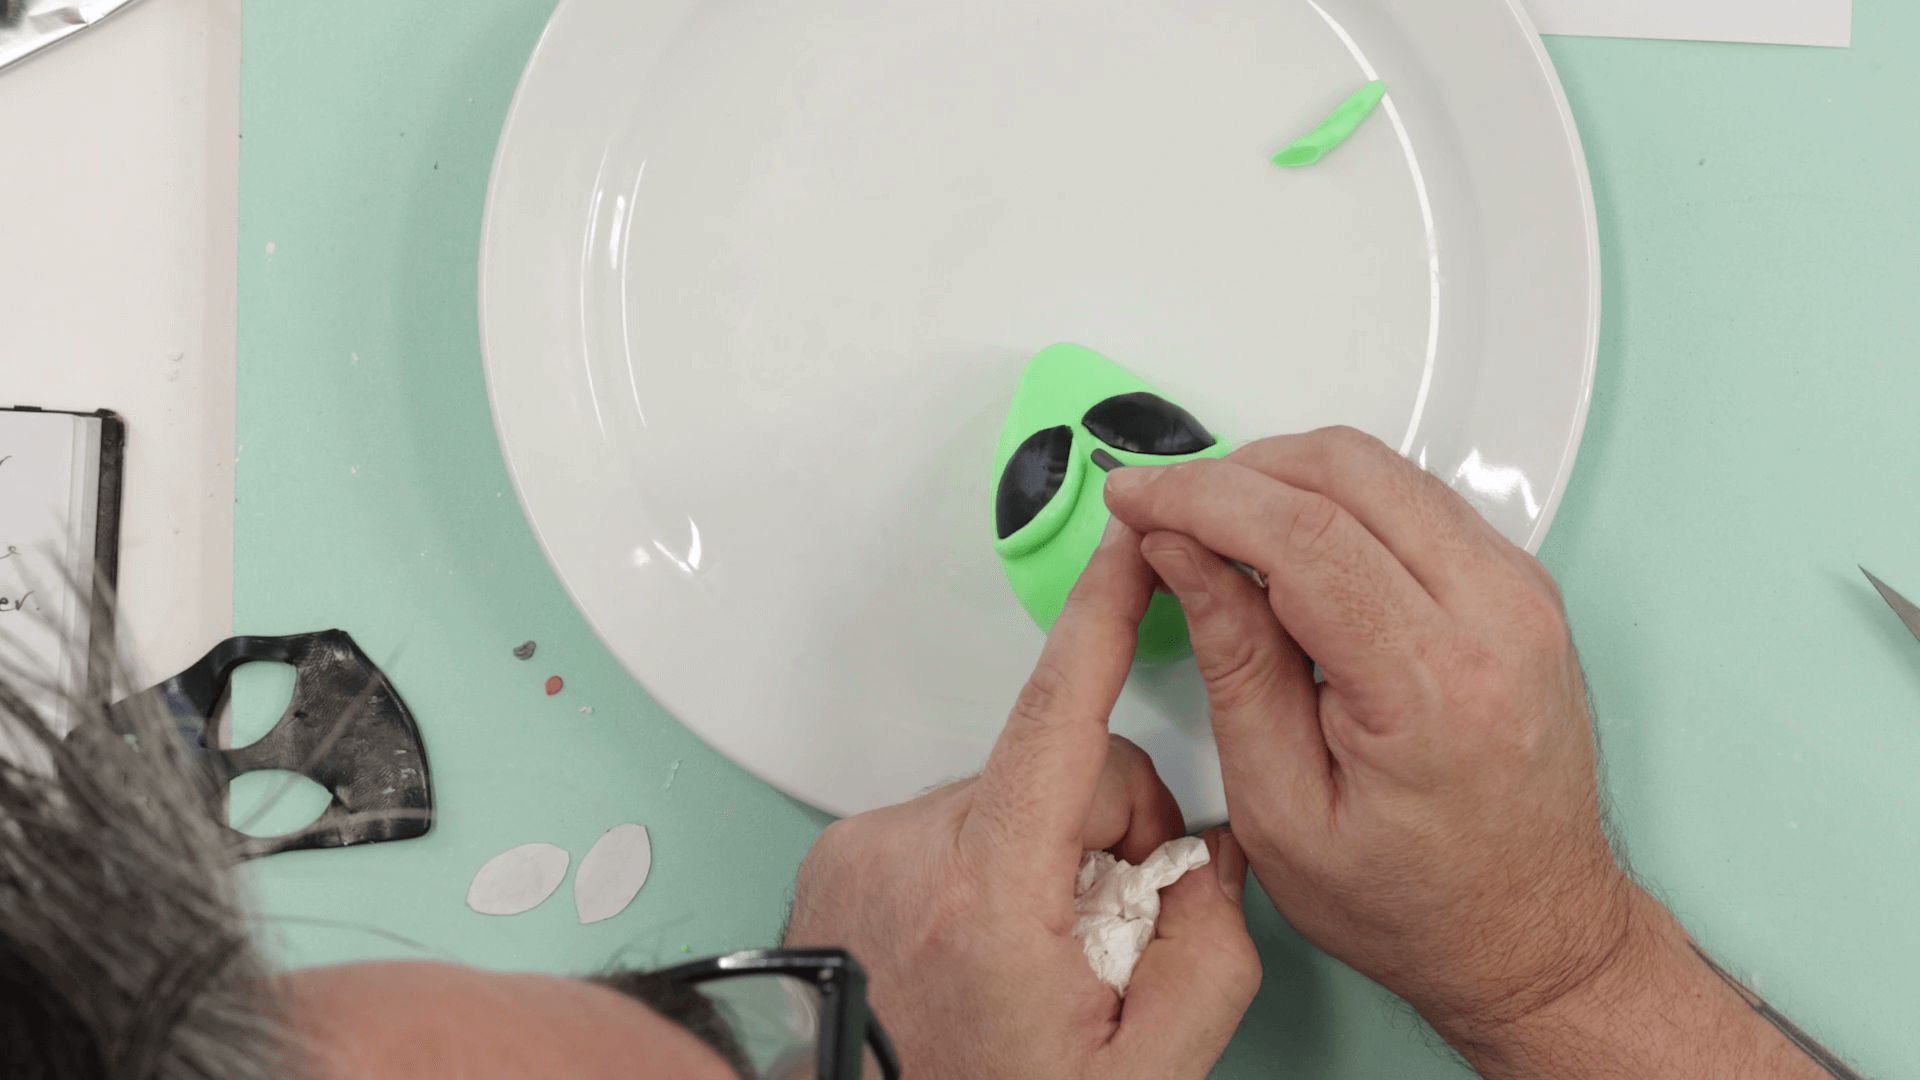
Cover the head in a layer of Emerald clay that is about 6mm thick. It is easier to remove the head from the armature to do this. Smooth it off with the paint brush.
Flatten out some Black clay and cut out two eye shapes using the outline as a template. Pop them in position on the alien. To suggest a brow ridge, you can create two crescent shapes and blend them above each eye.
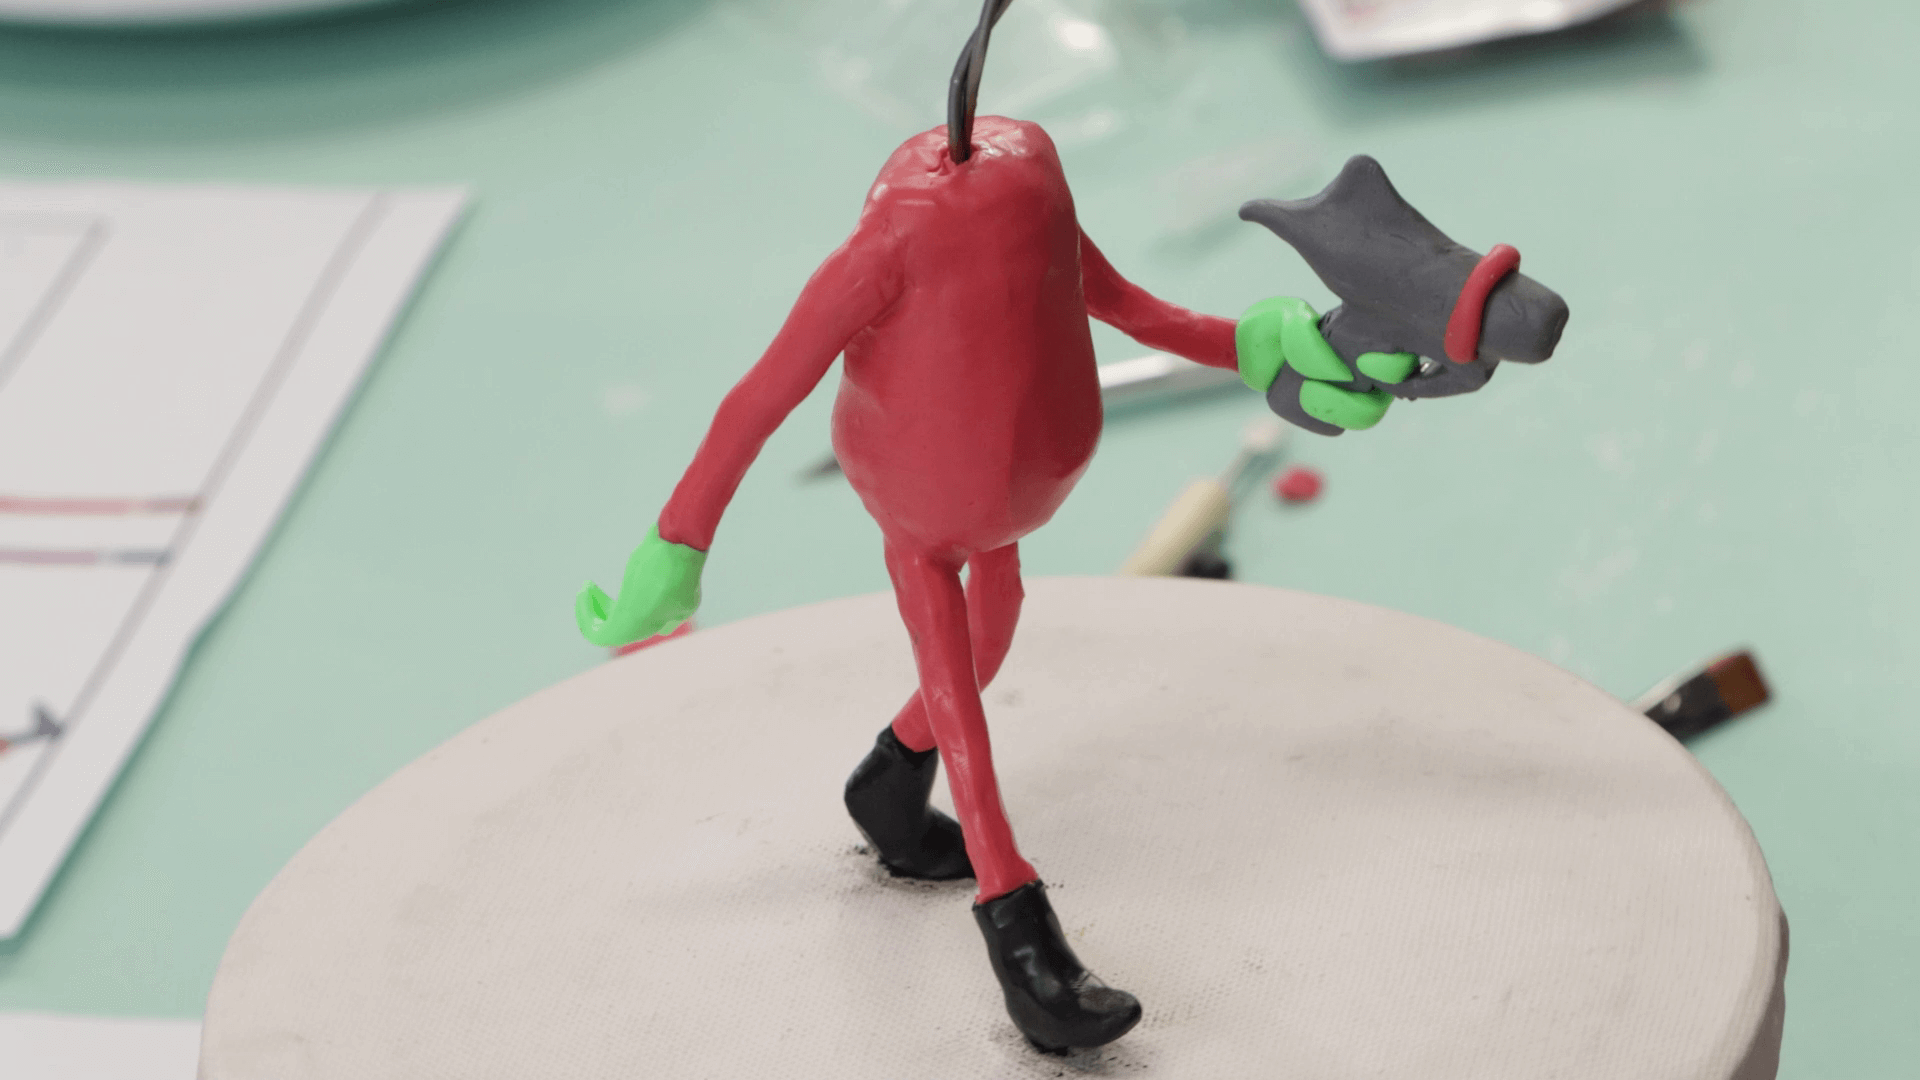
To create the trailing hand, flatten a ball of Emerald clay into an oblong shape. Cut three fingers into it and press it on to the end of the arm wire.
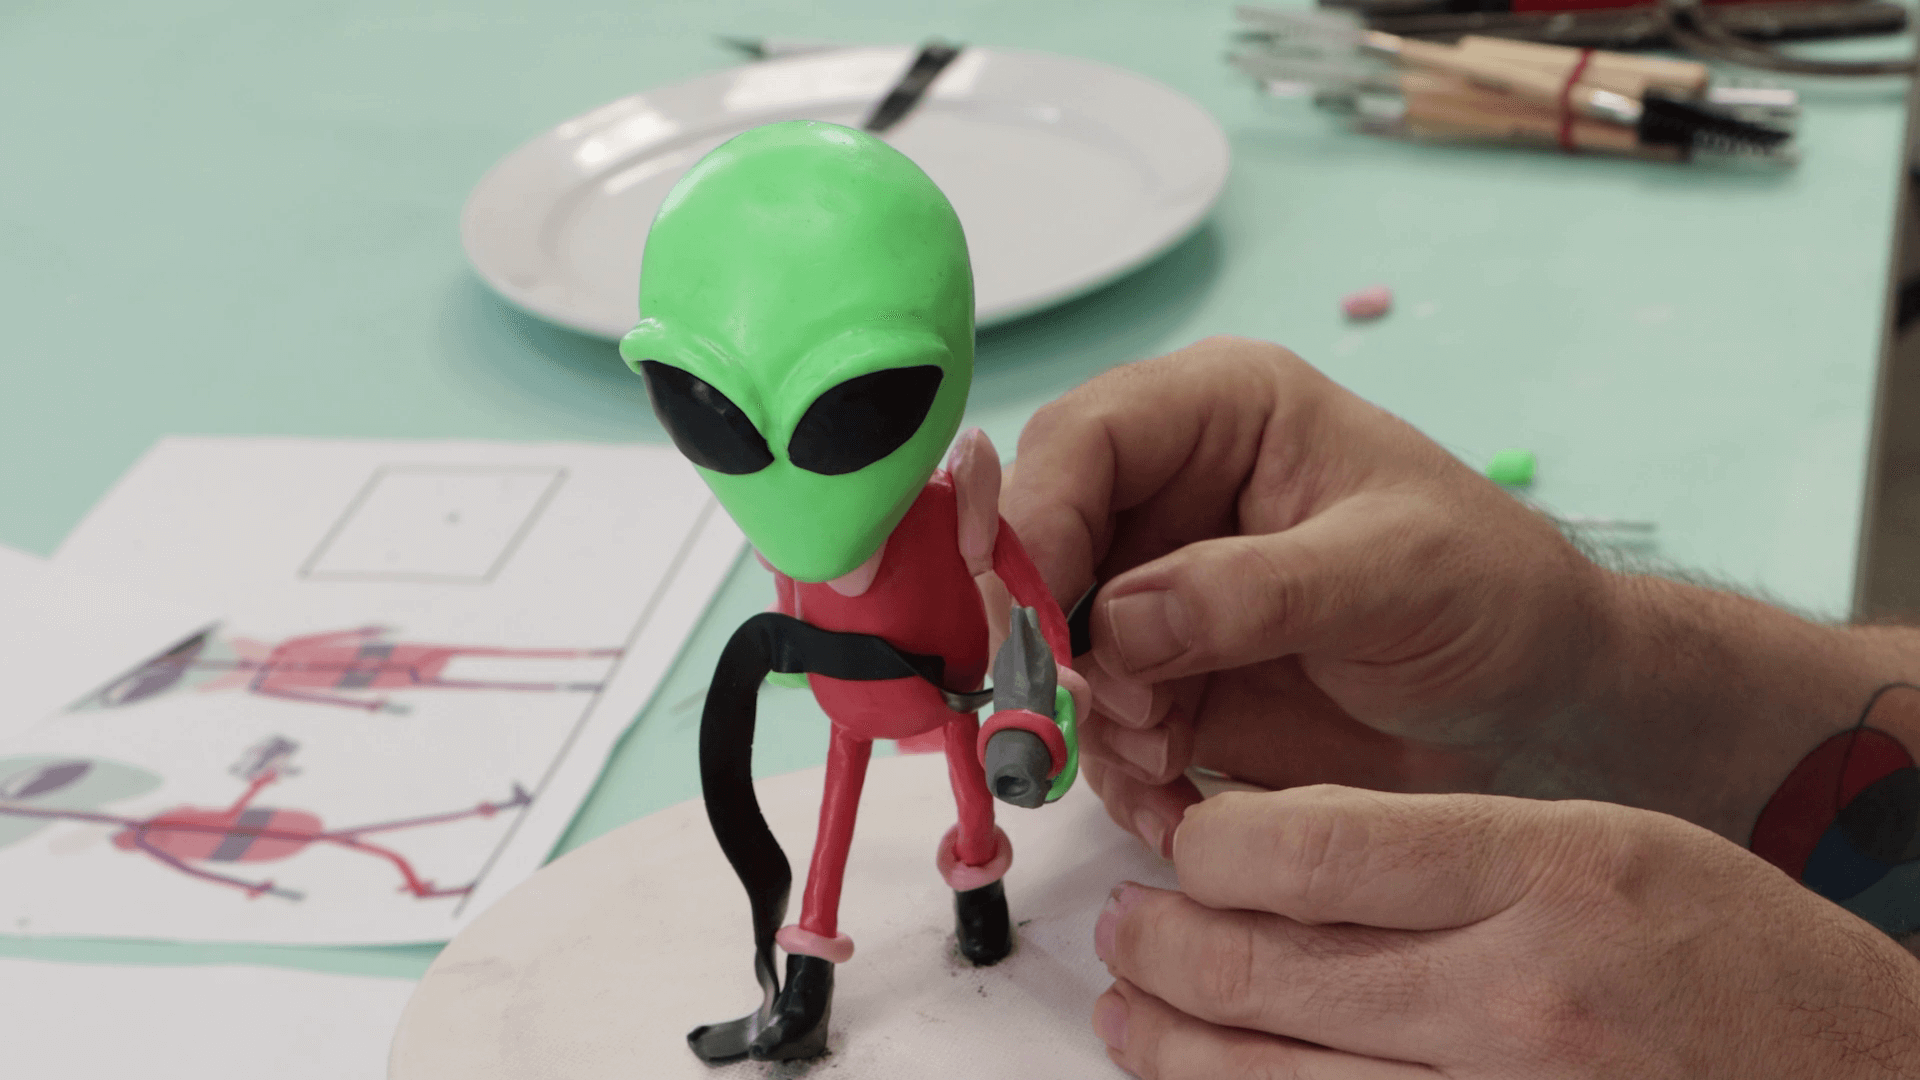
To create the ray gun, make a grey colour by kneading some White and Black clay together. Flatten it our and cut the handle and trigger. Create a tube shape for the top of the gun and join it to the trigger piece.
The hand can be created in the same way as the other and a finger can be placed around the trigger and the handle. The hand and trigger can then be pressed onto the arm. To add some interest, we popped a ring of Salmon clay around the gun.
To embellish the spacesuit, blend together some White and Salmon clay. Roll a thin tube and wrap it around the legs and boots. Smooth the joints with the paint brush handle.
Create some larger crescent shapes and place these around each shoulder. Then add a teardrop shape around the neck area.
Place a thin tube of Emerald green around the neck. Carve it to the right thickness and then feed the head onto the spine and blend the neck onto the head.
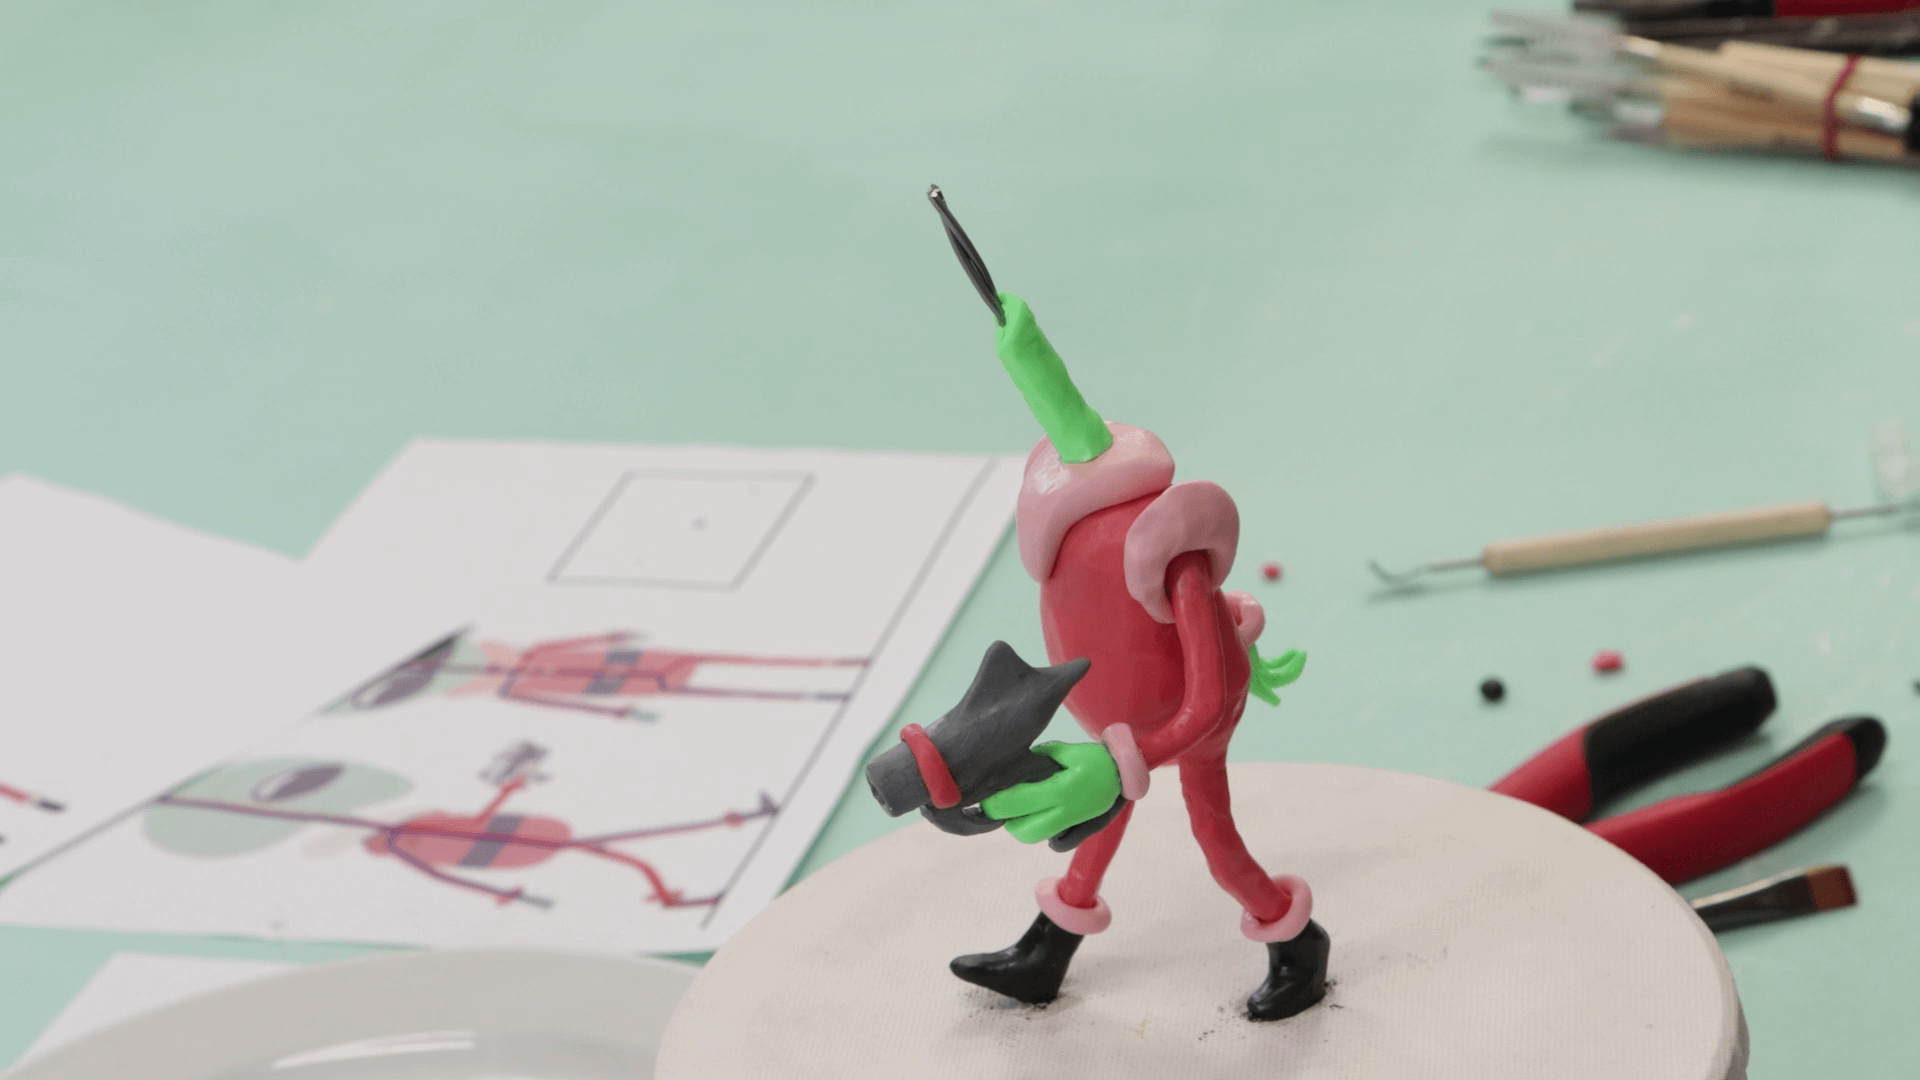
Flatten some Black clay and wrap it around the body to make the belt. Create the buckle using a flattened ball of Salmon clay. Press a smaller pink ball above the belt.
Finish the ray gun with two small Salmon balls pressed onto each side.
Bake the sculpture for one hour at 130 degrees Celsius or 266 degrees Fahrenheit.
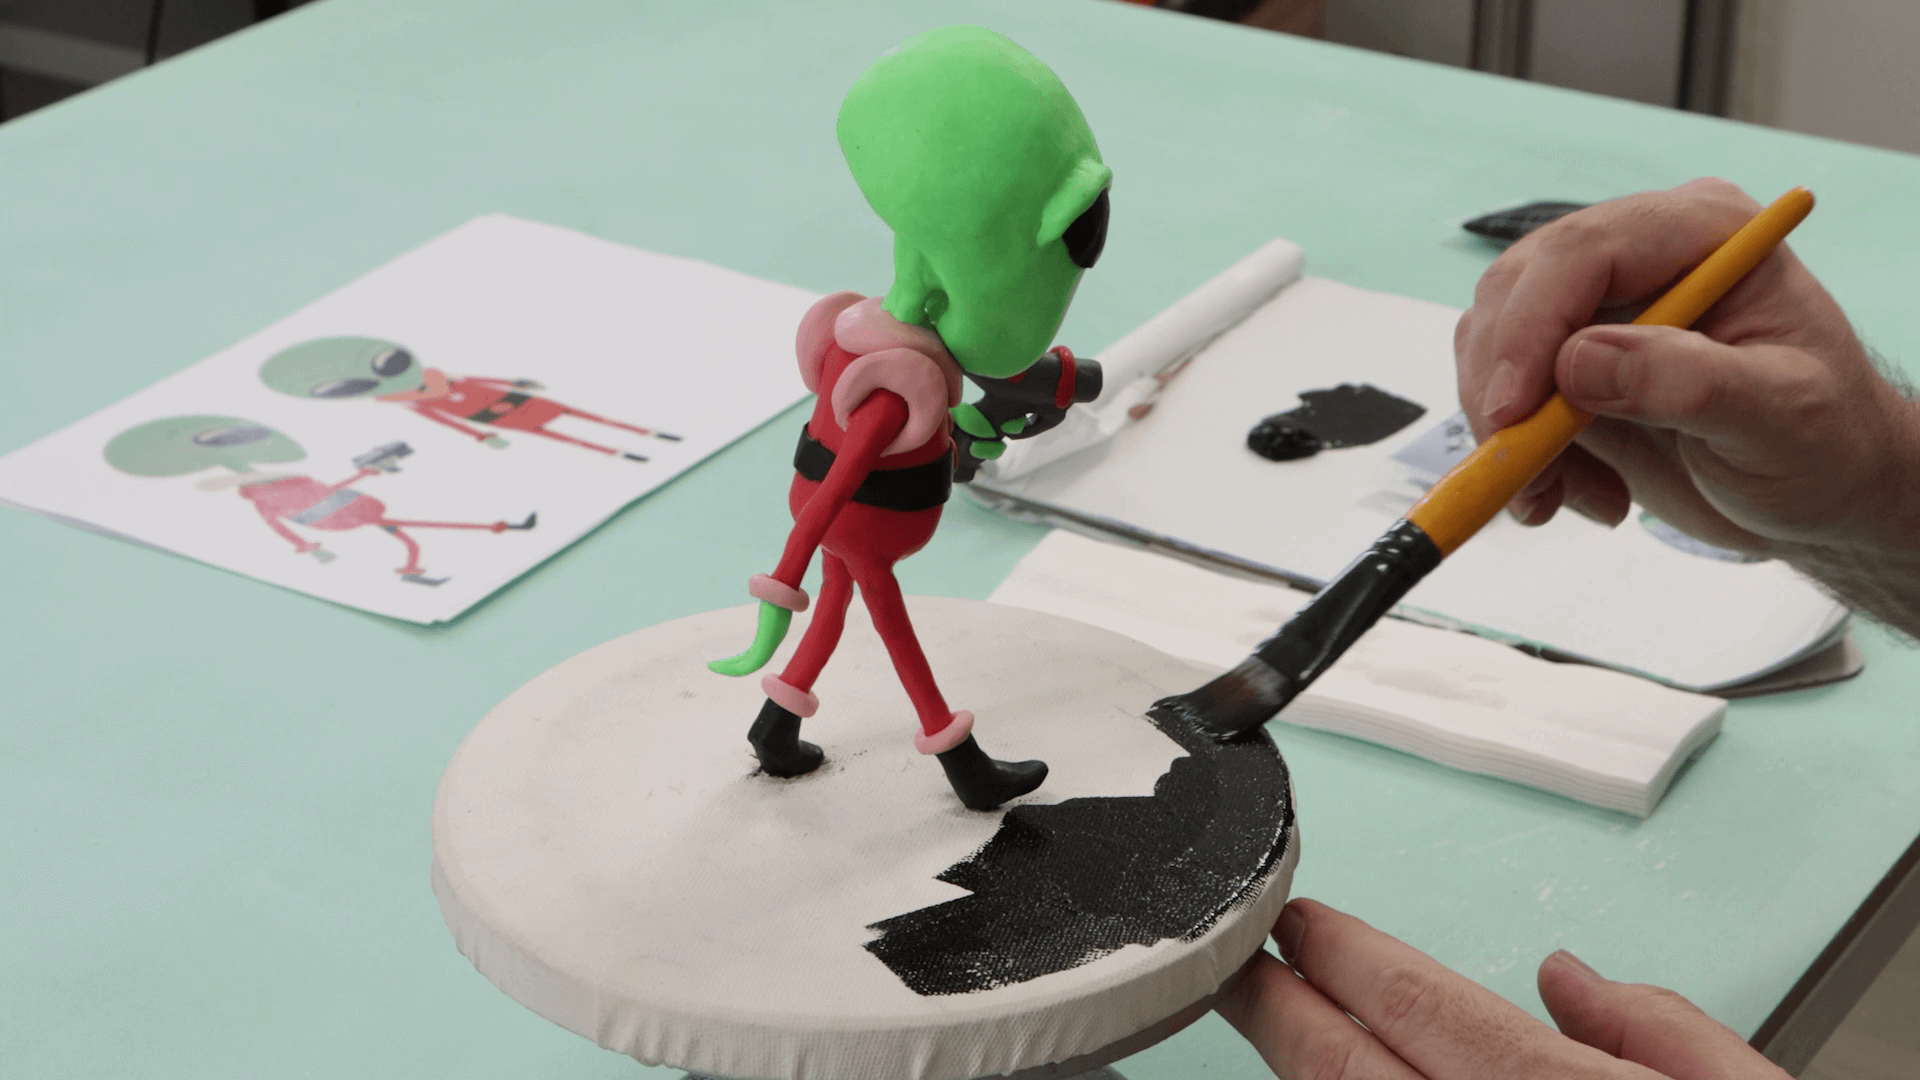
Once baked, you can paint the base. We tried to emulate what the floor on a spaceship might look like by coating it with black acrylic paint and then scumbling some blue metallic acrylic paint over the top.
Materials:
- CMRD0020 Round Canvas 20cm: https://bit.ly/3yjrxTx
- MMSP0022 Plaster of Paris 1kg: https://bit.ly/3ZK14dG
- MMSP6001 Make n Bake Polymer Clay 60g - Titanium White: https://bit.ly/3Zsywpq
- MMSP6051 Make n Bake Polymer Clay 60g – Salmon: https://bit.ly/3F9hd4r
- MMSP6021 Make n Bake Polymer Clay 60g – Emerald: https://bit.ly/3ZvAt4f
- MMSP6005 Make n Bake Polymer Clay 60g – Black: https://bit.ly/41S4oW0
Extra materials:
- Bowl for mixing
- Plastic gloves
- 2 x wire coat hangers
- Thin wire tie
- Aluminium foil
- Snub nose pliers
- Banding Wheel or round dinner plate
- Dividers (optional)
- Pin tool
- Hobby knife
- Old paint brush
- Clear tape
You may also like

Peacock drawing in watersoluble oil pastels


How to use ceramic paint on a thrifted plate
