


How to paint realistic portraits with acrylics by Hsin Lin
Step 1 - Overall Sketch for composition
In the preliminary sketch, I try to keep this step simple and brief, but definitely think through the overall composition. I use black watercolour pencils and a HB pencil over the undertone for the shadow and the leaves’ layout. The reason I used watercolour pencils for drafting, is because it blends in well, with no sketching trace left once the second layer of paint is applied. Or it can be easily removed with a little bit of water. 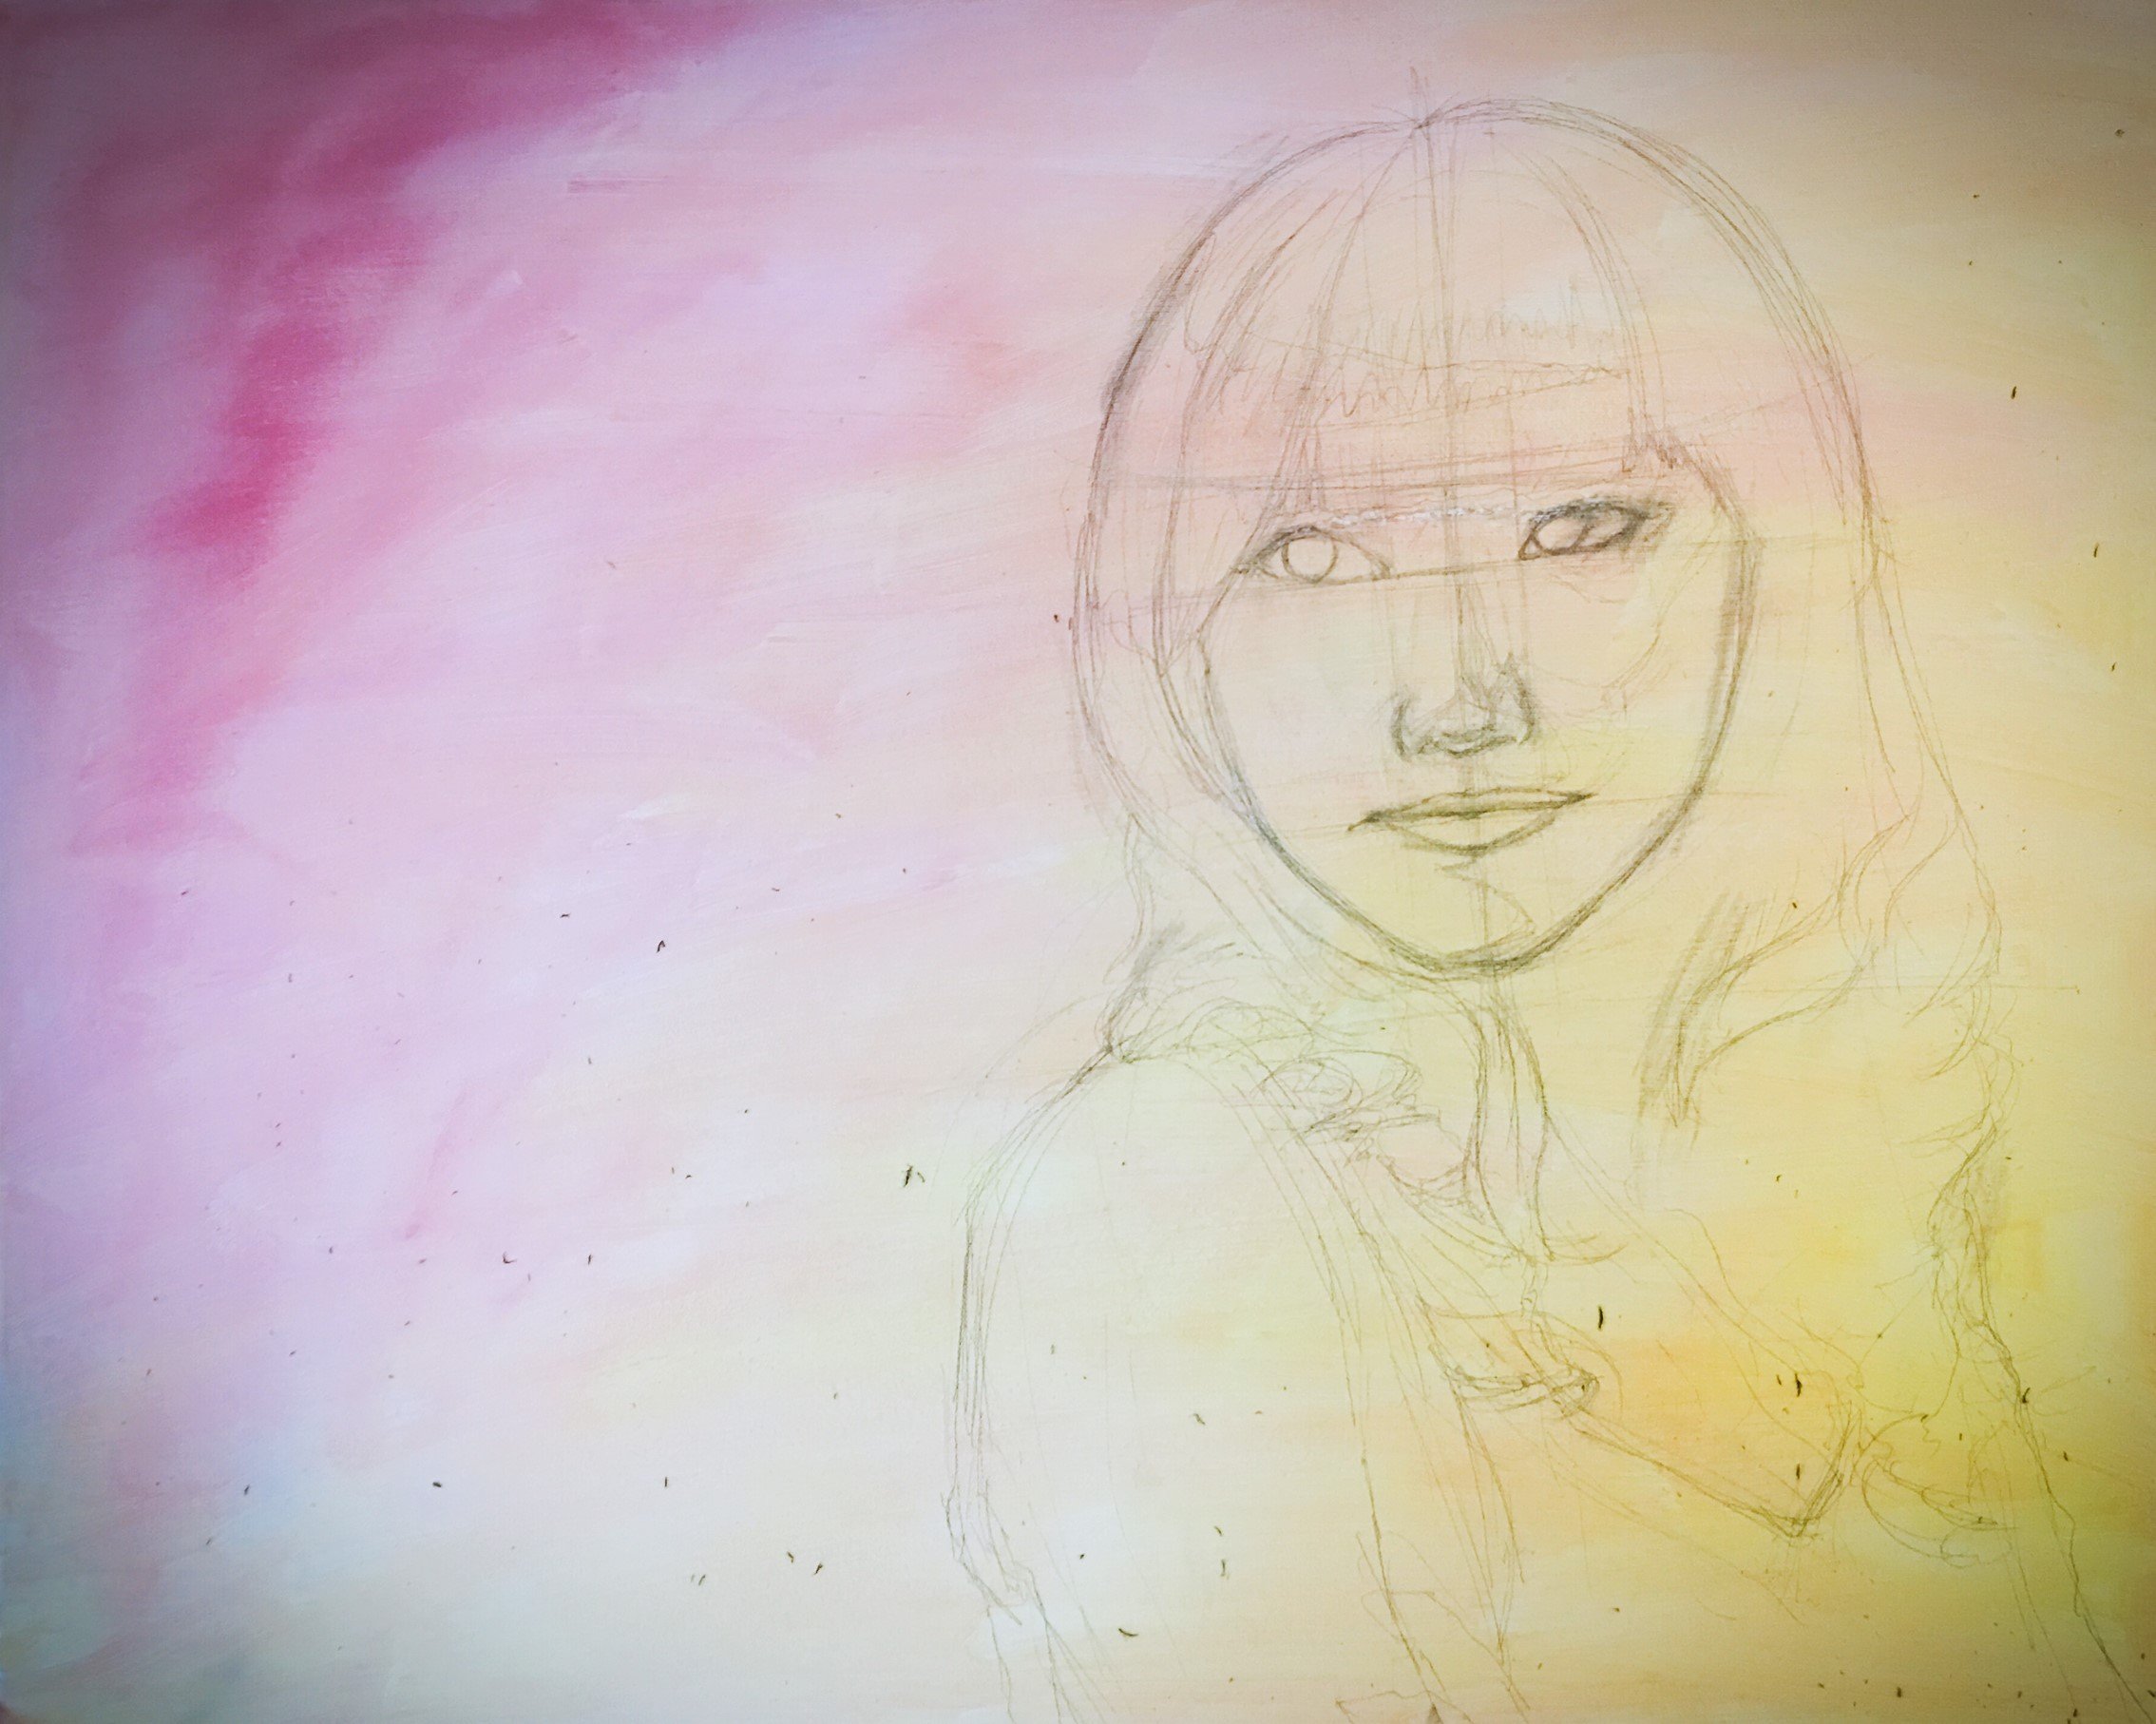
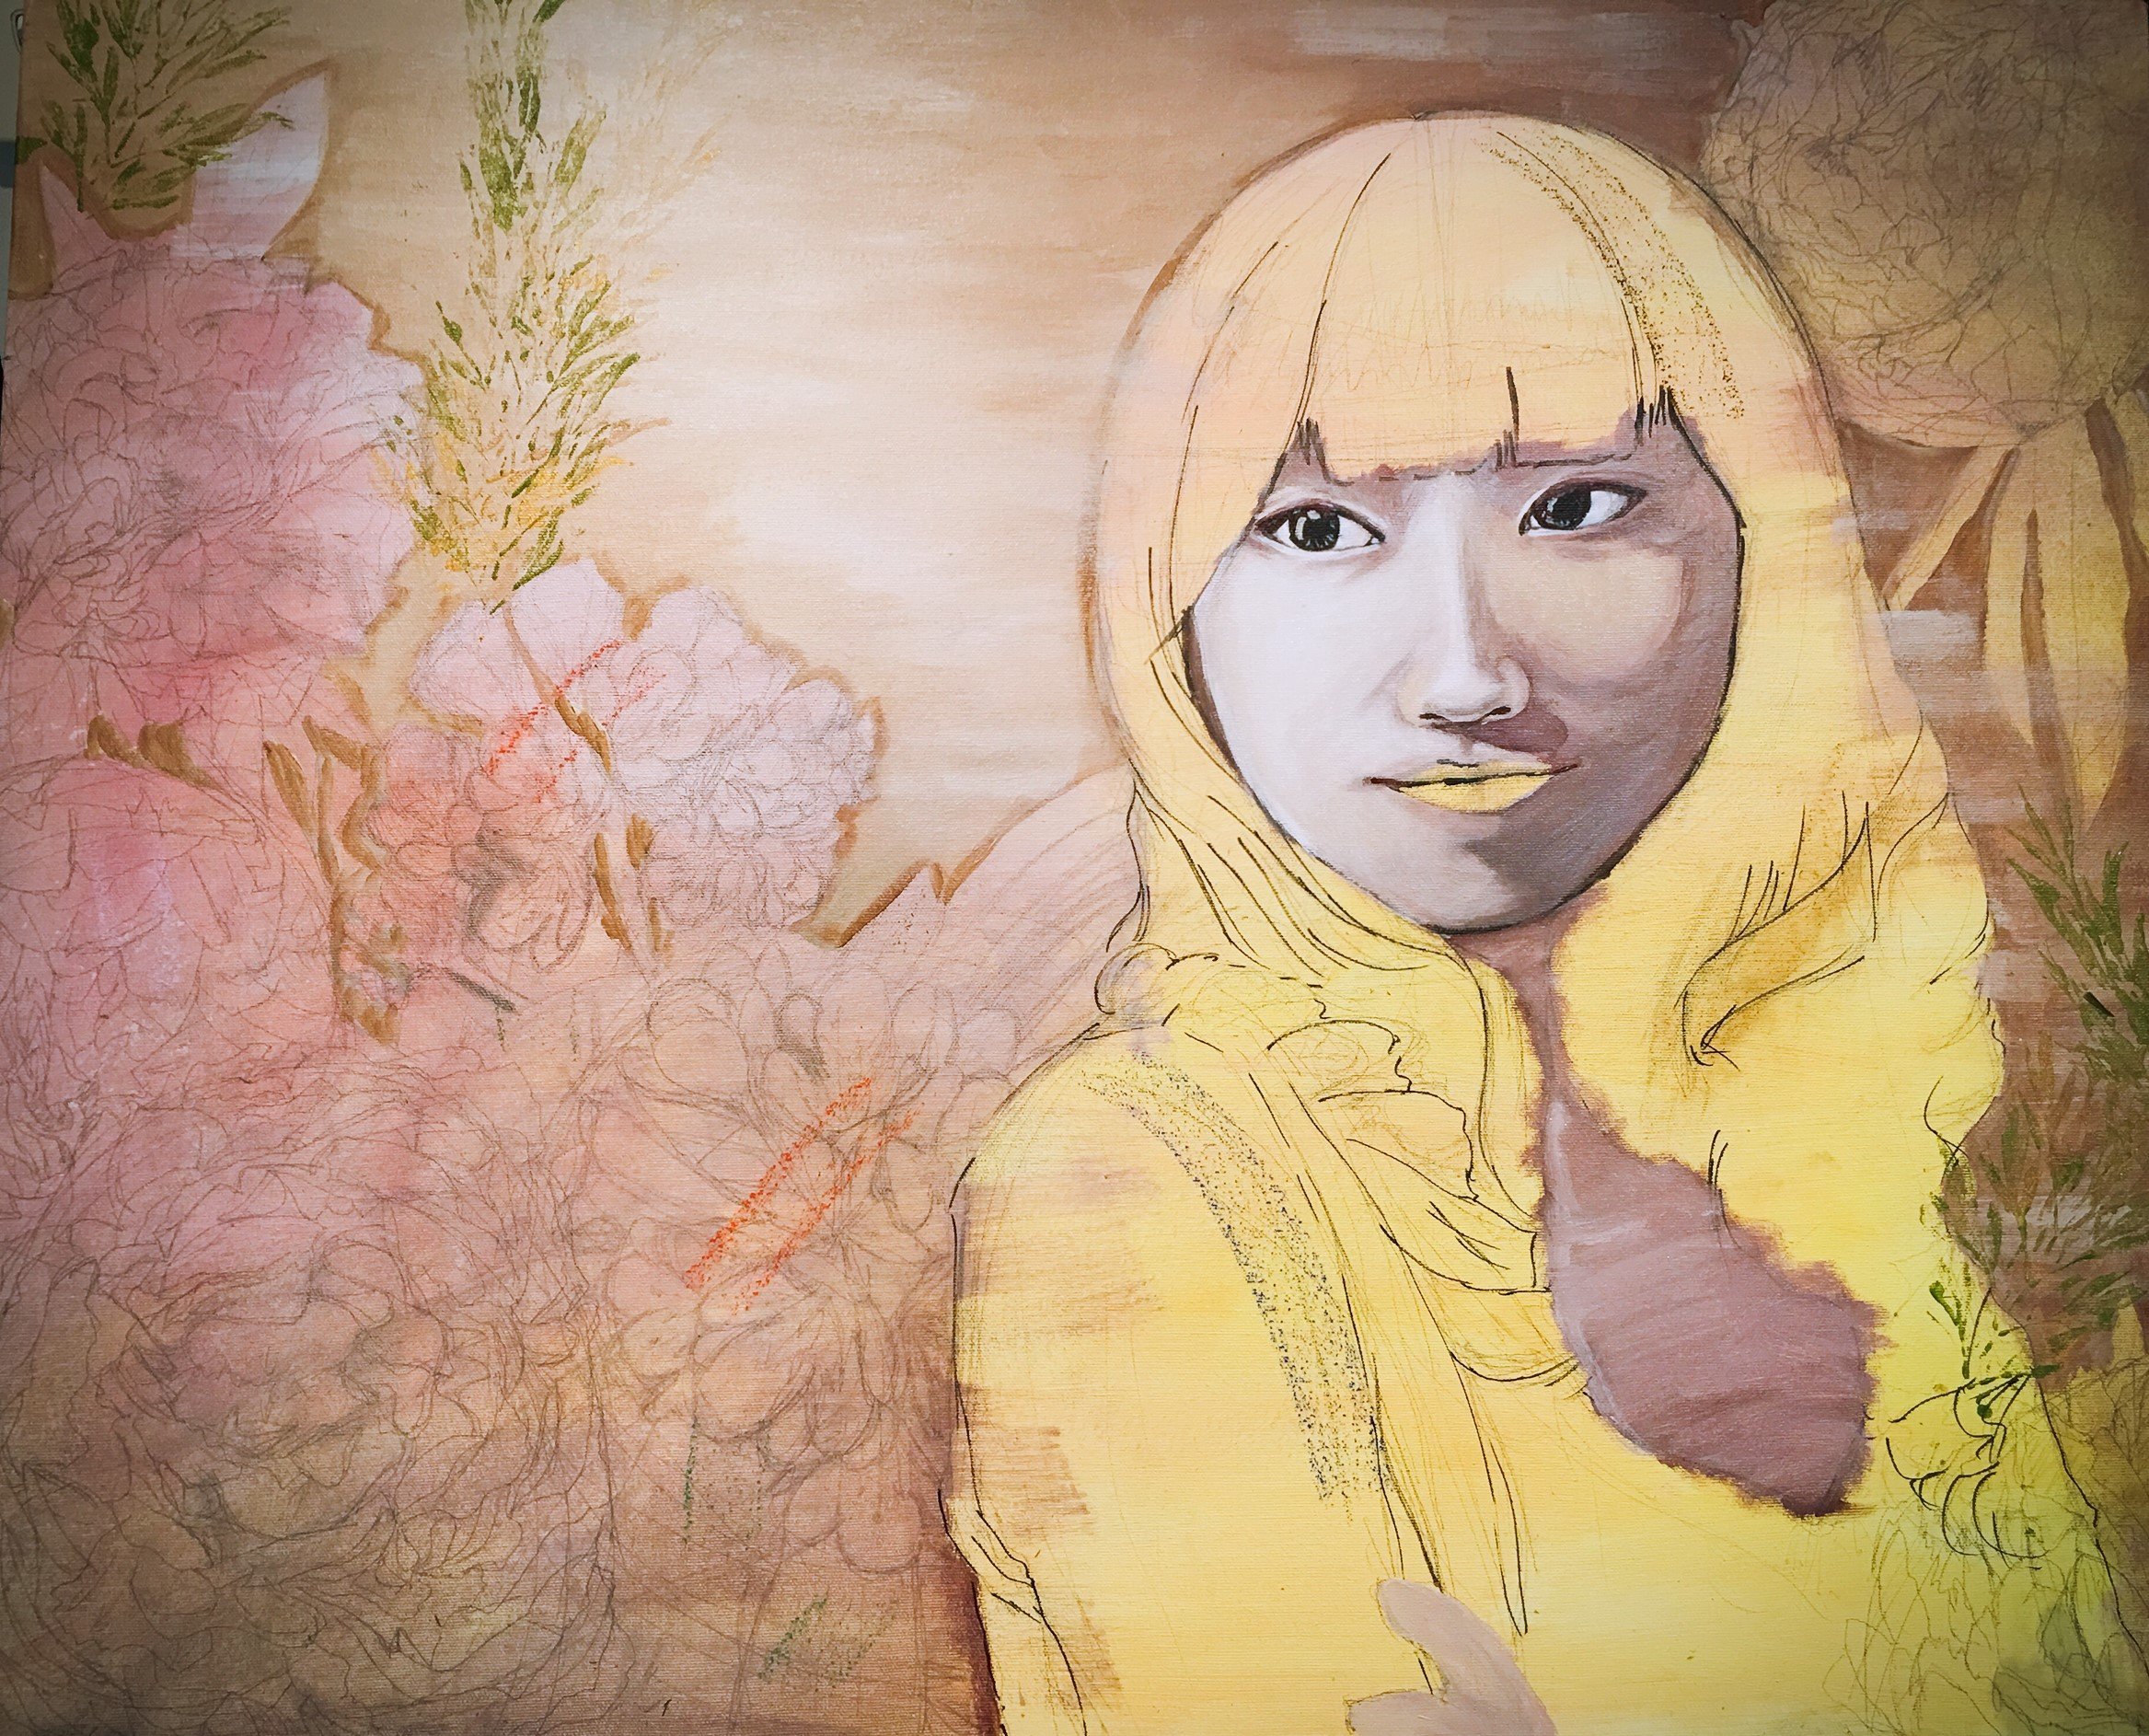
Step 2 - Drafting the feature proportion and flower petals in detail
Now it’s time to sketch in the detail. In this painting, the major object that I wanted to point out, is the specific peony roses and the bush lilies. Because the flower is made up of many layers of petals, these need to be sketched as detailed as possible in this stage. As the layout had been decided as the firmed line in step 1, draw the silhouette of the petals of each flower precisely and find where the light comes from. Sketch the and leaves on the background, pencil and eraser are used in this step.
If you want a more clean-finished result, apply another layer of varnish spray. Or what I do is I brush another thin layer of diluted gesso and let dry for a day.
Step 3 - Starting with the background colour
Start with Burnt Sienna, mixed with Titanium white in the process to create the depth of background.
Step 4 - Background Leaves- grevillea, the flower of courage.
More layers of green tone are added to the background and now we have the line and shape of the leaves established. Grevillea is one of my favorited trees. I adore the beauty of it every day I walk into the woods near my studio. Grevillea stands for strength and courage, this is exactly what I would like to express in this piece.
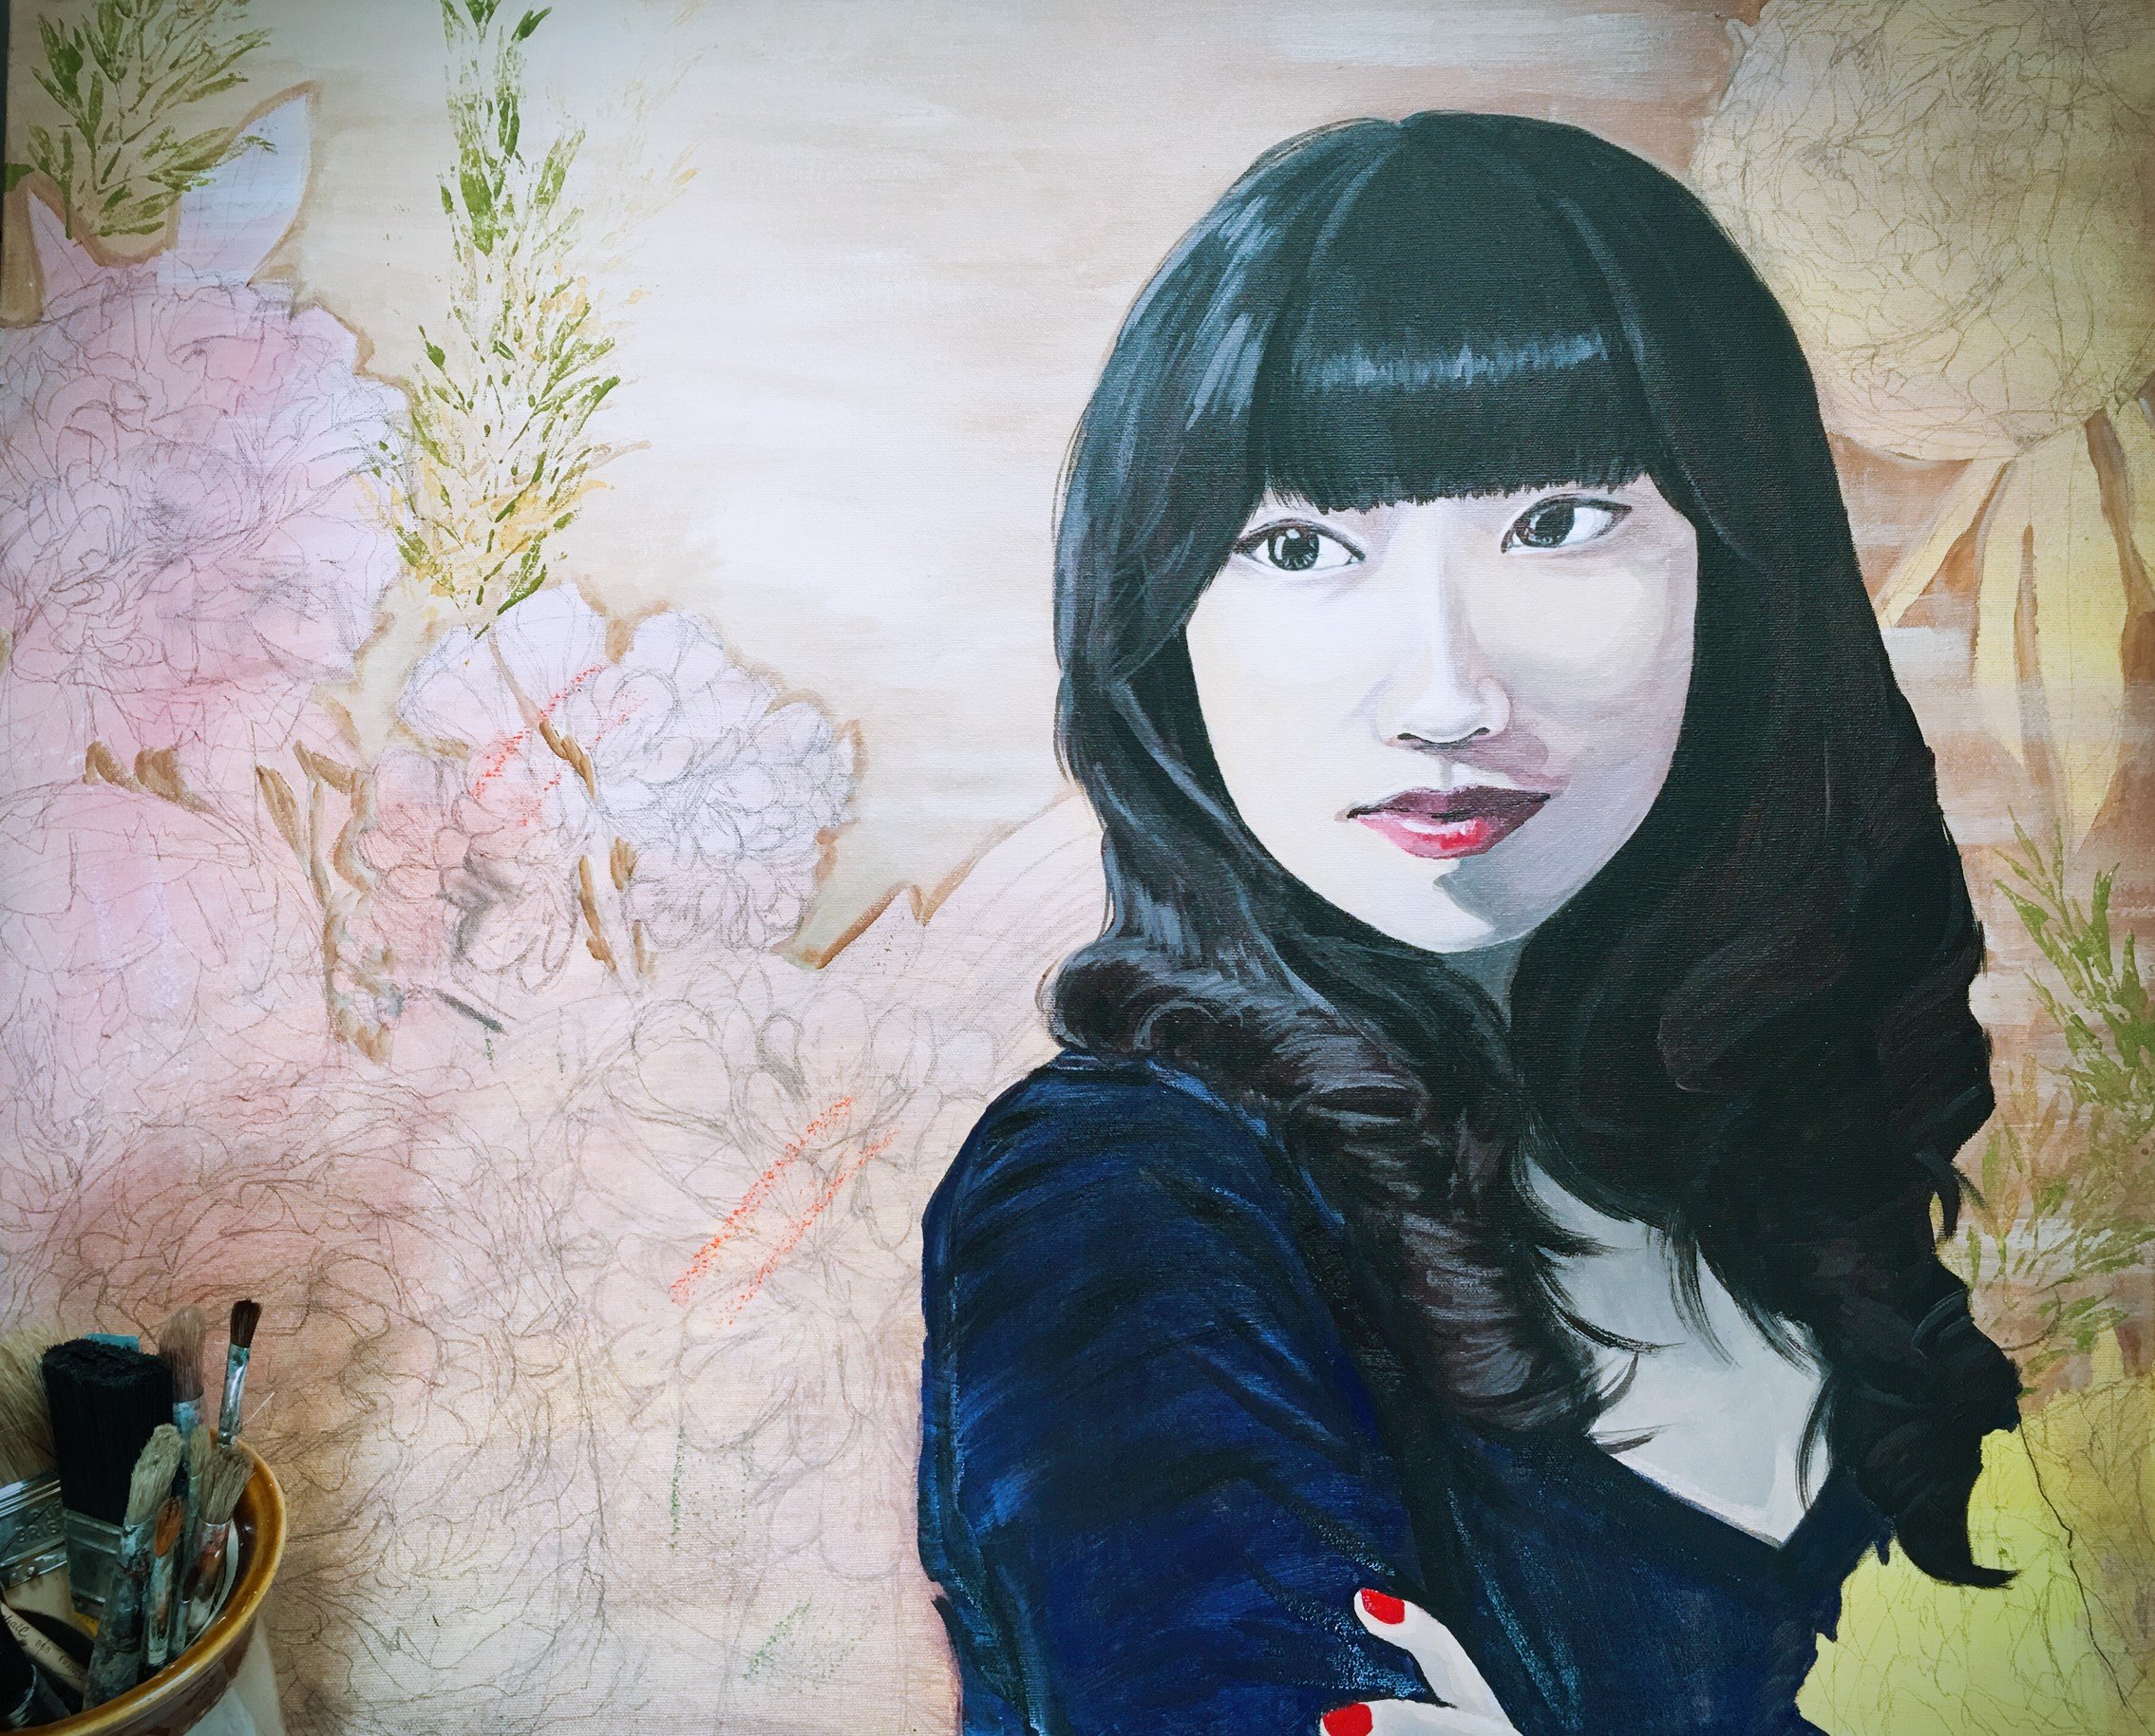
Step 5 - Start the main section of the flower
Now comes to the main part, I have a special size 4 round Sable Brush that I kept for more than 20 years, works wonder on the flower details. Structured acrylics are used here, sometimes I mix the colour with impasto medium for textured and non-transparency purposes.
When it comes to the main flowers, I start with darker tone and then blended in white for a lighter tone which is added gradually step by step, so the colour hue would stay in harmony as a whole for the painting. Then more white is added in where the light sits.
.jpg?v=1663657046104)
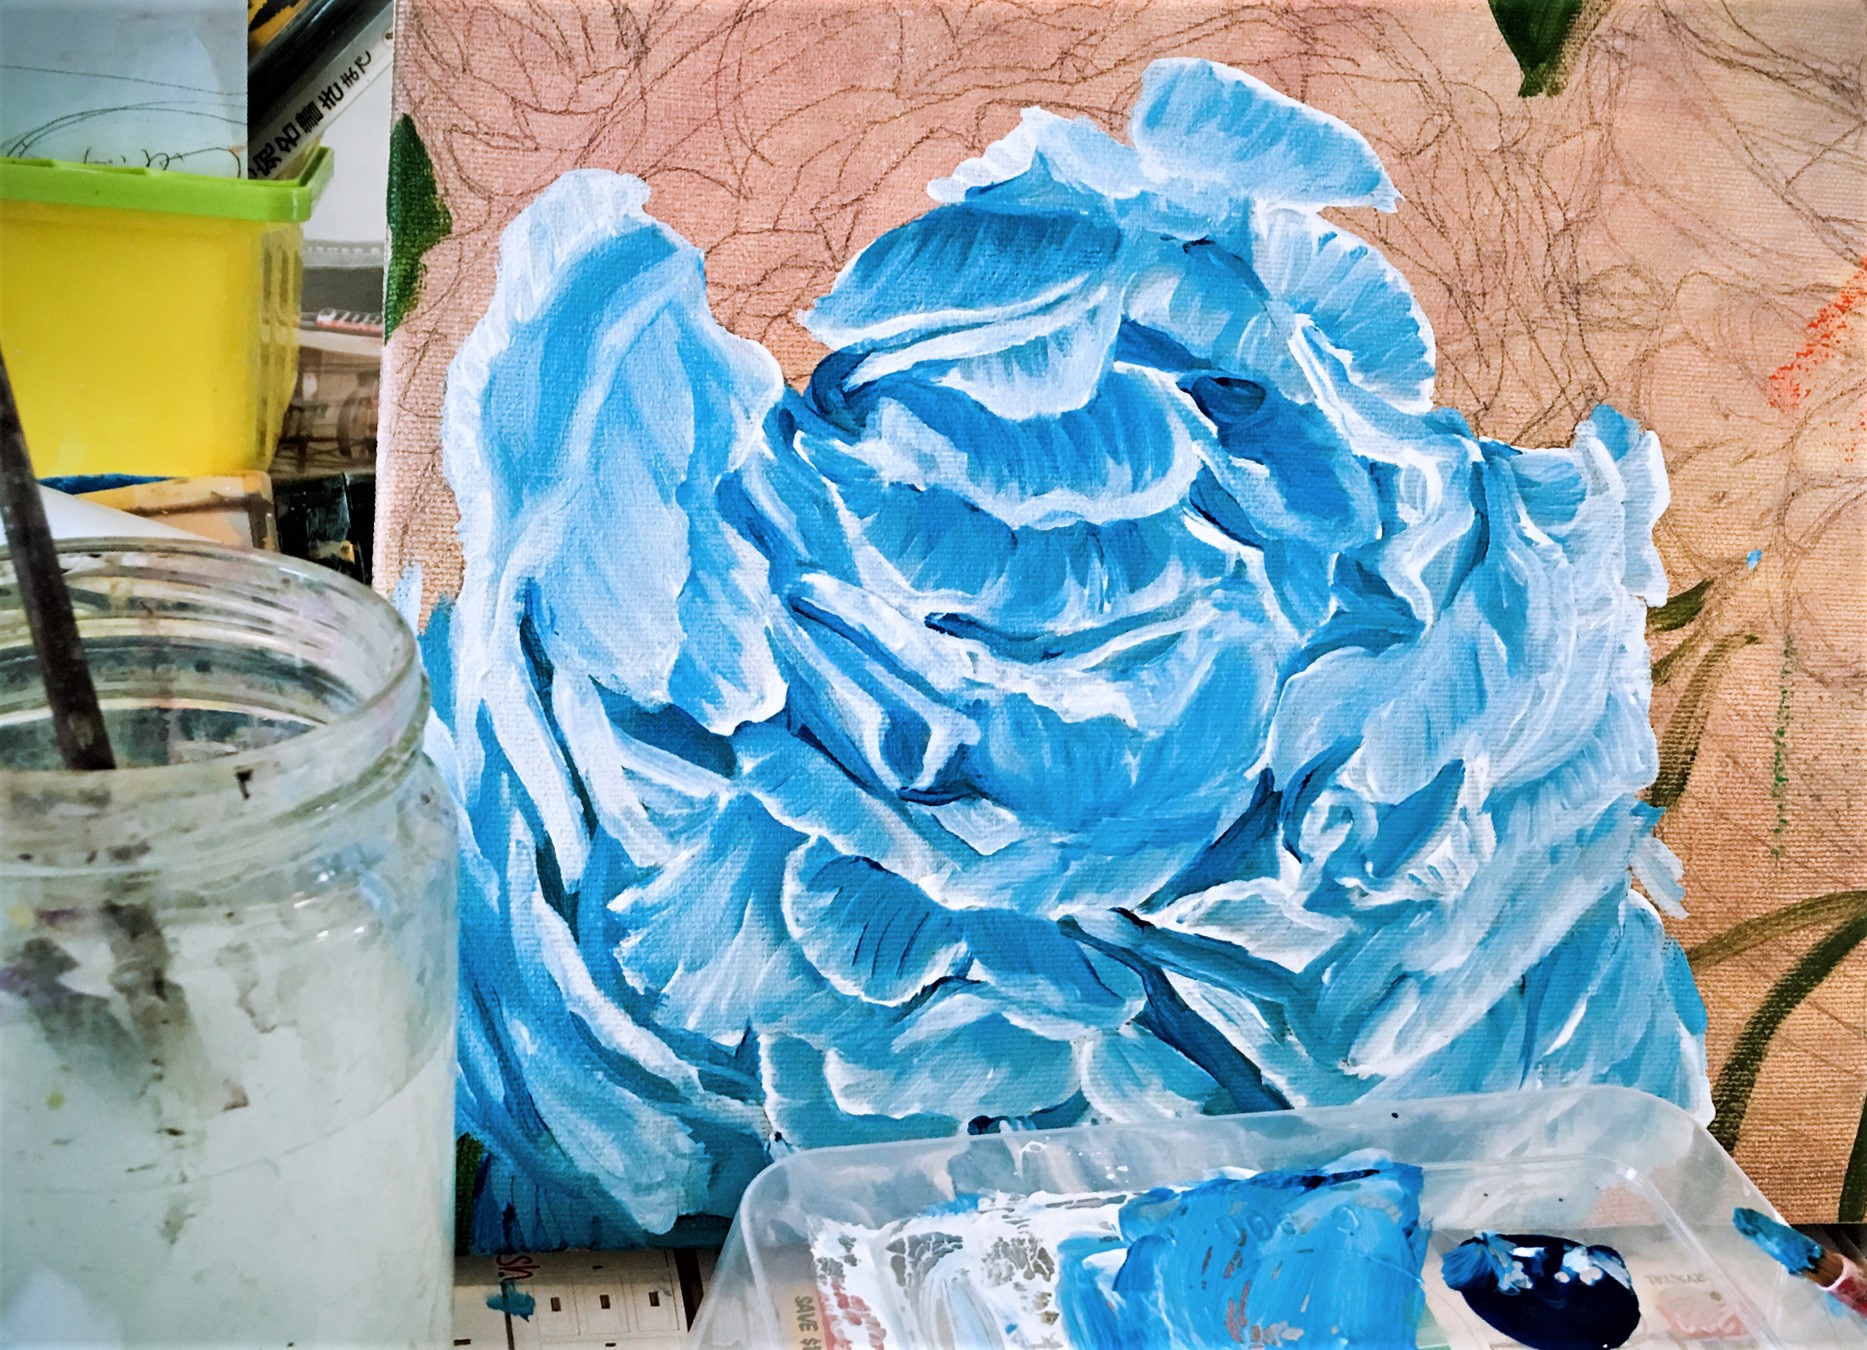
Step 6 - Blending the colour
For the realistic flowers, I use thin liner brushes to outline the silhouette with a darker tone, then switch to a round soft brush with a lighter tone on it, and quickly smooth the outline colour with a lighter tone while the paint is half dry. This will create the gradient effect. It also gives a perfectly smooth blend of the flower petals this way.
Step 7- Final touches
Deepen the shadows and brighten where the light goes to. For the final step, the flowers are almost complete! Add another layer of white or a lighter tone on top to show the sunlight and the bright flower petals.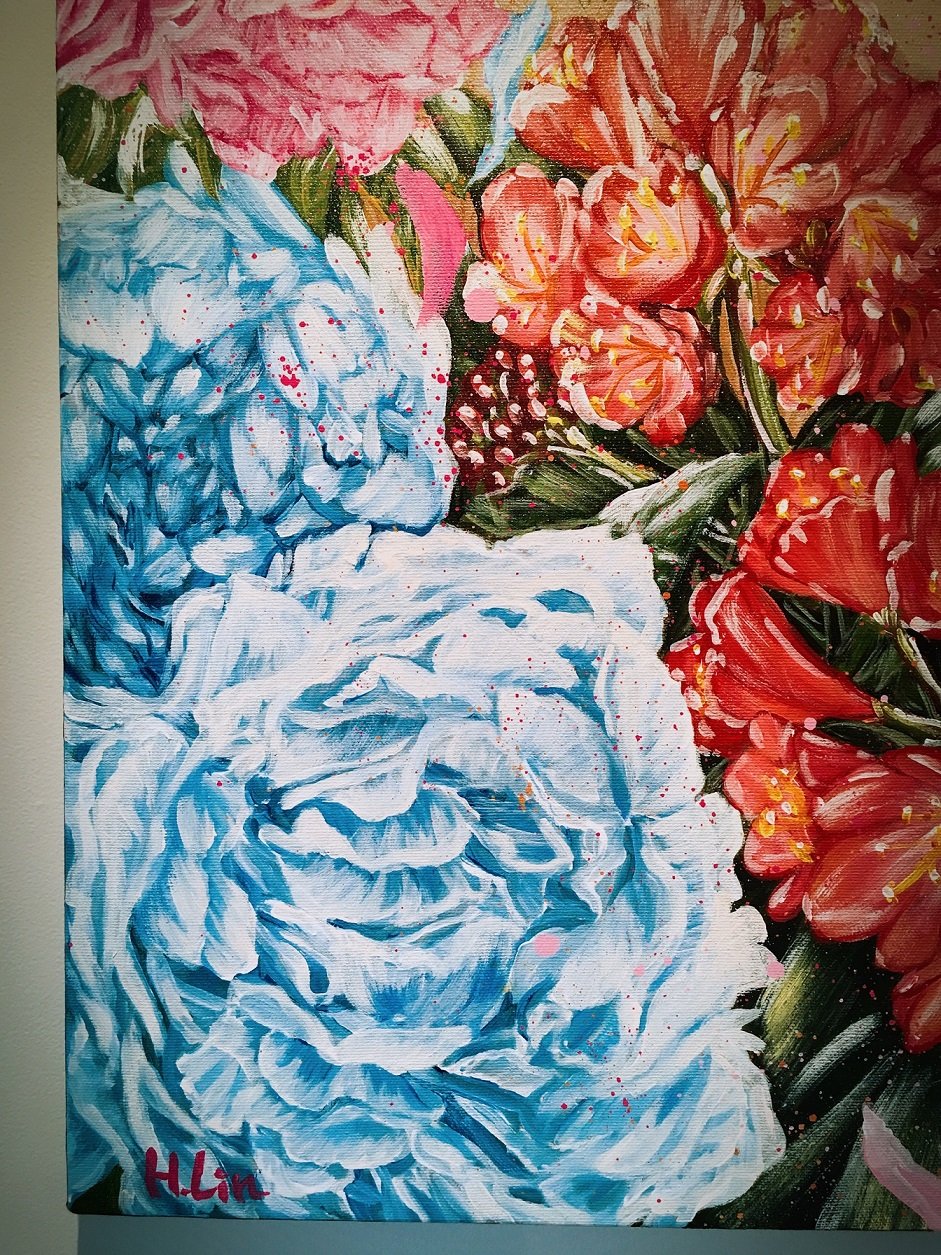
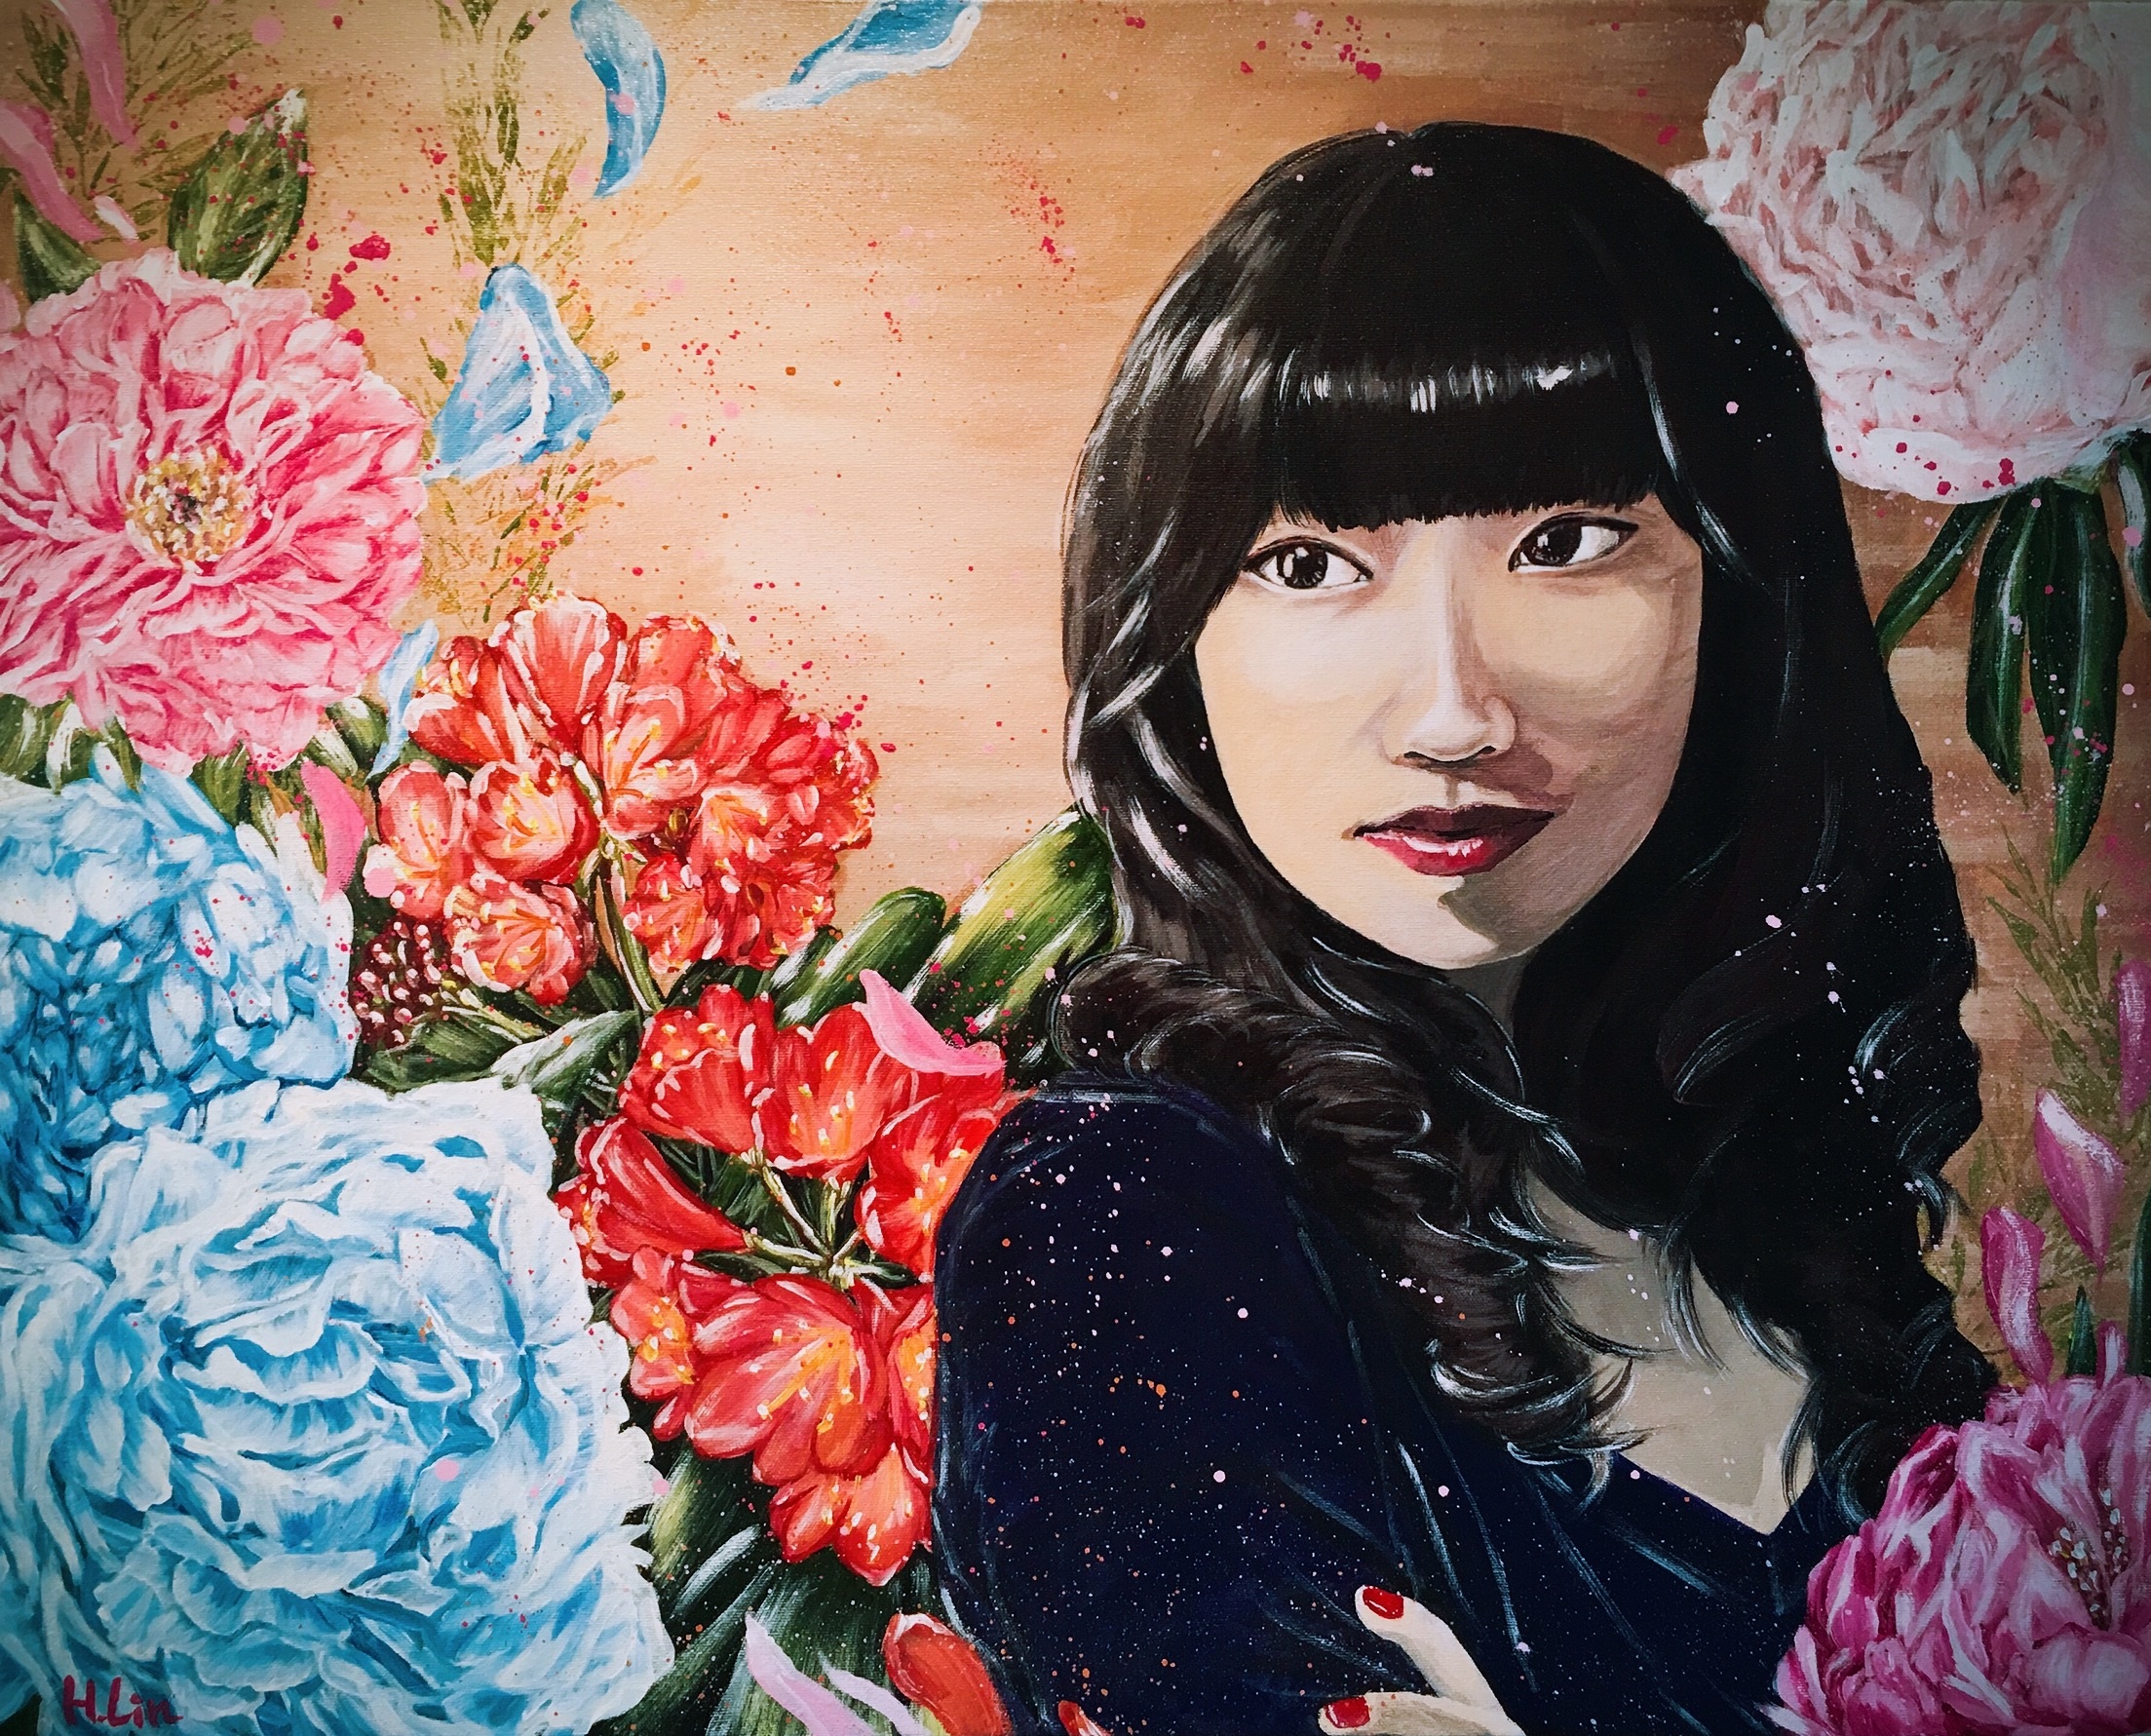
The completed artwork
Artist’s tips and hints
Take a break
Your eyes might become tired and confused by working on the intricated composition for a long time. To avoid confusion at any stage, this is what I do - put an arrow or any mark on the centred petal that you want to start with. So anytime you come back to painting you know where to start.
Rest and look at your work from afar
Rest whenever you feel tired, painting with tired eyes might result in a colour combination you didn’t want or disorderly composition. A good way other than resting, is to have a walk outside looking at the view far away or under the natural sunlight, in order to balance the vision.
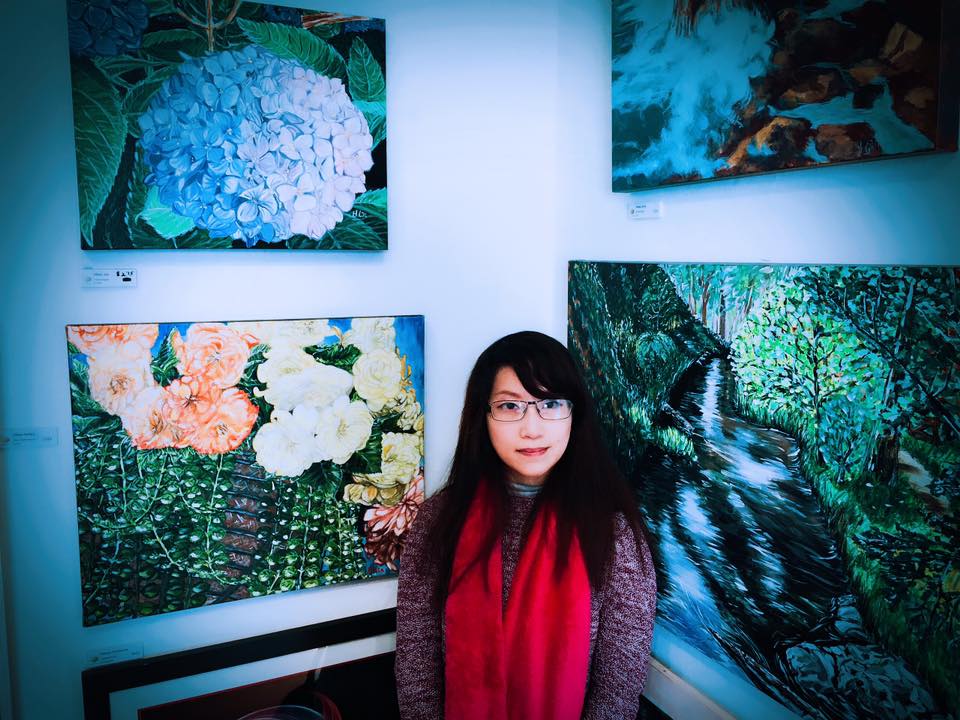
Hsin Lin is a contemporary nature artist living in Melbourne. For Hsin, painting is a form of meditation where she often reflects and finds meaning in her everyday life. You can find out more about Hsin Lin, her creative journey and her art practice, here.
We hope that you feel inspired to paint a realistic portrait with acrylics. Try it for yourself and #montmarteart or tag us @montmarteart on Instagram or Facebook, we’d love to see what you create.
Material List
- Canvas Double Thick Signature 60.9 x 76.2cm (24 x 30in)
- A black watercolour pencil (Watercolour Pencils Signature 12pc)
- A HB pencil and eraser (Drawing Set Signature 8pc)
- Acrylic Colour Paint Set Signature 36pc x 36ml (1.2oz)
- Impasto Premium 500ml (16.9 US fl.oz)
- Premium Gesso 500ml (16.9oz)
- Artist Watercolour Brush Premium Sable Round 4
- Detail & Liner Brush Set Signature 5pc
- Acrylic Brushes Signature 4pc
You may also like


How to use ceramic paint on a thrifted plate

