

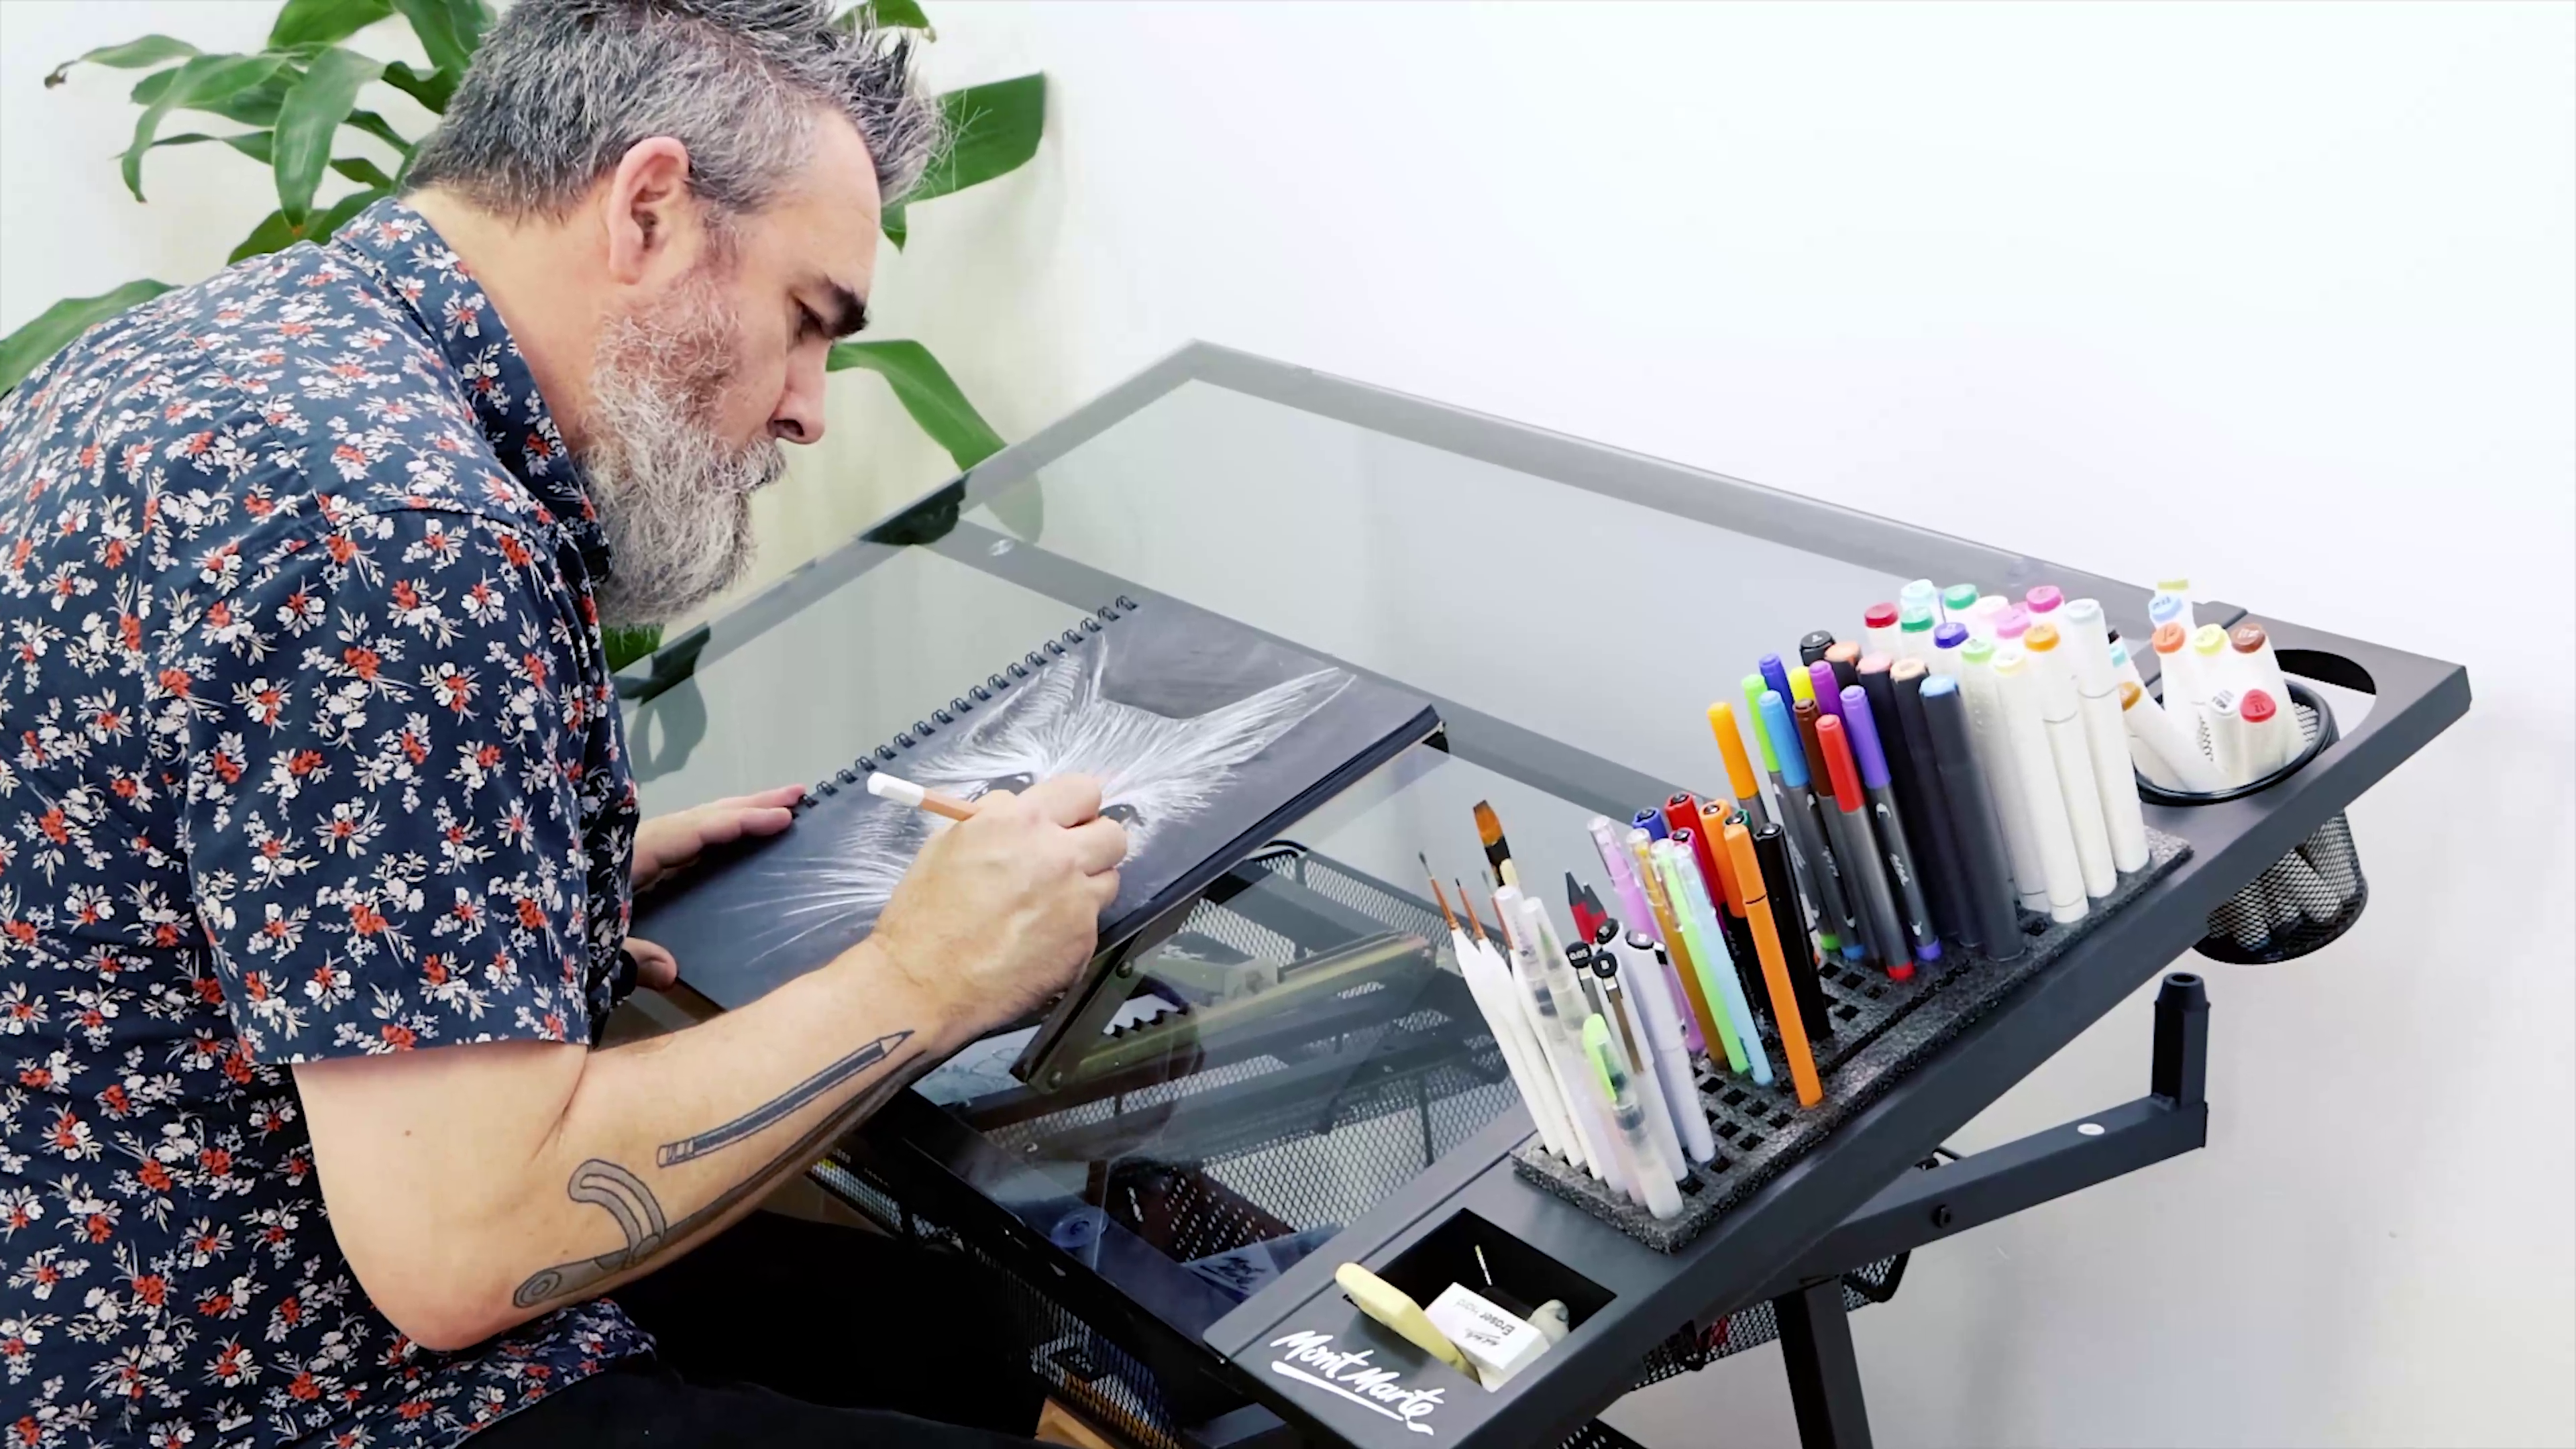







Dog drawing in alcohol markers
Dog outline drawing
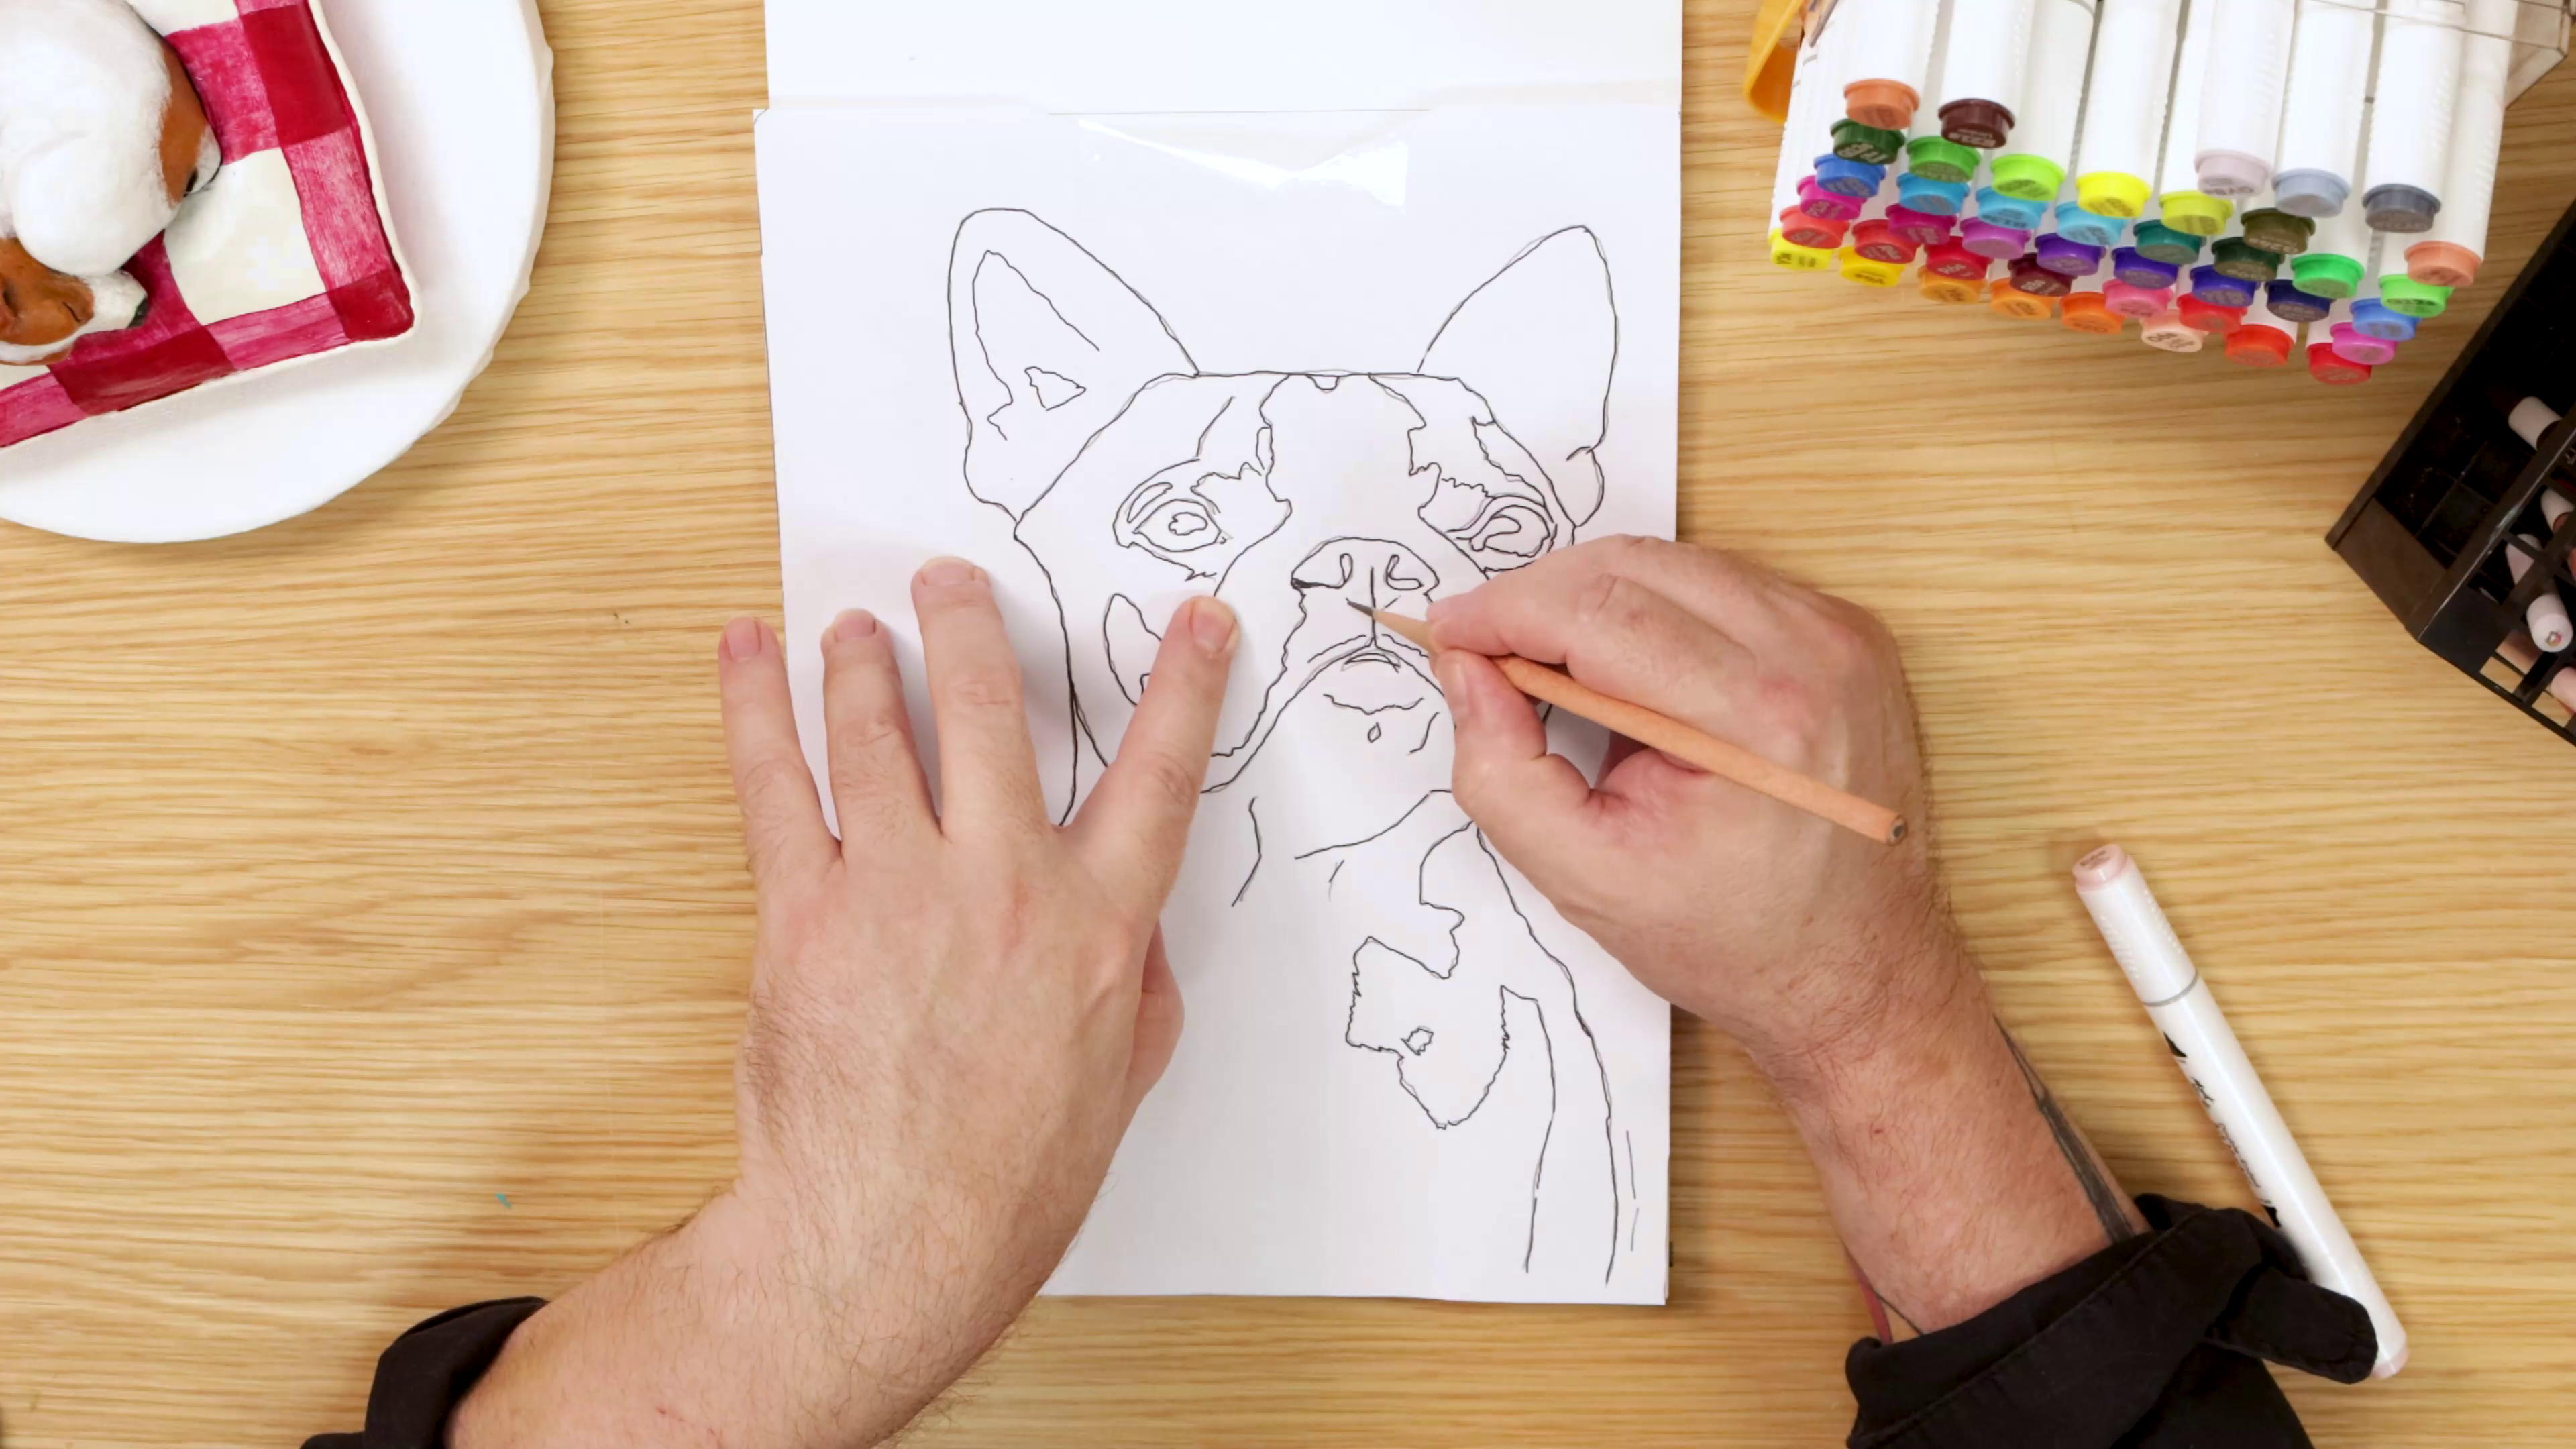
- Start with a loose sketch focusing on the overall shape of the dog
- Transfer the printable outline if you’d prefer a guide
- Just shade the back, flip, tape down, and retrace the linework
- Or if you’re freehanding, map out the eyes, nose, ears, and muzzle
- Adjust the proportions until everything feels balanced
- Keep your sketch light since it’s only a guide
Base colours
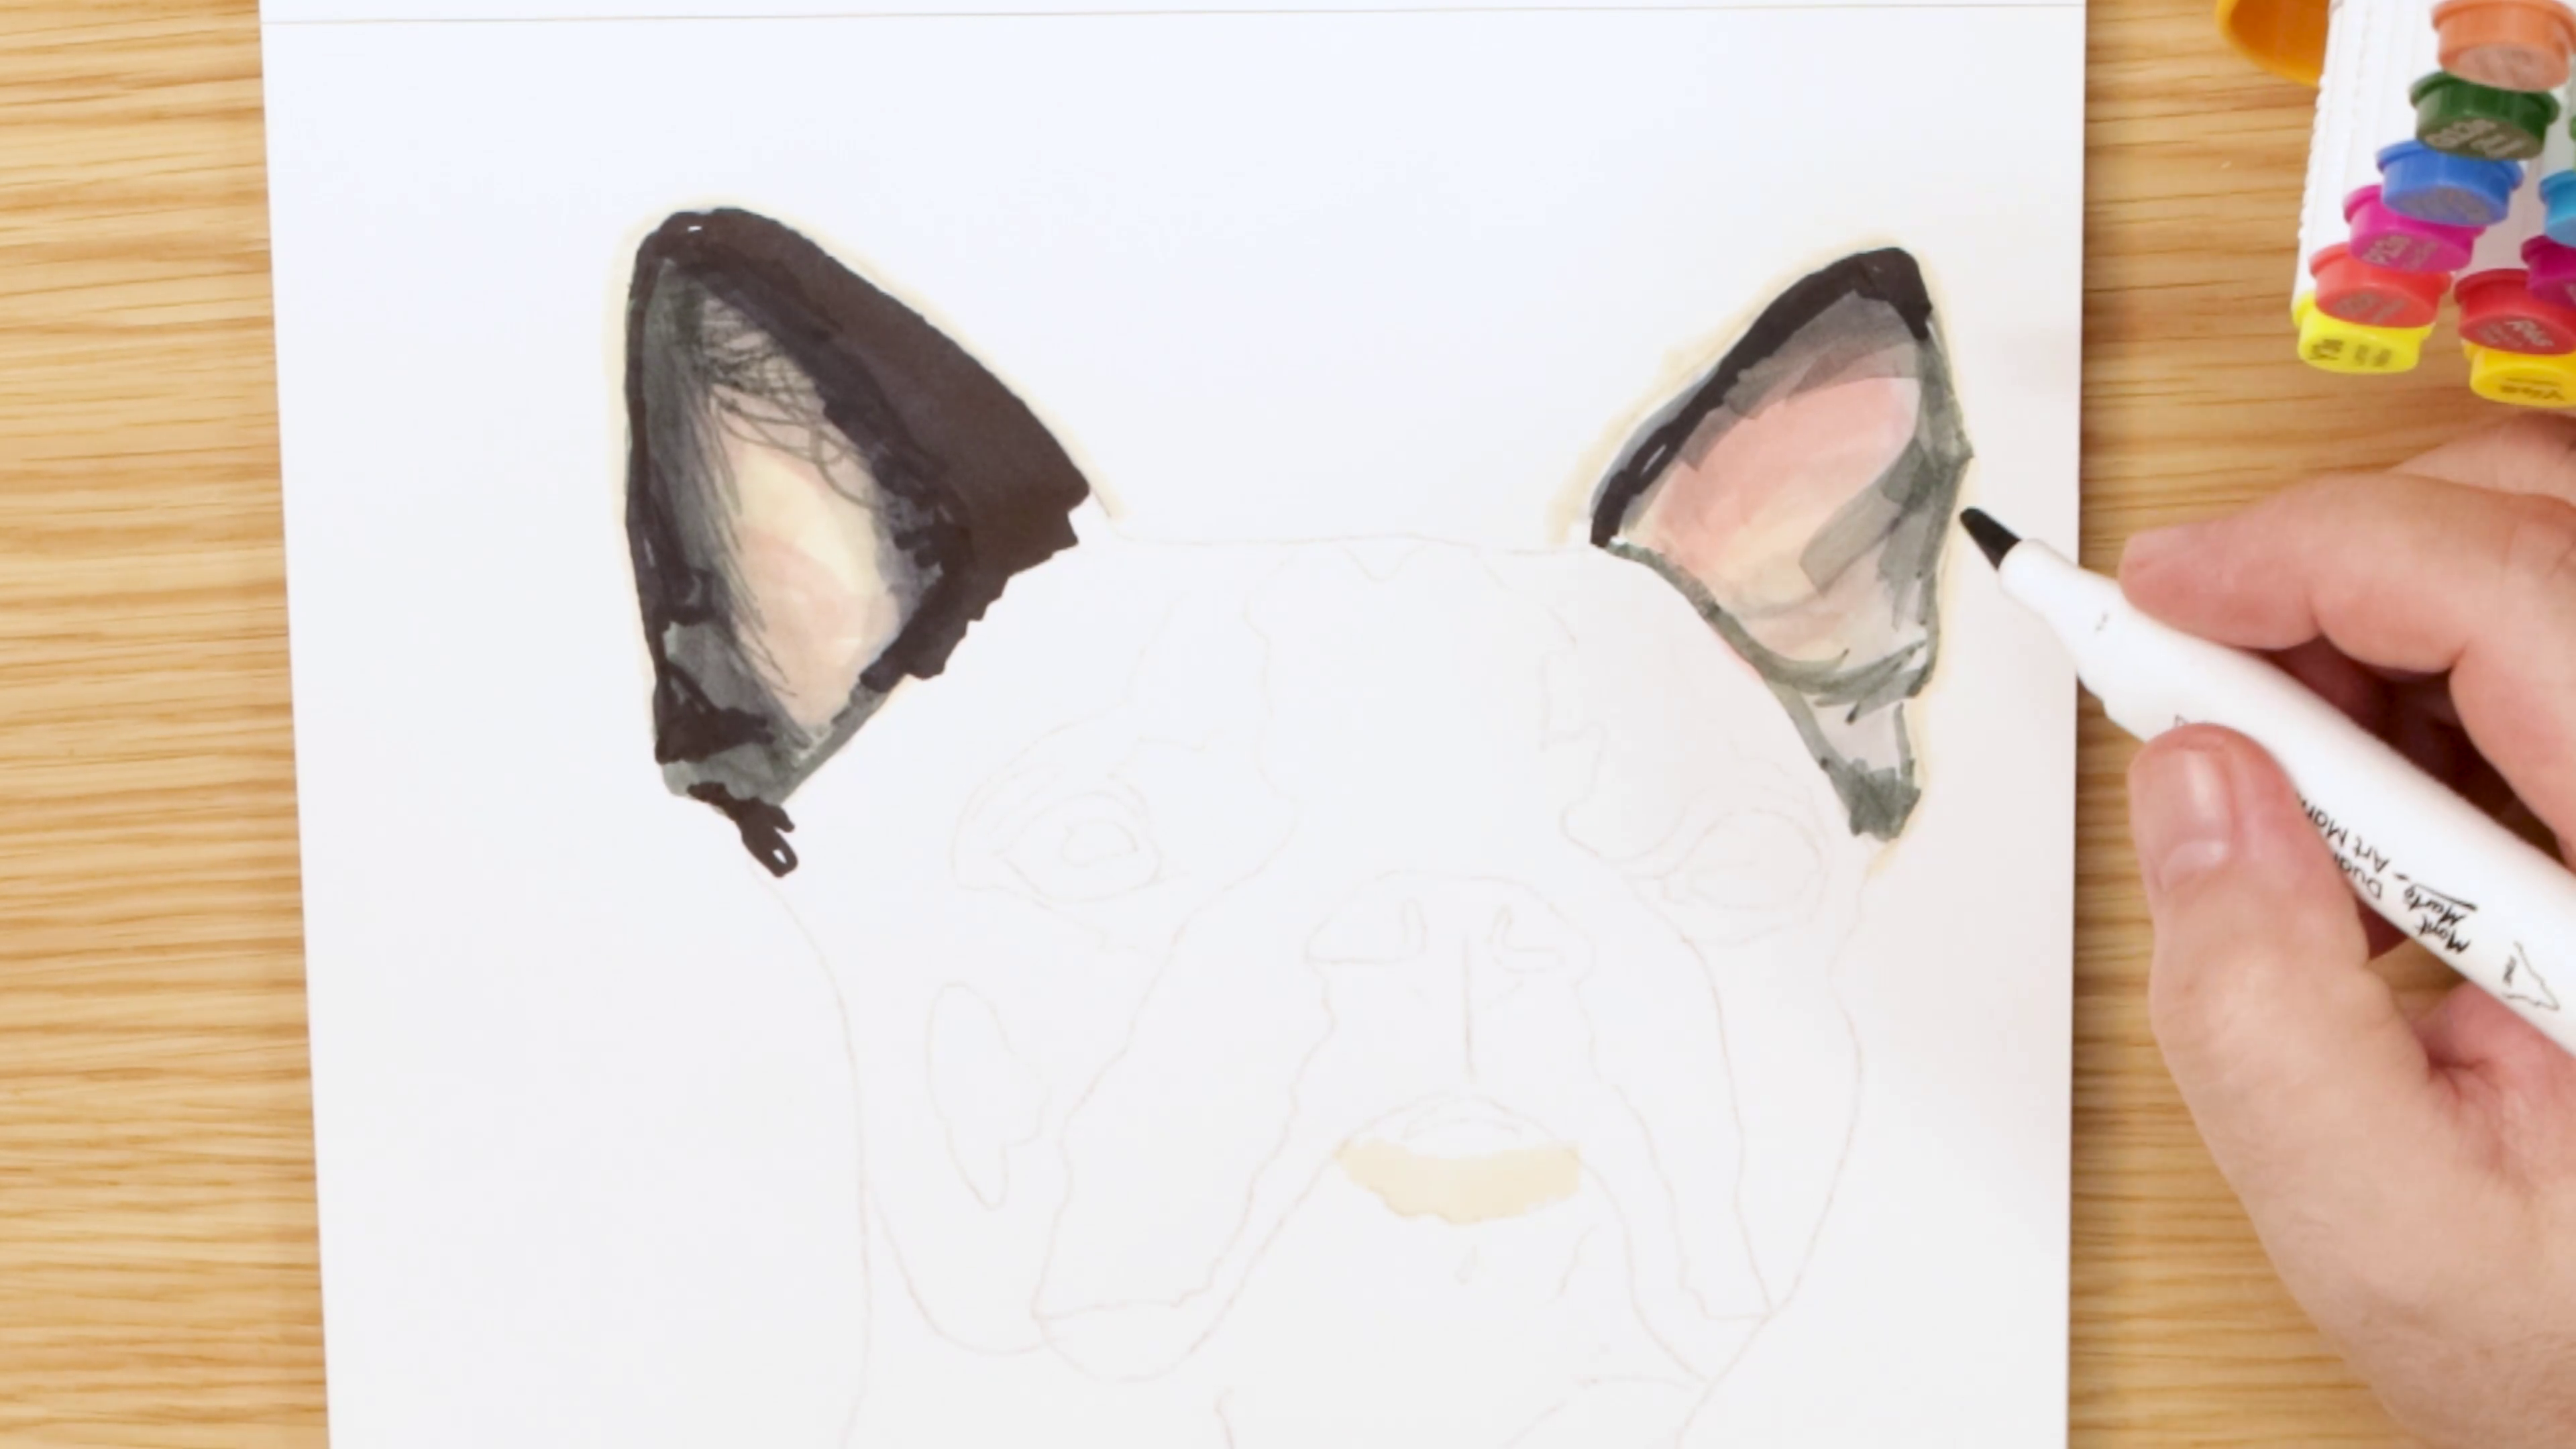
- Begin with your lightest colours first
- Use the chisel nib to block in larger areas
- Separate the fur into light, mid-tone, and dark sections
- Work gradually from light to dark like watercolour layering
Dog face drawing
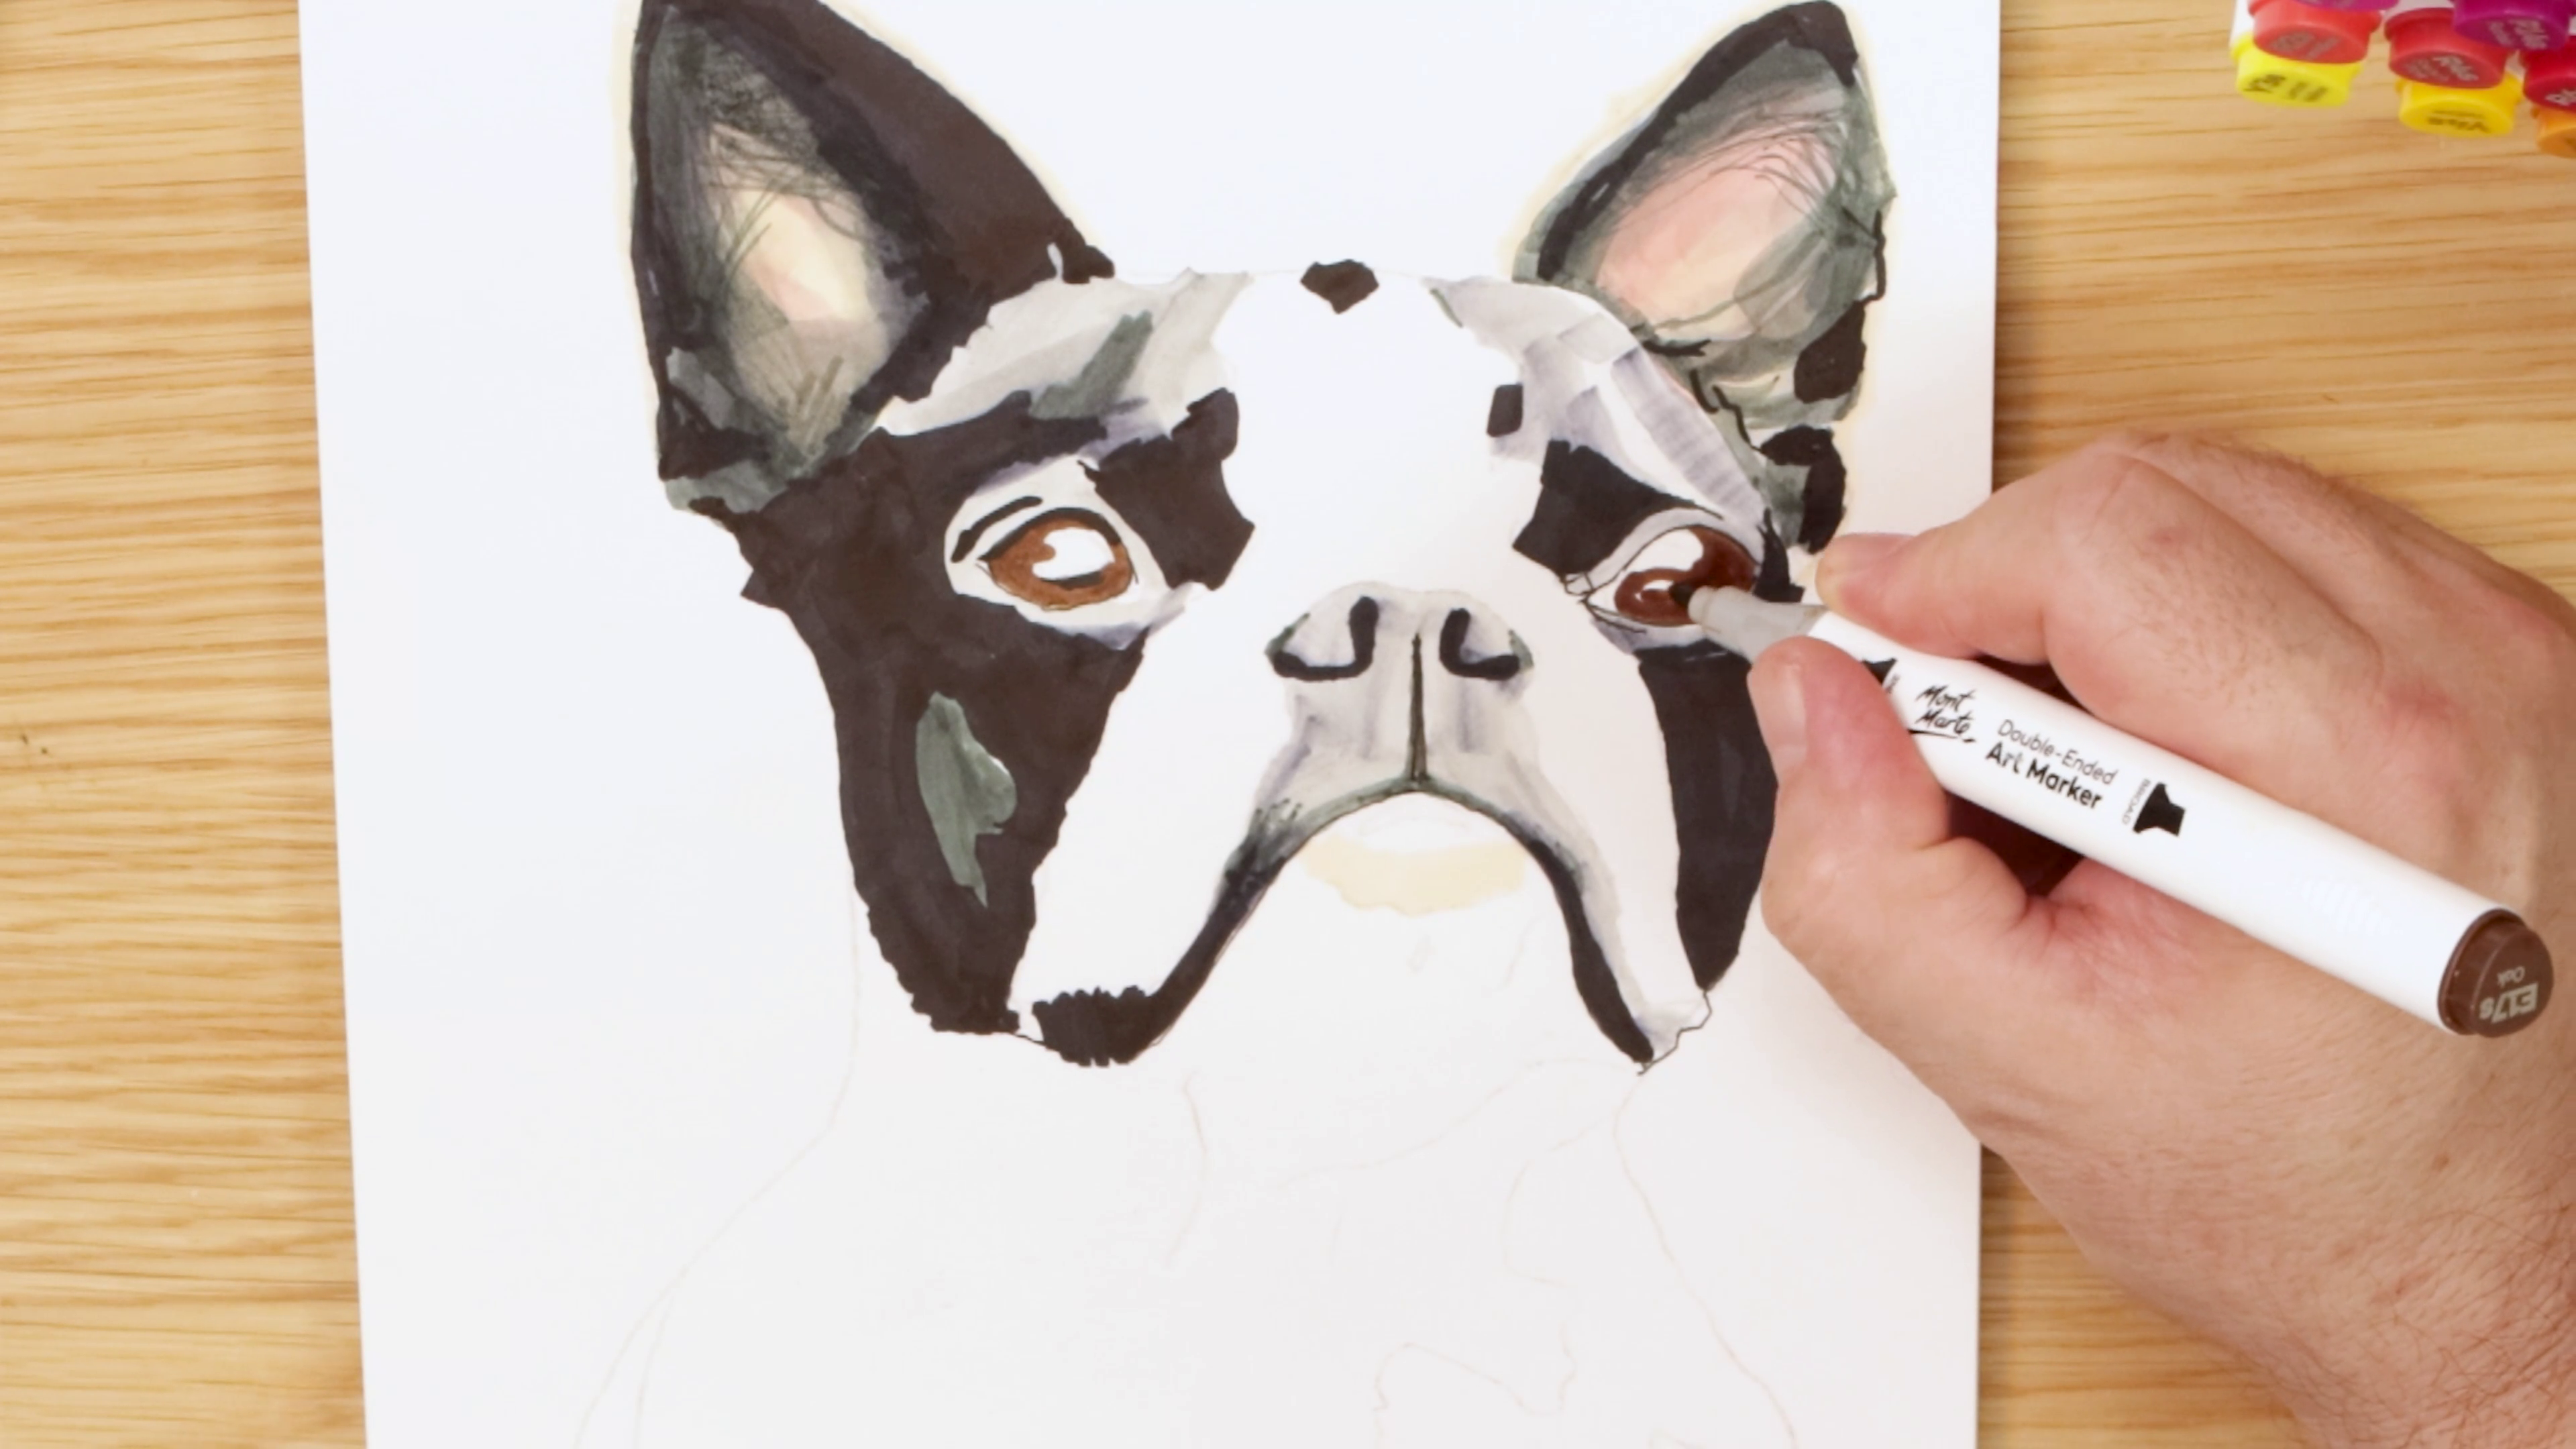
- Start refining the eyes and nose early in the process
- Use contrast to help anchor the dog’s expression
- Leave tiny areas of the eyes uncoloured to create shine
- Build subtle shadows around the muzzle and cheeks
Fur texture drawing
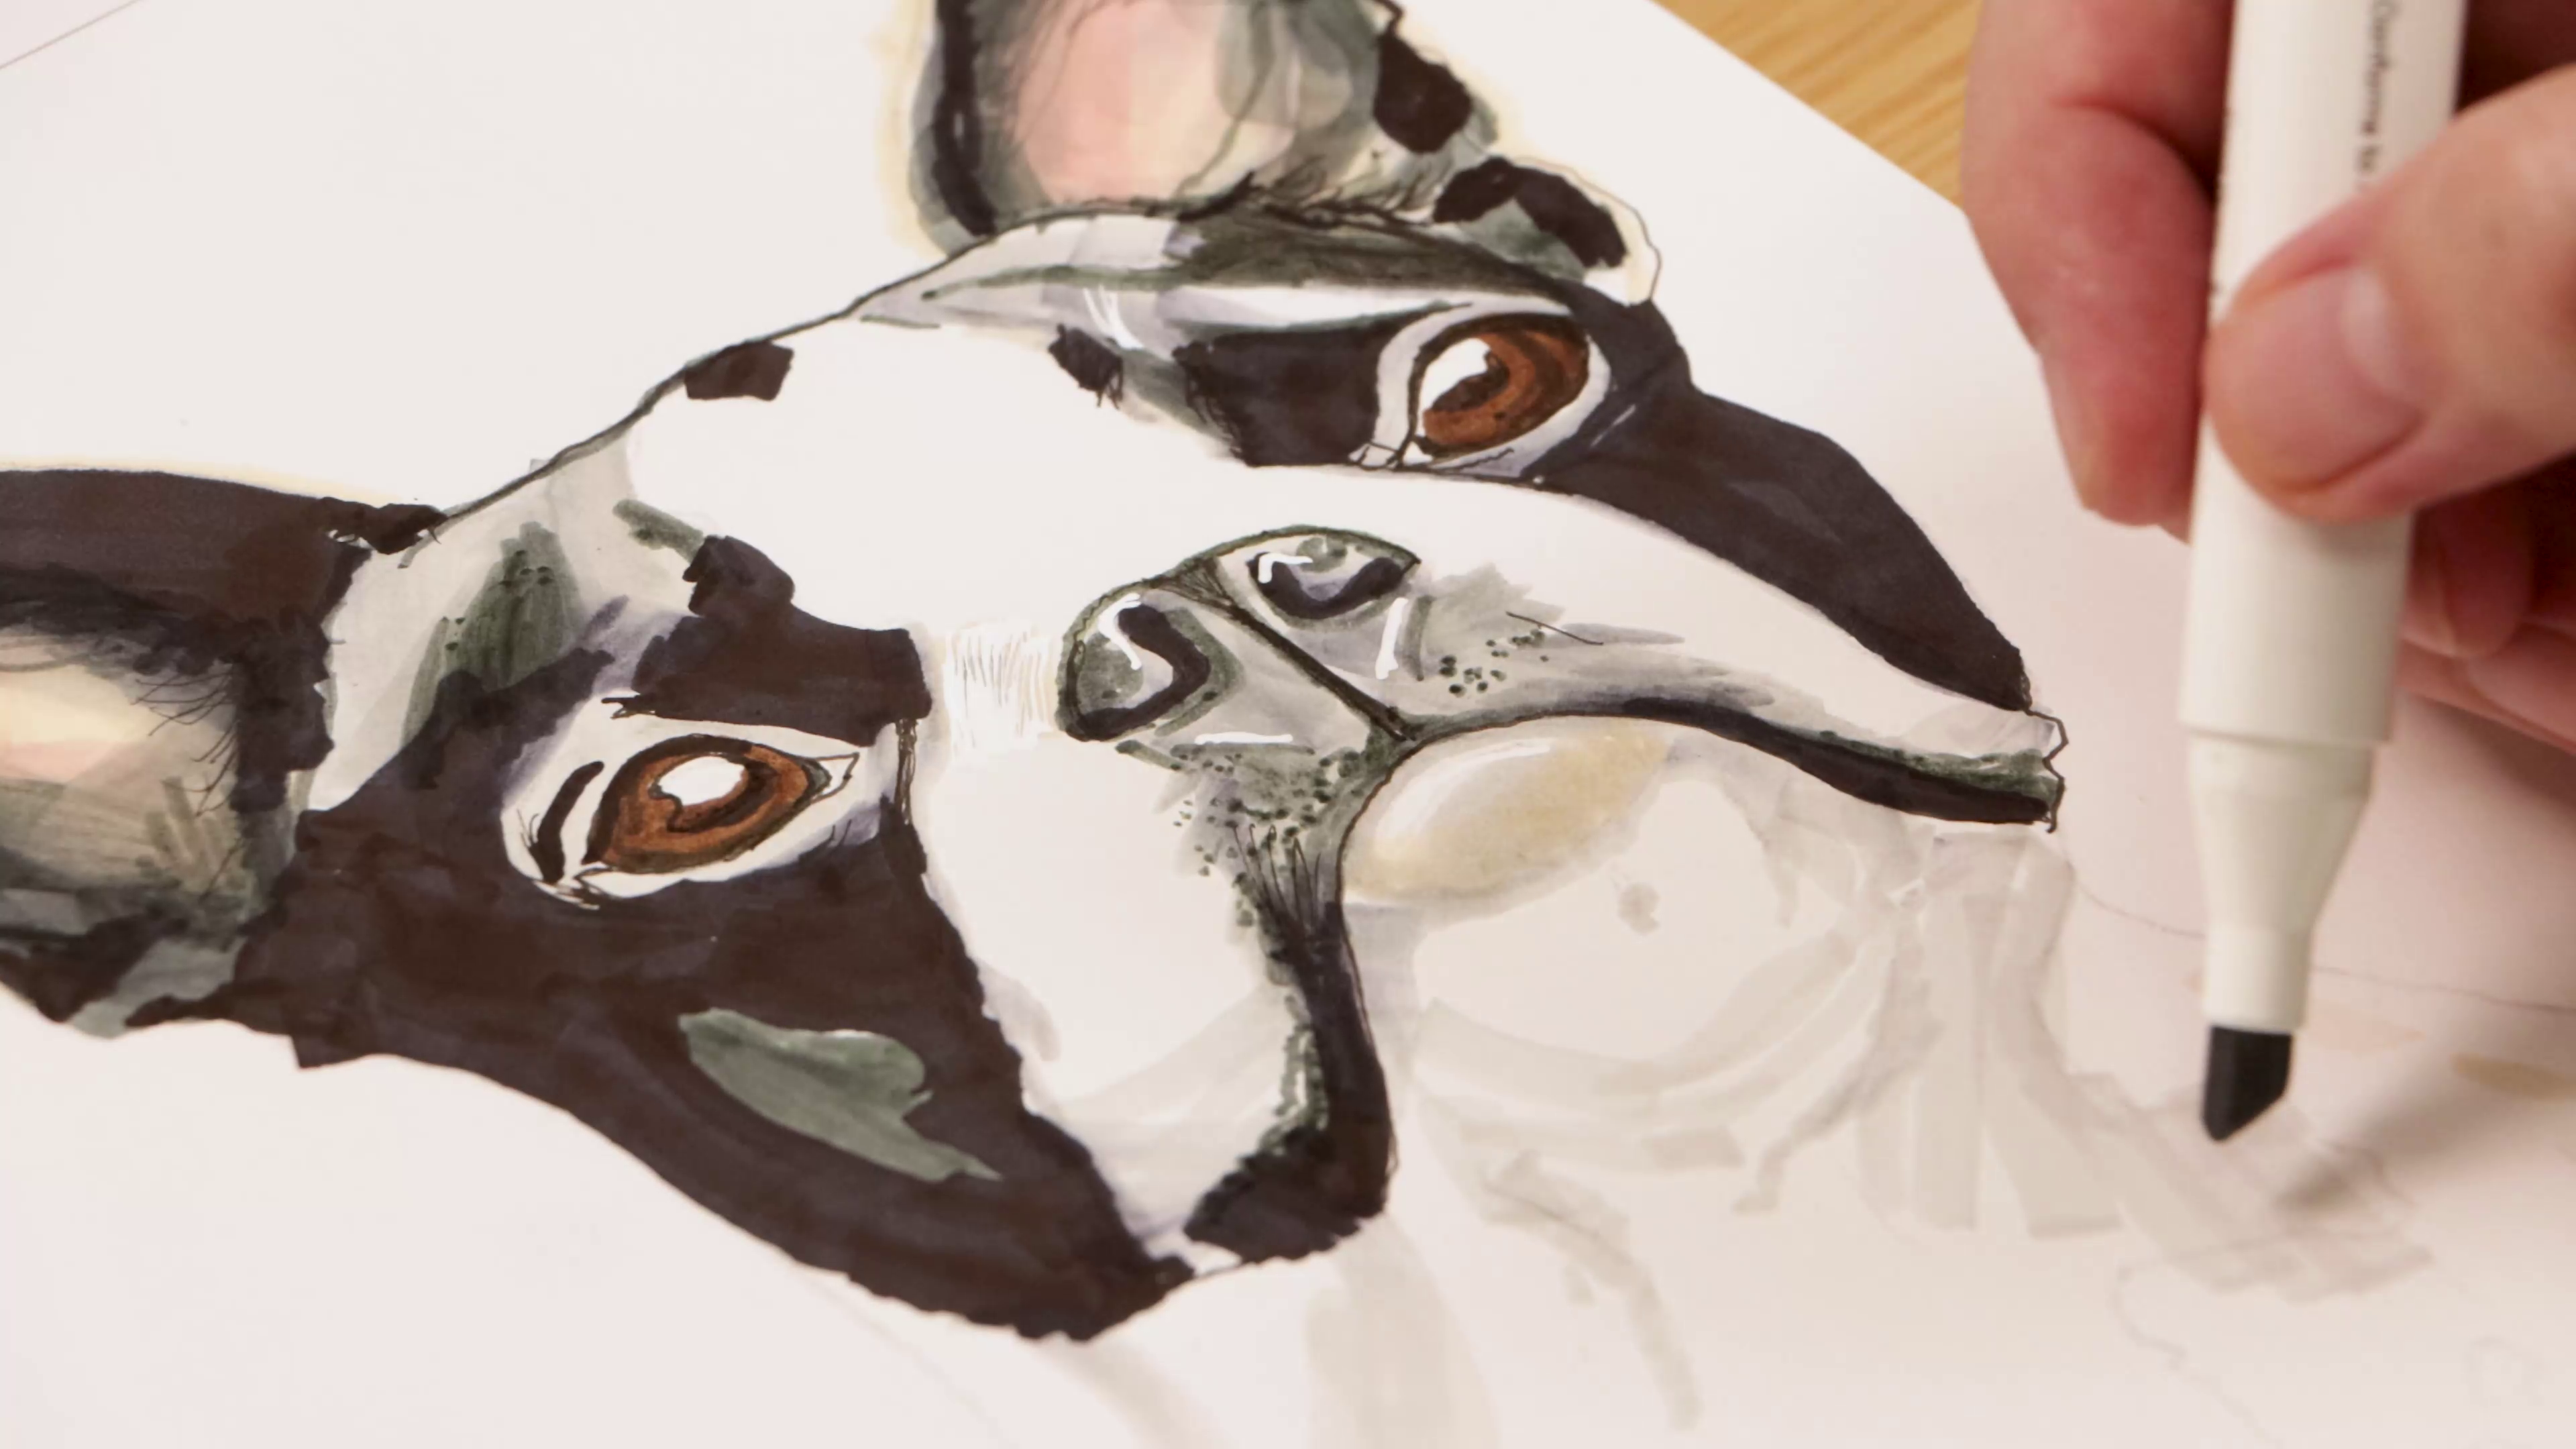
- Layer the fur gradually to create depth and softness
- Follow the direction of the fur as you add strokes
- Use the fine nib for smaller texture details
- Add darker tones slowly to avoid overworking the paper
- Use the fine nib to dot colour into certain areas for extra texture
- Layer light grey into white fur areas to suggest soft shadows and shape
- Add grey tones into black fur where light naturally reflects
- Keep building layers to increase depth
Adding final details
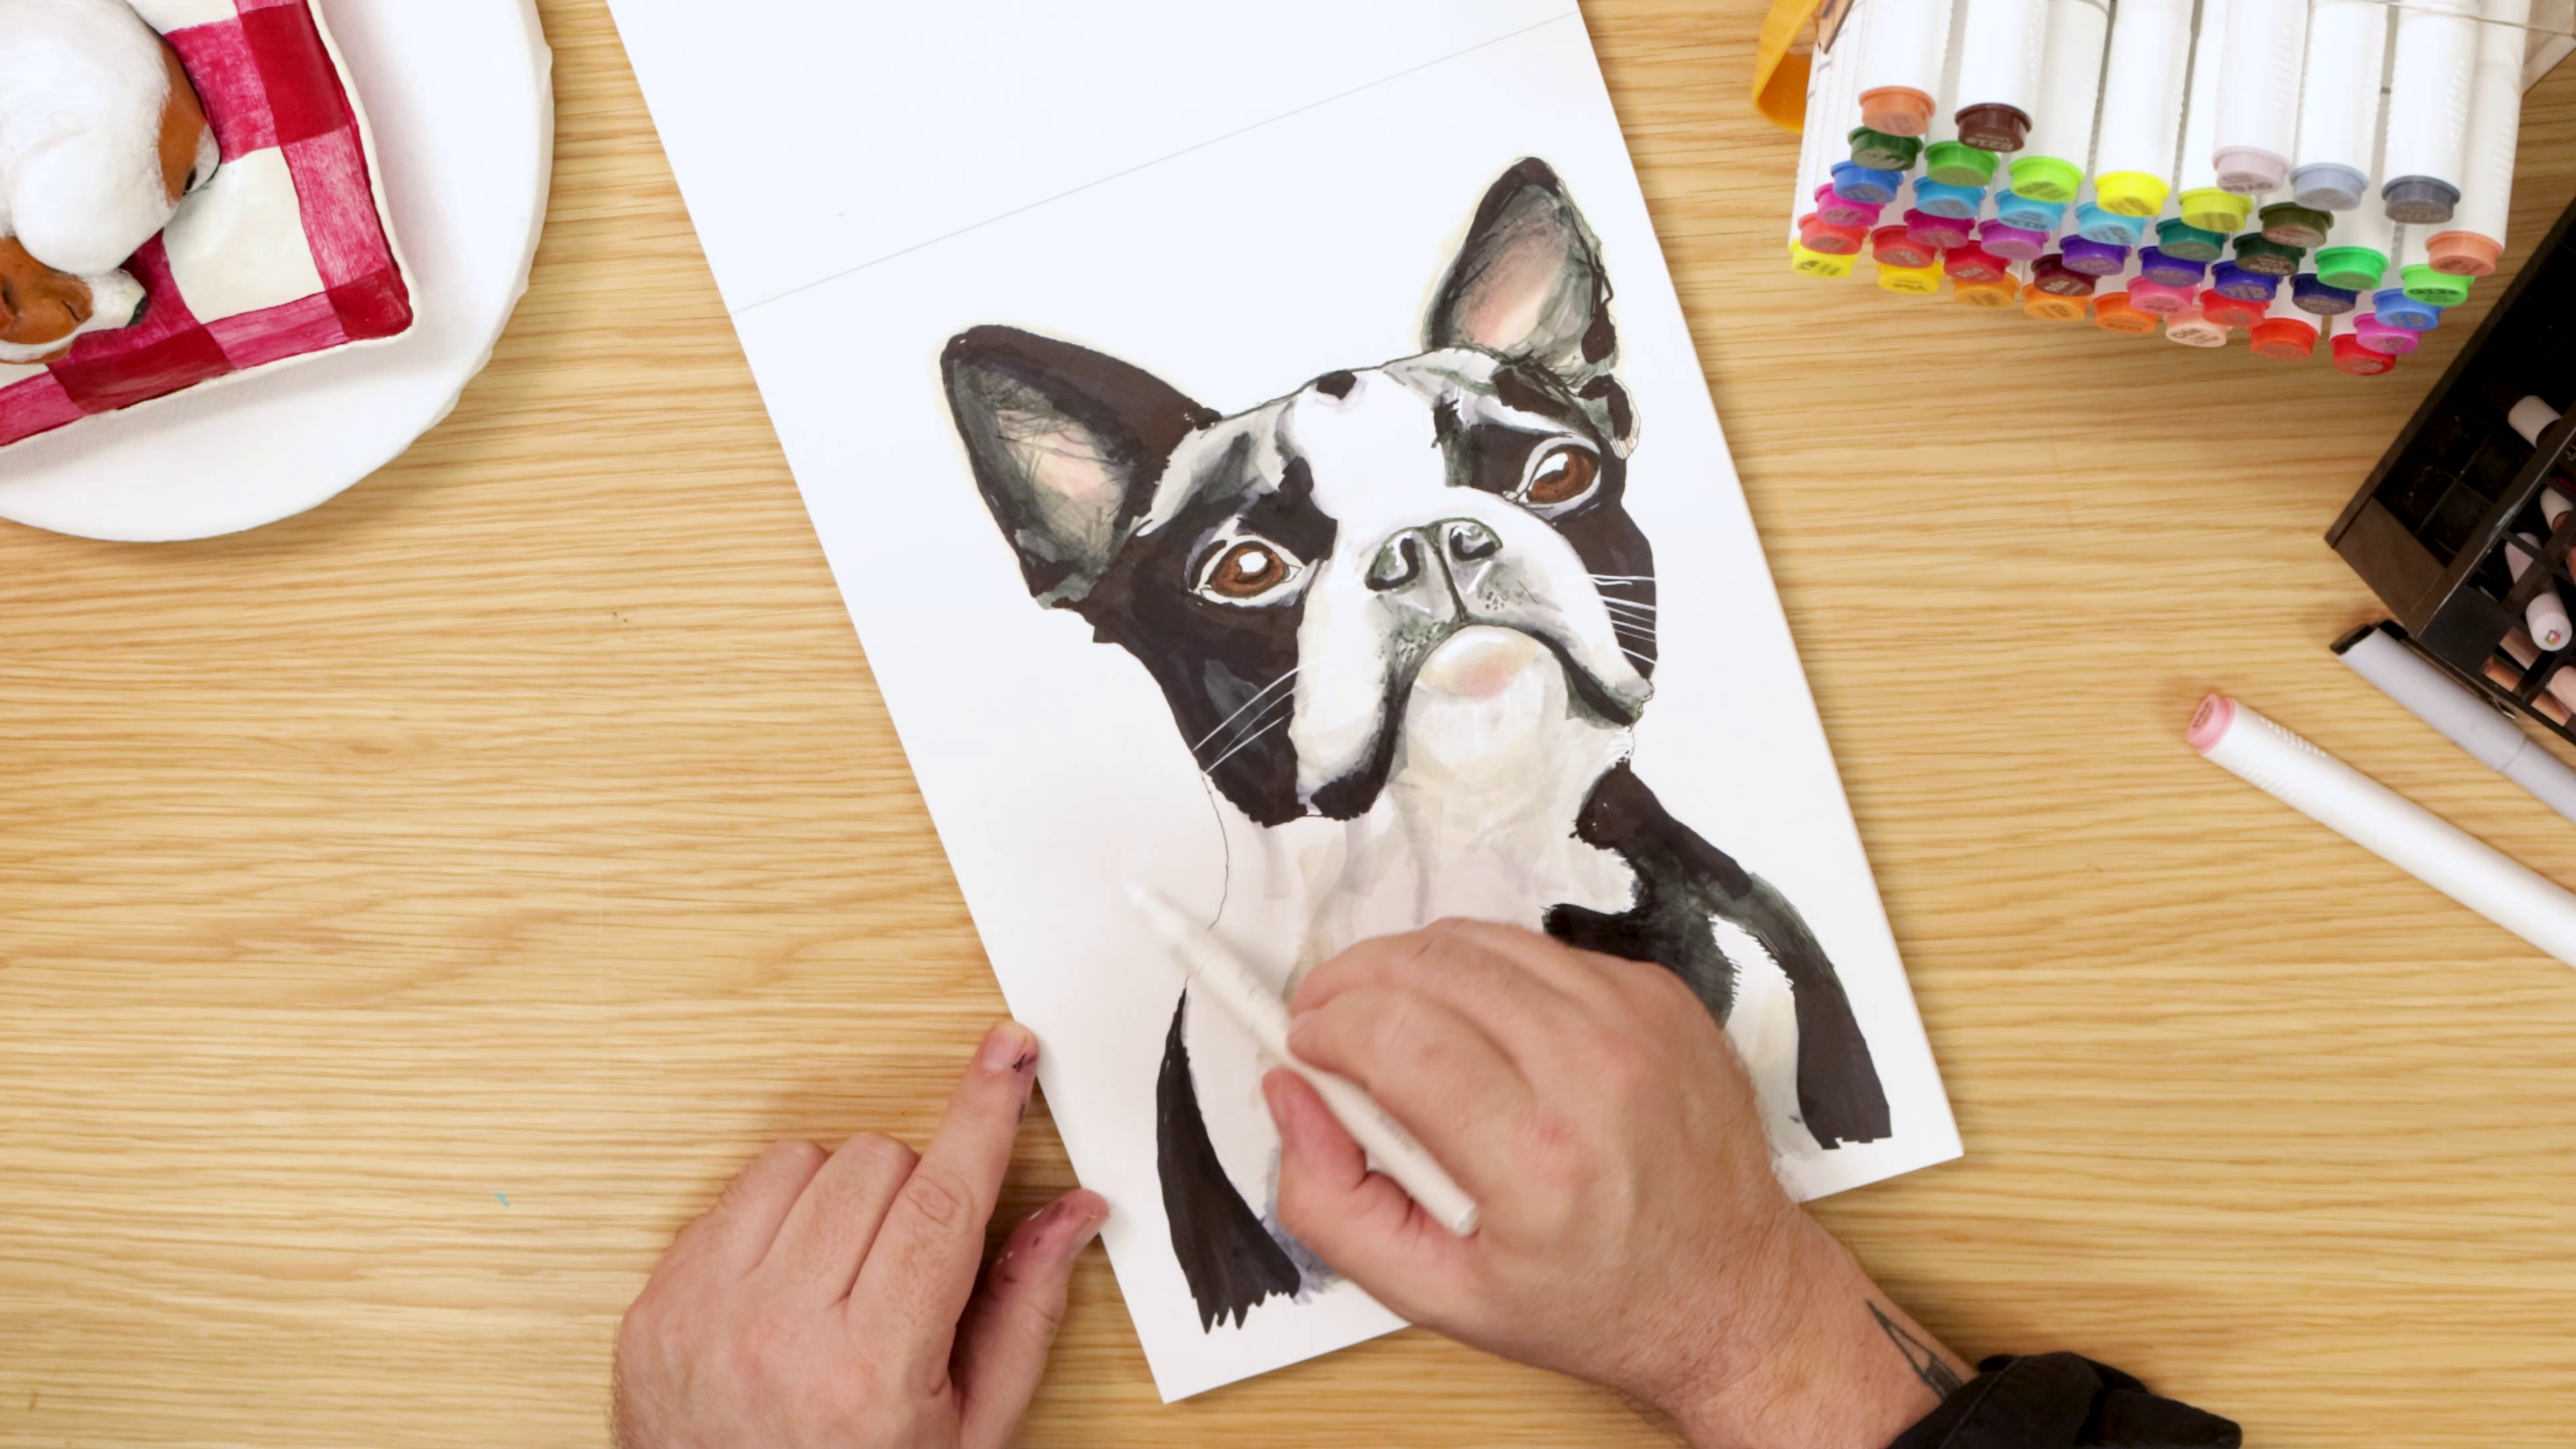
- Use the fine nib for whisker dots, fur edges, and smaller facial details
- Add whiskers using a fine tip white acrylic marker
- Step back and check the overall balance
- Put your furry friend into a frame or up on the wall!
- Double-Ended Alcohol Markers
- Marker Pad or smooth drawing paper
- Graphite pencil
- Eraser
- Acrylic Paint Pen Fine Tip White
- Printable dog outline (on the project page)
You may also like

Abstract forest art with acrylic ink

Still life flowers in oils

