


Create a cat sculpture in polymer clay
Here's one for all the feline fans out there! Follow along and learn how to make a scratching cat out of polymer clay. Check out the lesson and materials list below.
1. Preparing the base
Start by preparing some plaster to fill the back of the canvas. Pour 300mls of water into a bowl and add plaster slowly, mixing until the mixture is the thickness of pancake batter. Pour it into the middle of the canvas and then let it self level and dry. Once dry, flip it over and we are ready to begin. Using the provided template, mark the screw positions and then insert the screws. Angle the screws at the approriate angles. Tip Always use latex gloves when working with plaster.
2. Creating the armature
To create the armature, twist the coat hanger onto the screws applied to the base. You will need to do this twice, one for each front leg. Apply the two arms of the wire first, then bring together in the middle of the chest area and twist together. Finally, bend the wire down to the rear single screw. Keep the curved shape of the spine in mind and shape it accordingly. Using a separate piece of wire, create the scratching leg by shaping the wire up and towards the spine, but add the approriate bend and shape the leg needs. This wire bends quite easily but you will need the pliers to snip the excess. Roll the aluminium foil into a ball and pack out the armature. Use the clear tape to attach the ball inside the wire. Clear tape is great for this as polymer clay will bond with it. Tip Keep adjusting your armature until you are happy with it this is the skeleton of the model. Refer to the accompanying video for a more detailed look at the armature.
3. Creating the body
Start by packing clay onto the front arms and make it oversized, so we can carve it back. Ensure there is no air between the armature and the clay. Begin applying clay to the underbelly of the cat, and then apply to the rest of the body. Once you have the body packed on, you can start carving, shaping and smoothing.
4. Scuplting the head
Roll a ball of clay to the size of the head and roughly shape the cats features. Attach the head to the sculpture. Add clay around the head, between the body and smooth it in so it forms a neck. 4
5. Adding the legs
Add clay around the armature wire for the leg scratching the cat. Remember to pack on more than you need so you can carve it back. Carve the excess clay back and shape the leg with a hobby knife. Create an armature for the tail by twisting tie wire around the rear screw. Cut it to size with the cutting part of the pliers.
6. Adding the tibia and femur
Remove clay from the body where the leg lies and apply a large piece of clay for the tibia and femur. Use a hobby knife to carve the leg into shape. Fill the joint where the leg meets the body. Smooth this off.
7. Adding the toes
Roll out clay for other leg. Create toe shapes by using the hobby knife and the pin tool to shape the individual toes. Fit leg under the cats body. Smooth it to the underside of the sculpture. Fit toes to the scratching foot and smooth.
8. Adding the tail and more toes
Roll out a tube of clay for tail. Create a groove along the tube. Fit the tail to body and press the wire tail armature into tube of clay. Roll clay over the top of the wire. Shape the tail by carving excess clay away with hobby knife. Add front feet onto base. Smooth onto legs. Create toes by using the hobby knife to slice the foot apart, and then the pin tool to soften the edges.
8. Adding the final details and ears
Refine the face by adding the nose and cutting slits for the eyes. Refer to the reference images at the end of this PDF to scuplt the face. Create two equal sized triangular shapes for the ears and apply them to the head. Blend them in using the end of a paint brush handle.
Material List
- Make n Bake Polymer Clay Signature 400g (14.1oz) - Beige
- Mini Modelling Tools Signature 10pc
Shop Materials List
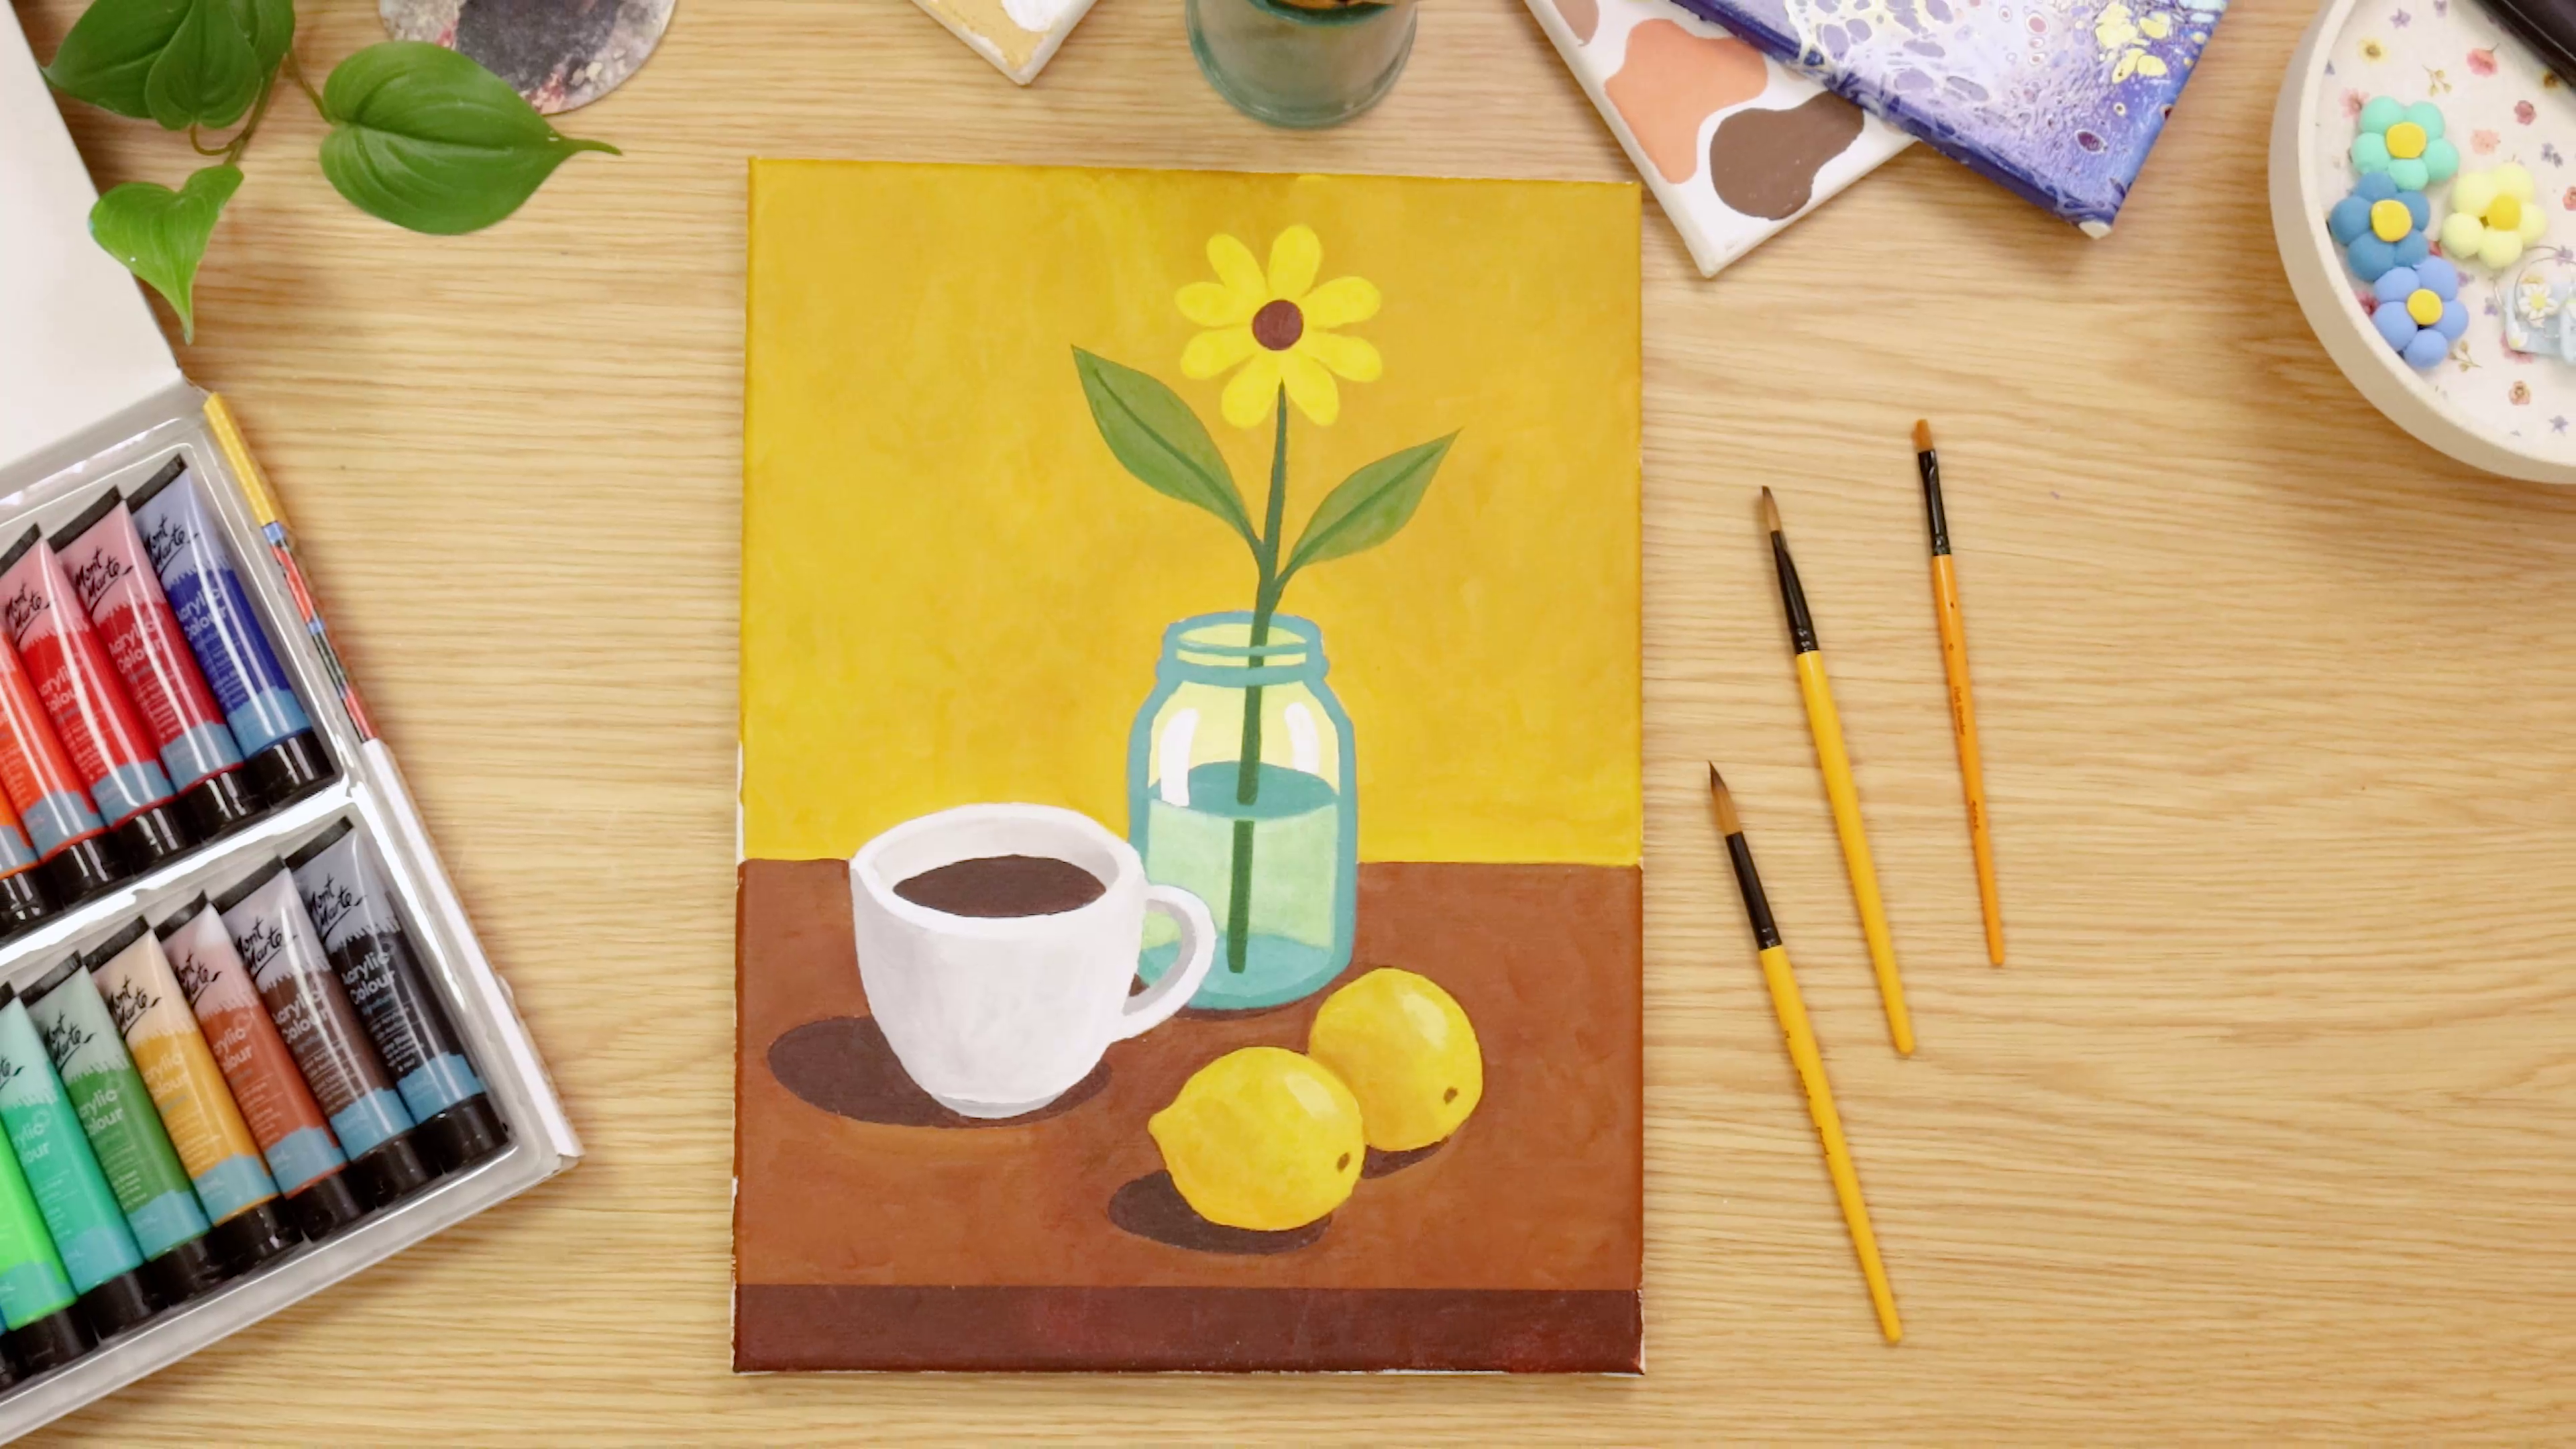
You may also like
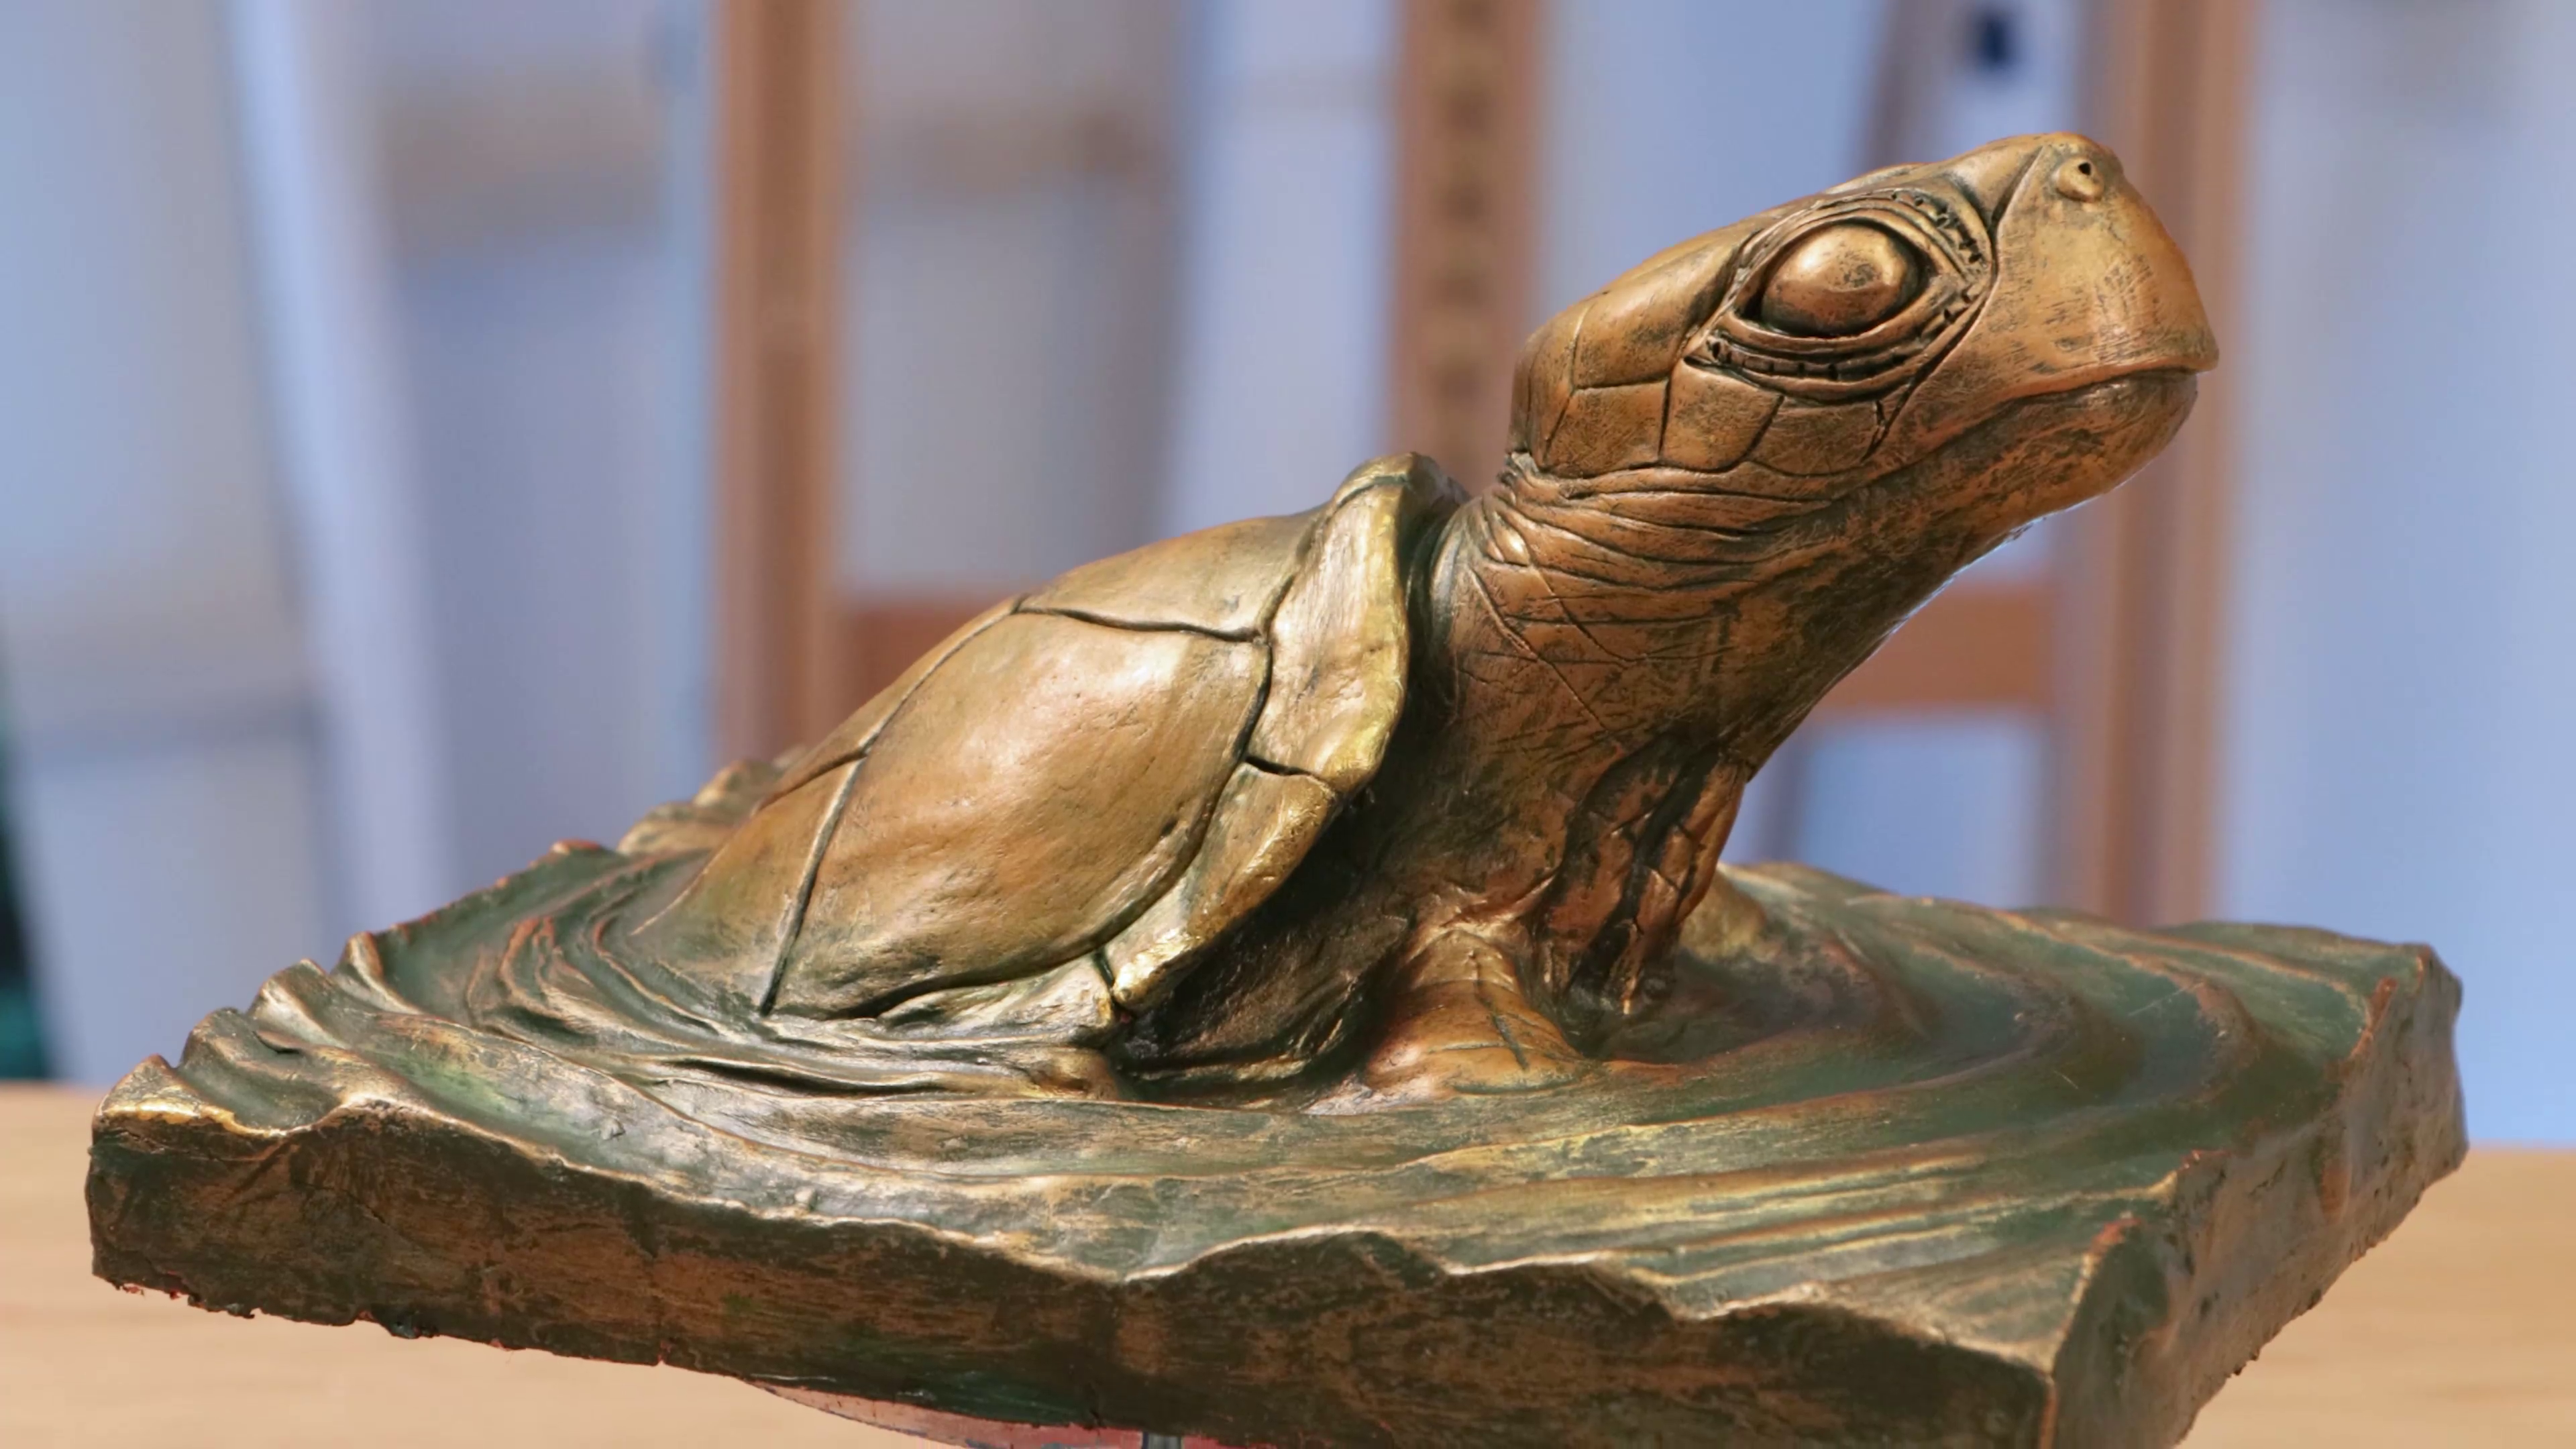
How to sculpt a turtle with air dry clay
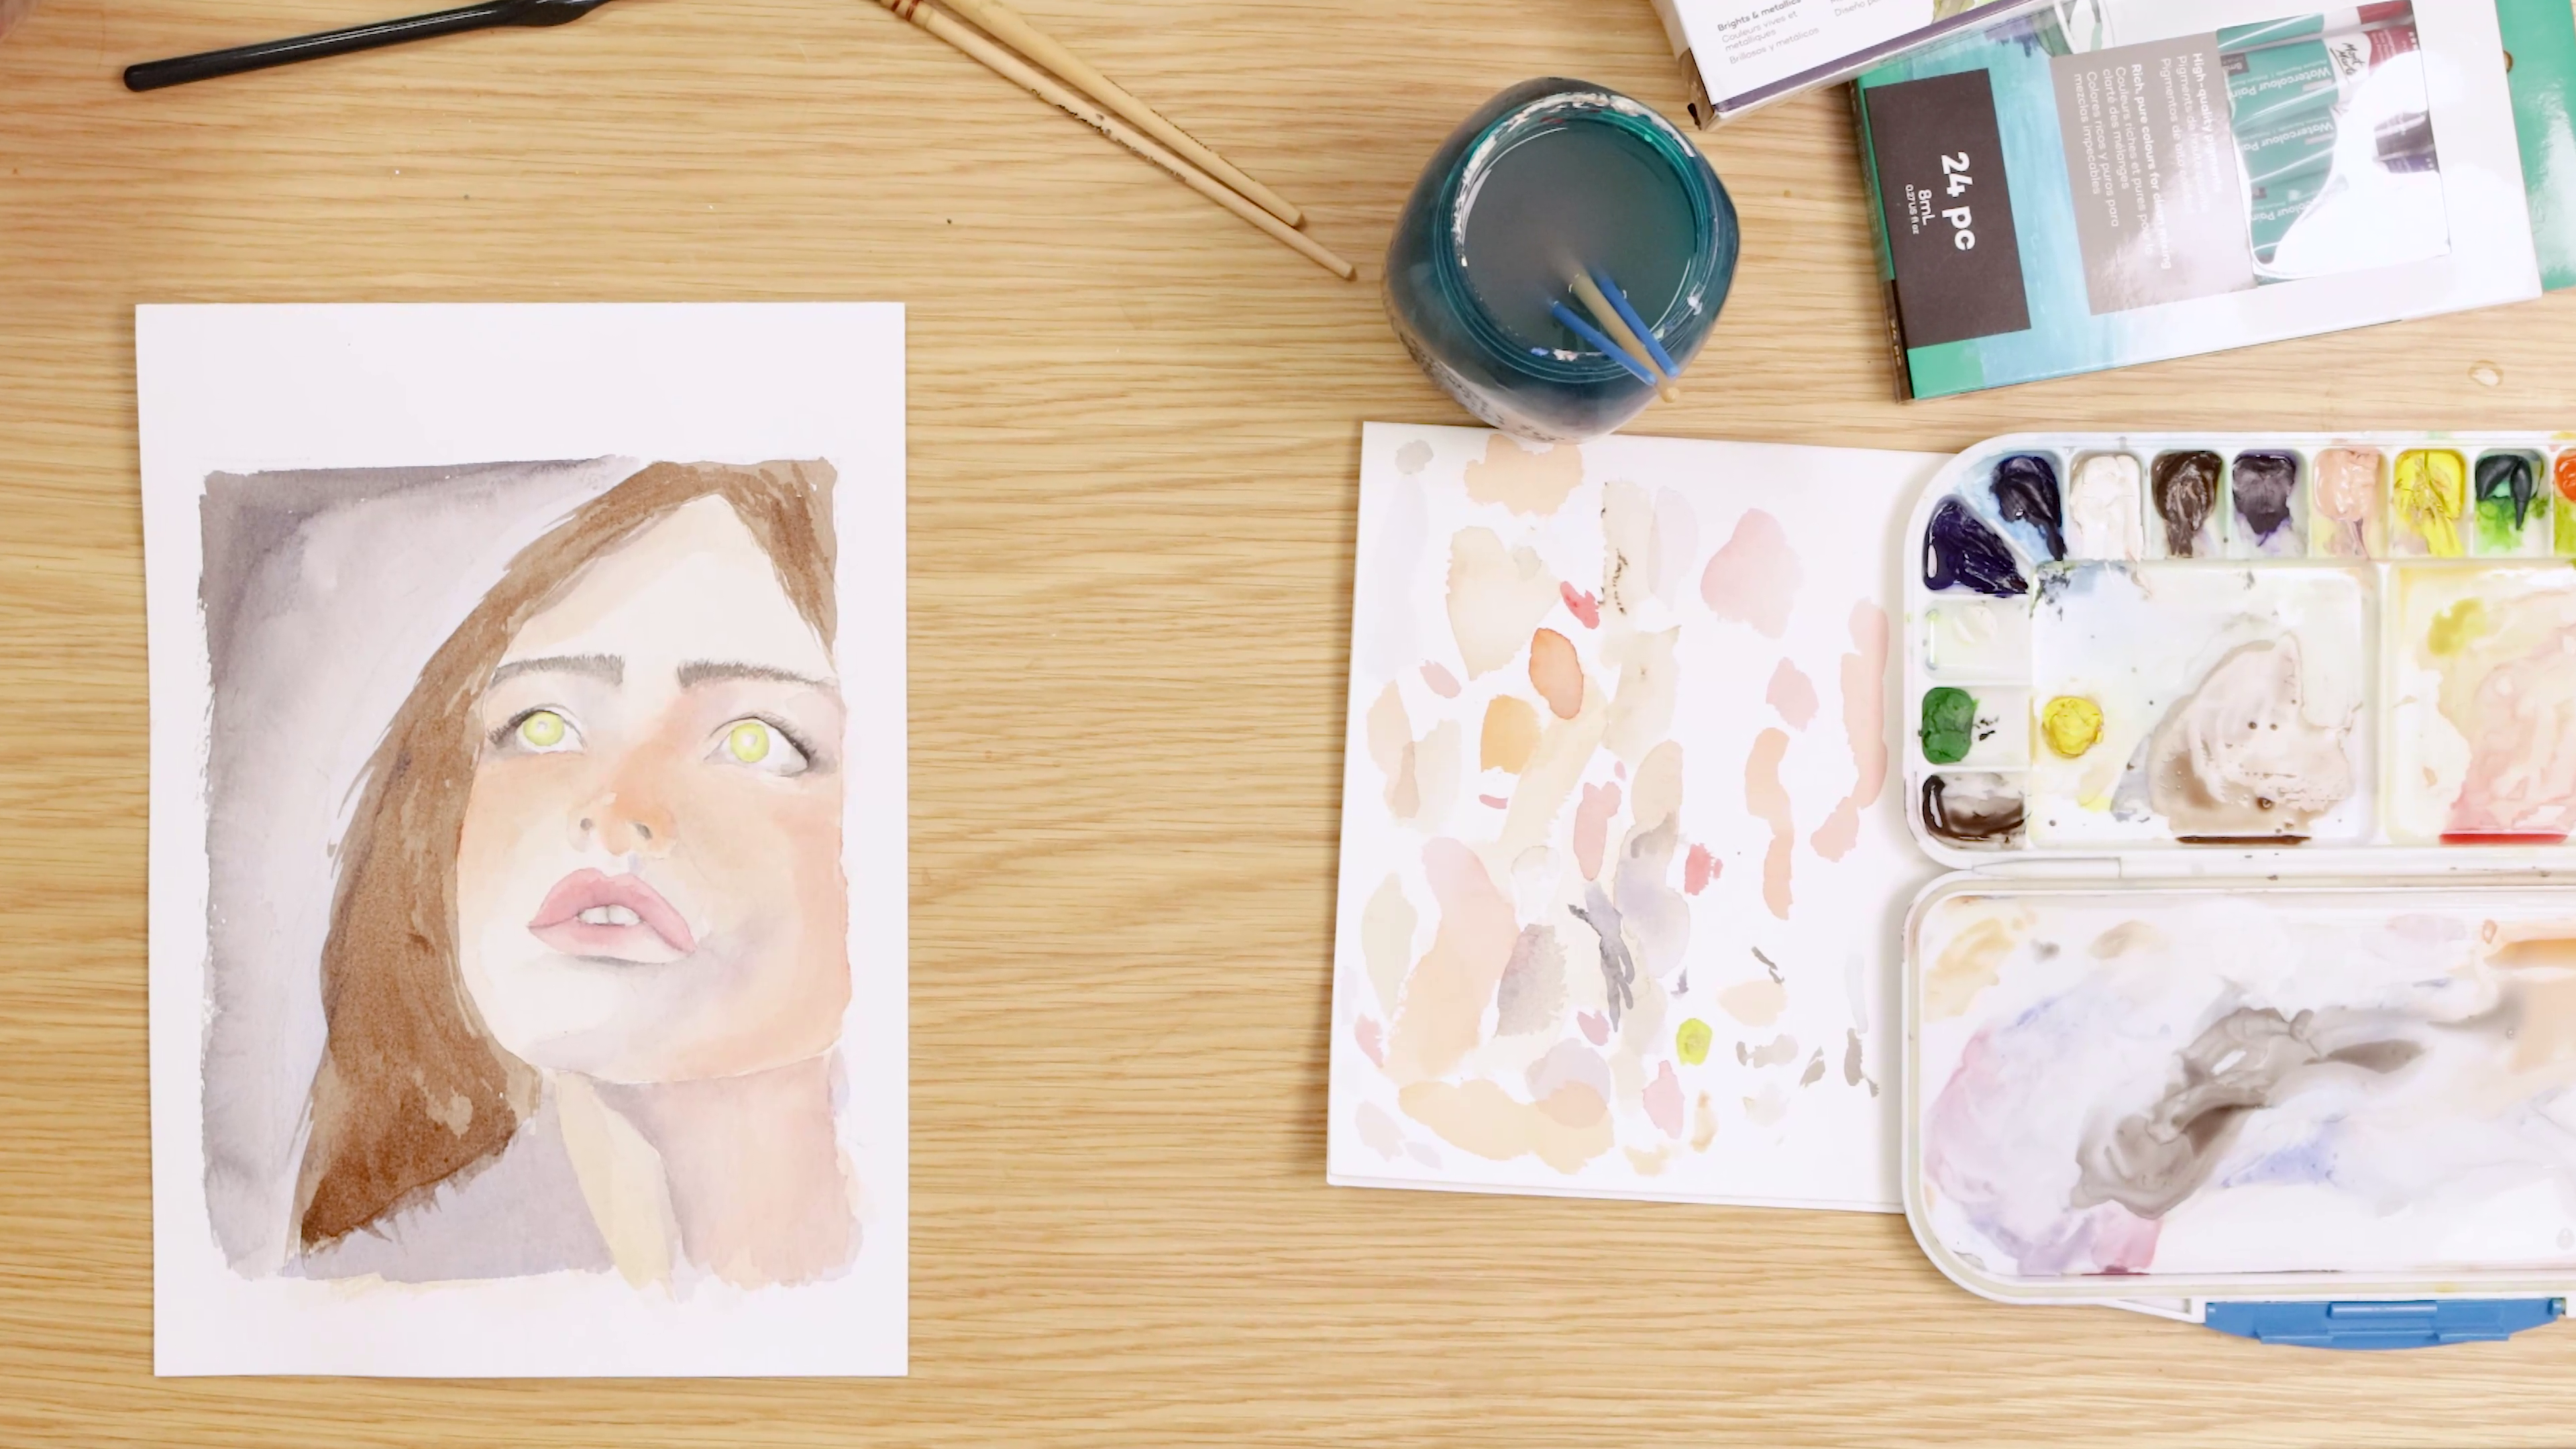
How to mix skin tones with watercolours
Oil pastel tips and tricks