


Create an allosaurus dinosaur sculpture in polymer clay - part 2
In this part 2 of the Allosaurus lesson, Joe paints a realistic livery over the Allosaurus sculpture he created a few lessons back. Joe shows you how you can suggest great effects with a few of his techniques and the finished result looks very realistic and quite convincing and if you follow the steps it's not that hard. We hope you enjoy it.
How to Paint a sculpture of an Allosarus . What You Need: You can get all of these materials at a Bronze or above art centre go to /stockist Mpa0040 Mont Marte Black Gesso 500 ml bmhs0014 mont marte Gallery series brush set 4 pce mapl0003 mont marte Deep well plastic palette maxx0019 mont marte plastic brush washer paints: pmda0003 mont marte dimension acrylic cream pmda0036 mont marte dimension acrylic burnt umber pmsa0004 mont marte silver series acrylic lemon yellow pmsa0022 mont marte silver series acrylic yellow orange pmsa0005 mont marte silver series acrylic yellow ochre water paper towls
Step 2 Drybrushing the sculpture. Squeeze out some Burnt Umber, charge the large flat brush and then wipe off the excess onto a paper towl. Lightly cover the dinosaur. Ensure the hight parts are the only parts that take on colour. Let this dry. Throughly wash the brush and dry it. Next squeeze out some Cream and apply it over the dinosaur in the same fashion as the Umber. Take special care to keep your brush very dry with this colour as it is very strong and you want the coat to be subtle. Let this dry. when you apply Gesso do it as thinly as you can so no paint wells in any hollows. Because Gesso is quite thick charge the brush and wipe the excess off onto a paper towl. This procedure should be followed for drybrushing also. Step 1 Under basing. First we must provide a suitable basecoat on wich to paint on. It’s best to use a gesso for this. Because the dinosaur is going to be very dark I use a Black gesso. Pour a portion out into a deep well plastic palette and apply it over the entire sculpture with the large flat brush. Keep the coat thin and consistant. Let this coat dry throughly. Next squeeze out some cream paint and apply it onto the belly region. Blend the edges into the body colour. Use a damp large round brush to soften the edge.
Step 4 Applying the markings. The first stage of creating the markings is to lay down the the base shapes. So squeeze our some Cream paint. Apply these markings with the finest round brush. Pay close attension to the last image for reference regarding the shapes and patterning. I will say though, ensure the patterning ‘stripes’ are an equal distance apart also ensure that there is variation within the stripes. Don’t make them too uniform. As you move up the neck apply the stripes thinner. Follow this procedure as you move to the end of the tail also. Once the top of the model is patterned turn your attension to the belly and create some loose stripes emmiting up into the model. Next create some mottled markings from the top of the lip rising into the middle of the head. Ensure there is some of the base tone visible in parts. Create these marks by spotting on the paint. Do the same on the bottom of the jaw. Let this dry. Step 5 Glazing. In a deep well plastic palette squeeze out some Yellow Orange and some Yellow Ochre in the Silver Series Acrylic range. Add water to thi so it is the viscosity of milk. Carefully paint this over the Cream markings. Next, paint in the top of the head with Yellow orange. On glazing your model ensure the paint is thined with enough water so theunderlying base colour [Cream] can be seen. If it is too thin though,the paint will well in the hollows and the high parts will remain free of colour.
...Until next time Keep on creating Step 5 Detailing. In this stage we add the fine detail. With the fine brushwith the fine add a little orange around the eye socket. Then with the same brush paint the eye with yellow and finish it with a dot of white to suggest a highlight. Next paint the teeth. Wash the brush and dry it. Dip it into the cream and pick ot any fine details by a final drybrush. Thigs like the horns, scutes and nostrils. Step 6 Painting the base. Now the Dinosaur is finished we can switch our attension to the base. Create a Brown mix of Cream and Burnt Umber in equal proportions. Add water so it is the viscosity of thickened cream and with the large round brush apply this colour over the sand. Apply the paint by dabbing it on with the tip of the brush.
Material List
- Black Gesso 500ml (16.9 US fl.oz)
- Plastic Brush Washer Signature
- Acrylic Brushes Signature 4pc
- Dimension Acrylic Premium 75ml (2.5 US fl.oz) Tube - Burnt Umber
- Deep Well Plastic Palette Discovery 6 Wells
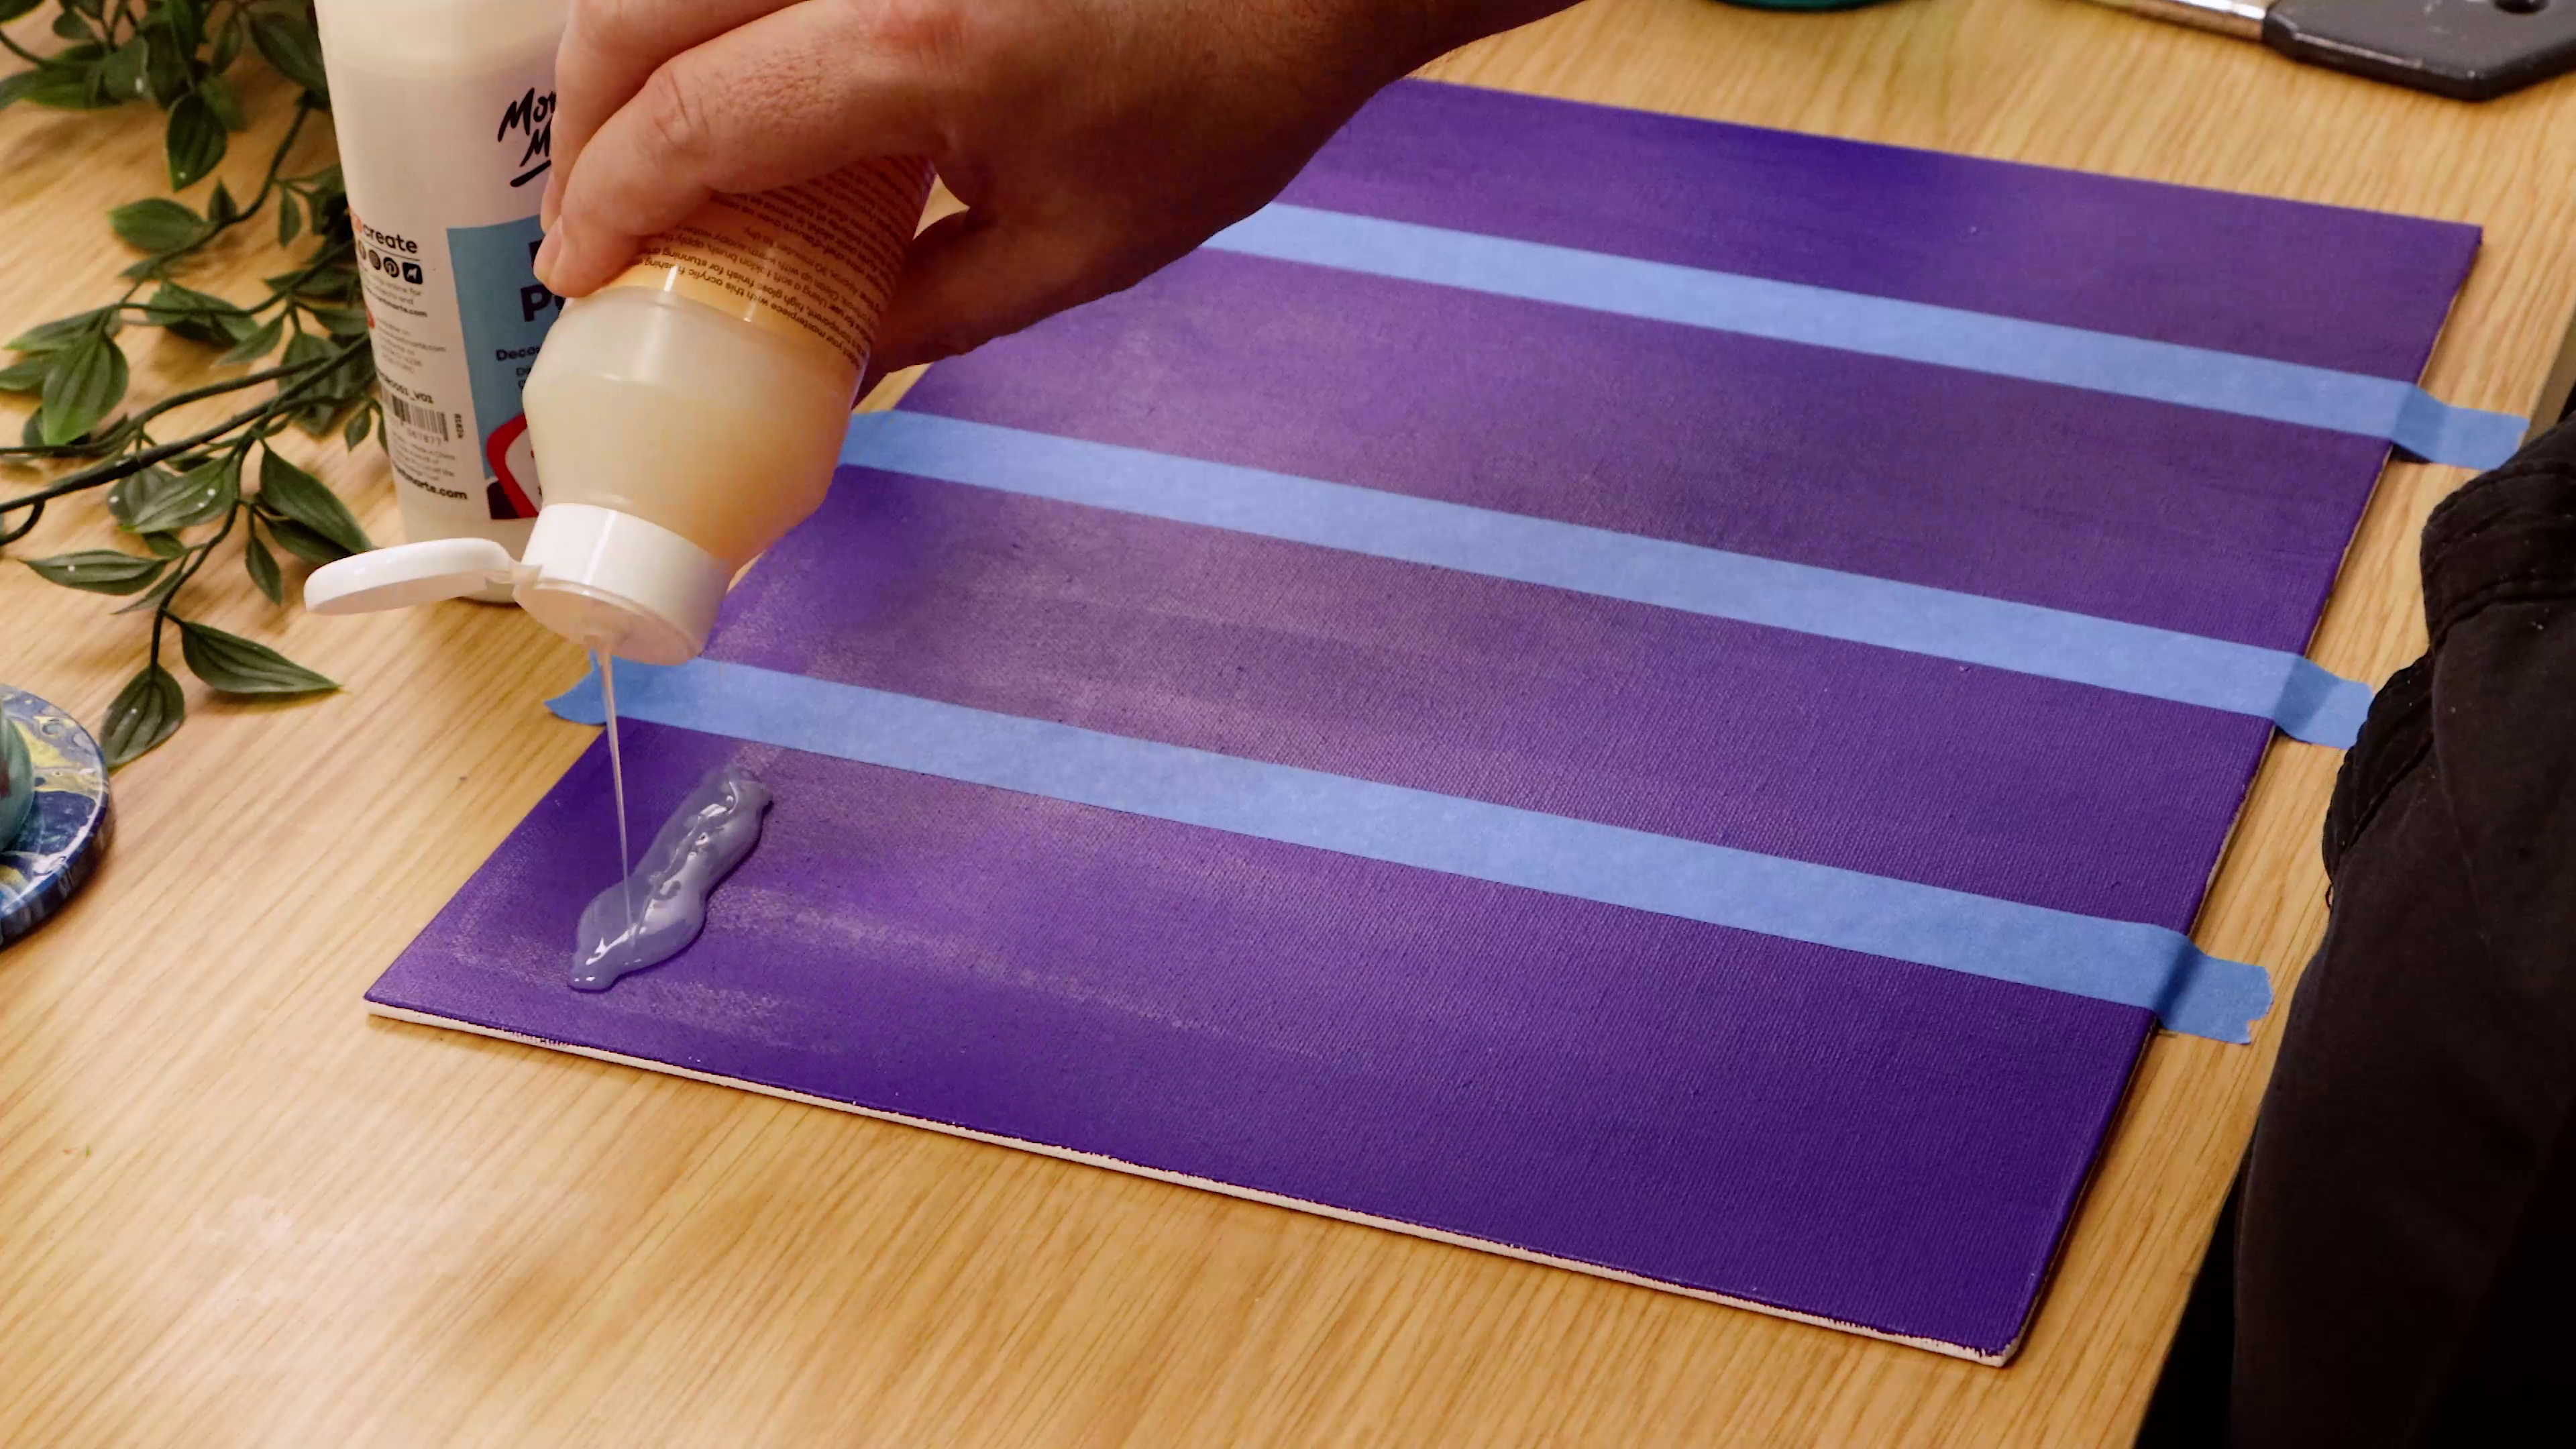
Shop Materials List
You may also like
How to use a polymer clay cutter
Acrylic pour clock with SuperCell