


Make a cute polar bear in air drying clay
Let's create a lovely Polar Bear Sculpture with Mont Marte Air Hardening Modelling Clay.
Step 1: Creating the Base and Legs
Cut your block of Clay down the centre lengthways with a knife. Place one half of the Clay on to the palette, this will be the base. Cut the other half of Clay into 4 equal sized portions 3cm wide for the legs. Roll each portion into a cylinder.
Step 2: Attaching the Legs
Fashion a foot shape on to the end of each cylinder, by bending and pinching it with your fingers and attach each leg on to the base. Pay close attention to the positioning of each leg and push a toothpick through the base and up inside the centre of each leg to secure.
Step 3: Creating the Body
Tear a new block of Clay in half and with one half create a tear drop shape, smoothing with a little water as you go. Cut each leg at the top at an angle with scissors, apply a little water to the cut and push the body on to the legs. Place new blobs of Clay over the joins and smooth them in.
Step 4: Refining the Body and Legs Once you are happy with the rough modelling of the legs, you can refine them with the Clay Tools and water. You can suggest the bone structure, body fat and muscle tone as little or as much as you like. Attach a ball of Clay on each shoulder and smooth in to create shoulder blades.
Step 5: Creating the Head and Neck
Wrap a portion of Clay around the neck and manipulate it in to a head shape. Refer to the reference drawings for guidance. You can create the snout by pinching with your fingers on all four sides of the head. Wrap a flatter piece of Clay around the neck area and smooth this in.
Step 6: Adding Ears and a Tail
Create 2 small balls for the ears, place them in to position and then smooth in. Create a slightly larger ball for the tail, squash it in to a triangle and attach it to the polar bears rear.
Step 7: Adding details
Smooth in the tail and ears. Push the end of the Sharp Angle Clay Tool in to the snout to create two nostrils and in to either side of the head to create the eyes. Finally create a mouth and leave your sculpture to dry.
Material List
- MMSP0005 Air Hardening Modelling Clay Premium 500g (1.1lb) - White x2
- MMSP0003 Mini Modelling Tools Signature 10pc
- MMSP0001 Pottery Tool Kit Signature 10pc
- MAPL0002 Easy Clean Palette Signature 30 x 40cm (11.8x15.7in)
You Will Also Need
- Water
- Toothpicks
Shop Materials List
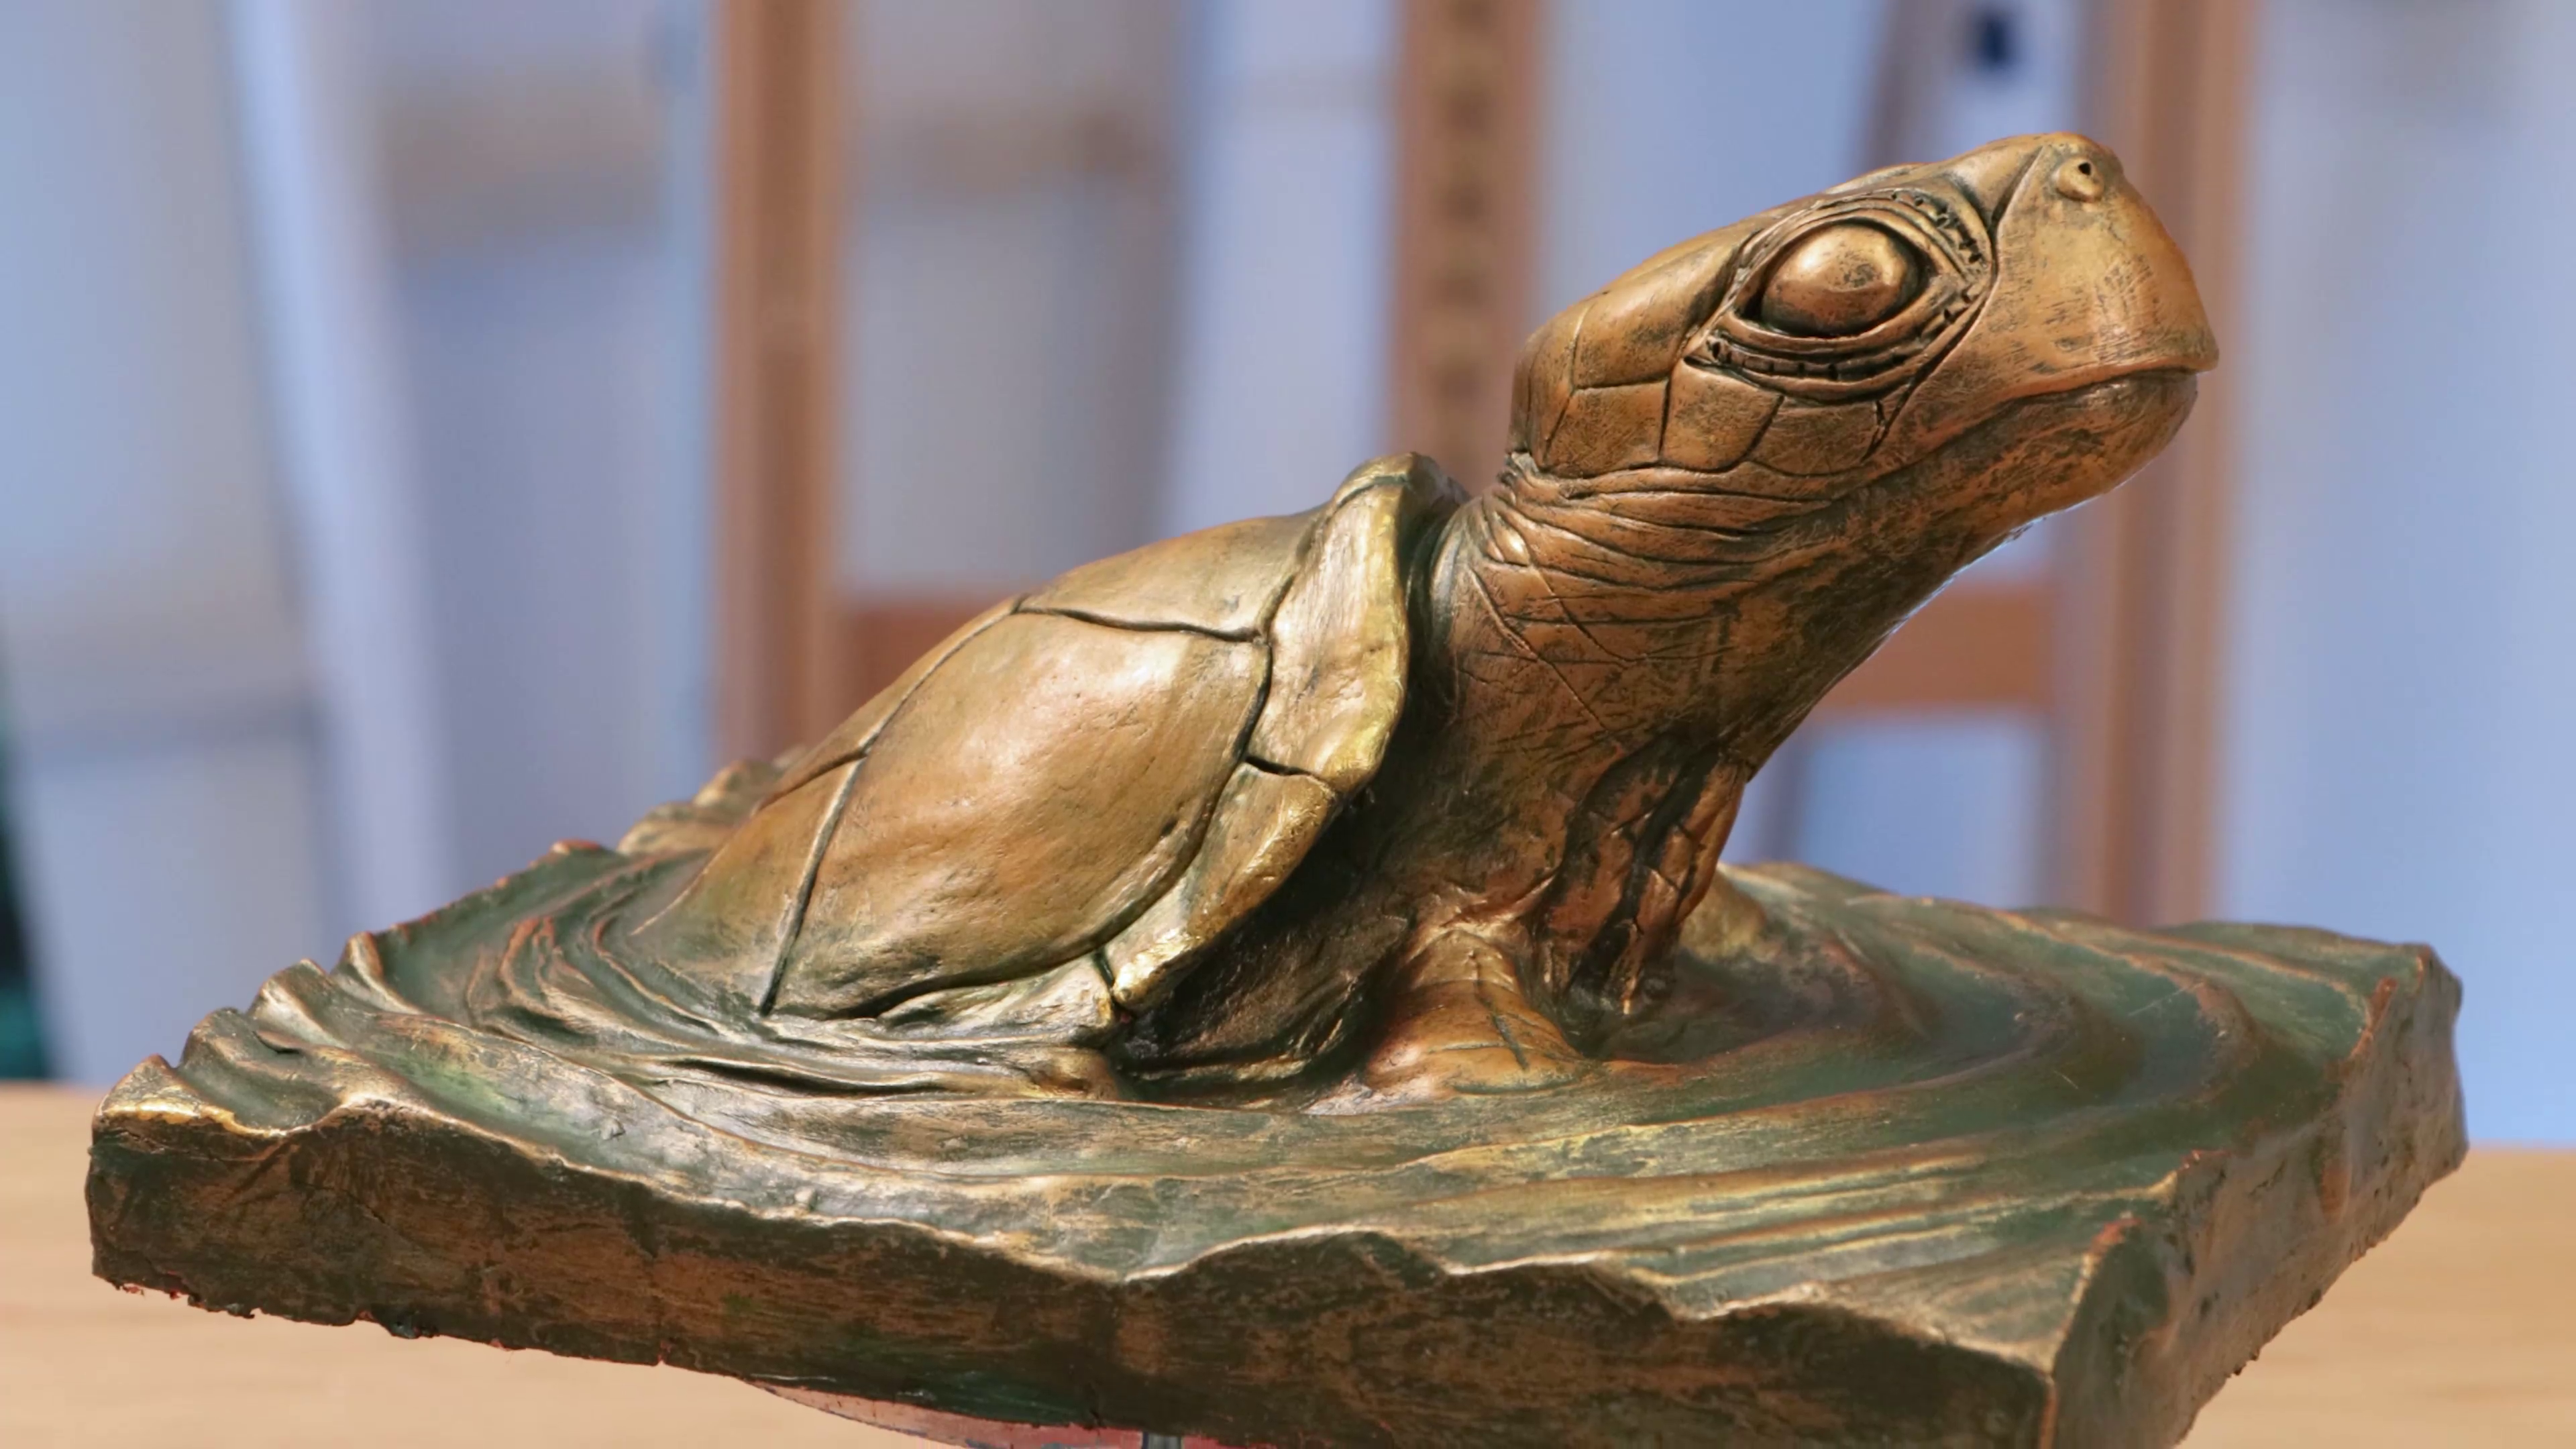
You may also like
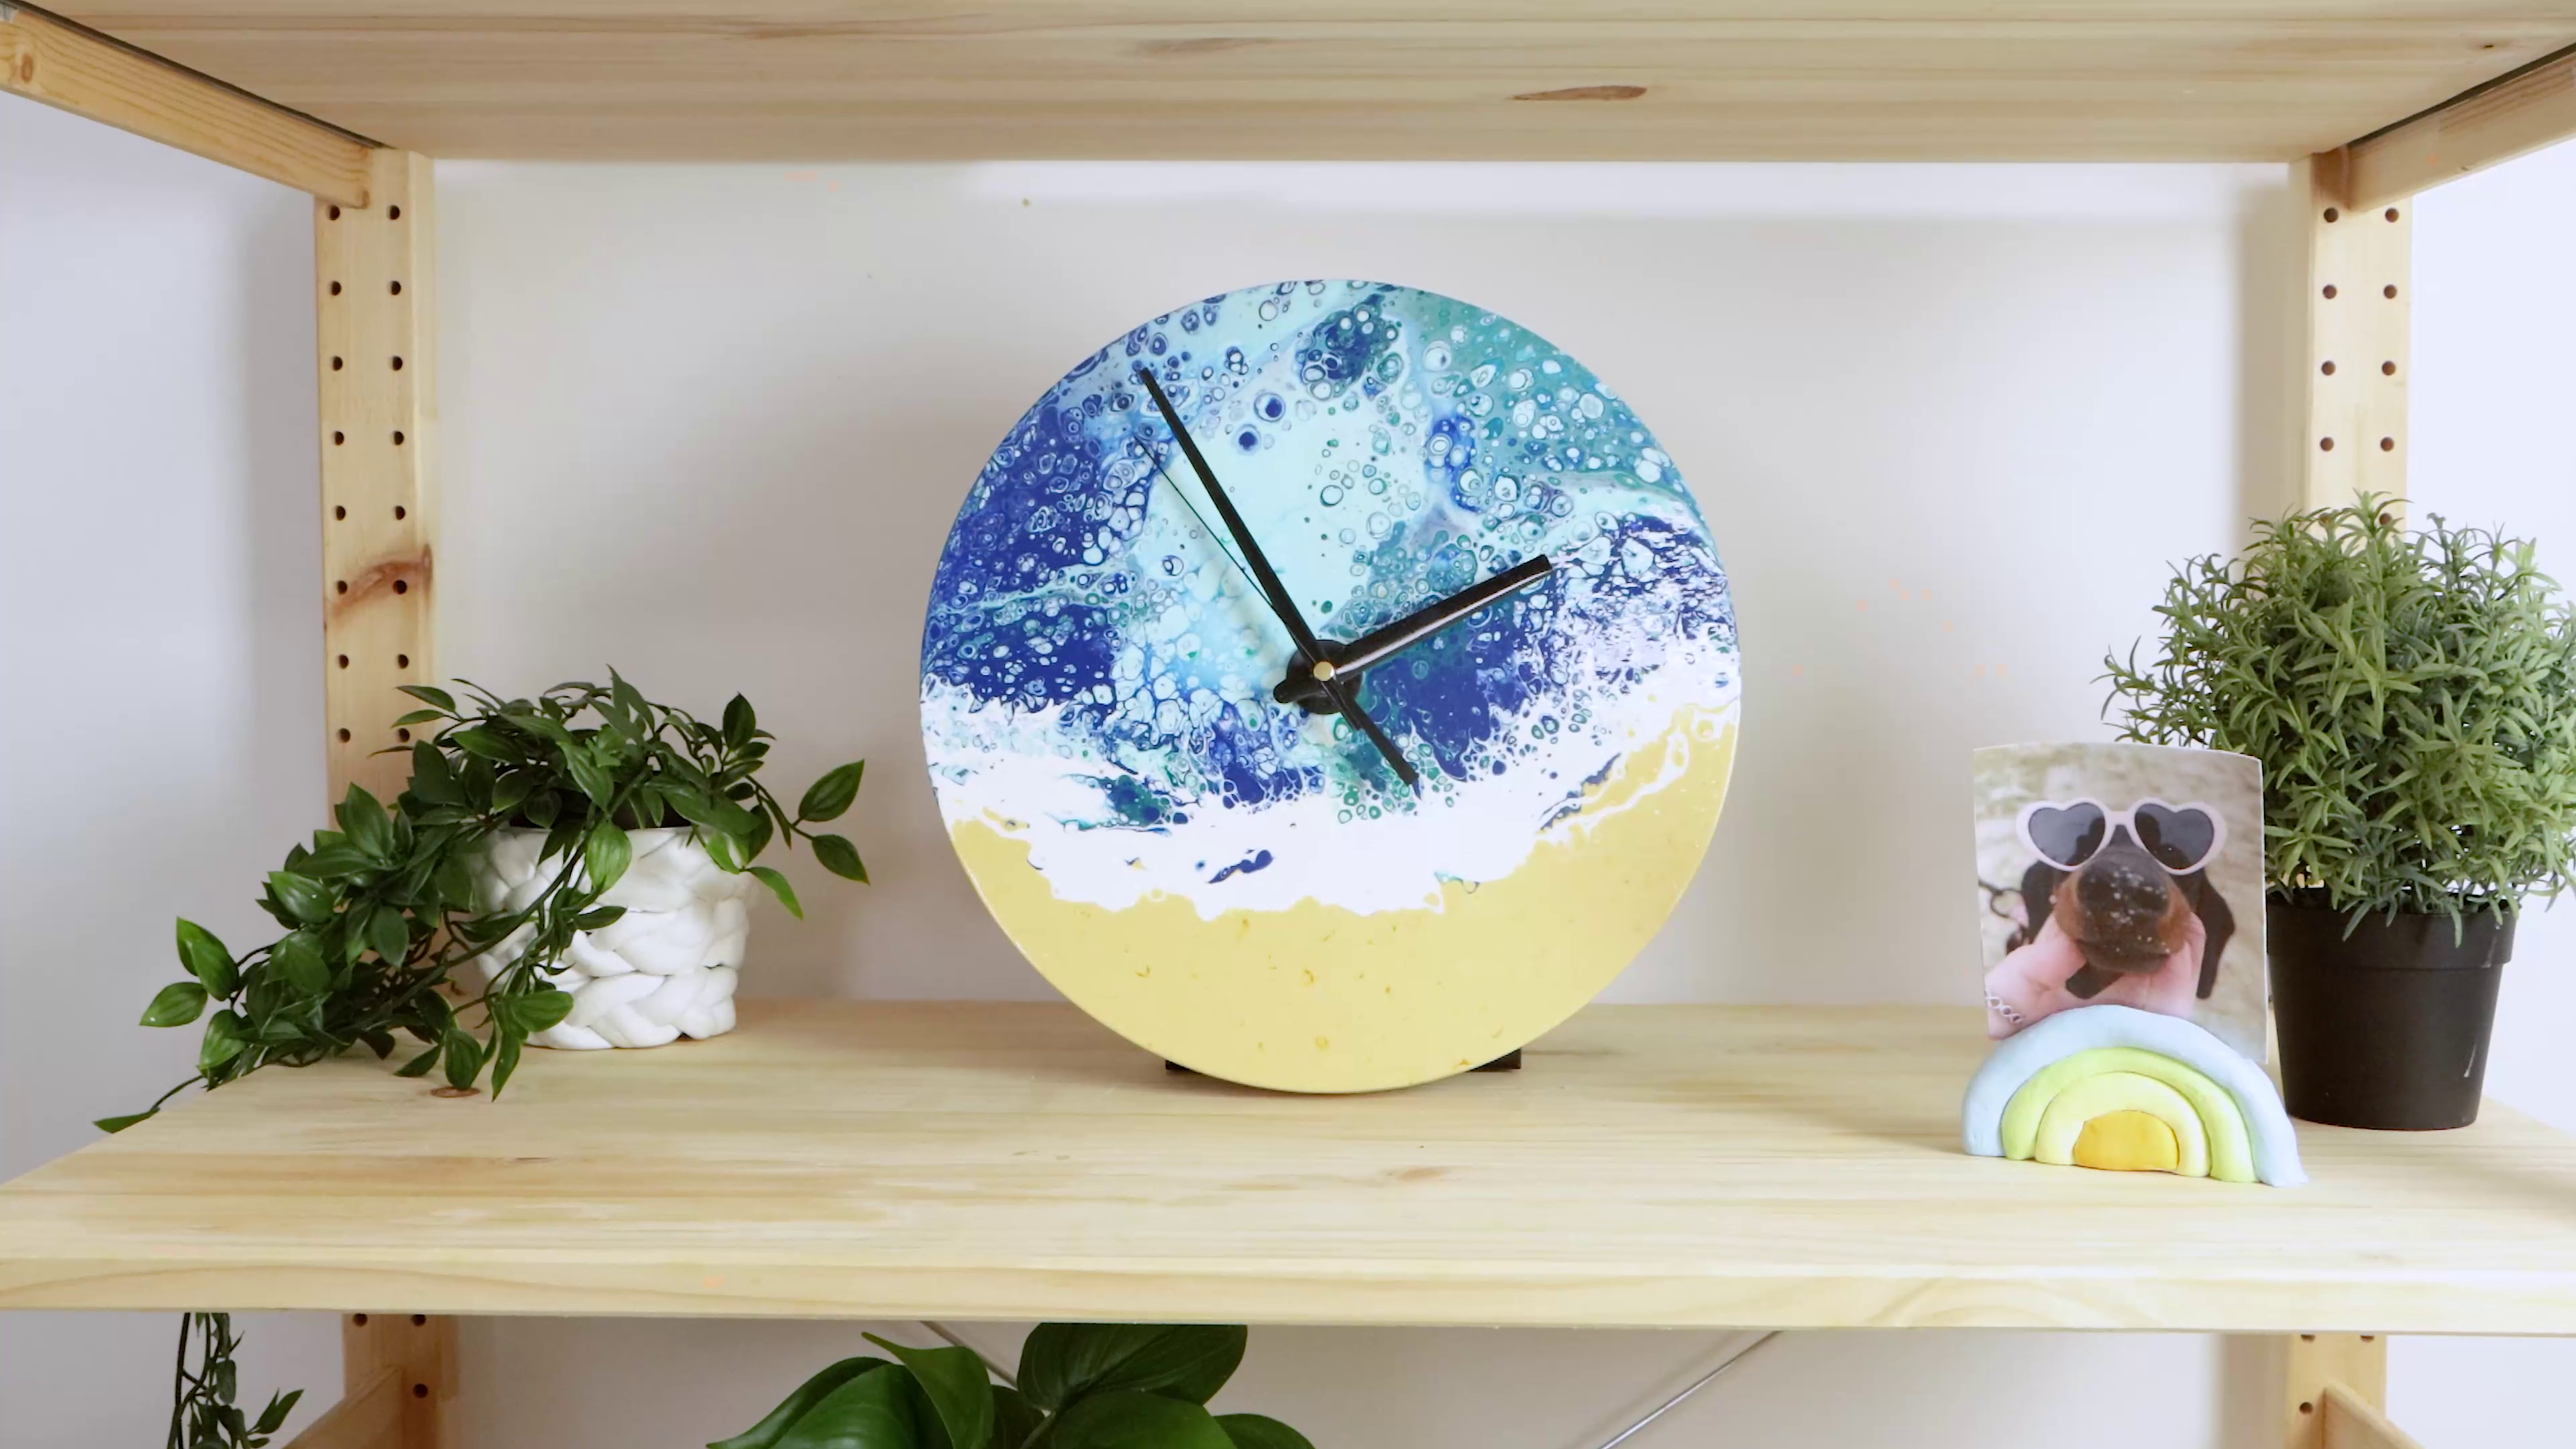
Acrylic pour clock with SuperCell
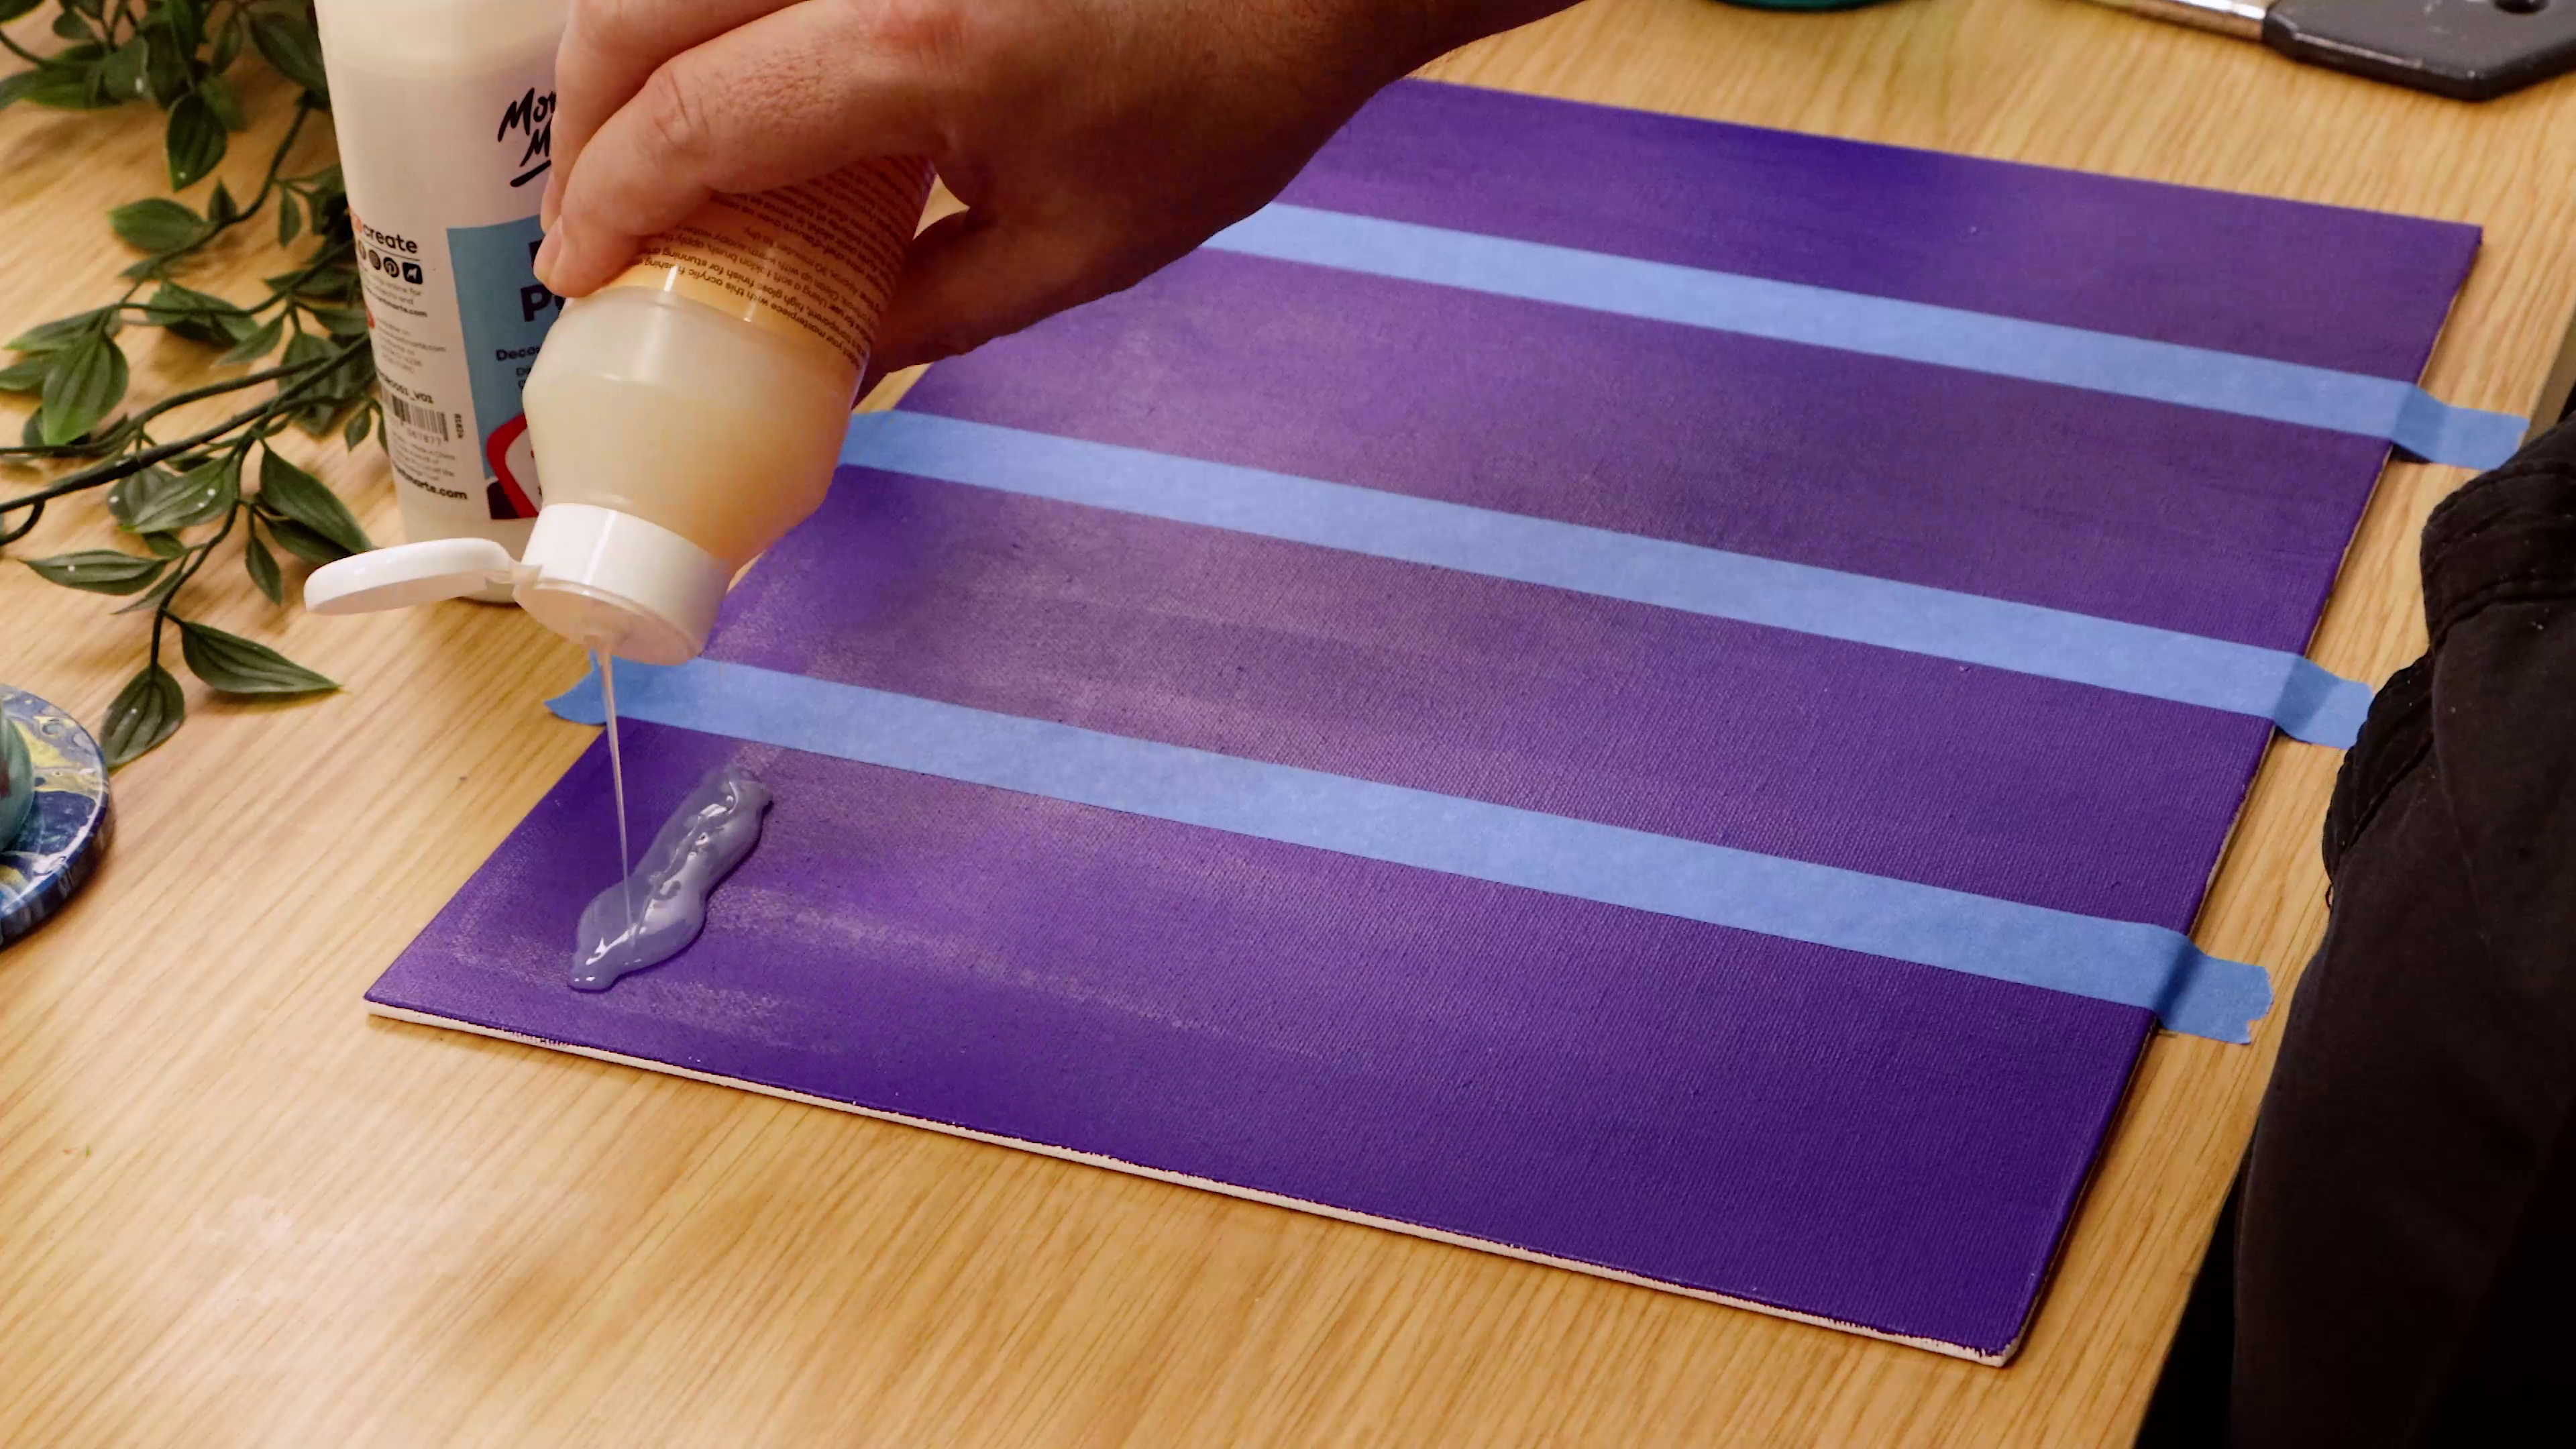
Acrylic Varnishing Tips and Tricks

How to decoupage a flower pot