


How to create an easy air dry clay phone holder
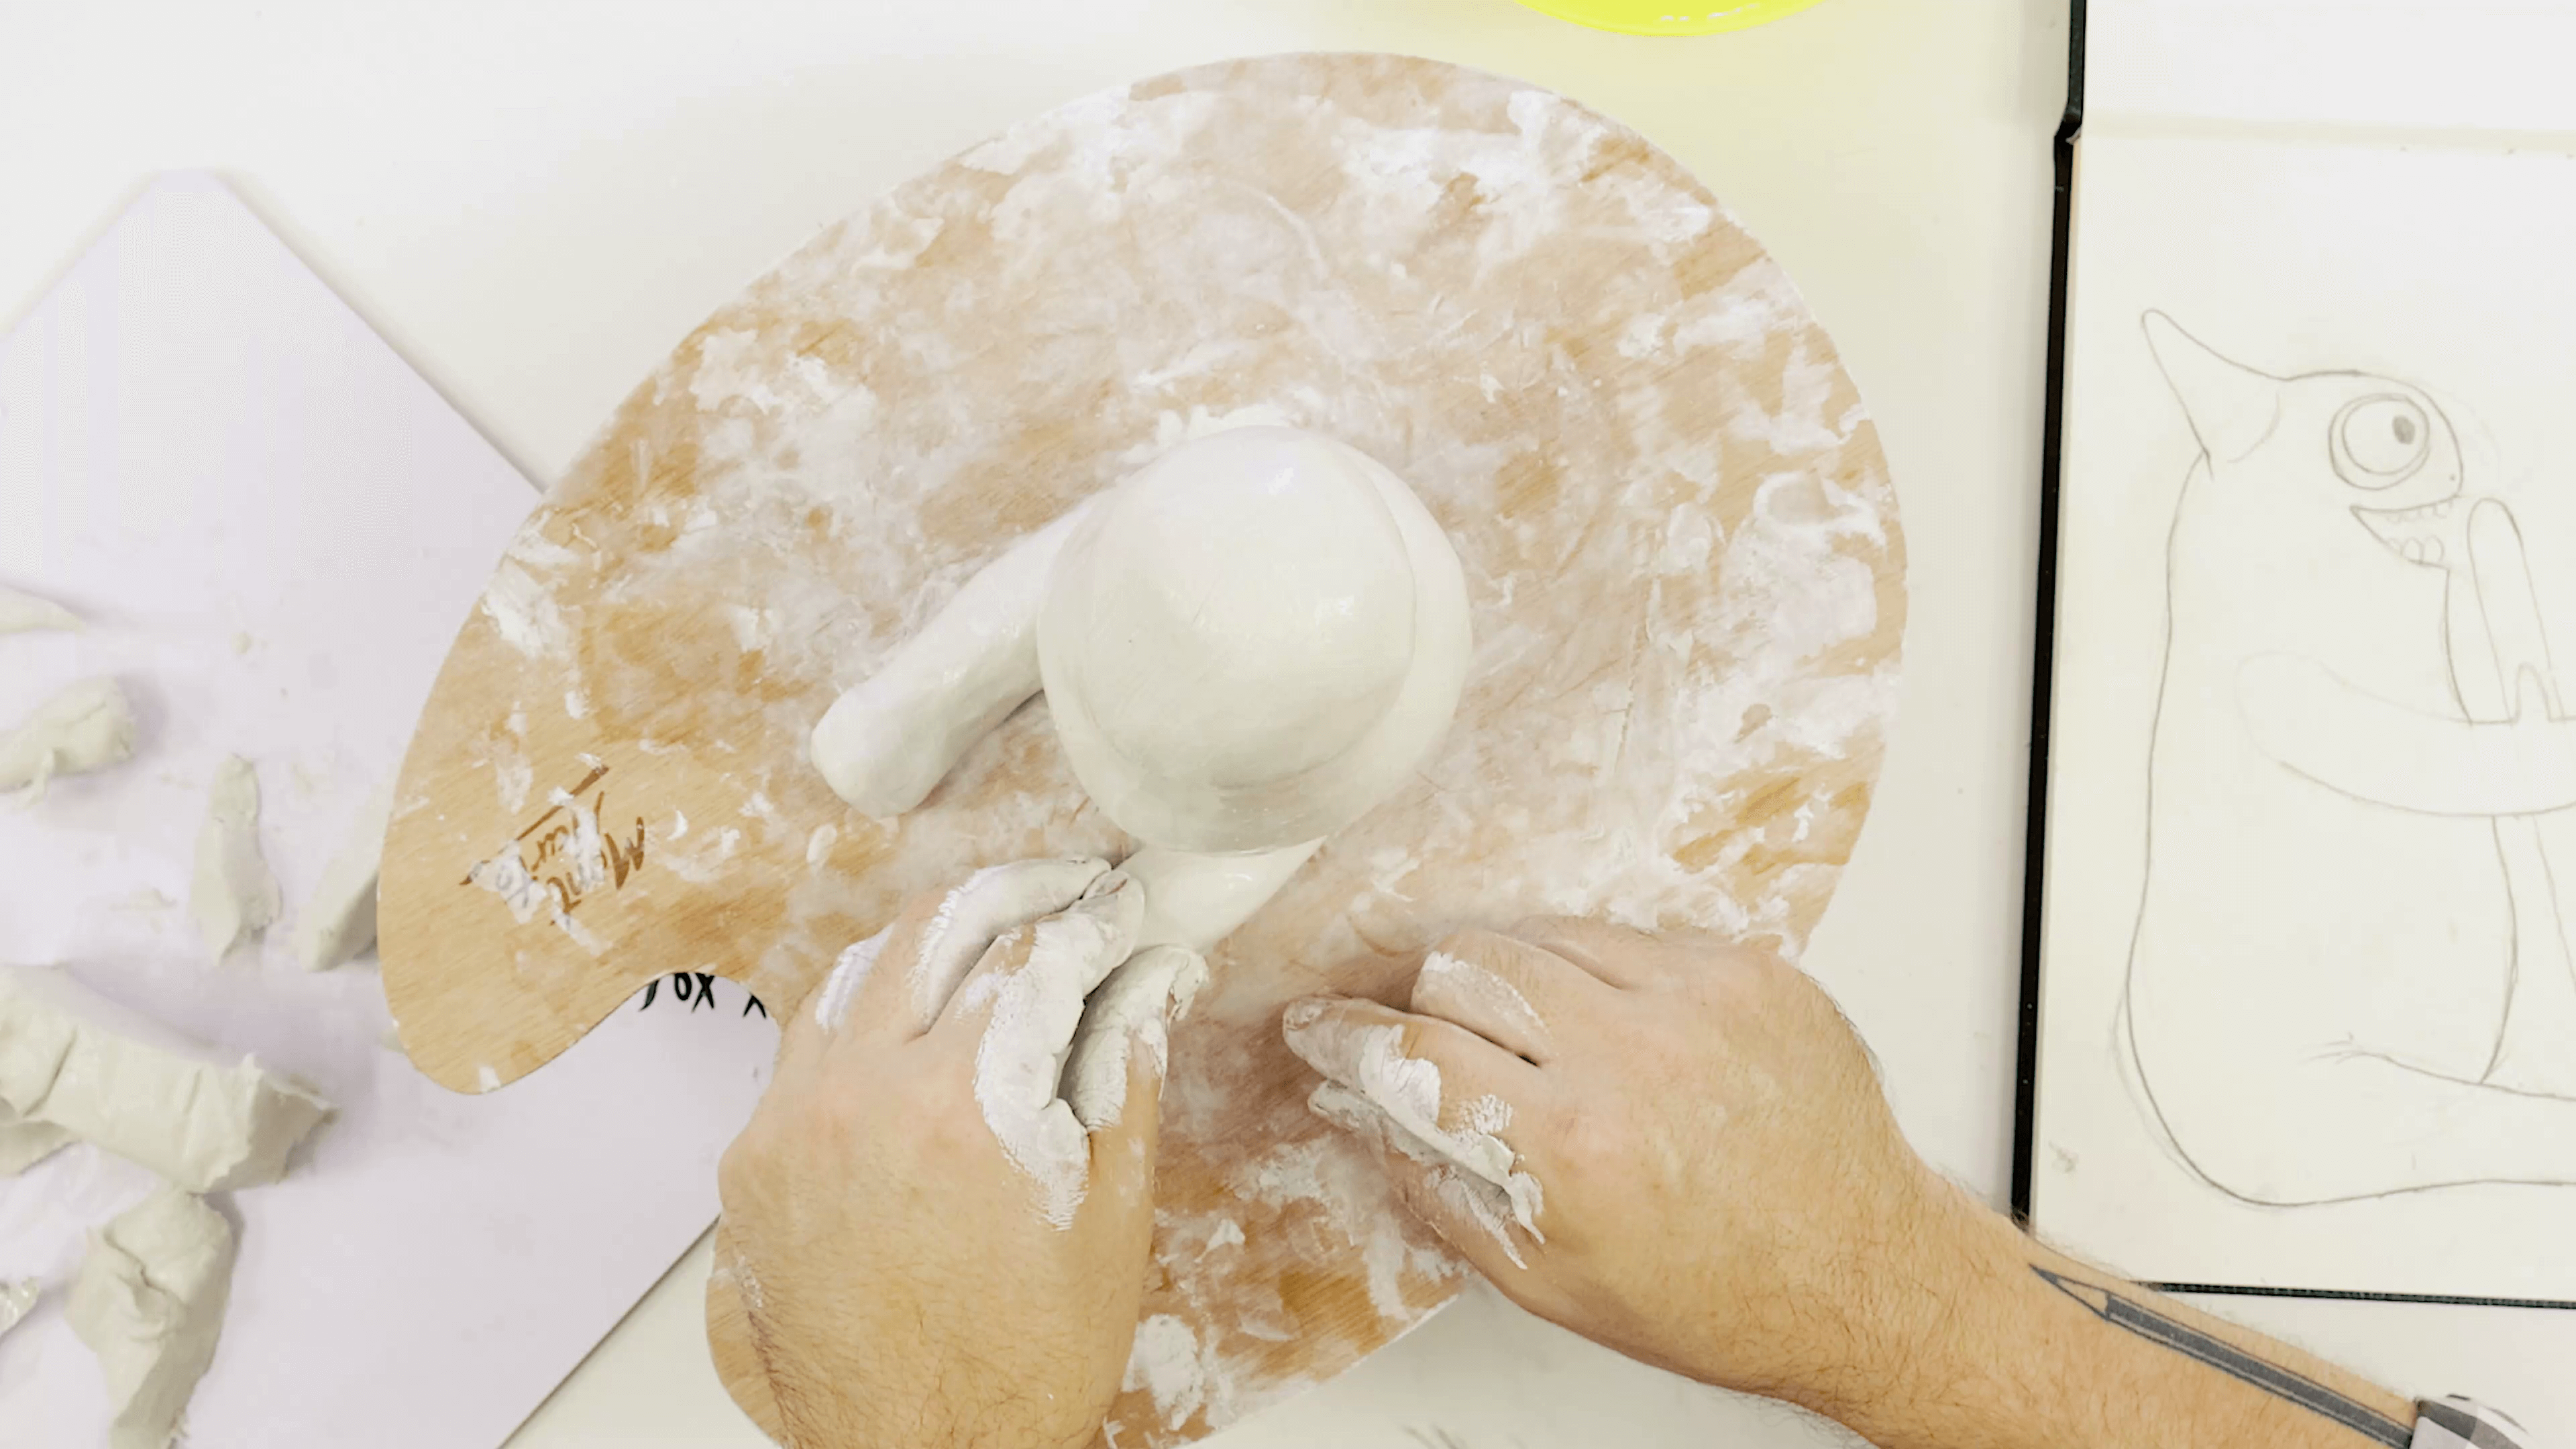
The first step is to mould the body of the monster. To do this, cut one quarter off the end of the clay and stand the clay up right.
We’ve included a reference image on the project webpage to help with moulding the body.
Remove the four corners with the palette knife and mould the shape into a round tube with a domed top. Dip your hands into some water to help mould the clay.
We used a timber palette and a Banding Wheel; however, this is not compulsory. A dinner plate can be used instead.

Refer back to the reference image and create two tubes for the legs. A short cut can be made either side of the base, and the legs can be pressed into the body and smoothed.
Round the feet and add notches to the legs. This will help hold the phone in place.
Once the body is finished, create tubes for the arms. To attach the arms to the body, remove some clay from a point three quarters up the body on each side and press the clay tubes on. Dome the ends of the hands and smooth the arms into the body.
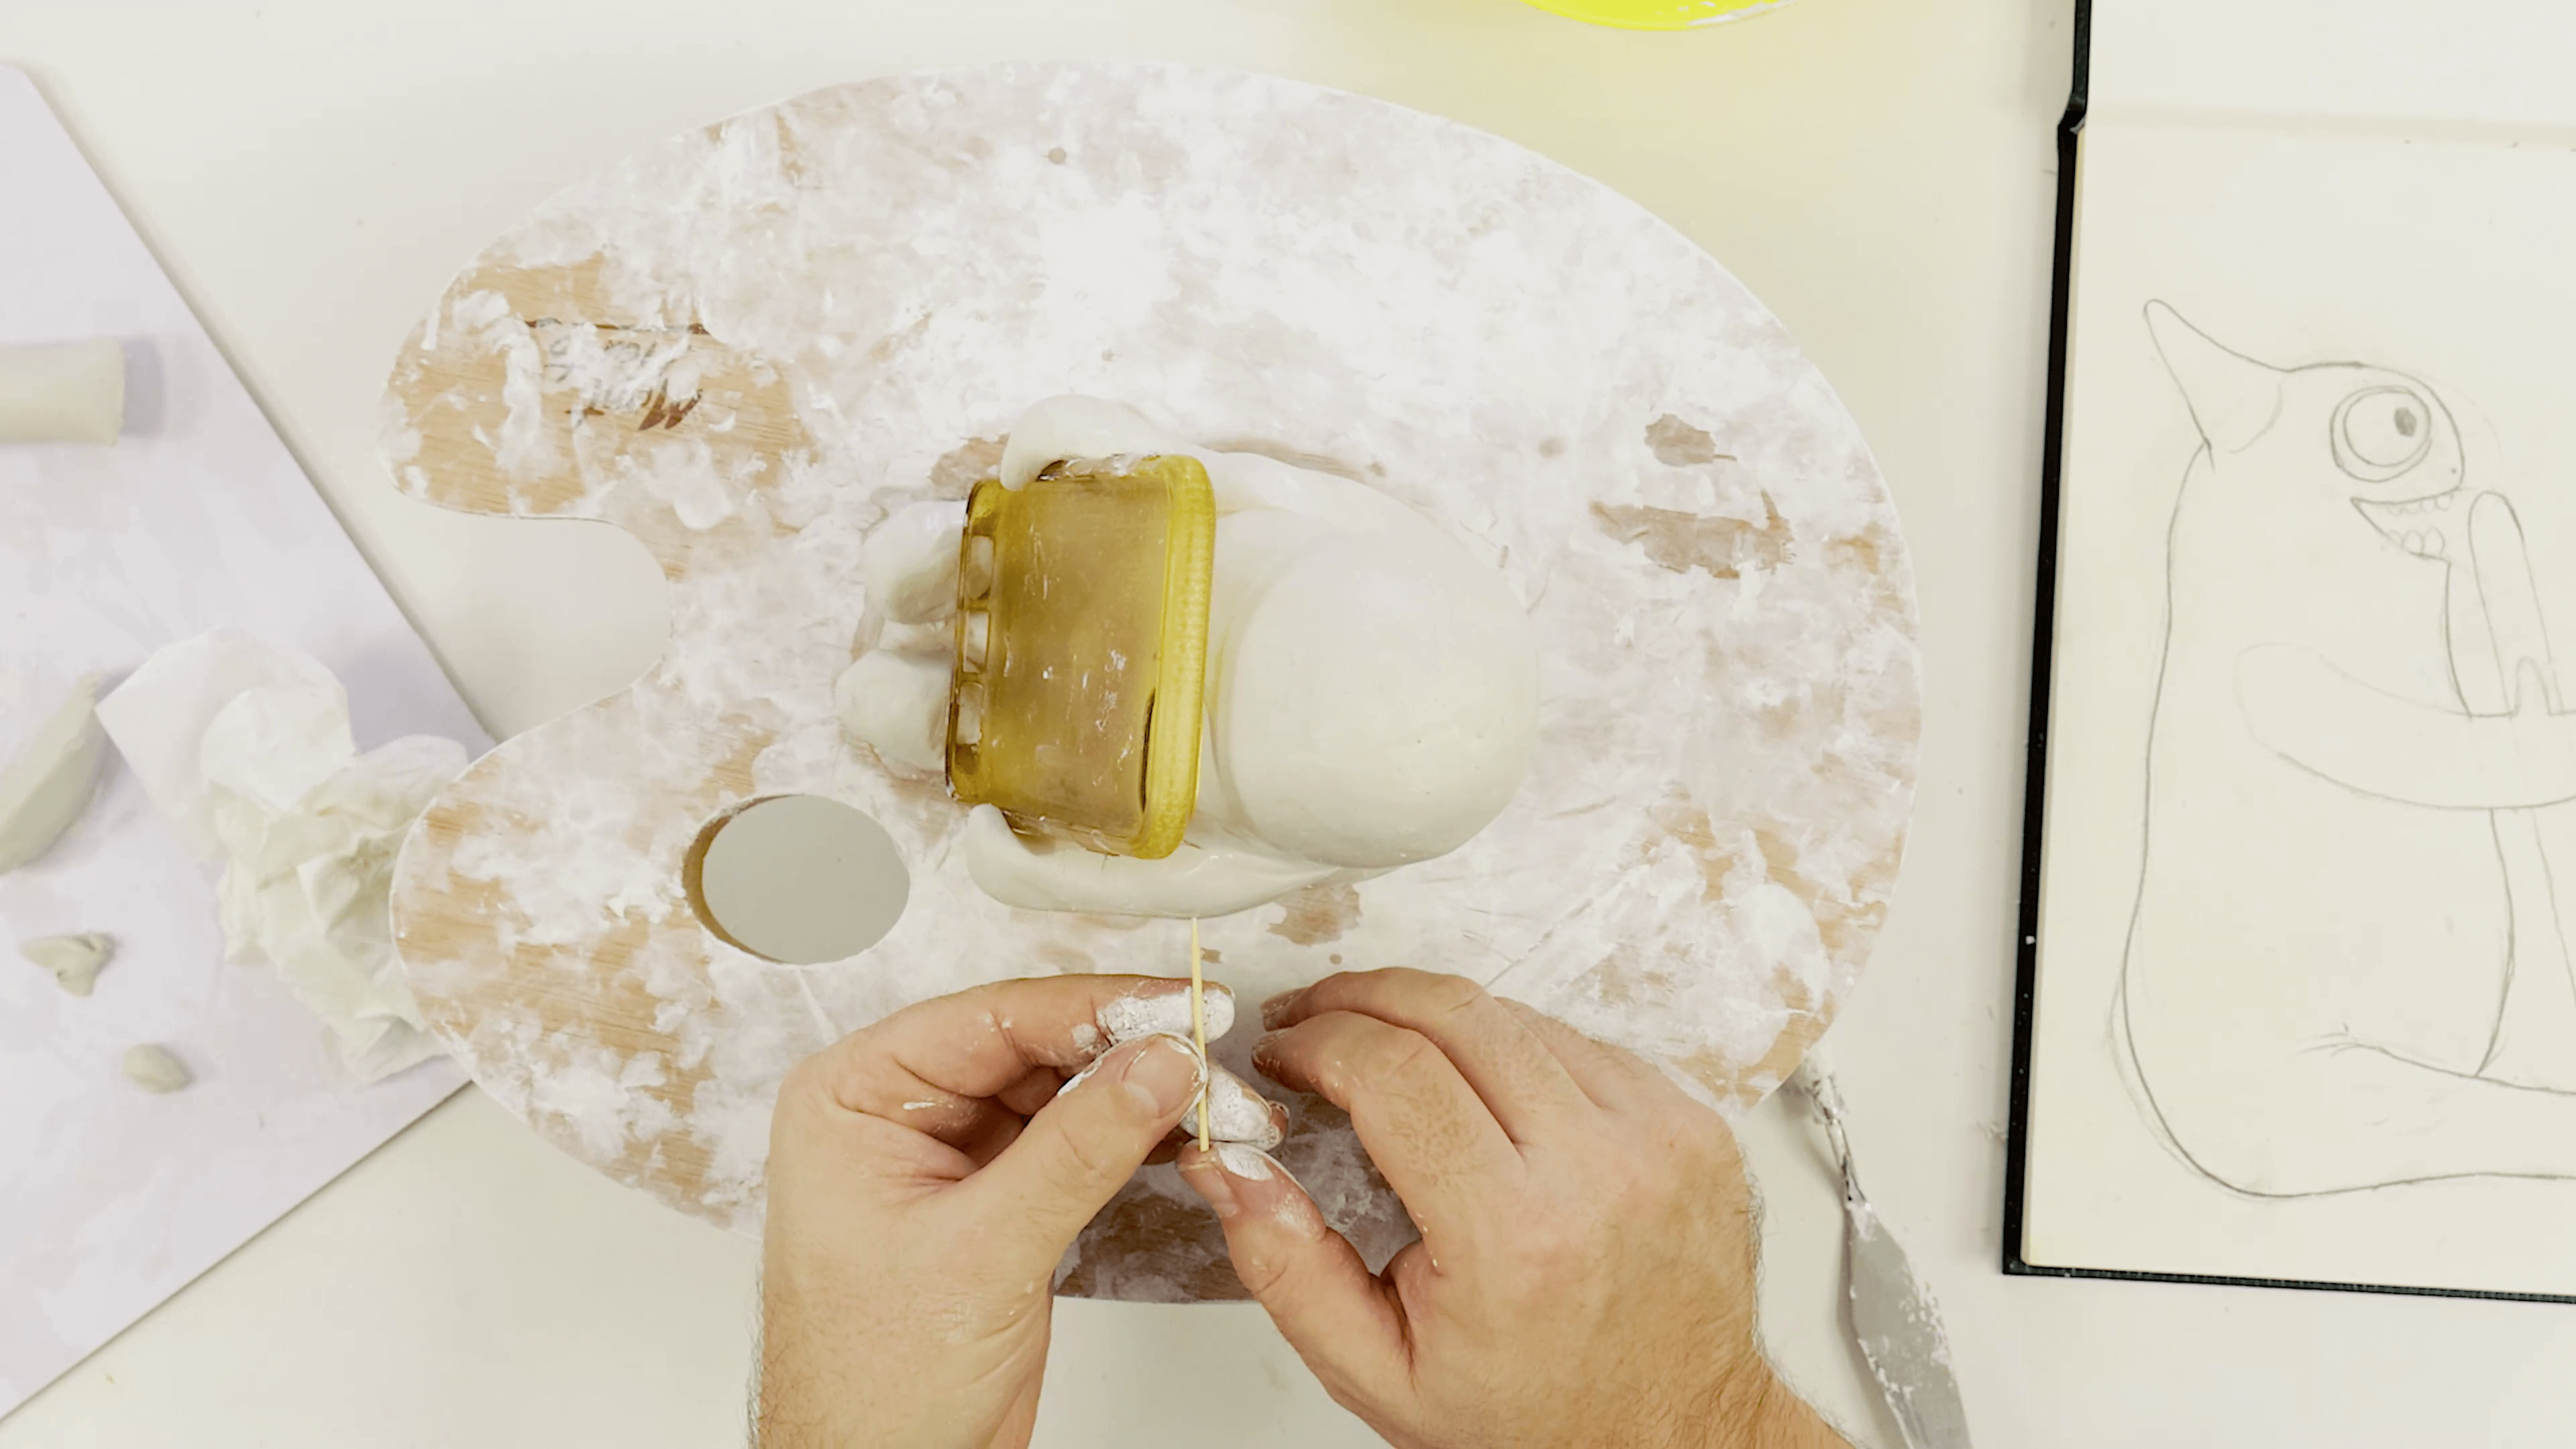
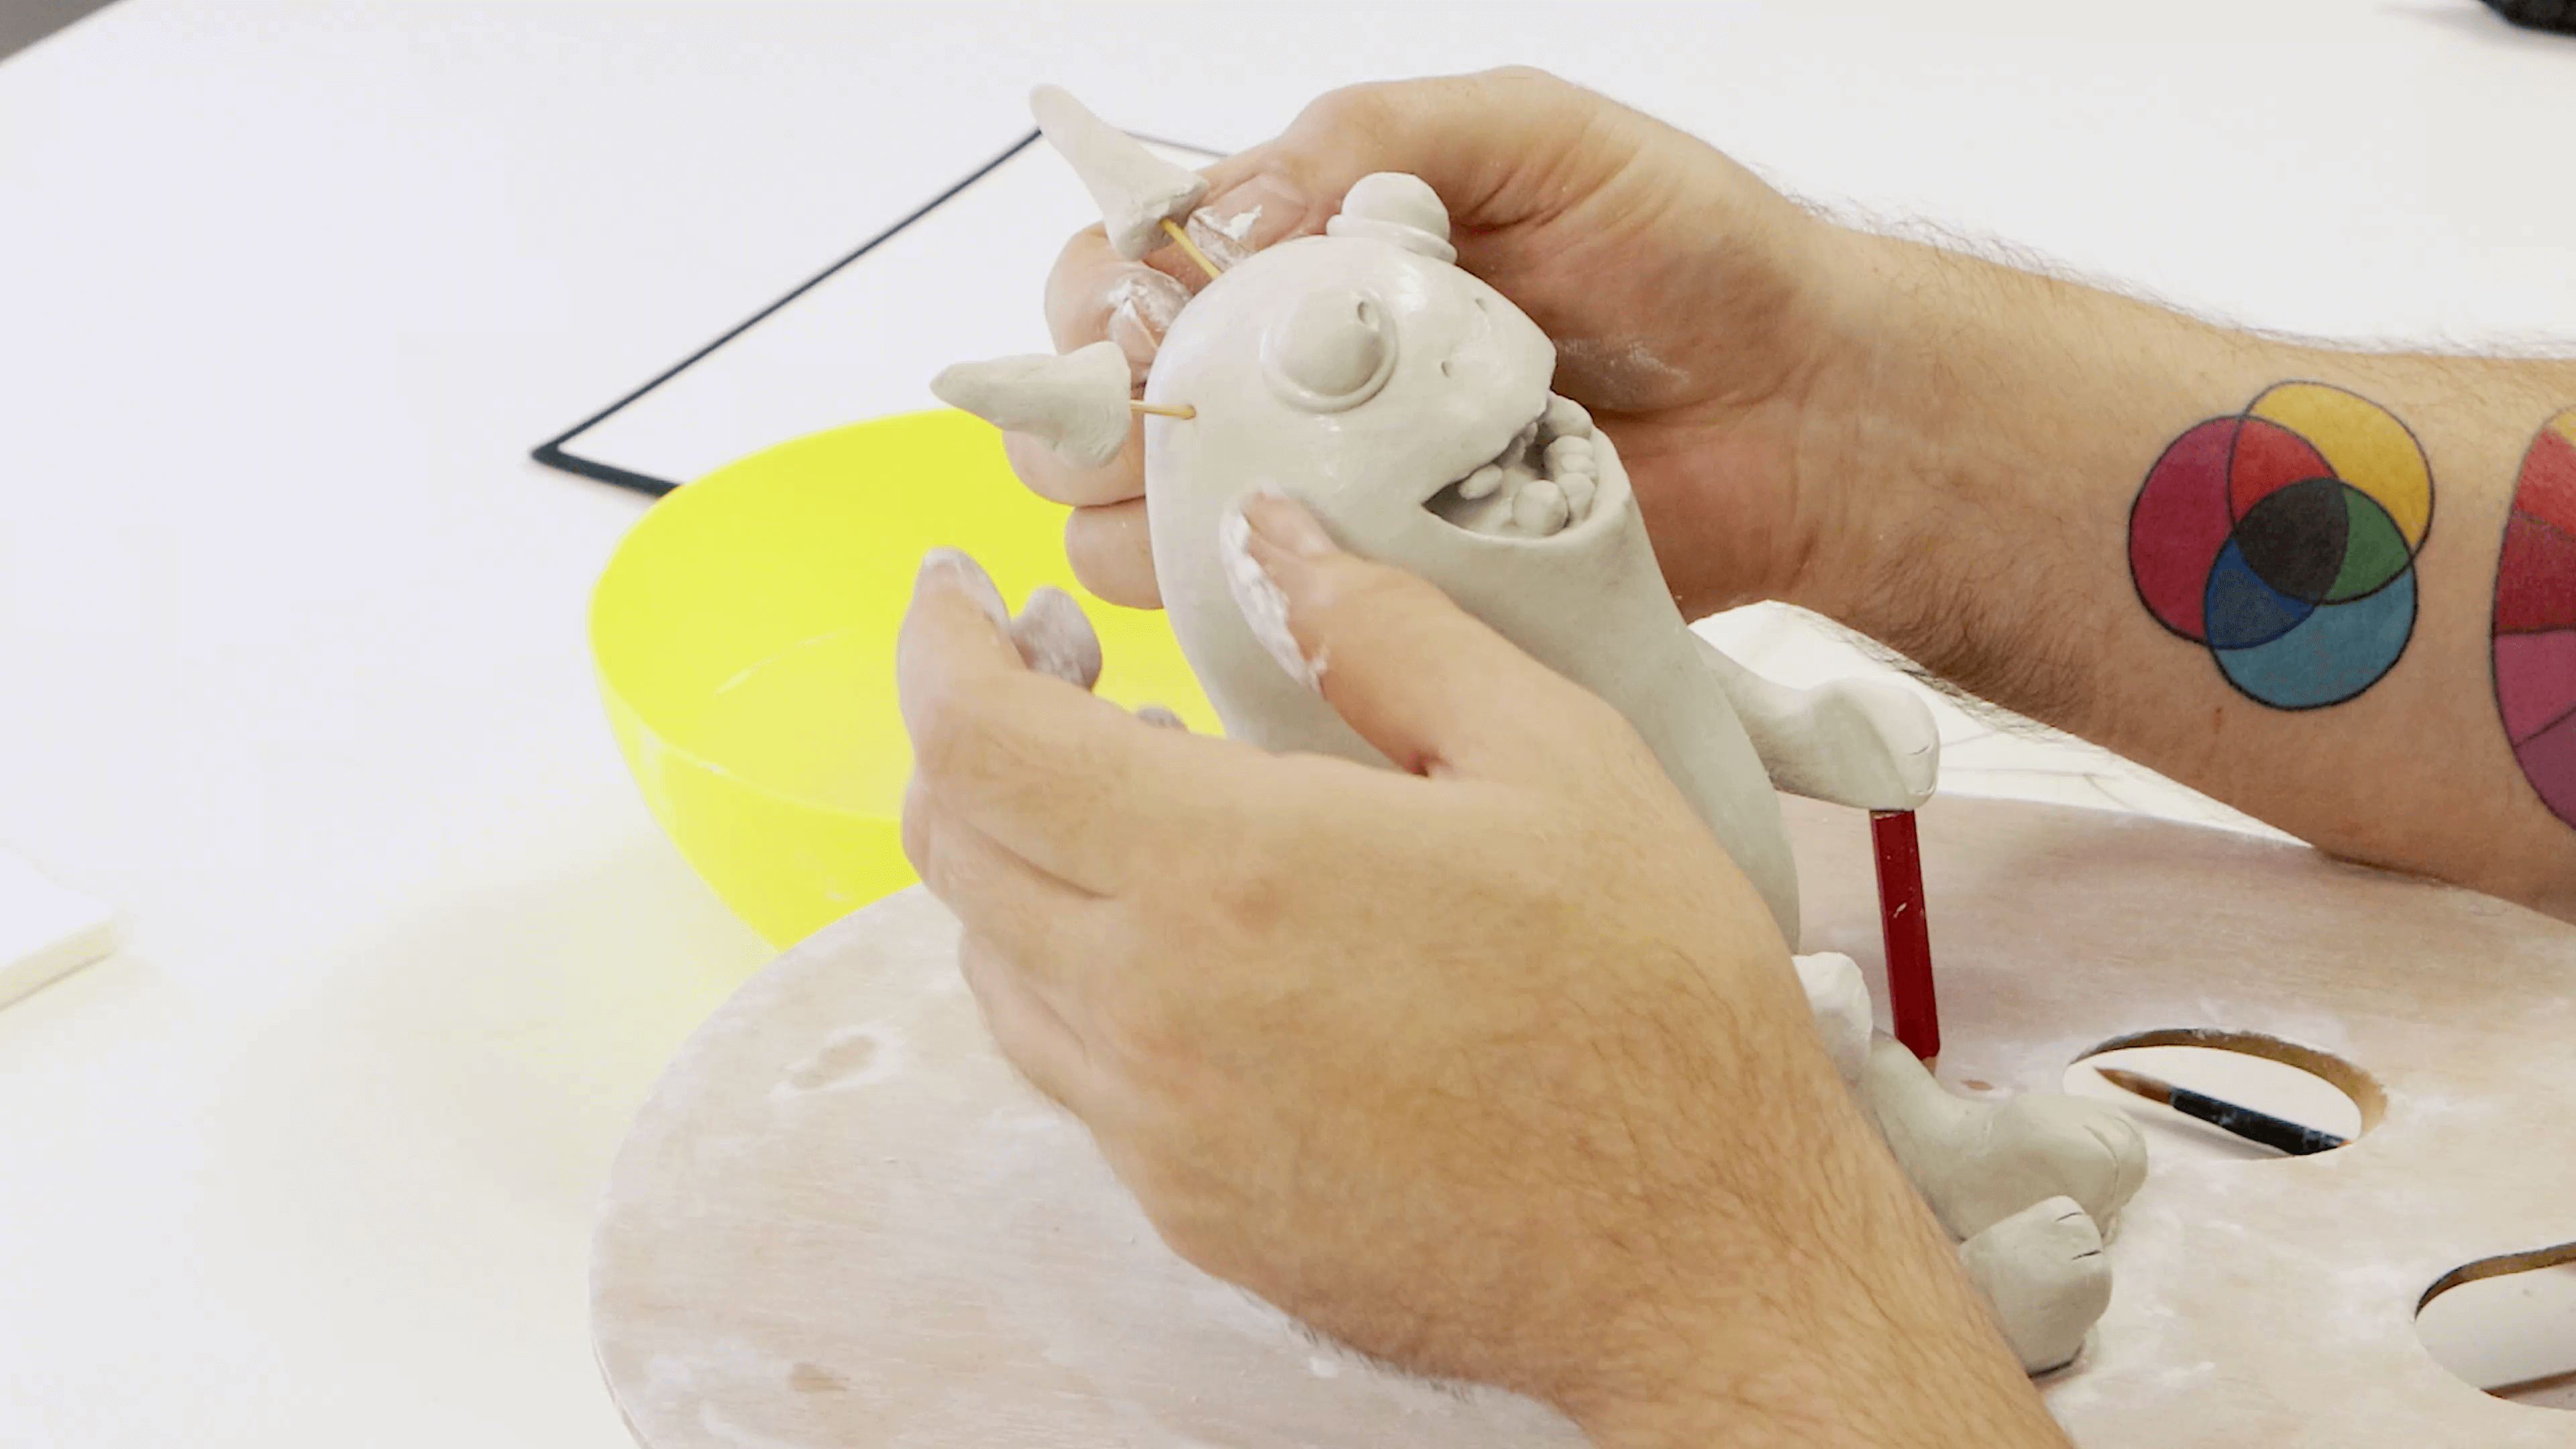
Place the phone into position on the monster and press the hands onto the phone. We’ve used an old phone case to measure the size. To strengthen the arms, place a toothpick through the arm and into the body.
To hold the arms in position, cut a pencil to size and prop the arms up while they dry and set.
Next, you can create the monster’s toothy grin. Cut a smile with the end of the palette knife and remove the clay from inside the opening. Then smooth it all out.
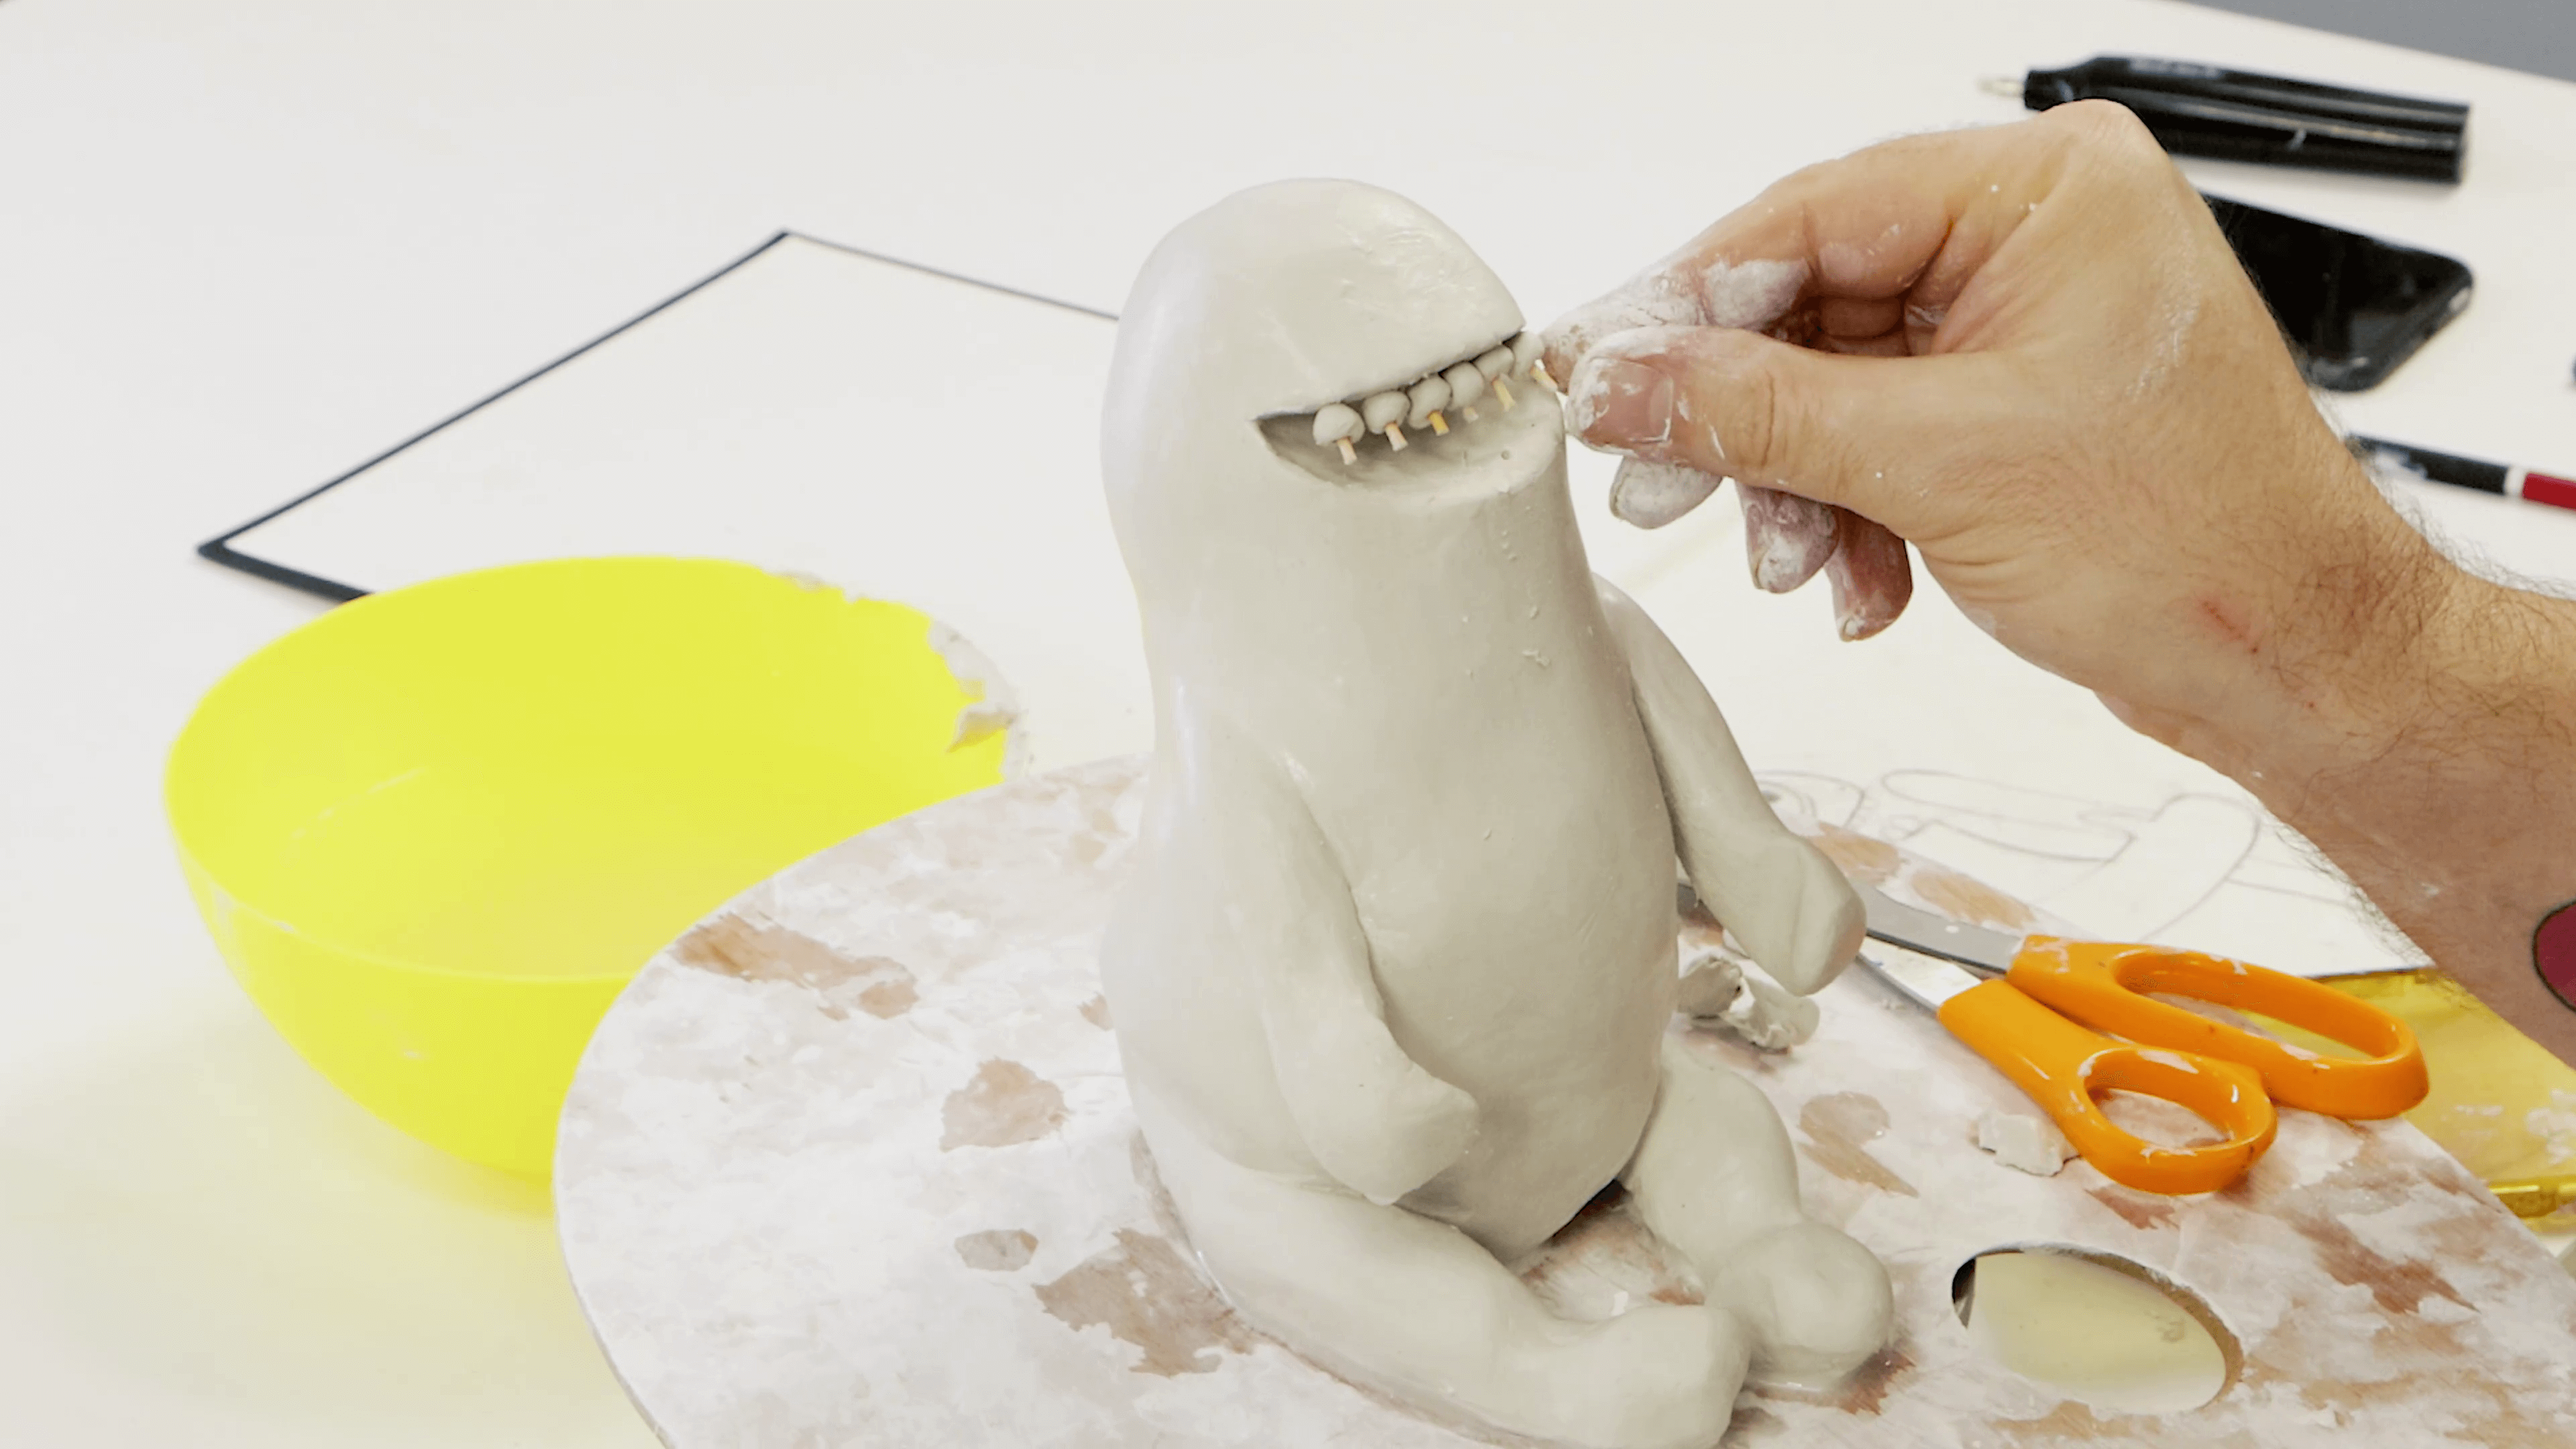
Decide how many teeth you want to put in and roll out a small ball for each tooth. Place a cut-off toothpick through each tooth and press them into position.
Start with the topside of the mouth first. The toothpicks can be easily cut with a pair of scissors. Use the end of the palette knife to push the toothpicks down to the top of the tooth. Then, you move into positioning the bottom teeth in.
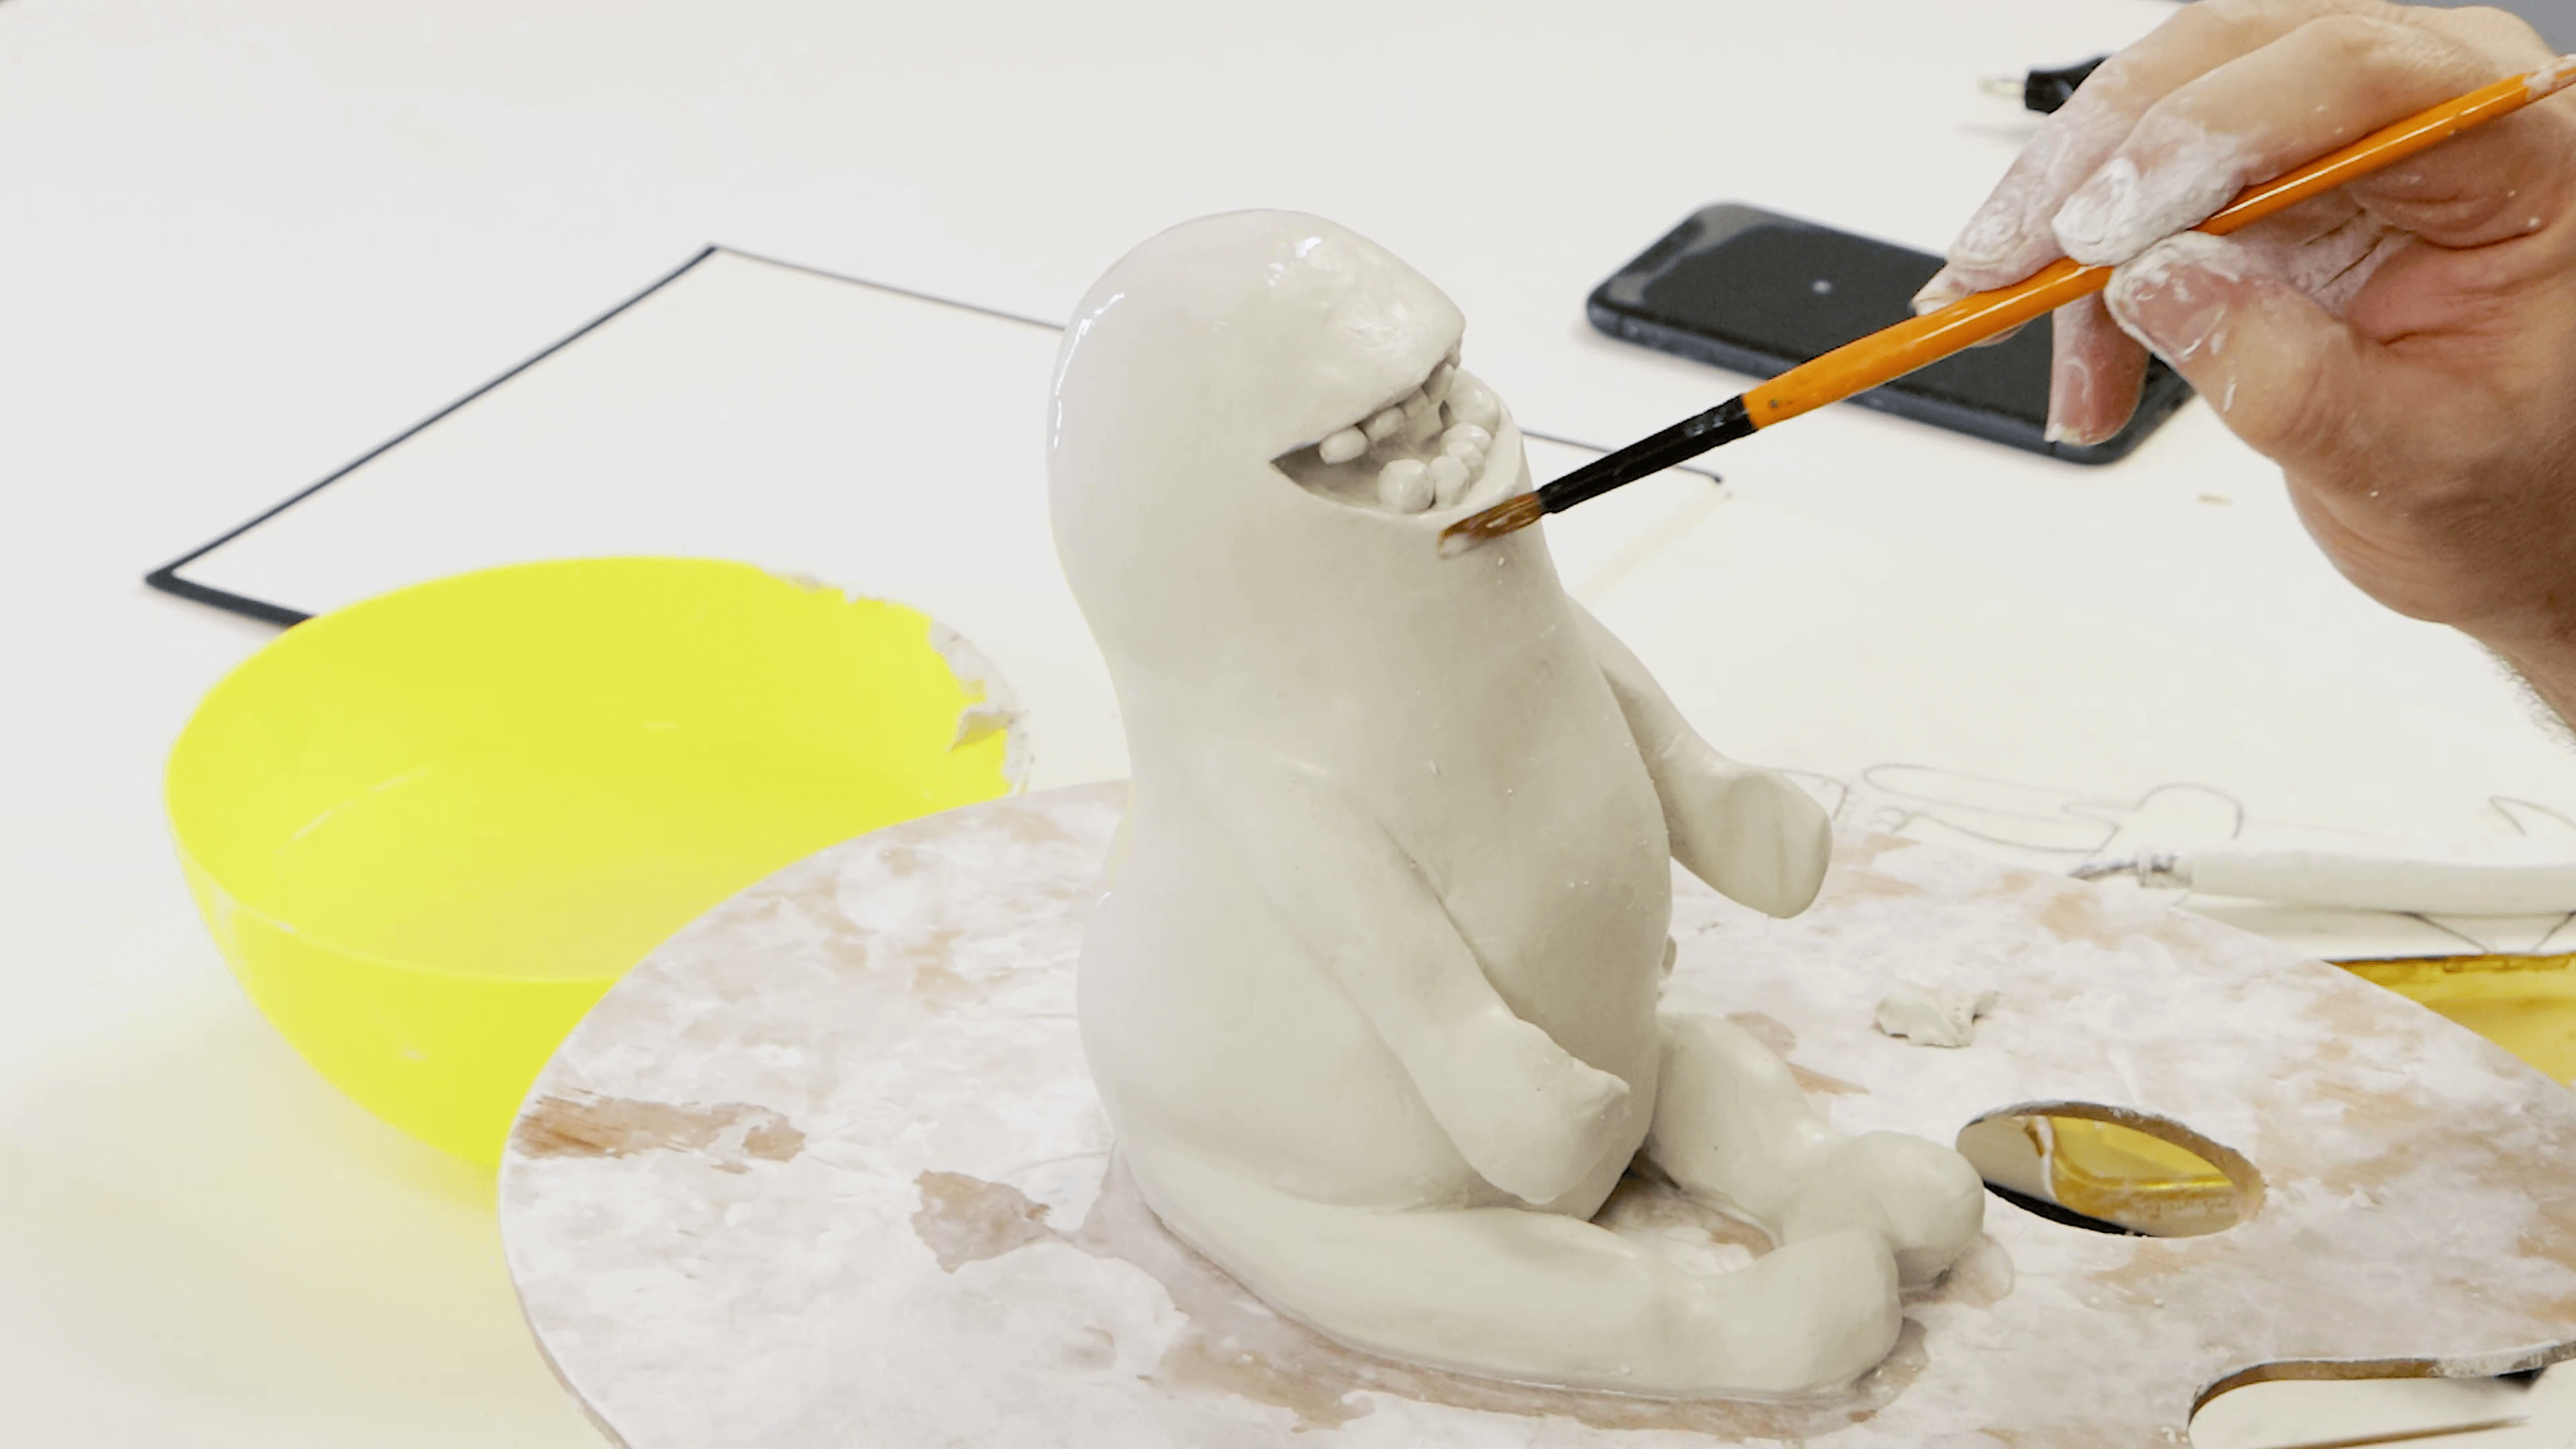
Once all the teeth are in, use a paint brush to apply water to the teeth. This will smooth them all out.
To create the eyes, roll a couple of balls and press them against the monster’s head in the appropriate areas. Then, create two smaller balls and press them into the eyes to act as pupils.

Create two triangular shapes for the horns and use tooth picks to attach these to the monsters head.
Then, use a damp brush to smooth the clay off.
At this stage, the sculpting is done, so you will need to let it dry before adding paint. This could take up to three days.
Once the clay is dry, paint inside the mouth with Lamp Black. Allow it to dry before painting the teeth with Titanium White.
We painted the monster in Crimson, but of course, you can paint it any colour you like. Although, to ensure a smooth and consistent finish, we recommend giving it two coats of paint.
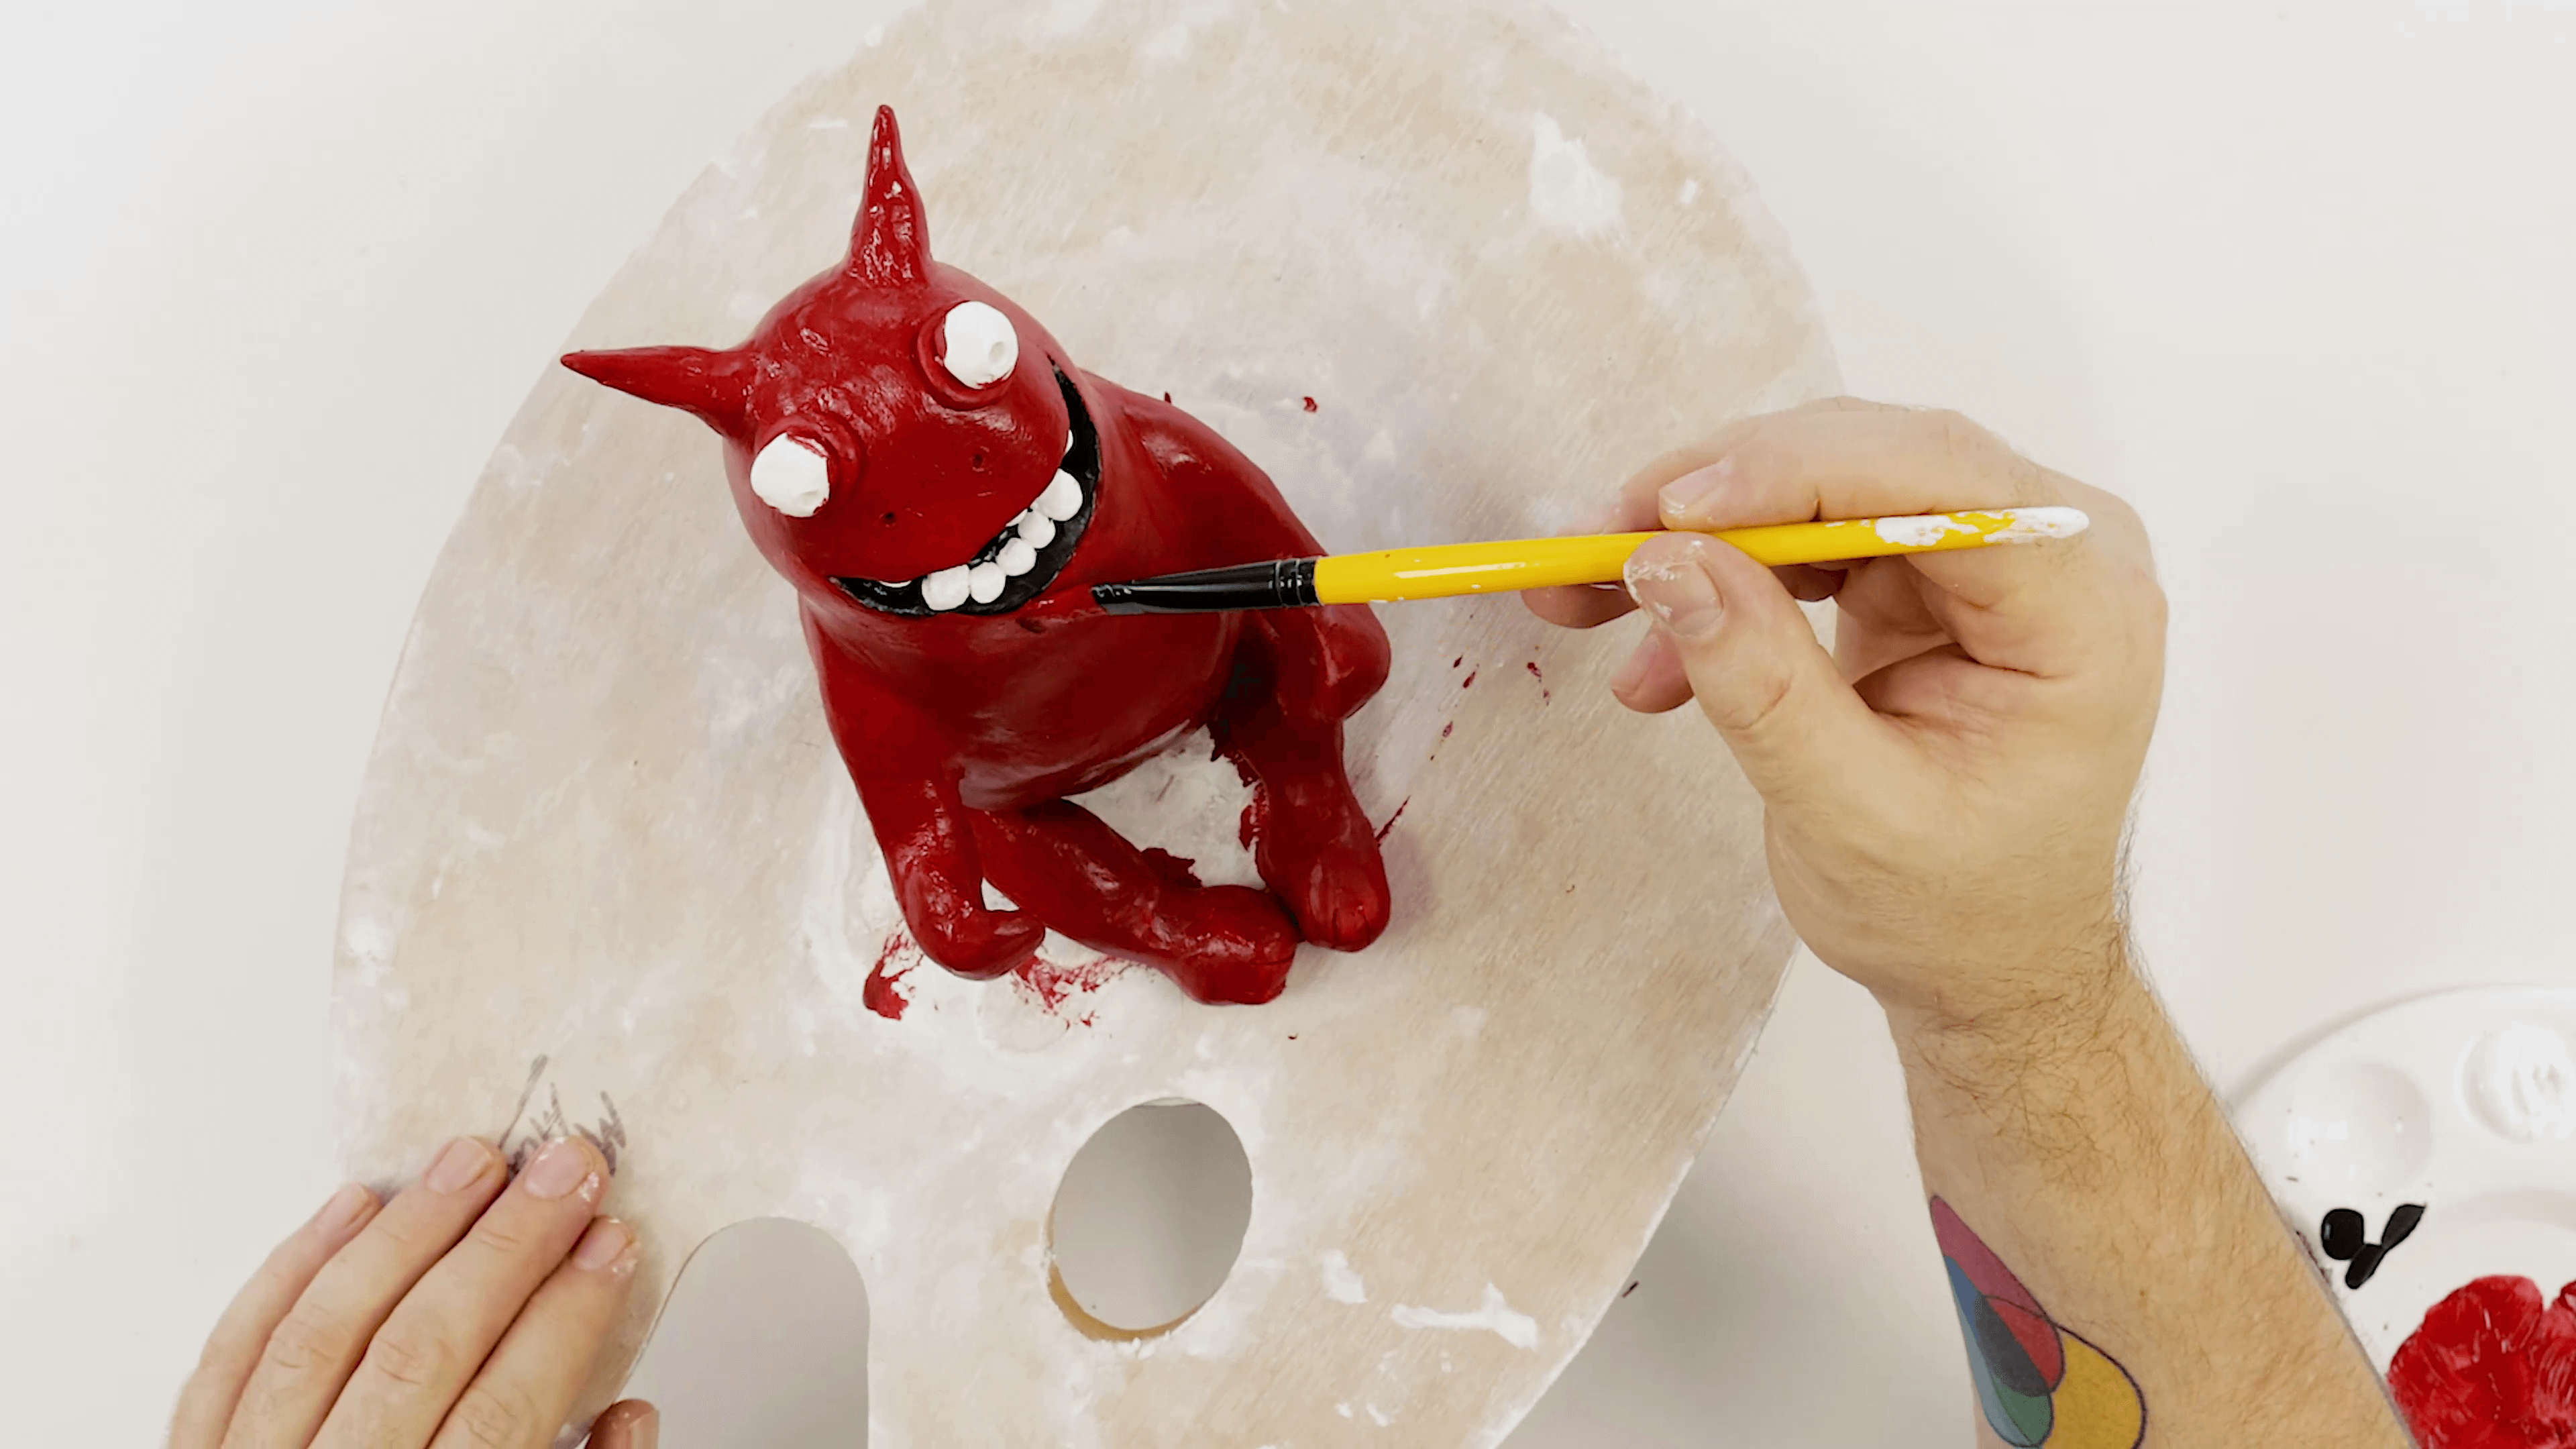
Once the body coat is dry, paint the eyes white and pupils black.
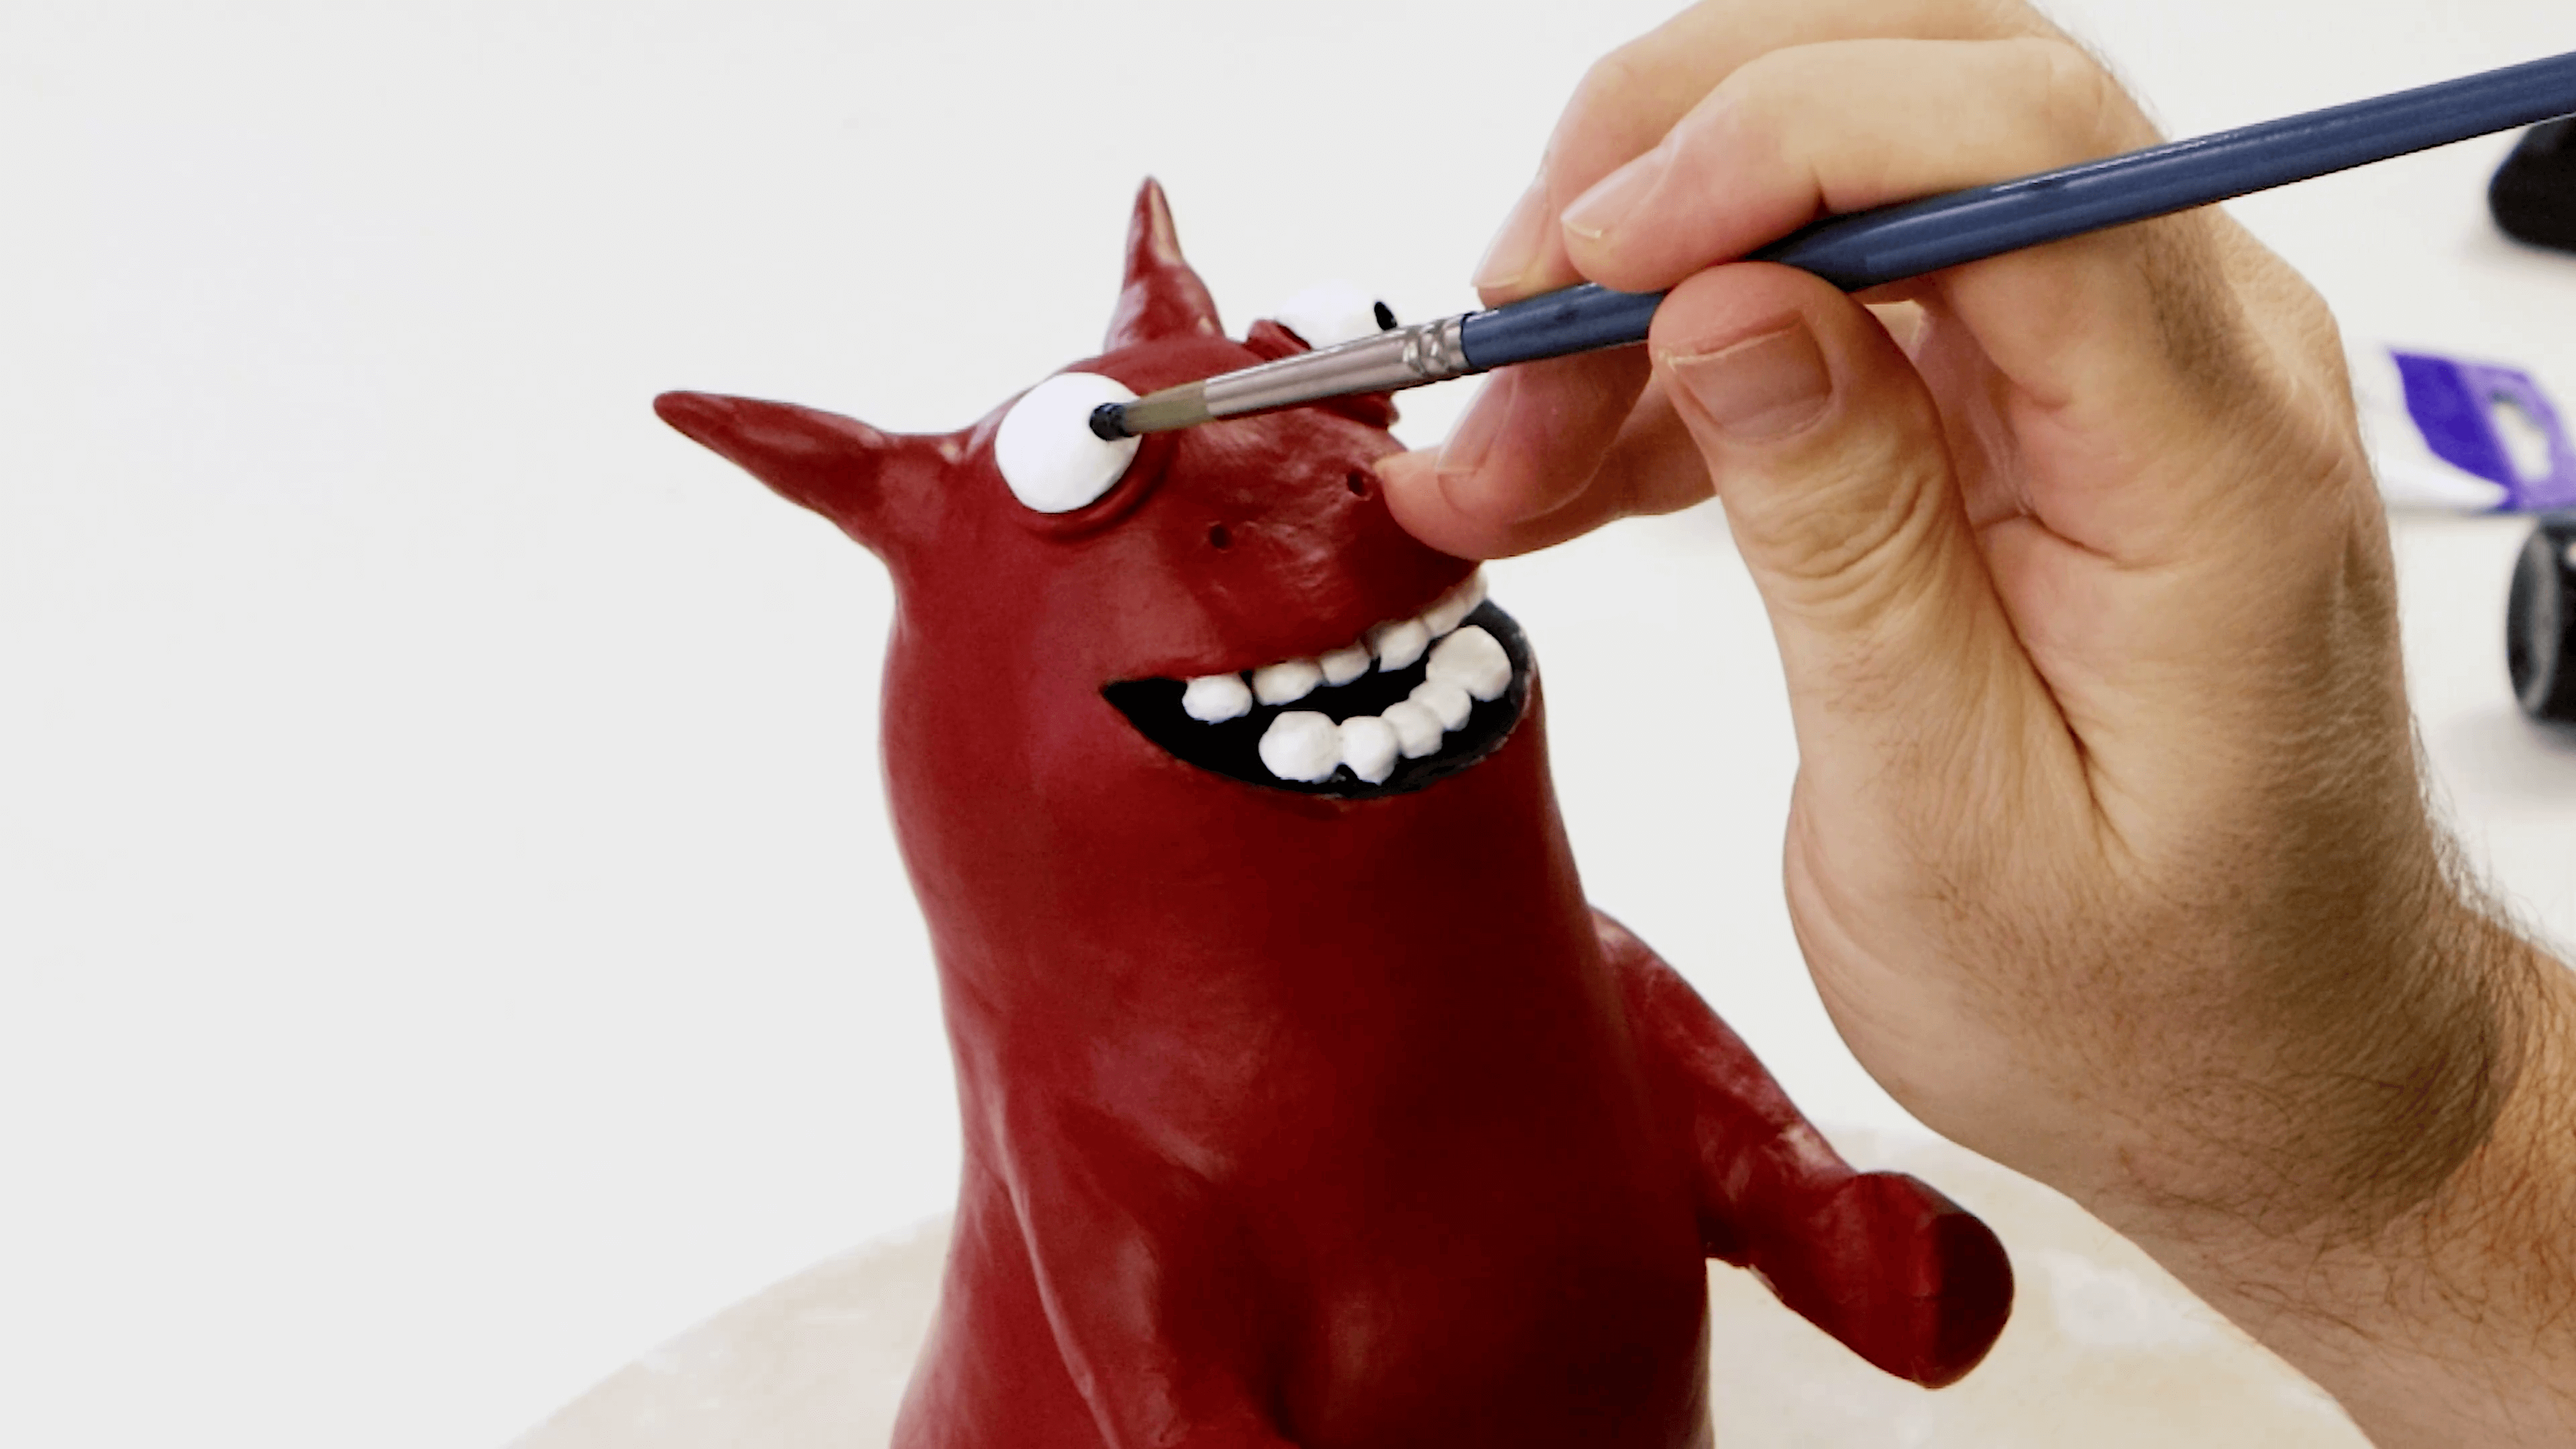
And, you’re all done!
Materials:
- MMSP0007 Air Hardening Modelling Clay - White 2kg
- MCG0062 Palette Knife Signature No.11
- BMHS0016 Acrylic Brushes Signature 5pc
- MSCH7511 Acrylic Colour Paint 75ml - Crimson
- MSCH7532 Acrylic Colour Paint 75ml - Lamp Black
- MSCH7501 Acrylic Colour Paint 75ml - Titanium White
Extra materials:
- Toothpicks
- A dinner plate or Banding Wheel
- An old phone case
- Scissors
- An old pencil
You may also like

Peacock drawing in watersoluble oil pastels


How to use ceramic paint on a thrifted plate
