Easy DIY fluid art: sea turtle
Create your own fluid art with overpainting! Watch this video for a step by step guide and download our free turtle template to get started.
Fluid Paint Background
Step 1. Creating the pouring paint
In this project we are going to use Mont Marte Pouring Medium with full bodied Satin Series Acrylic.
We’ll be using 4 colours; Ultramarine, Gold and a light blue created from Titanium White and Cerulean Blue in Sain series Acrylic and Turquoise in the Dimension. The ratios to use the paint with the Pouring Medium are :
1 part paint, 2 parts Pouring Medium, 1 part water.
Mix each colour in a separate cup and stir it well with a palette knife.
You will know it is the correct viscosity if you lift the palette knife out of the cup and the paint runs off the knife in a single trail.
You might like to make a ladle out of a cup to ensure your part measurements are equal. This is outlined in the accompanying video.
Step 2. Pouring
In this project we are pouring onto a 60x60cm painting board. This is quite large so it requires 2 cups of paint be used.
Place 2 cups onto the table and layer up the mixed paint into the cups.
Once both of the cups have been filled almost to the brim pour them onto the centre of the painting board.
Gently tilt the board back and fourth to manipulate the paint so that it covers the board entirely.
Let this poured coat dry for at least 48 hours.
Painting the Turtle
Step 1. Cutting the stencil
You will need a cutting mat for this step.
Print out the image on page 8 and profile cut it out with a hobby knife. Remember to exercise caution and always cut away from yourself.
Once the turtle is cut out you will have a positive and a negative. You will need the negative for the next step.
Step 2. Undercoating the turtle
Lay the negative into position and tape it onto the board. Squeeze some Chinese White onto a paper tear off palette. Charge a 75mm roller and paint in the negative area of the stencil. Remove the stencil while the paint is still wet. Let this coat dry.
Step 3. Underpainting with Paynes Grey
Print out another of the image on page 7 and redraw in any detail on the turtle with a HB pencil.
Squeeze our some Paynes Grey and use a flat taklon brush to lay any shadow areas in. Refer to the last image for guidance on this. Use a fine detailer to lay any thin line work in.
Step 4. Adding the colour
Squeeze out some Cadmium Yellow, Yellow Orange, Scarlet and Lamp Black. Lay the Scarlet over the areas of shadow and the Cadmium Yellow over the light areas and then lay Yellow Orange into the mid tone and areas where the colours transition.
There is a fair amount of this footage in the accompanying video to help with this step and the following step.
Step 5. Detailing
In this step the highlights can be laid in with Chinese White. Then Lamp Black can be laid into any areas of deep shadow like under the tail and bottom flippers. At this stage any texture can be laid onto the top flippers. Next you can flick Scarlet onto the shell from an oil painting brush. Let this coat dry thoroughly.
6. Varnishing
This step is optional but it does protect the surface and brings all of the colours up to the same level.
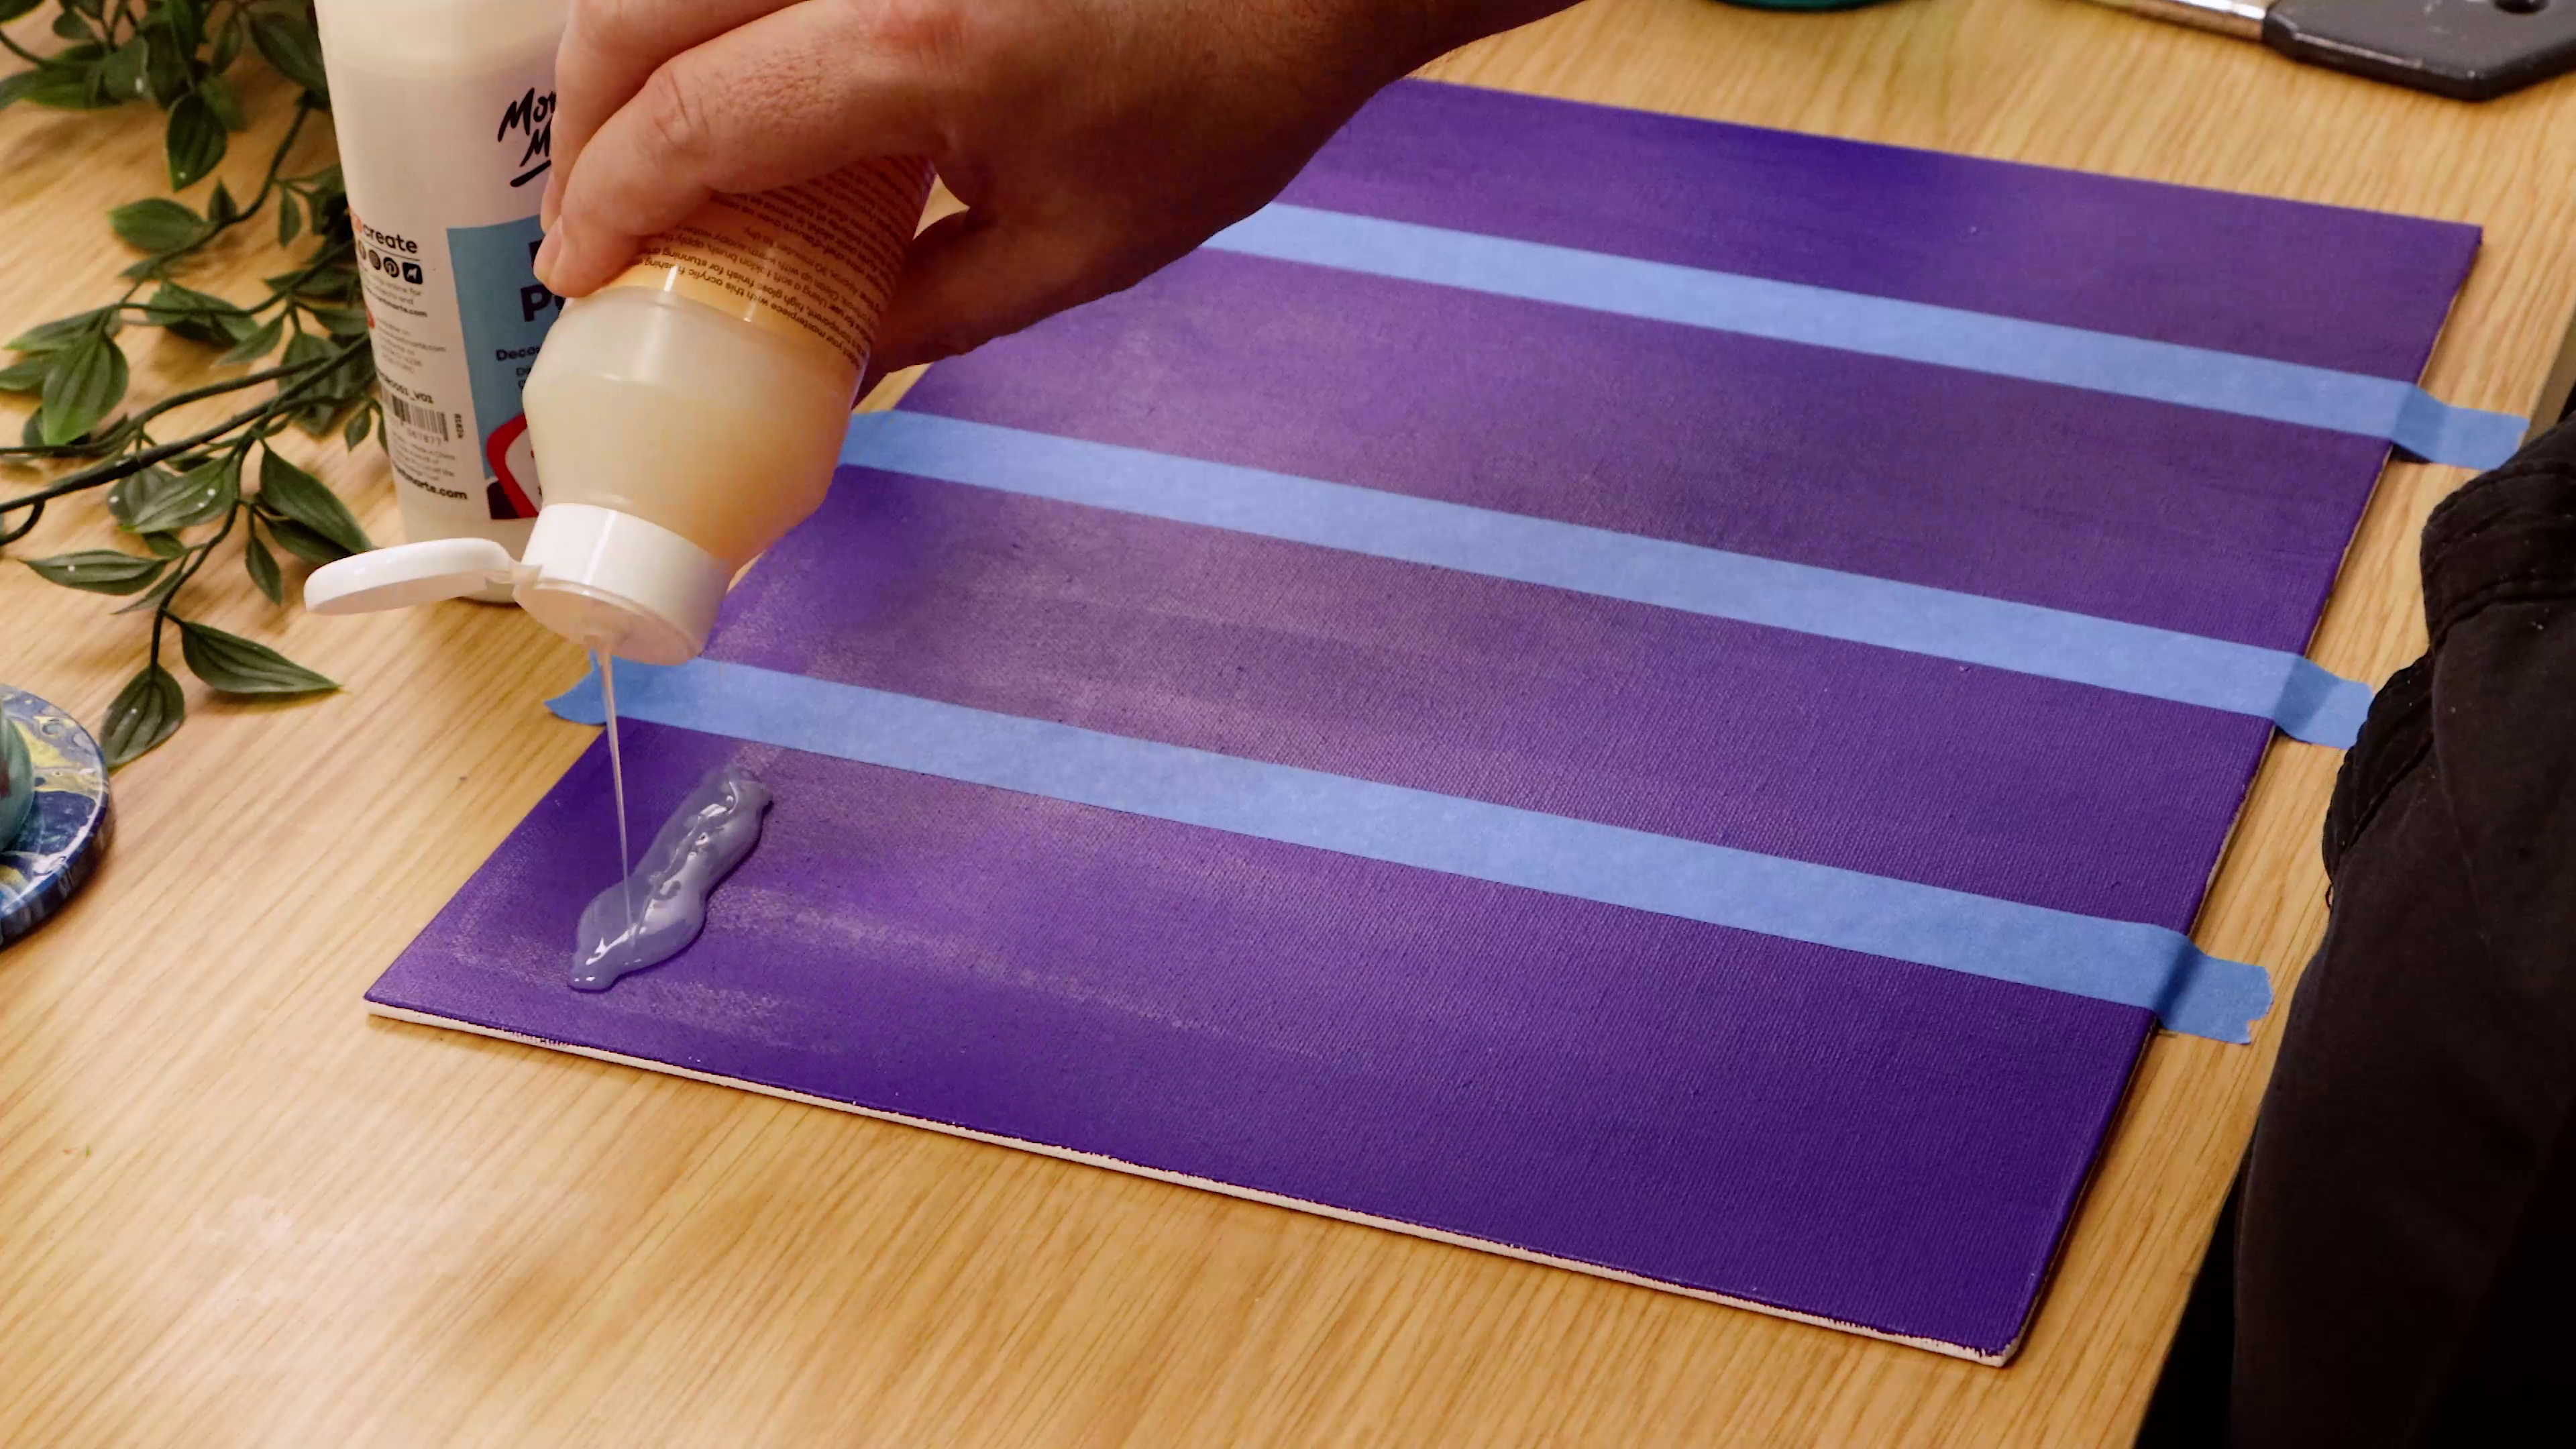
Squeeze out some Mont Marte Iridescent Varnish onto a Tear off Paper Palette. Use a Wide Artist Taklon Brush and lay a coat of varnish over the surface starting from the top moving down to the bottom.
Material List
- Iridescent Varnish Premium 240ml (8.12oz)
- Acrylic Pouring Medium Premium 1L (33.8oz)
- Painting Board Premium 60.9 x 60.9cm (24 x 24in)
- Dimension Acrylic Premium 75ml (2.5 US fl.oz) Tube - Turquoise


