


Easy clay dinosaur step-by-step
Step 1: Gather Your Materials
Grab your Creative Clay set, picking out the various colours that you want your dino to be! We picked blue and yellow for ours.
You’ll also need plastic wrap and a comfortable work surface.
Step 2: Preparing the Clay
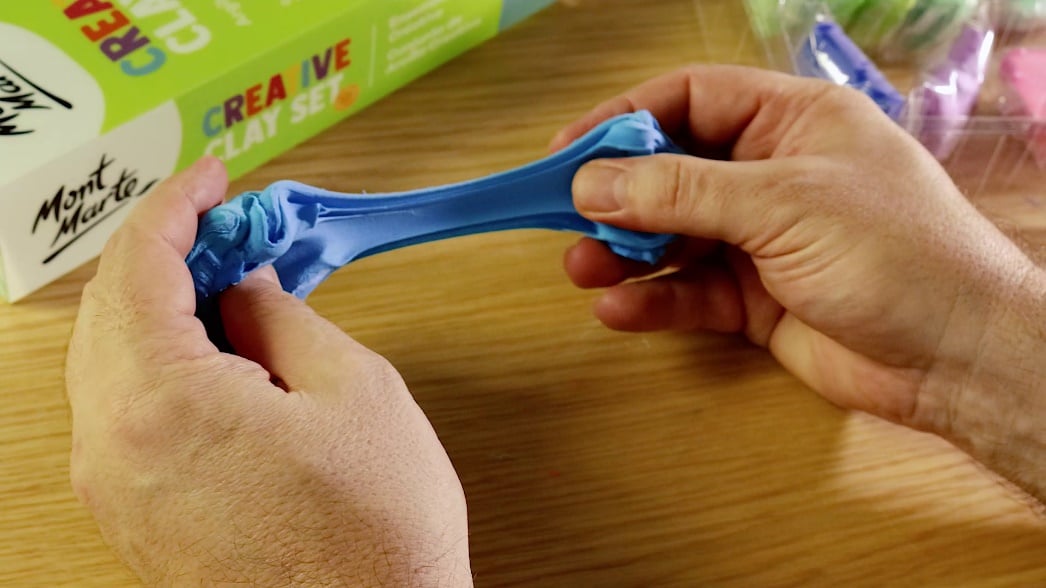
Unwrap your chosen Creative Clay colours and knead the clay lightly to make them easier to work with. This clay is super soft, sticks to itself well, and dries very quickly, making it perfect for little artists!
Divide the clay into two equal portions, and then divide those again to create four equal-sized pieces.
Roll each of the four pieces into round balls.
Step 3: Sculpting the Dinosaur Body

Take one of the clay balls and roll it in your palms to form an egg shape. This will be the body of your dinosaur.
Mould two small tubes from each end of the egg shape. Leave one tube more rounded for the neck and head of your dino and taper the other end for the tail.
Make an S shape in the neck area to give your dinosaur character and posture.
Step 4: Adding Eyes
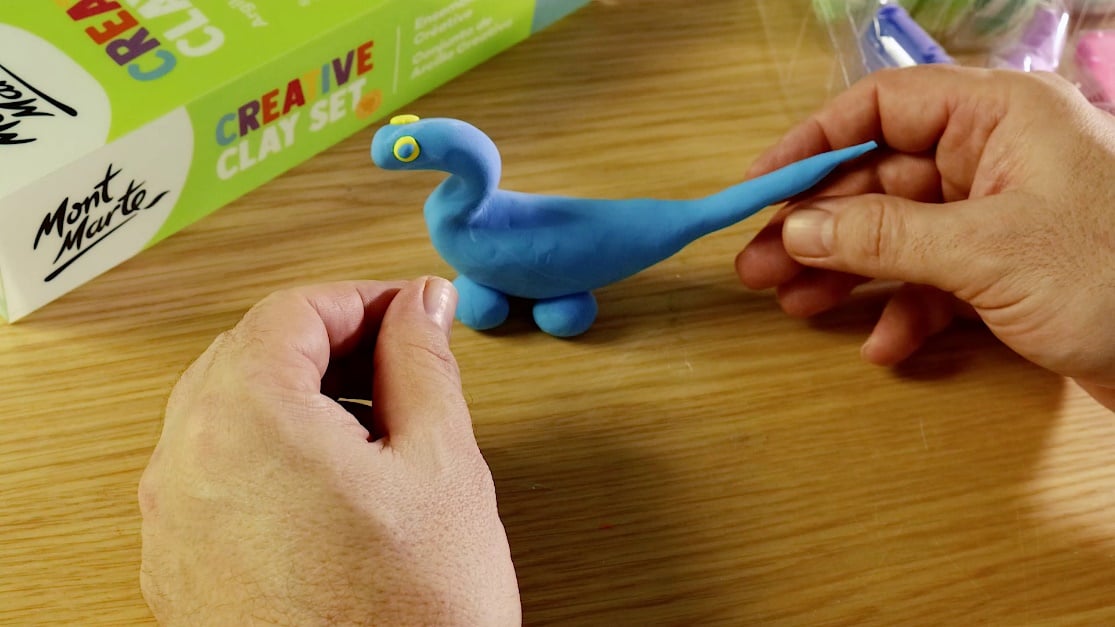
Roll out two small yellow clay balls for the eyes and press them onto the head.
Take a tiny bit of blue clay from the end of the tail and press it onto the yellow clay to create the eye pupils.
Step 5: Adding Spots
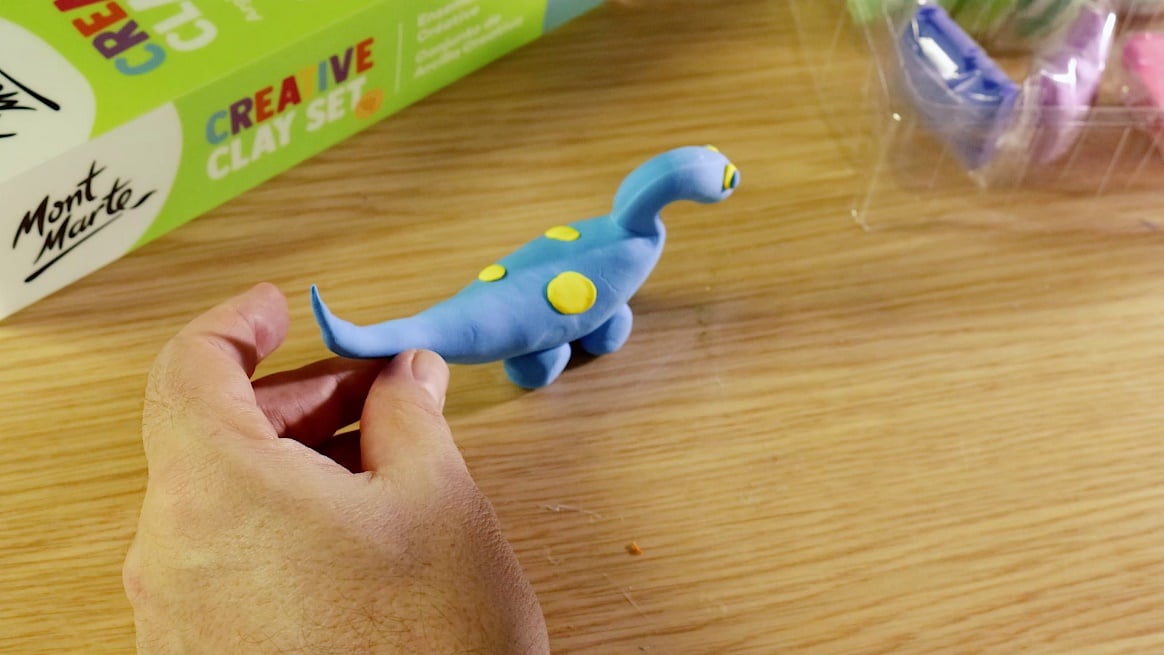
Roll three small clay balls in a colour of your choice (e.g., yellow) to make spots for your dinosaur.
Press these balls onto the dinosaur's body to bring its character to life!
Step 6: Finishing Touches
Take a moment to adjust and add any extra details or personal touches to your dinosaur. Be creative! Maybe some plates down its back or a few pointy teeth?
Step 7: Clean-Up
Clean your hands and the work surface, making sure there's no clay left behind.
Step 8: Display and Share
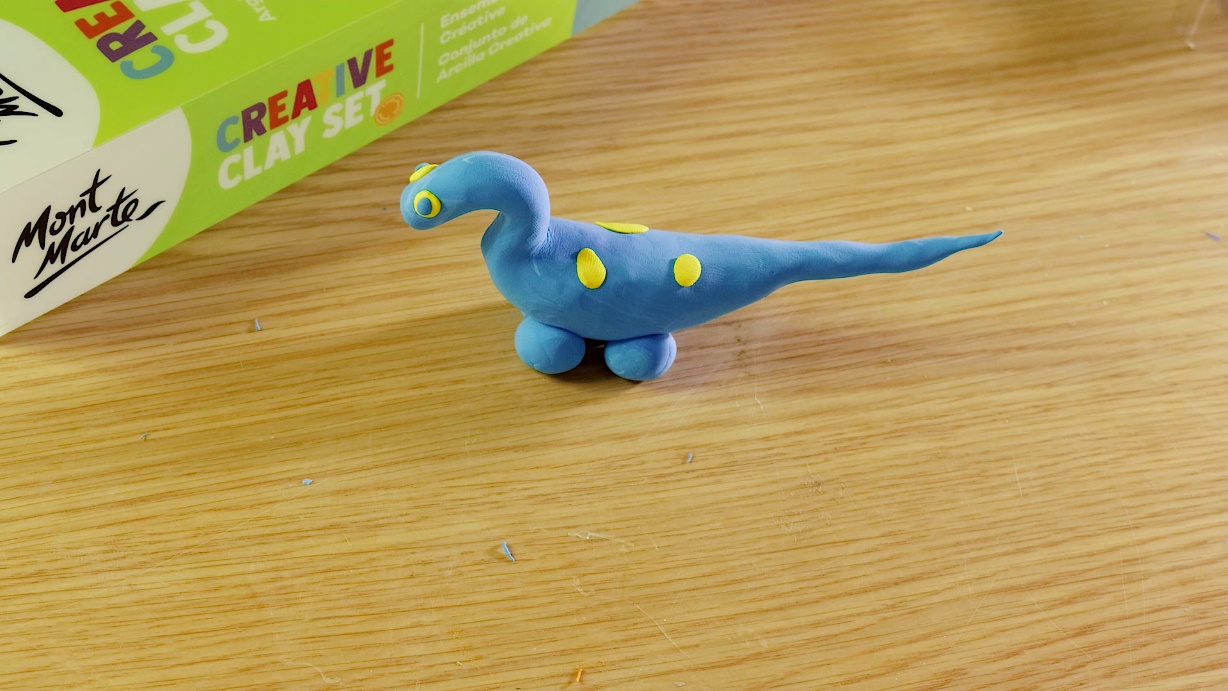
Proudly display your cute dinosaur sculpture.
Share it with friends and family and try making a dinosaur from clay with them!
You may also like

Peacock drawing in watersoluble oil pastels


How to use ceramic paint on a thrifted plate
