


Art inks
We have two kinds of liquid inks that are great for all kinds of art: Drawing and Acrylic inks. They come in a bunch of different colours and can be thinned with water for watercolour effects. We’ve summarized them below so you can get the gist of their differences and similarities.
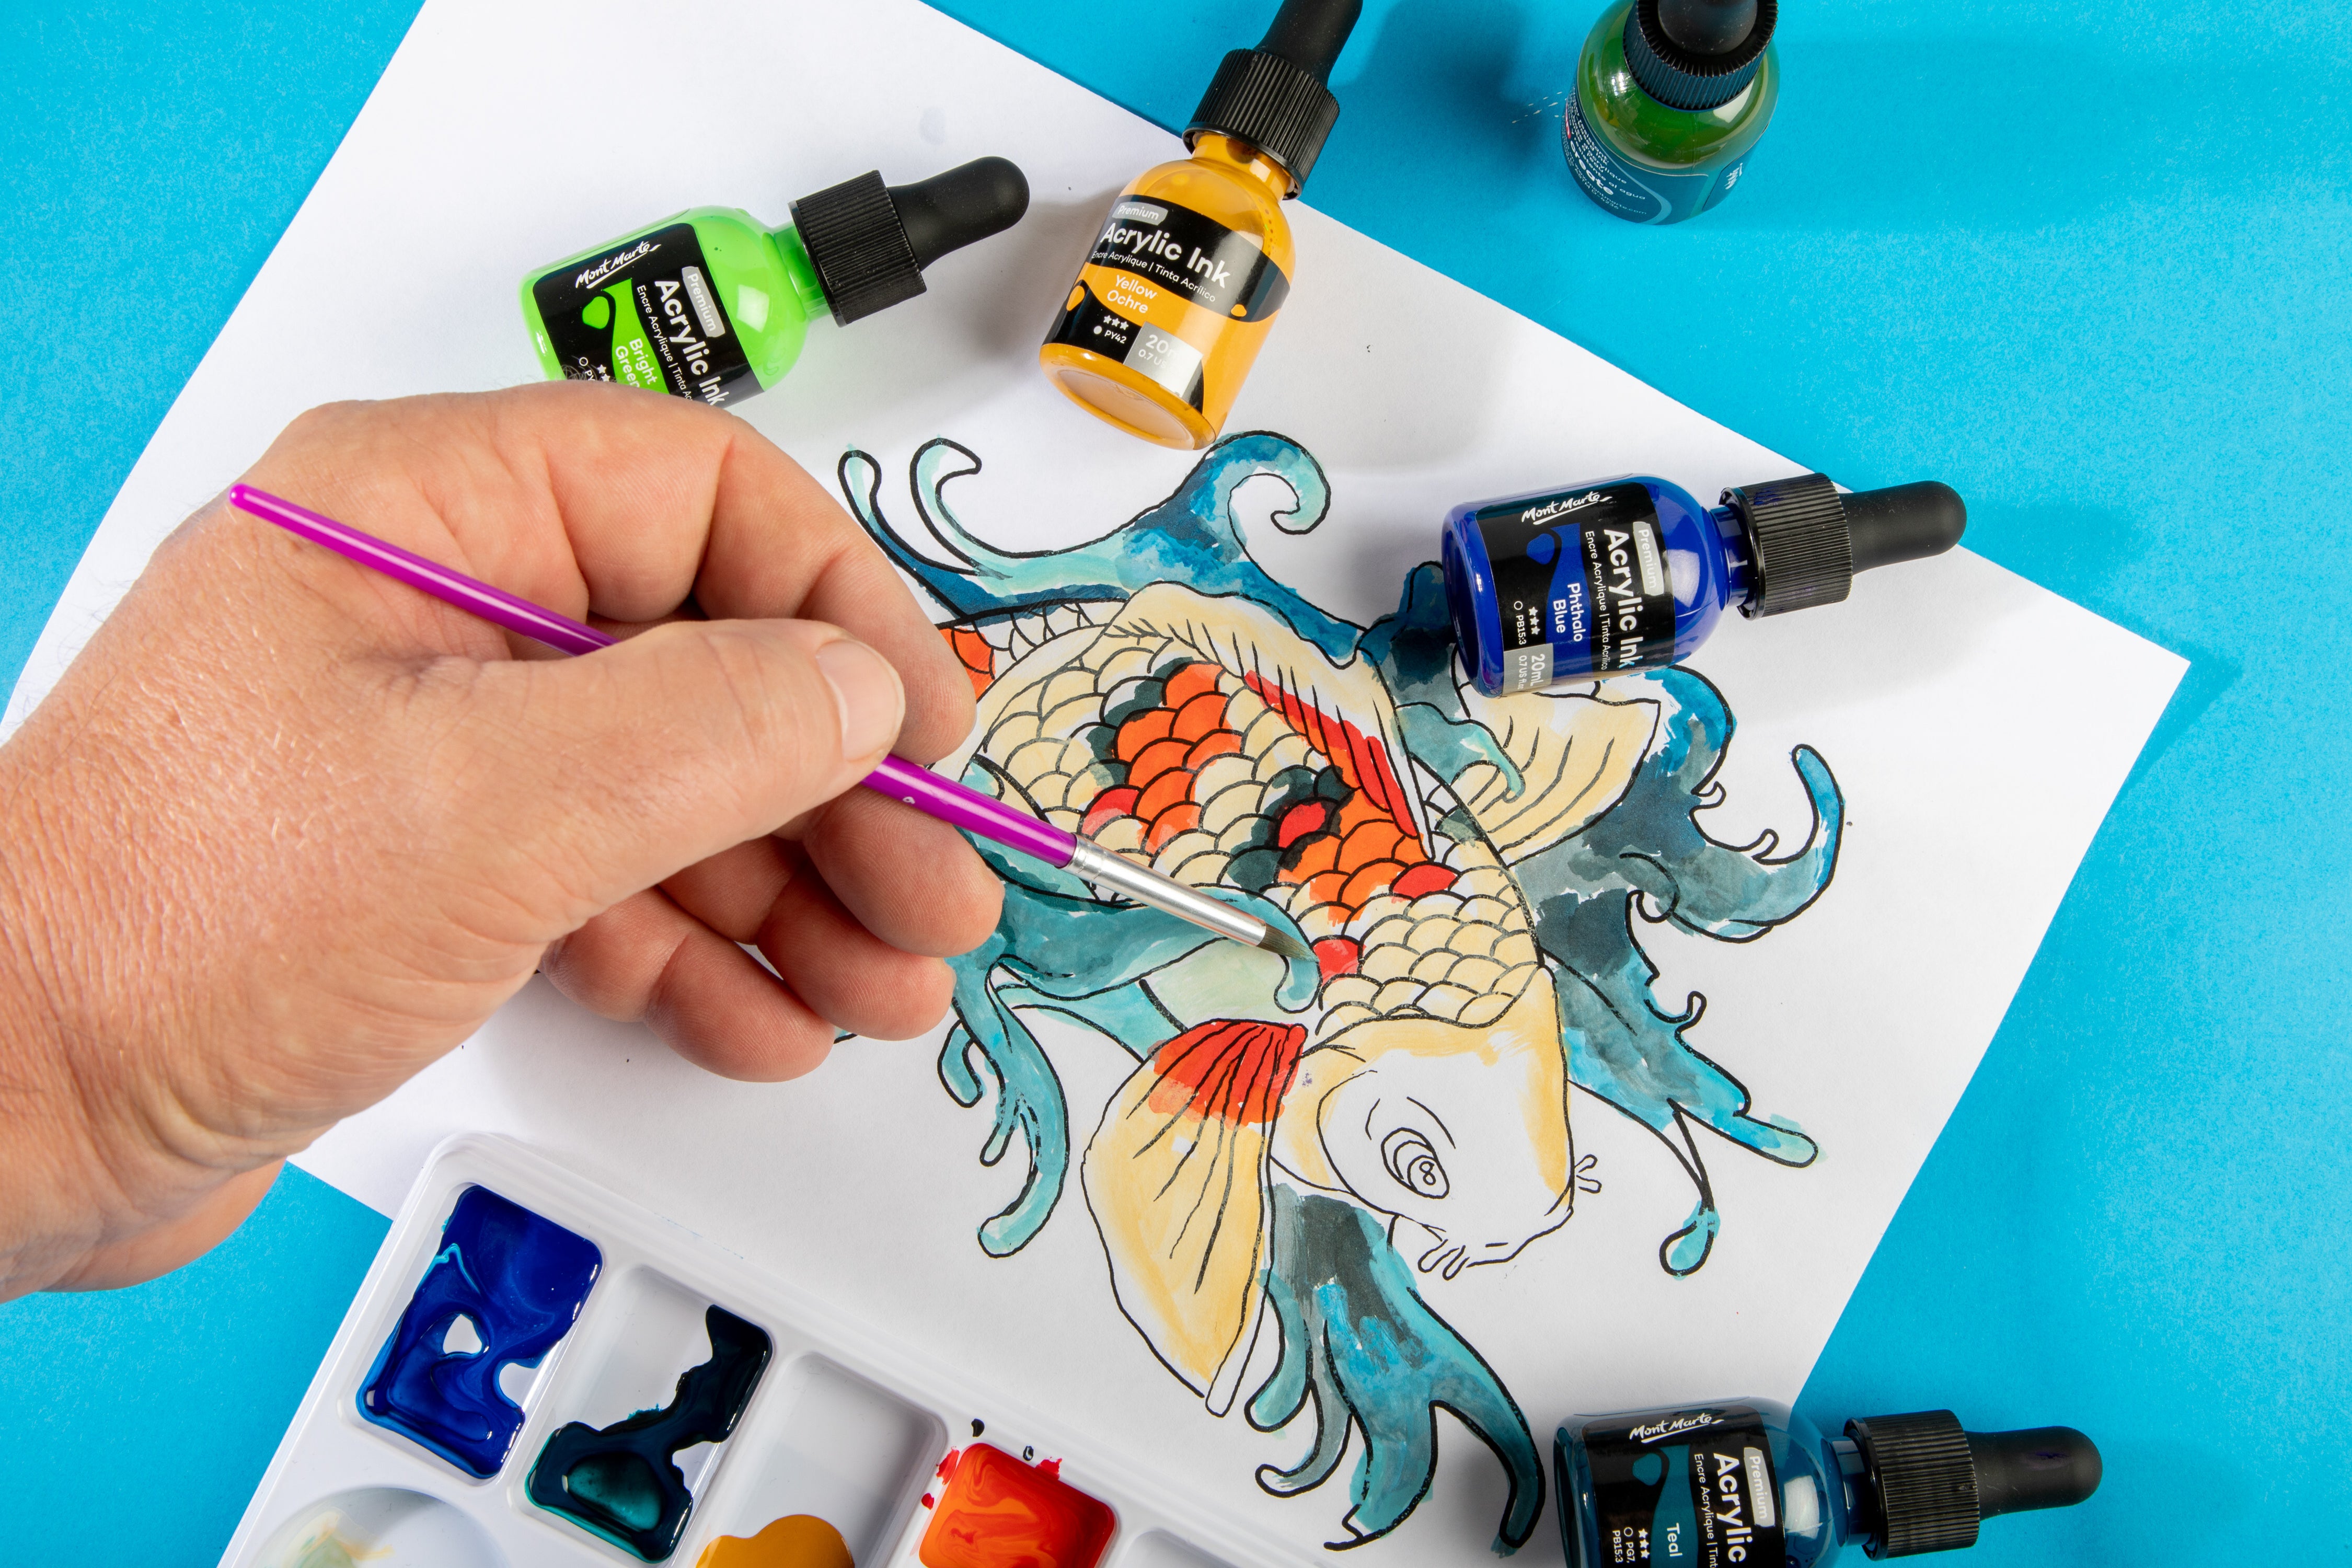
Acrylic Ink
- Dries to be permanent and water resistant
- Fast drying and pigment-based
- Great for mixed media artwork because it won’t budge, as well as illustration, calligraphy, scrapbooking, and more
- Colours mix cleanly for a bigger colour palette
- Suitable for use on paper, card, canvas, and some plastics
- Can be airbrushed
- Can be mixed with pouring medium and paints for fluid art
Drawing Ink
- Dries to a smudge-proof, shimmery finish
- Fast drying and dye-based
- Great for illustration, calligraphy, scrapbooking, and more
- Colours mix cleanly for a bigger colour palette
- Suitable for use on paper and board
- Can be airbrushed using a double-action airbrush
You can use inks with brushes, straight out of a pipette, or with dip pens. Different tools will help you create a range of strokes for all kinds of illustrations and hand lettering. Whether you’re using acrylic ink or drawing ink, you have a world of art styles at your fingertips!
Pen ink arts
A great way to start exploring ink is through pens as they’re easy to control and convenient to use. We have all kinds of art pens with different nibs and effects; read on to find out which one might be the best fit for you.
Brush tip
Brush tips are super flexible, making it easy to create a range of strokes. Depending on the pressure and angle applied, you can draw a bunch of different line weights and styles. Using brush pens is great for calligraphy and hand lettering as the tip is easy to manipulate while you write.
Our Real Brush Pens use water-based ink and come in a range of vibrant colours for all sorts of creating. They flow smoothly and can be used as is or with water to change the opacity of the ink for watercolour effects. Just remember to store them with the lid on properly and nib down, so the ink keeps the brush moist.
Chisel tip
Chisel tips are generally used for thicker line weights and drawing. They’re great for outlining and boldening your designs, with a sharp angled tip for dual-purpose linework. You can create finer lines using the point of the angled tip or use the flat edge for a bolder look.
Our Technical Drawing Pens 12pc pack has 3 chisel tip pens in different sizes so you can create varied strokes. These pens are super handy because the ink is permanent once dry, which means they’re great to use with other mediums as they won’t budge! You can also find chisel tips on one end of our Dual Tip Art Markers, Flexi Tip Art Markers, and our Wide Chisel Tip Acrylic Paint Pens.
Bullet tip
Using a bullet tip pen is handy for creating lines with consistent weight and thickness. This makes them great for drawing, journalling, and hand lettering. The pointed bullet tip is best used perpendicular to the paper so the ink flows freely and the line stays a consistent weight, but you can use the side of the tip for a wider stroke as well.
Our Dual Tip Markers Brush/Bullet 12pc packs come in a range of different colours, with each pen sporting a brush and bullet tip. This gives you freedom when creating so you can draw assorted lines and strokes.
Fine point
Fine point tips are ideal for drawing details and adding thin linework to your ink projects. They create crisp lines with consistent weight so you can get into the nitty-gritty of your subject matter. They’re handy for pen illustration, sketching, and mixed-media ink work.
You can pick up a fine-tip pen in our Dual Tip Brush/Fineliners, Technical Drawing Pens, Graphic Fineliners, Pastel Ink Pens Fine Tip, and Metallic Fineliners. Our sets have a range of sizes and colours to explore so you can find a pen that suits your style of fineliner drawing!
Drawing using marker
Art markers come in a bunch of different nibs and sizes and can be used for a range of illustrating and lettering. We have alcohol-based and water-based ink markers, which offer different blending and colouring styles.
Nibs
Like our pens, our art markers are available in chisel, fine, and bullet tips making them highly versatile. You can find a chisel and bullet tip in each of our popular Dual Tip Art Markers, which helps add a pop of colour across large areas and detailed artworks. You can also find a fine tip and a brush tip on each of our Duo Markers, so you can freely colour with the brush and add details using the fineliner. For more fineliner markers, check out our range of Dual Fine Tip Art Markers, which have two different sized fine points on each marker.
Our art markers also come in 2 extra nib types: dot and flexi-tip.
Dot - Dot markers are made for creating dot artwork. Consistent dots are made simple with a measured round tip for dotting precise circles. We’ve made our dot markers dual tip, so you can create two different dot sizes for every colour you pick up. Ideal for intricate patterns and designs, these pens work well for journalling and illustrating. Explore our Dual Tip Dot Markers to see the colour range and imagine the possibilities.
Flexi-tip - The marker flexi-tip works just like the pen brush tips, helping you get smooth flowing crisp lines for detail work. It’s a little thicker than the Real Brush Pens so you can create heavier lines and bolder strokes. They’re great for graphic design, illustrating, lettering, and colouring. All of our Flexi Tip Art Markers come with a chisel tip end as well, so you can create sharp and smooth lines with ease.
Ink
Alcohol - This ink is quick drying and waterproof once dry. You can blend the ink with a marker blender while wet to soften the edges and lighten. It’s ideal for use with other mediums such as watercolour as it won’t budge if it gets wet with water!
Standard water-based – Though it takes a little longer to dry, this can be handy as you can blend these inks while wet with some water on a brush to create watercolour effects. Great for vibrant colours and easy cleanup.
Watercolour ink – We have a range of Watercolour Markers that flow and apply similarly to watercolour. Colour with the markers and then brush on water and watch them transform.
Fabric marker ink – This ink is made to withstand washing and stay colourfast on your fabrics through wear and tear. Fabric Markers can be used on cotton, polyester, and canvas. Seal it into your textiles by ironing your design through baking paper once applied.
How to use a dip pen
Using a dip pen is a simple way to use ink for hand lettering, illustration, and more. It’s an old school tool that allows you to create unique lines, strokes, and effects with its metal nib. Let’s dive into how to use it:
1. Hold your dip pen as you’d hold a pencil
2. Dip the pen in your ink of choice, until the hole in the nib is covered
This hole will store a small reservoir of ink so you have to dip less while writing
3. If you get too much ink on your pen and it’s dripping, just tap it on the edge of the ink pot
4. Holding the pen at a 45° angle, begin to write or draw gently
5. There’s no need to apply excess pressure as the ink should flow freely
Each dip of ink should last around 2-3 sentences or an equivalent amount of drawing. Finer nibs require more frequent dipping as the reservoir is smaller
Our Acrylic Ink and Drawing Ink products are great to use with dip pens and come in a range of vibrant colours. You can also check out our handy to watch how to use a dip pen.
Calligraphy
The best tools for calligraphy are dip pens or brush pens, but really any ink pen will work! Calligraphy has a rich history to it, with lots of rules and style guides to follow if you want to. Modern calligraphy is a lot more freestyle and is essentially just writing in decorative letters by hand.
Either use gridded paper or use a ruler to draw lines that your script will sit on. This will help anchor your letters, so they don’t go skewwhiff as you concentrate on the design. Use pencil so you can rub the lines away after you’ve finished your work.
Write with your pen at a 45° angle from the page for the best flow and control. The key to calligraphy is to apply pressure when stroking downwards to create thick lines and use minimal pressure moving upwards for thinner lines. This means your downward linework will be thicker, while your upward linework will be lighter. For example, when drawing an ‘O’, the left side will be thicker than the right as you start with the downstroke and curve upwards, getting lighter as you come around.
That’s the main thing to remember as you move your pen: up=light, down = heavy! Horizontal lines are light as well unless they are made to be thick for decorative purposes.
The first and last letter of your sentence or phrase are open to more design work and details. Experiment with adding extra curves and flurries, keeping in mind the flow of your text. Your designs can be used to encase the words, with your first letter framing the top left corner, and the last letter framing the bottom right. This creates a kind of border for your design, perfect for hand lettering signs, cards, and displays.
Our Calligraphy Sets are a great place to start if you’re looking to try it out at home. We also have a for a step-by-step approach to calligraphy.
Ink and paper
Generally speaking, the best art surface to use with ink products is Watercolour paper. Watercolour Paper Blocks are extra convenient, because the gummed pages help prevent warping as your artwork dries. We have rough and medium tooth paper varieties, so you can create smooth lines just the way you like them.
We also have calligraphy practice paper which is gridded especially for learning calligraphy. This will help keep your strokes in line so you can practice with confidence.
Hopefully, you’re ready to experiment with ink and try out some new techniques or tools at home. Why not try using pen and ink together to create mixed media artwork and illustrations?
If you feel inspired to create, #montmarteart or tag us @montmarteart on Instagram or Facebook because we’d love to see what you come up with!
Looking for more? Check out our Techniques blogs for some ink and marker drawing ideas to get your started.
If you need any of the products mentioned in this blog, jump online to check out our range of inks, ink pens, and calligraphy products.


